BitbucketWebhookを追加する
BitbucketでWebhookを指定して、コードのプッシュやプルリクエストなどの指定されたアクションを実行するたびに、Bitriseがアプリのビルドを自動的にトリガーするようにすることができます。
コードをリポジトリにプッシュするたびにBitriseでビルドを自動的に開始するには、コードホスティングサービスでWebhookを設定して、リポジトリにプッシュしたコードでBitriseのビルドを自動的にトリガーできます。
In addition, you can take advantage of Git Insights if you set up the webhook with the necessary permissions. Git Insights enables you to quantify and optimize Git collaboration. It provides crucial metrics like pull request cycle time and merge frequency.
Webhookは自動または手動で登録できます。このガイドでは、Webhookを手動で登録するプロセスについて説明します。
-
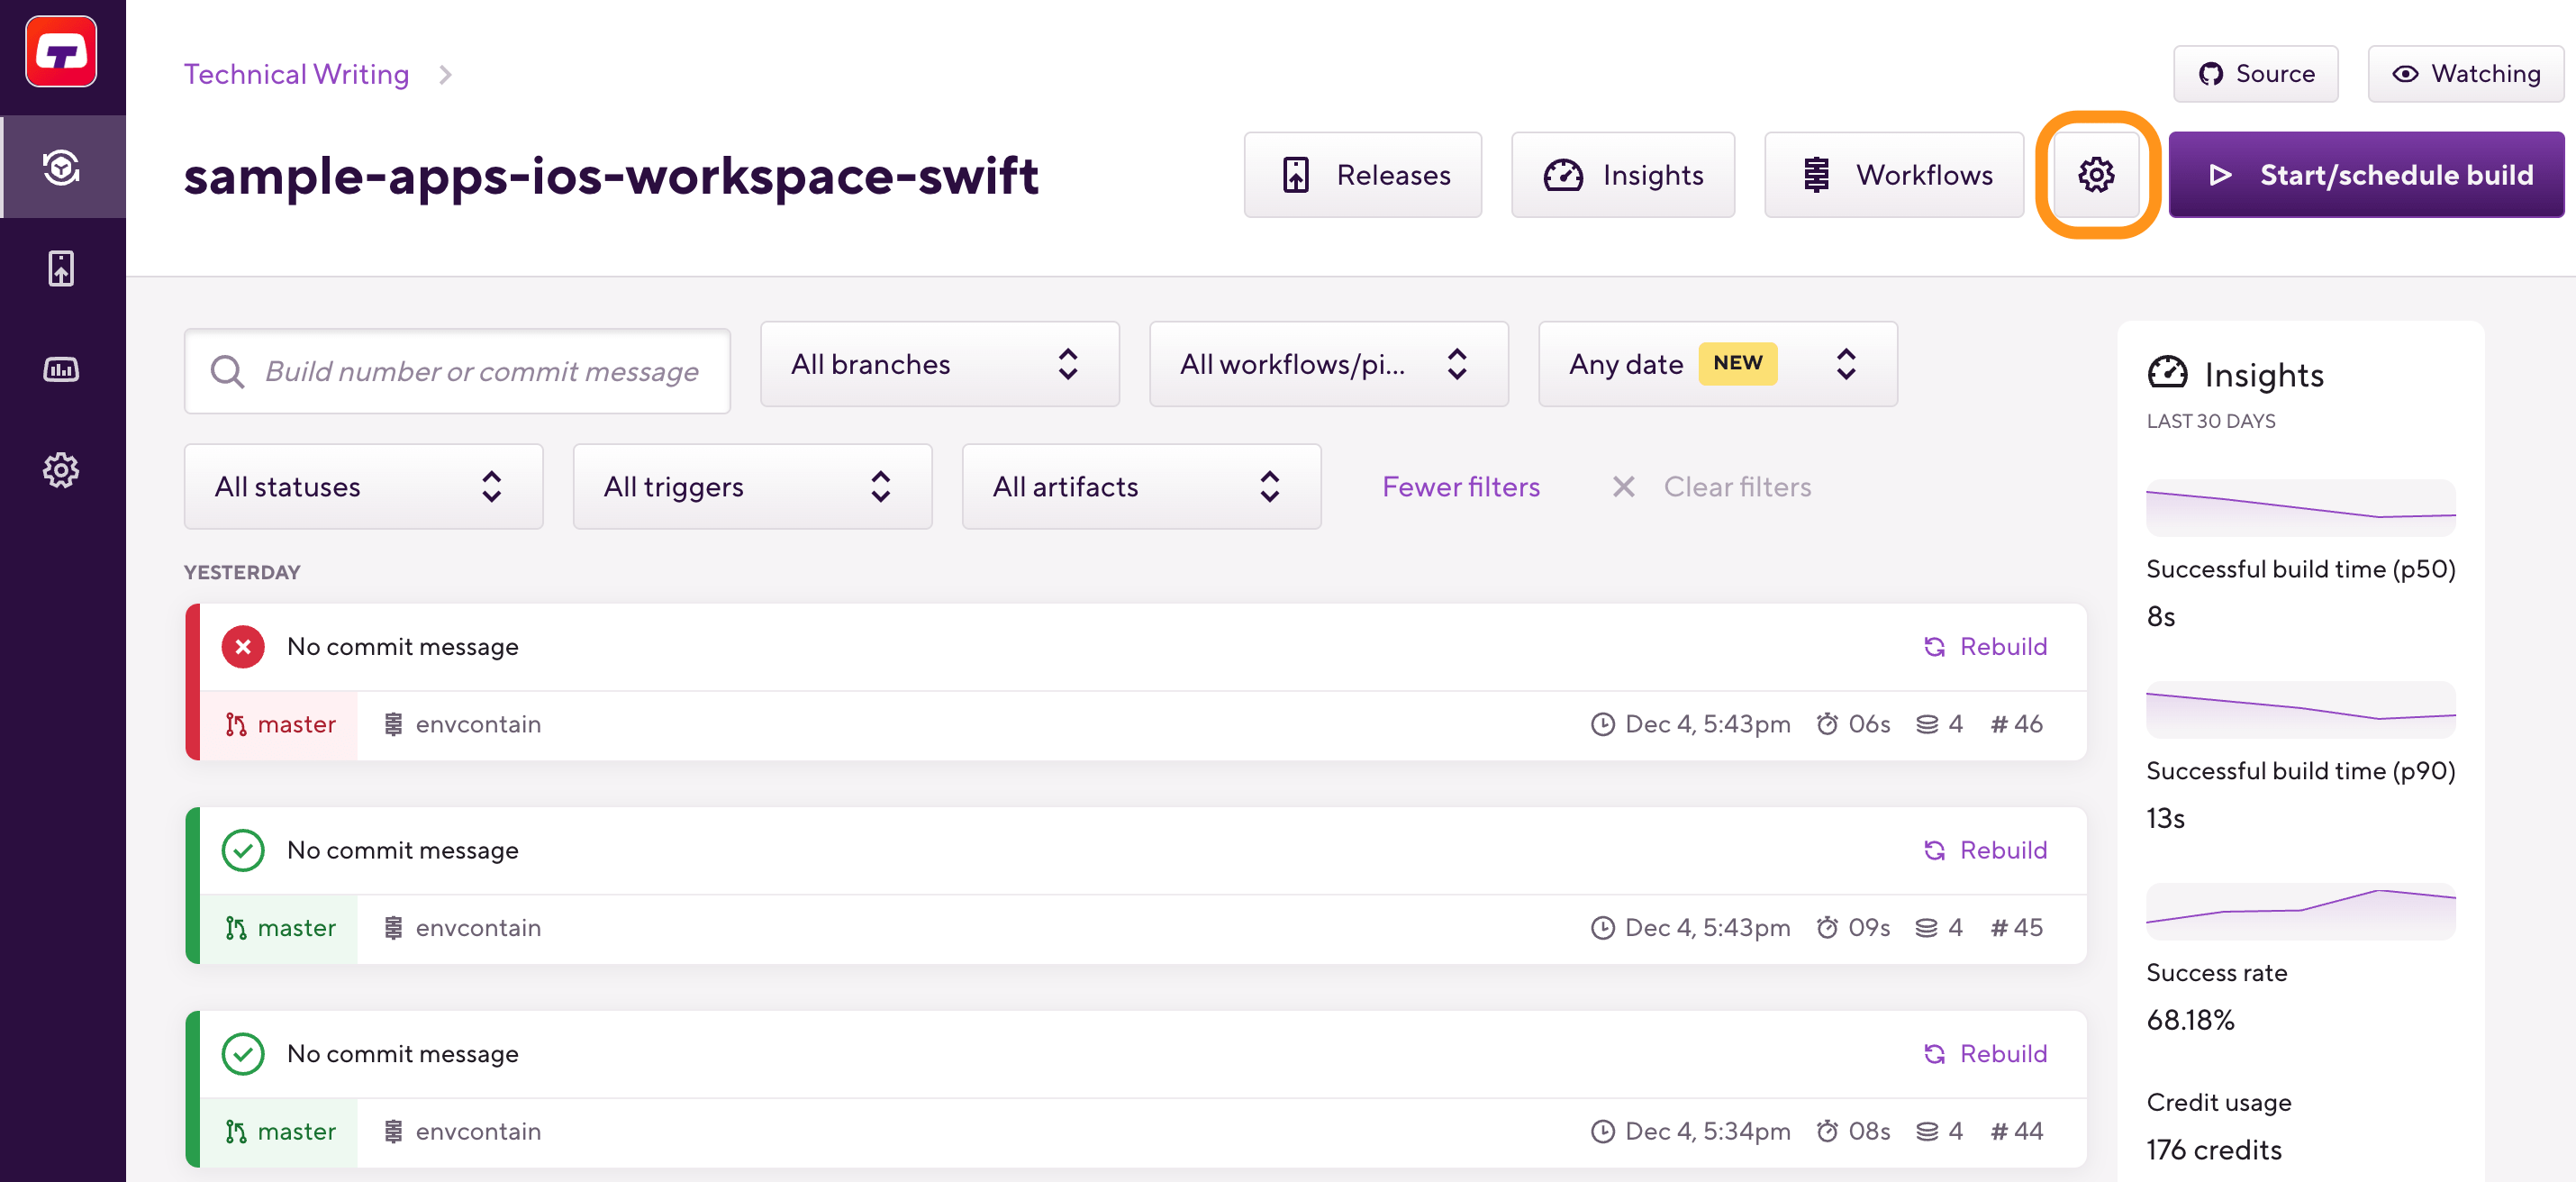
Bitriseでアプリを開くには、 管理者 アプリチームでの役割。
-
に移動します 設定 タブ。
-
左側で、 統合。
-
クリック 。
-
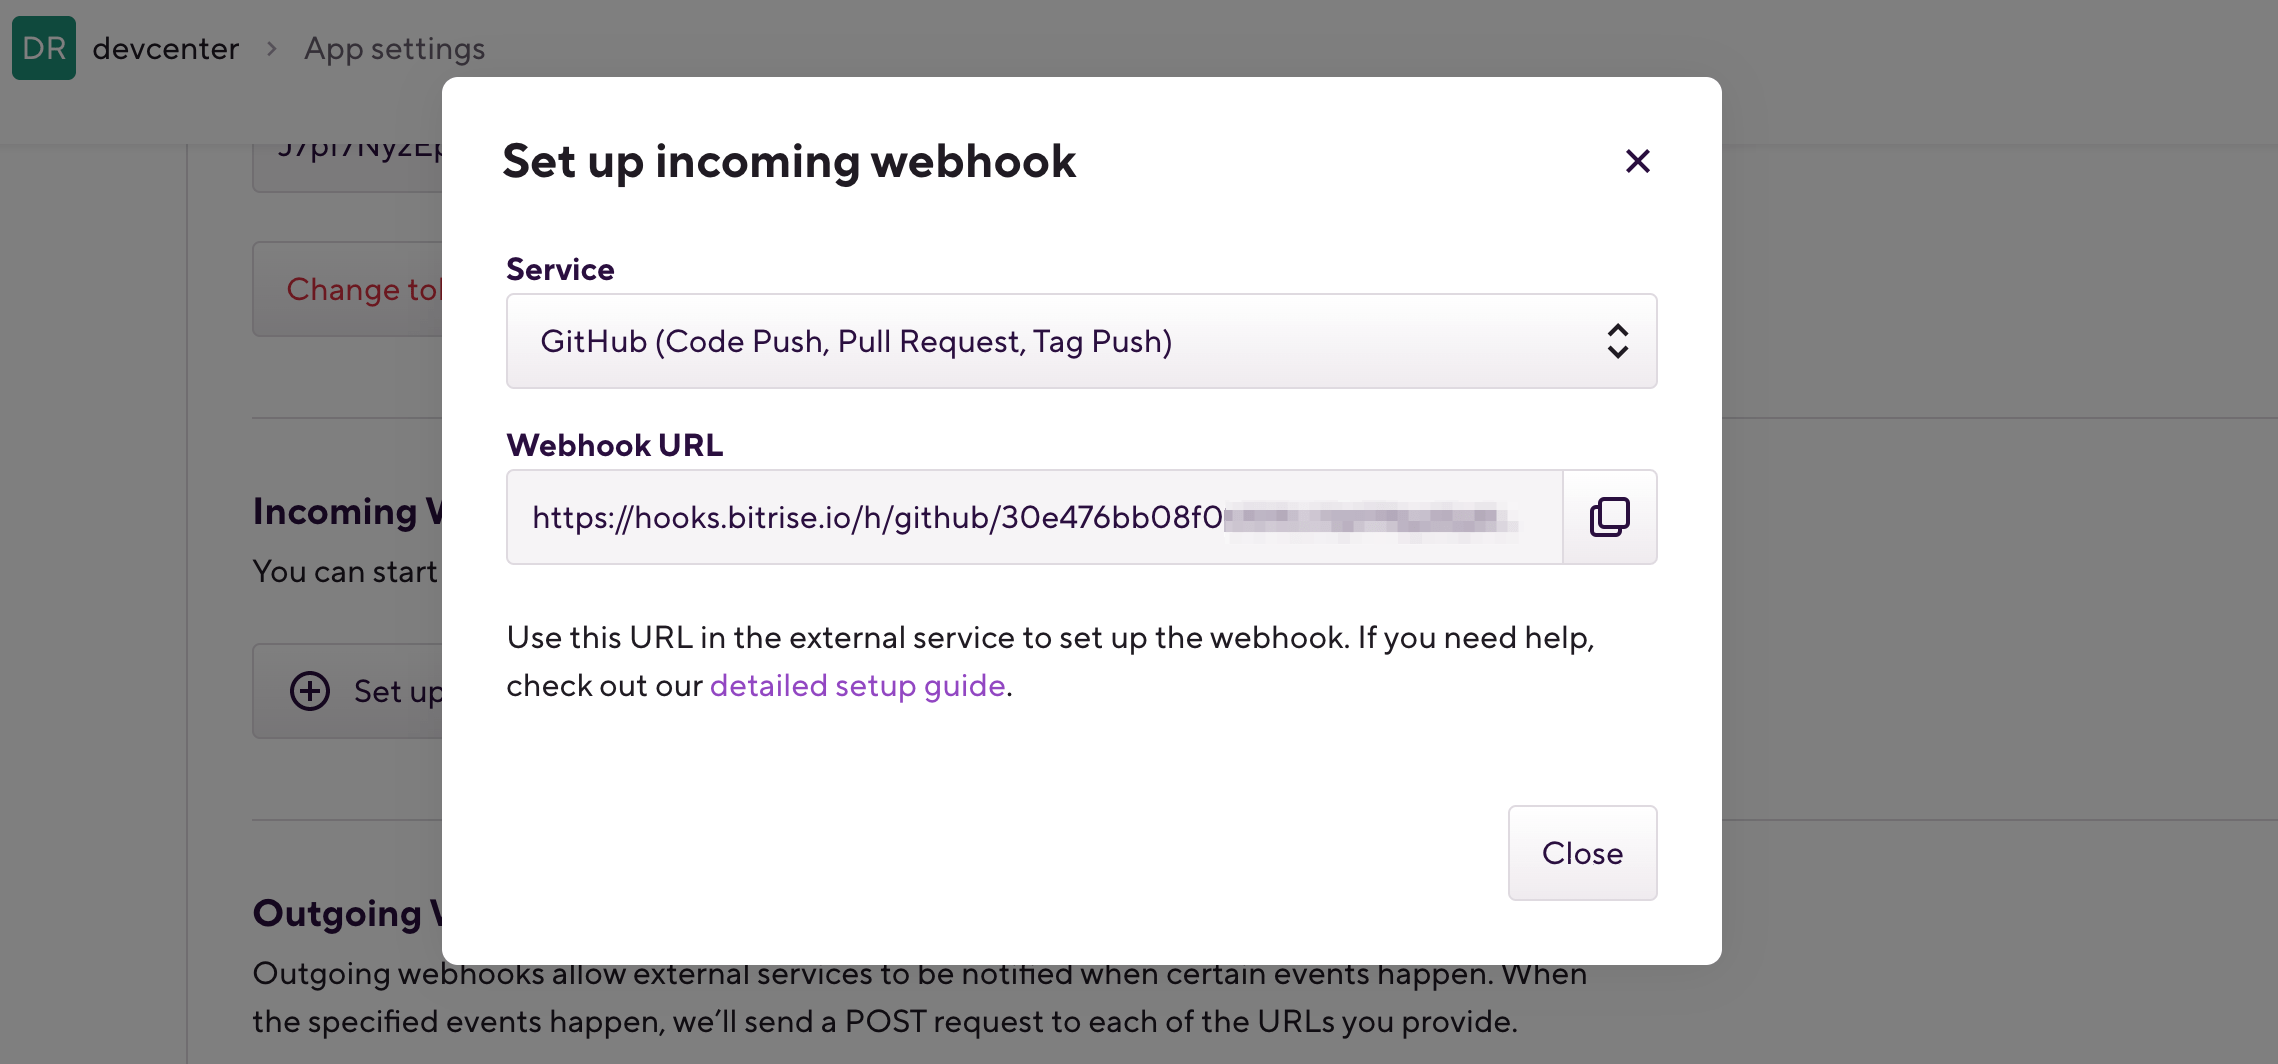
ポップアップウィンドウで、ドロップダウンメニューから[BitbucketWebhooks]を選択します。
-
選択したサービスのWebhookURLをコピーします。
-
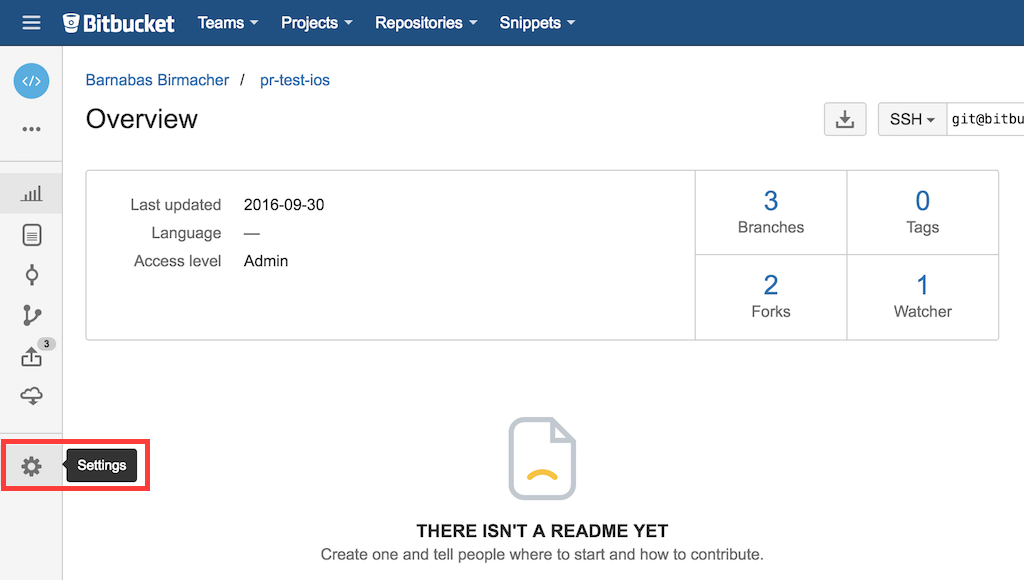
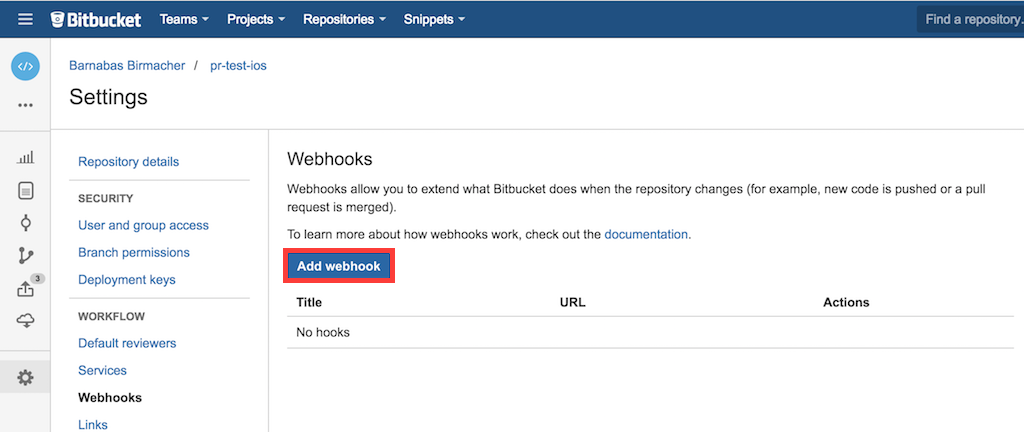
Bitbucketリポジトリに移動し、を選択します 設定。
-
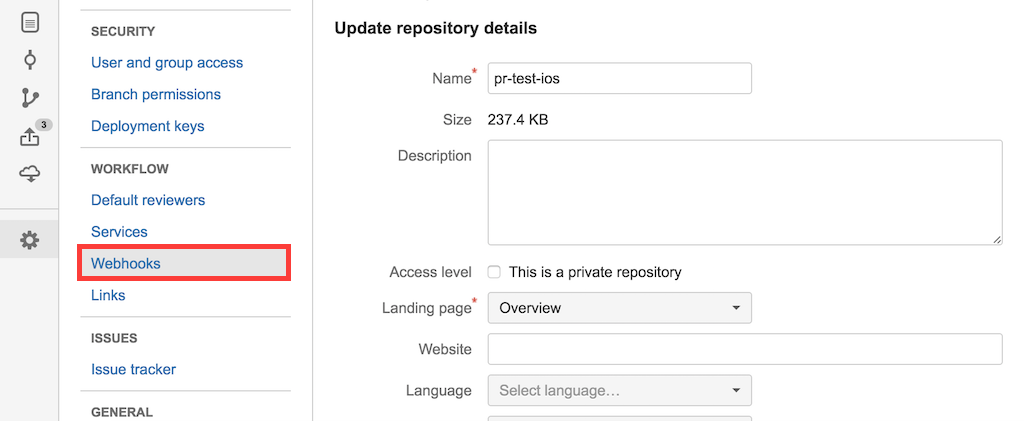
選択する Webhook 左から。
-
選択する Webhookを追加する。
-
Bitbucket WebhookURLをBitriseからに貼り付けます URL を追加します 題名。

-
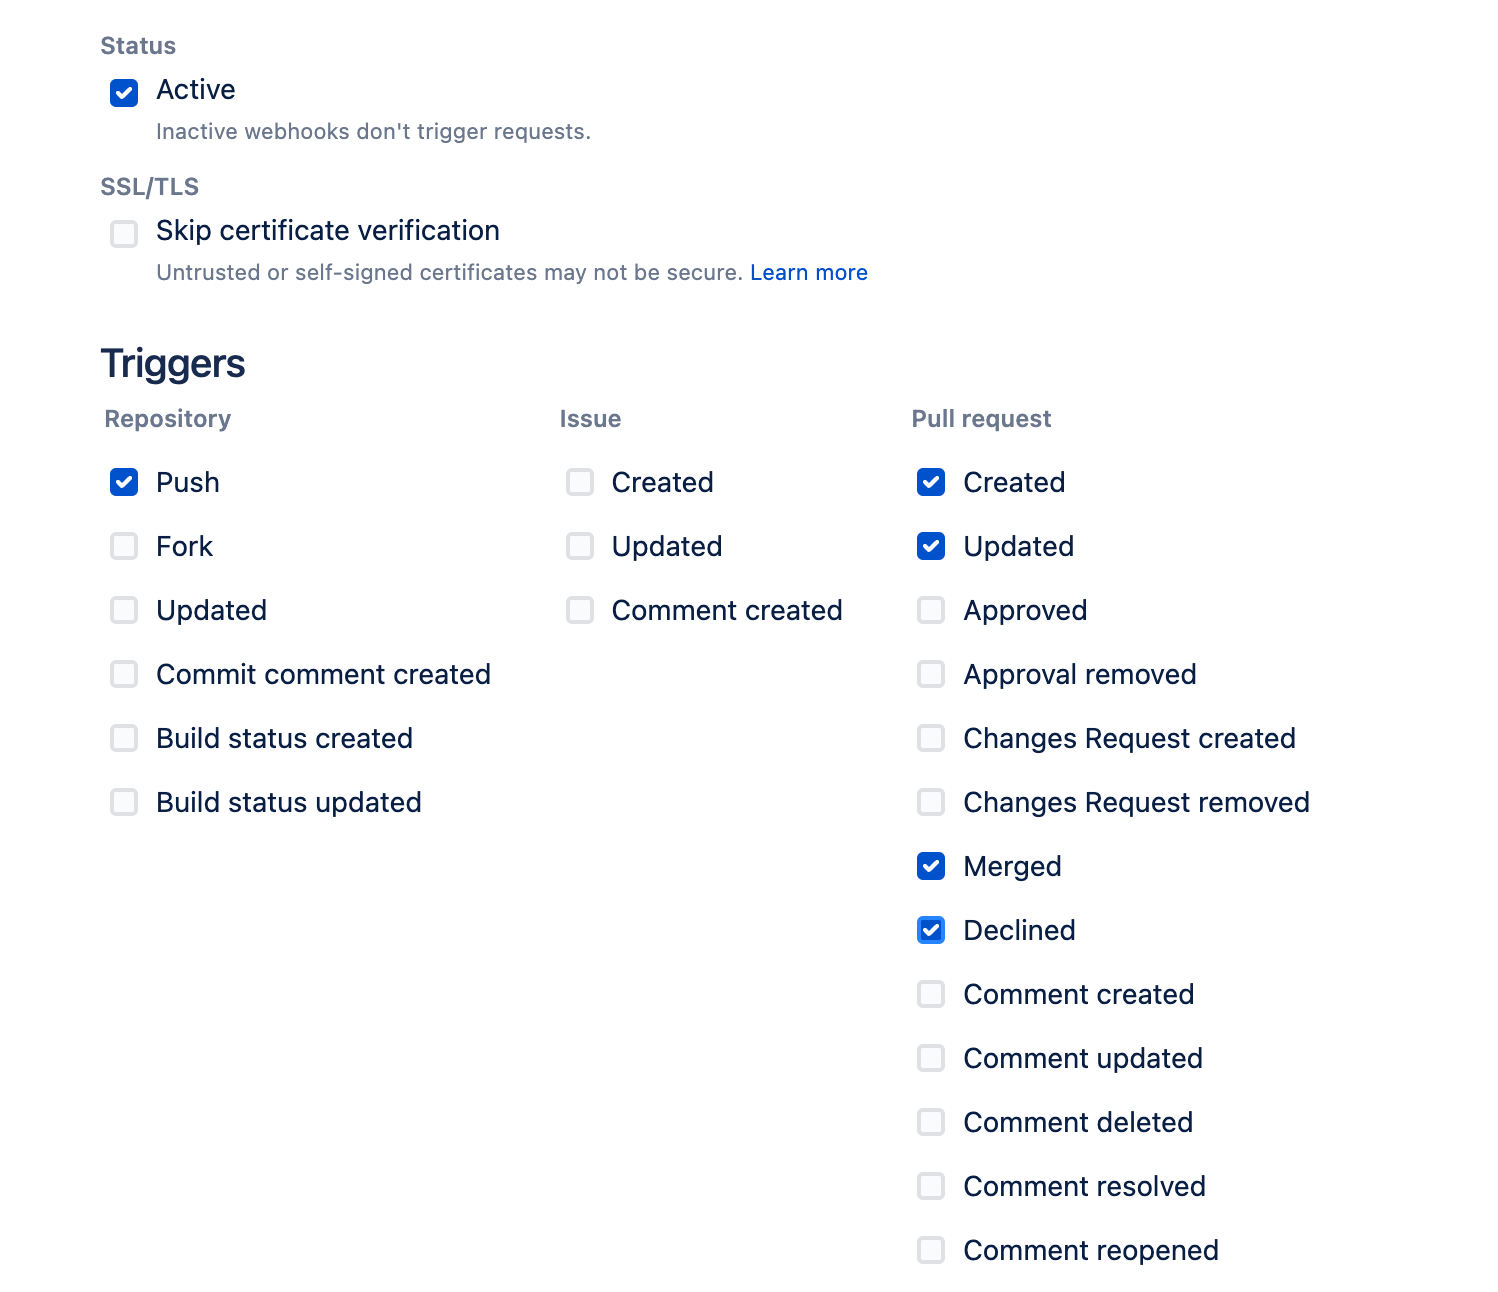
選択する トリガーの完全なリストから選択します。

-
選択する リポジトリプッシュ と プルリクエストが作成されました と 更新しました トリガー。準備ができたら、 保存する ボタンを押すと、転がる準備ができました!
-
For automatically triggering builds, you just need to select Push from the Repository permissions, and Created, Updated and Comment created and Comment updated from the Pull Request permissions.
-
For Git Insights, you need everything you need, in addition to the above, Merged and Declined from the Pull Request permissions.
-