AssemblaWebhookの追加
AssemblaでWebhookを指定して、コードプッシュやプルリクエストなどの指定されたアクションを実行するたびにBitriseがアプリのビルドを自動的にトリガーするようにすることができます。
コードプッシュやプルリクエストなどの指定されたアクションを実行するたびに、Bitriseがアプリのビルドを自動的にトリガーするようにWebhookを設定できます。 Assemblaの場合、追加する必要があるのは bitrise-webhooks あなたへのURL アセンブラ スペース。
-
Bitriseでアプリを開くには、 管理者 アプリチームでの役割。
-
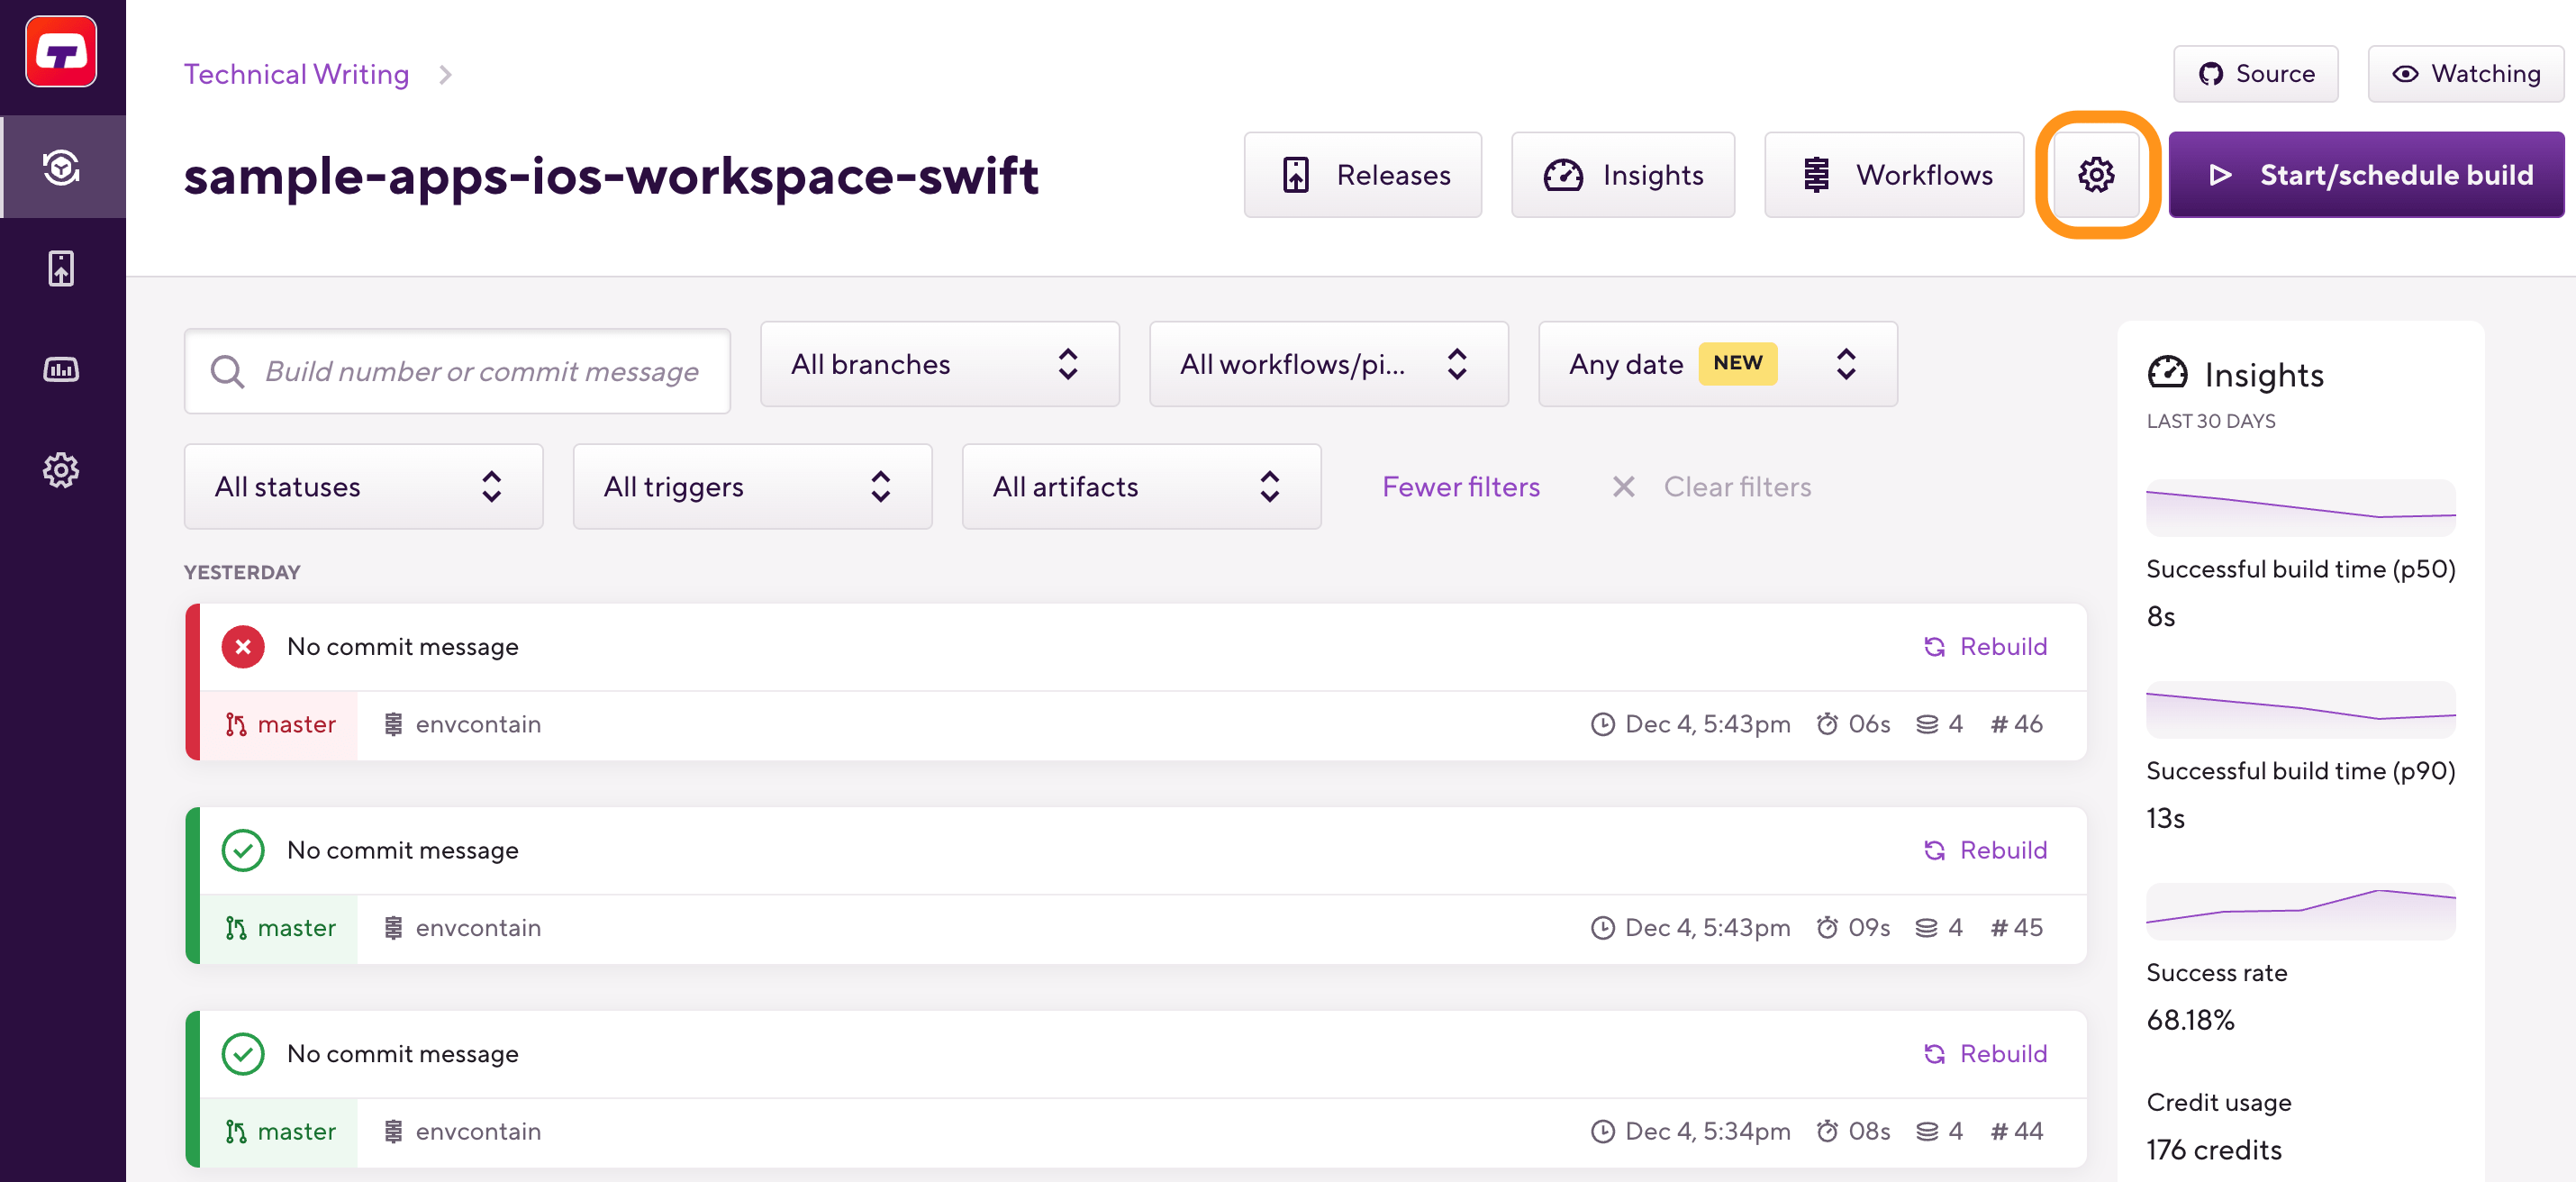
に移動します 設定 タブ。

-
On the left, select Integrations and then the Webhooks tab.
-
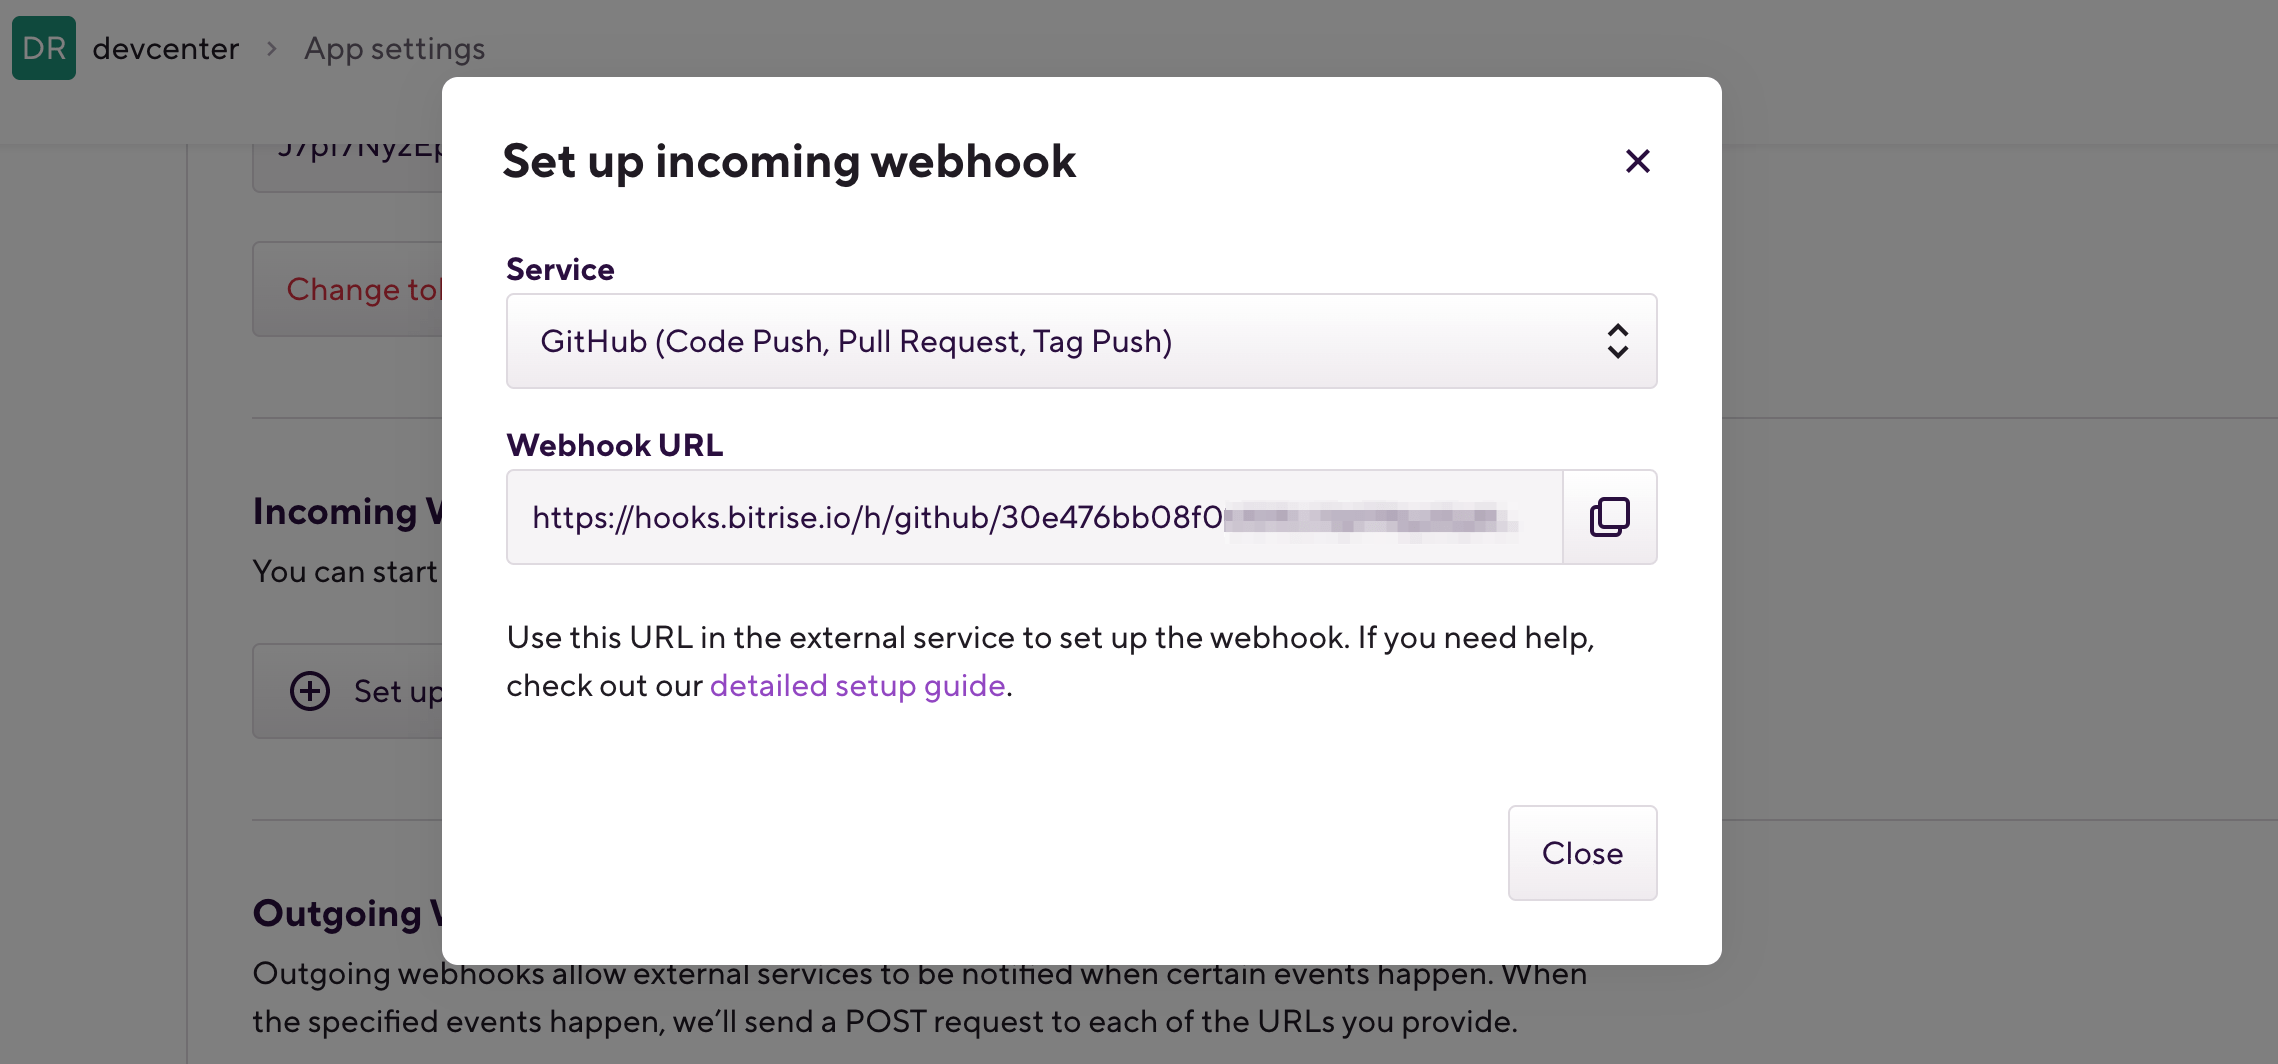
Find the Incoming webhooks section and open Manual webhooks.
-
ポップアップウィンドウで、ドロップダウンメニューから[アセンブリ]を選択します。

-
WebhookのURLをコピーします。
-
にあなたのスペースを開きます assembla.com または組織のアセンブリドメイン。
-
に移動します Webhook スペースのセクション。
-
選択する 新しいWebhookを作成する。
-
設定 題名 に Bitrise Webhook。
-
指定します
bitrise-webhooksURL。 ((.../h/assembla/BITRISE-APP-SLUG/BITRISE-APP-API-TOKEN) の中に 外部URL 分野。 -
選択する
application/jsonの中に コンテンツタイプ 分野。 -
次のコードをに貼り付けます コンテンツ:
{"assembla": {"space": "%{space}", "action": "%{action}", "object": "%{object}"}, "message": {"title": "%{title}", "body": "%{body}", "author": "%{author}"}, "git": {"repository_suffix": "%{repository_suffix}", "repository_url": "%{repository_url}", "branch": "%{branch}", "commit_id": "%{commit_id}"}} -
選択する コードコミット および/または Gitプッシュ の中に 更新を投稿する: セクション。
-
クリック 追加。
それで全部です!次回あなたは プッシュコード ビルドがトリガーされます(Bitriseのイベントに対してトリガーマッピングが定義されている場合)。