Integrating self-hosted GitHub Enterprise Server with Bitrise
Bitrise offers an integration to GitHub Enterprise Server (GHES). The main benefit of the integration is that GHES users can store the bitrise.yml file in their repository.
This guide is for GitHub Enterprise Server users. For GitHub Cloud users who wish to use the Bitrise GitHub App to connect to Bitrise, we have a separate guide: GitHub アプリの統合.
Bitrise offers an integration for self-hosted GitHub Enterprise Server (GHES) instances. The main benefit of the integration is that self-hosted GHES users can store the bitrise.yml file in their
repository. Storing the file in the repository allows for full version control and maintenance of your configuration file.
The feature requires:
-
A Bitrise Workspace owner to configure the integration.
-
A GHES organization owner with sufficient permissions to create a GitHub app on GHES and then install it for selected repositories.
-
Access to the GHES instance. If the Bitrise website cannot access your repository on GHES, it can't use the
bitrise.ymlfile stored there. If you have IP address access control lists for security purposes, you need to allowlist the Bitrise website.Allowlisting the Bitrise background workers
Be aware that the Bitrise background workers that power, among other things, app.bitrise.io and the Bitrise build machines have a different IP address range. Allowlisting the build machines is not sufficient for this feature.
If allowlisting is not an option for you, reach out to Bitrise so we can discuss other options.
To set up the integration, you need to:
-
Creating the app also allows GitHub Enterprise Server users to take advantage of the Bitrise Checks feature: once the app is created, you just need to enable Checks on Bitrise.
Creating the GitHub App for GitHub Enterprise Server
-
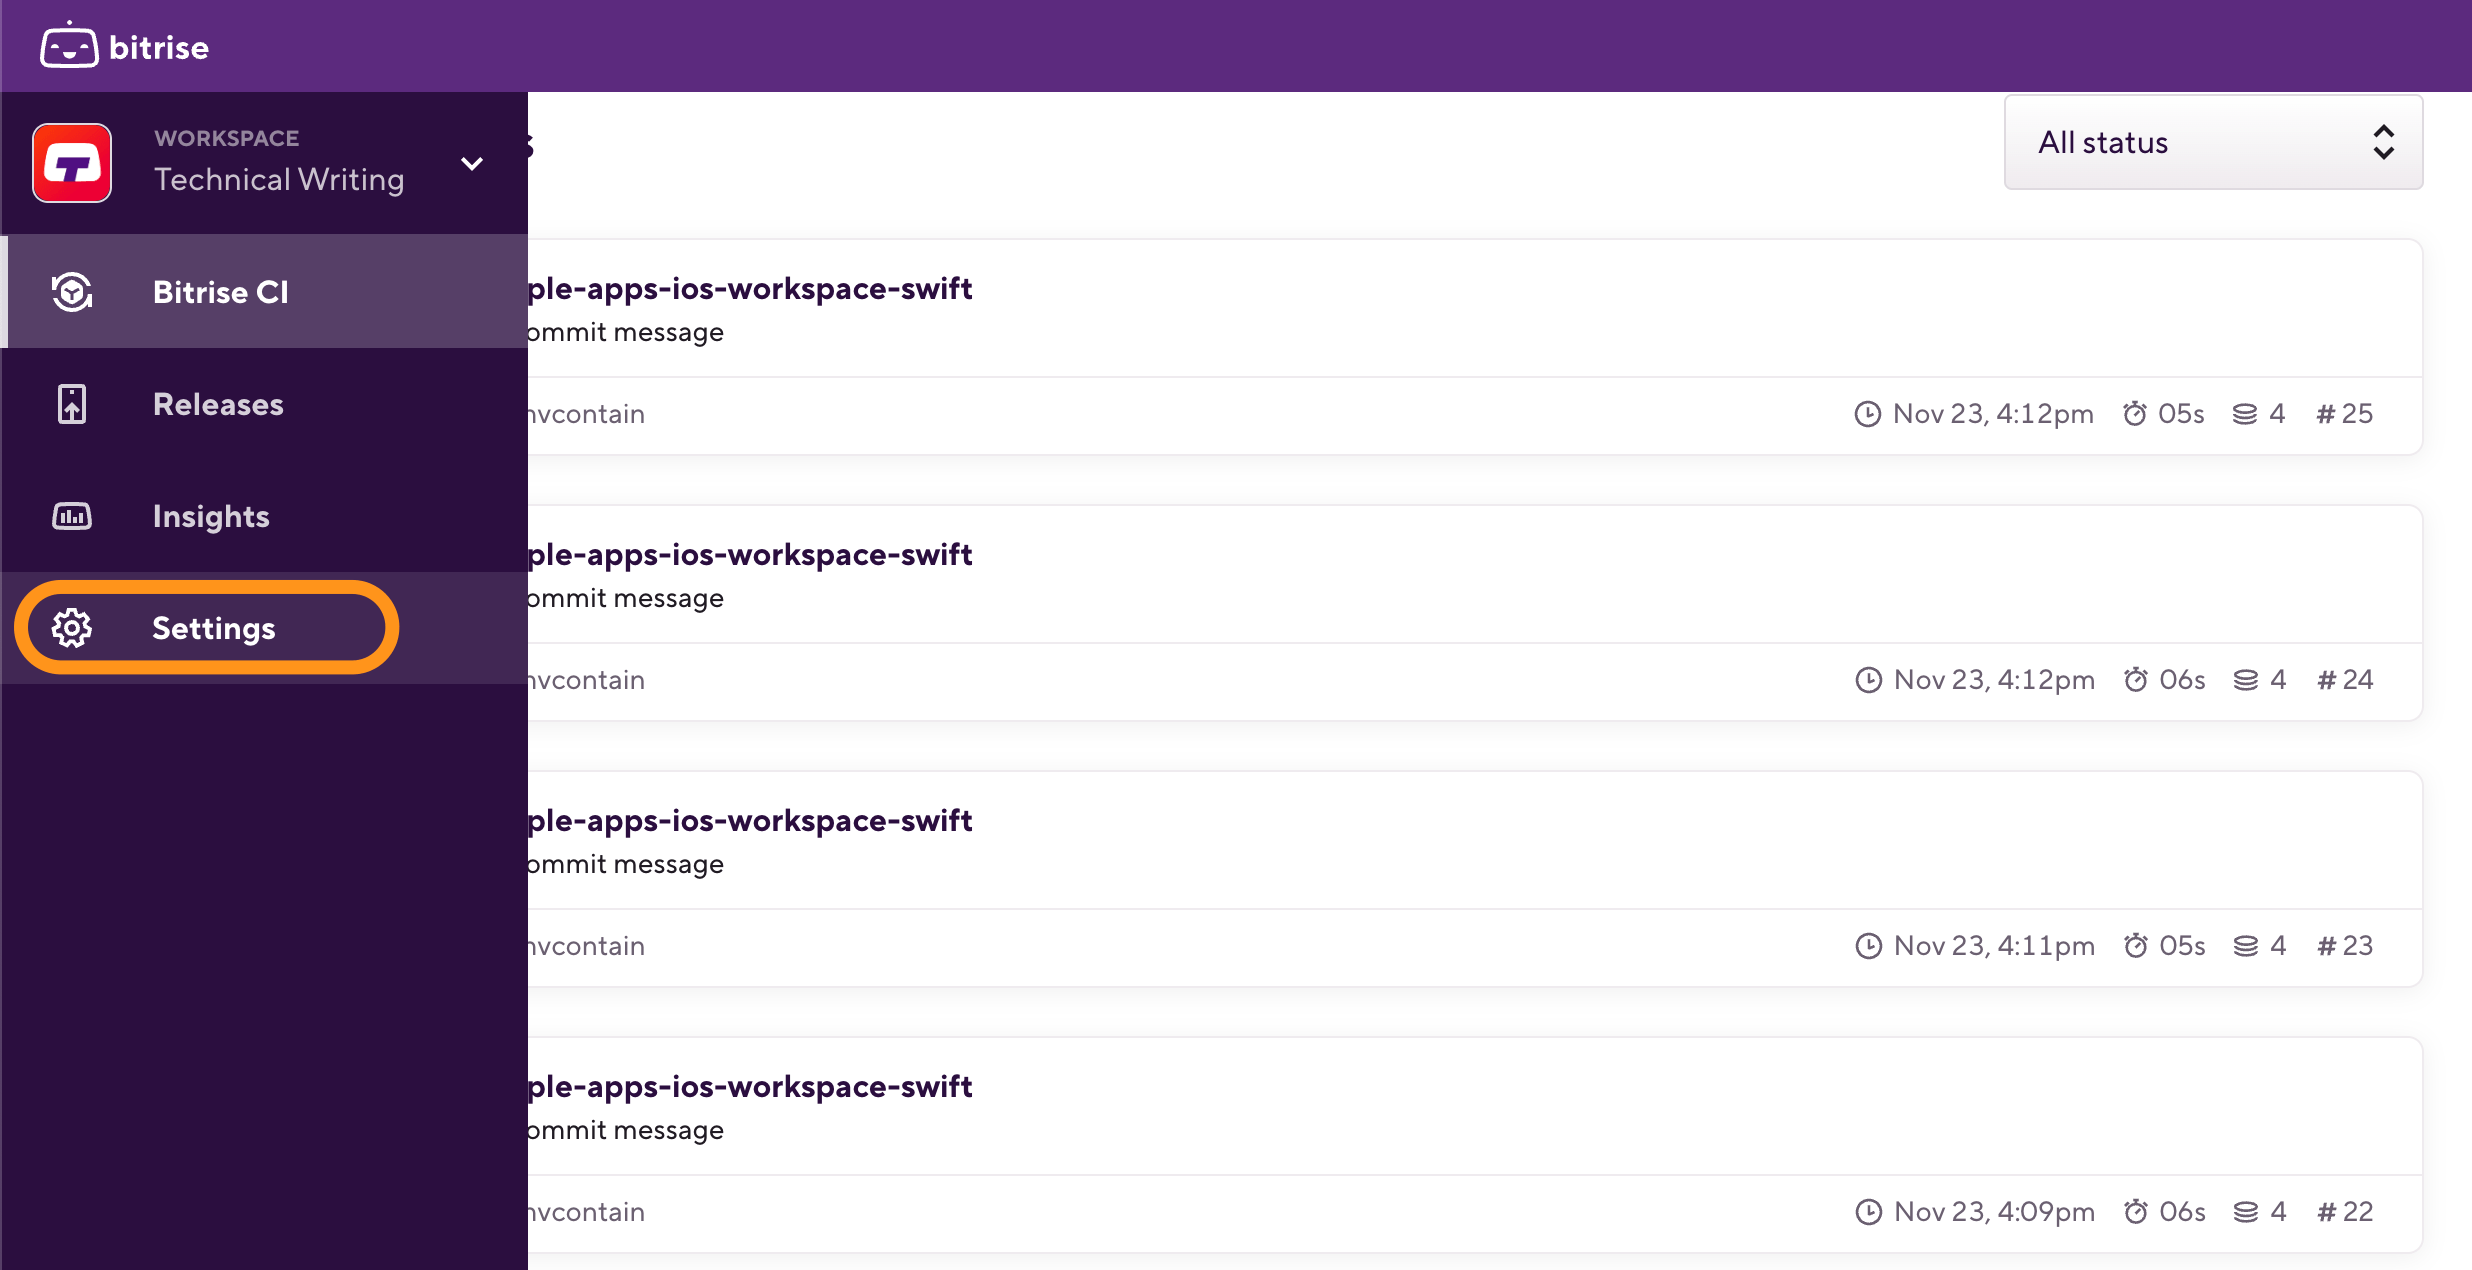
Bitrise にログインし、左側のナビゲーション バーにマウスを置きます。
-
正しいワークスペースが選択されていることを確認してください。 ワークスペース メニュー。
-
選択する 設定。
-
On the left of the Workspace settings page, select Integrations.
-
Select the Git provider tab and scroll to the GitHub Enterprise Server section.
-
Copy the webhook URL you can find here.
-
In another browser tab, open GHES and go to your organization's Settings page.
Target repository
The organization should be the one that owns the repository or repositories that your project(s) use. You can reuse the GitHub app for other organizations later.
-
On the Settings page, find the Developer settings section and select GitHub Apps.
-
Click New GitHub App and fill out the app creation form. The following table contains all the necessary information and fields that aren't specified in the table can be left empty:
Setting a webhook secret
Setting a webhook secret is mandatory for this process and you will need the secret later when connecting your Bitrise Workspace to the GHES instance.
表1 Required information for a new GitHub AppGitHub App name
Bitrise
Homepage URL
https://app.bitrise.io
Webhook URL
The one you copied from your Workspace settings page on Bitrise. The format should be:
https://app.bitrise.io/organization/<org_slug>/github_webhooksWebhook secret
GitHub marks this as optional but to ensure webhook integrity we require a secret to be set. The webhook secret should be a random string of text with high entropy. Please make a note of the secret as you have to share it with Bitrise later.
Permissions
Set the following permissions:
-
Repository permissions
-
Checks read and write
-
Commit statuses read and write
-
Contents read only
-
Metadata read only
-
Pull requests read only
-
Upcoming features
Bitrise will use these events and permissions to offer a fully integrated experience with supporting, for example, GitHub Checks and selective builds. We will add these capabilities soon.
Subscribe to events
Enable the following events:
-
Check run
-
Check suite
-
Pull request
-
Push
Where can this GitHub App be installed?
If you want to enable integration for repositories outside of this GHES organization, select Any account.
-
-
When done, click .
After creating the GitHub app, proceed to set up the GitHub Enterprise Server integration on Bitrise.
Connecting to the GHES instance via the GitHub app
After creating a new GitHub app, you need to connect your Bitrise Workspace to the GHES instance via the app:
Webhook secret required
Make sure you have the webhook secret from the GitHub app creation process available.
-
Open your GitHub app's page: on your GitHub organization's Settings page, select GitHub apps and click next to the app's name.
-
On the left, select General.
-
Generate a new client secret: find the «Client secrets and click . Copy the secret: you will need it later!
-
Find the Private keys section and click . This downloads a
.pemfile which you will need to upload to Bitrise later in this process. -
On Bitrise, open the Workspace settings page and in the GitHub Enterprise Server section, click .
-
Fill out the connection form:
-
The Instance base URL should be the root URL of your server.
-
Add the webhook secret and the client secret you generated earlier.
-
Upload the
.pemfile.
-
-
When done, click .
Instant feedback
You will receive immediate feedback about the connection and actionable error messages in the case of failure.
-
Go back to GHES and open your GitHub app's page again.
-
On the left, select Install app.
-
Choose the organization(s) to install the app on.
-
Under Repository access, select the repositories you want Bitrise to be able to access, or select all repositories.
-
When done, click Save.
Bitrise receives a webhook event regarding the installation and automatically enables the corresponding Bitrise projects to use the recently set up GHES integration which you can check on the app settings page. Once this is done, you can now store your bitrise.yml file in a GHES repository: bitrise.ymlファイルをリポジトリに保存する.
Testing the integration
We recommend testing the integration by creating a dummy project and store its bitrise.yml file on your GHES repository. You can use this demo
project for testing purposes.
Troubleshooting the GHES integration
If the GHES integration doesn't work, you can:
-
Check the status of the integration on the Bitrise Integrations page.
-
Checking the webhook configuration and webhook deliveries on GitHub.
Checking the webhook configuration
-
Open your GHES organization's page, and on the top navigation bar, select Settings.
-
On the left, select Developer settings and then GitHub Apps.
-
Find your GitHub app, and click next to its name.
-
On the left, select Advanced.
-
Under the Recent deliveries section, check your webhook deliveries.
If the webhook is configured correctly, you should see a 200 OK response with a green checkmark next to the deliveries.
-
If your webhook deliveries failed:
-
Check the webhook URL on both Bitrise and on GitHub.
-
If necessary, re-create the webhook secret on GitHub and paste the new secret to the GHES integration on Bitrise.
-
Checking the integration on Bitrise
You can test the integration for any of the projects connected to your GHES instance.
-
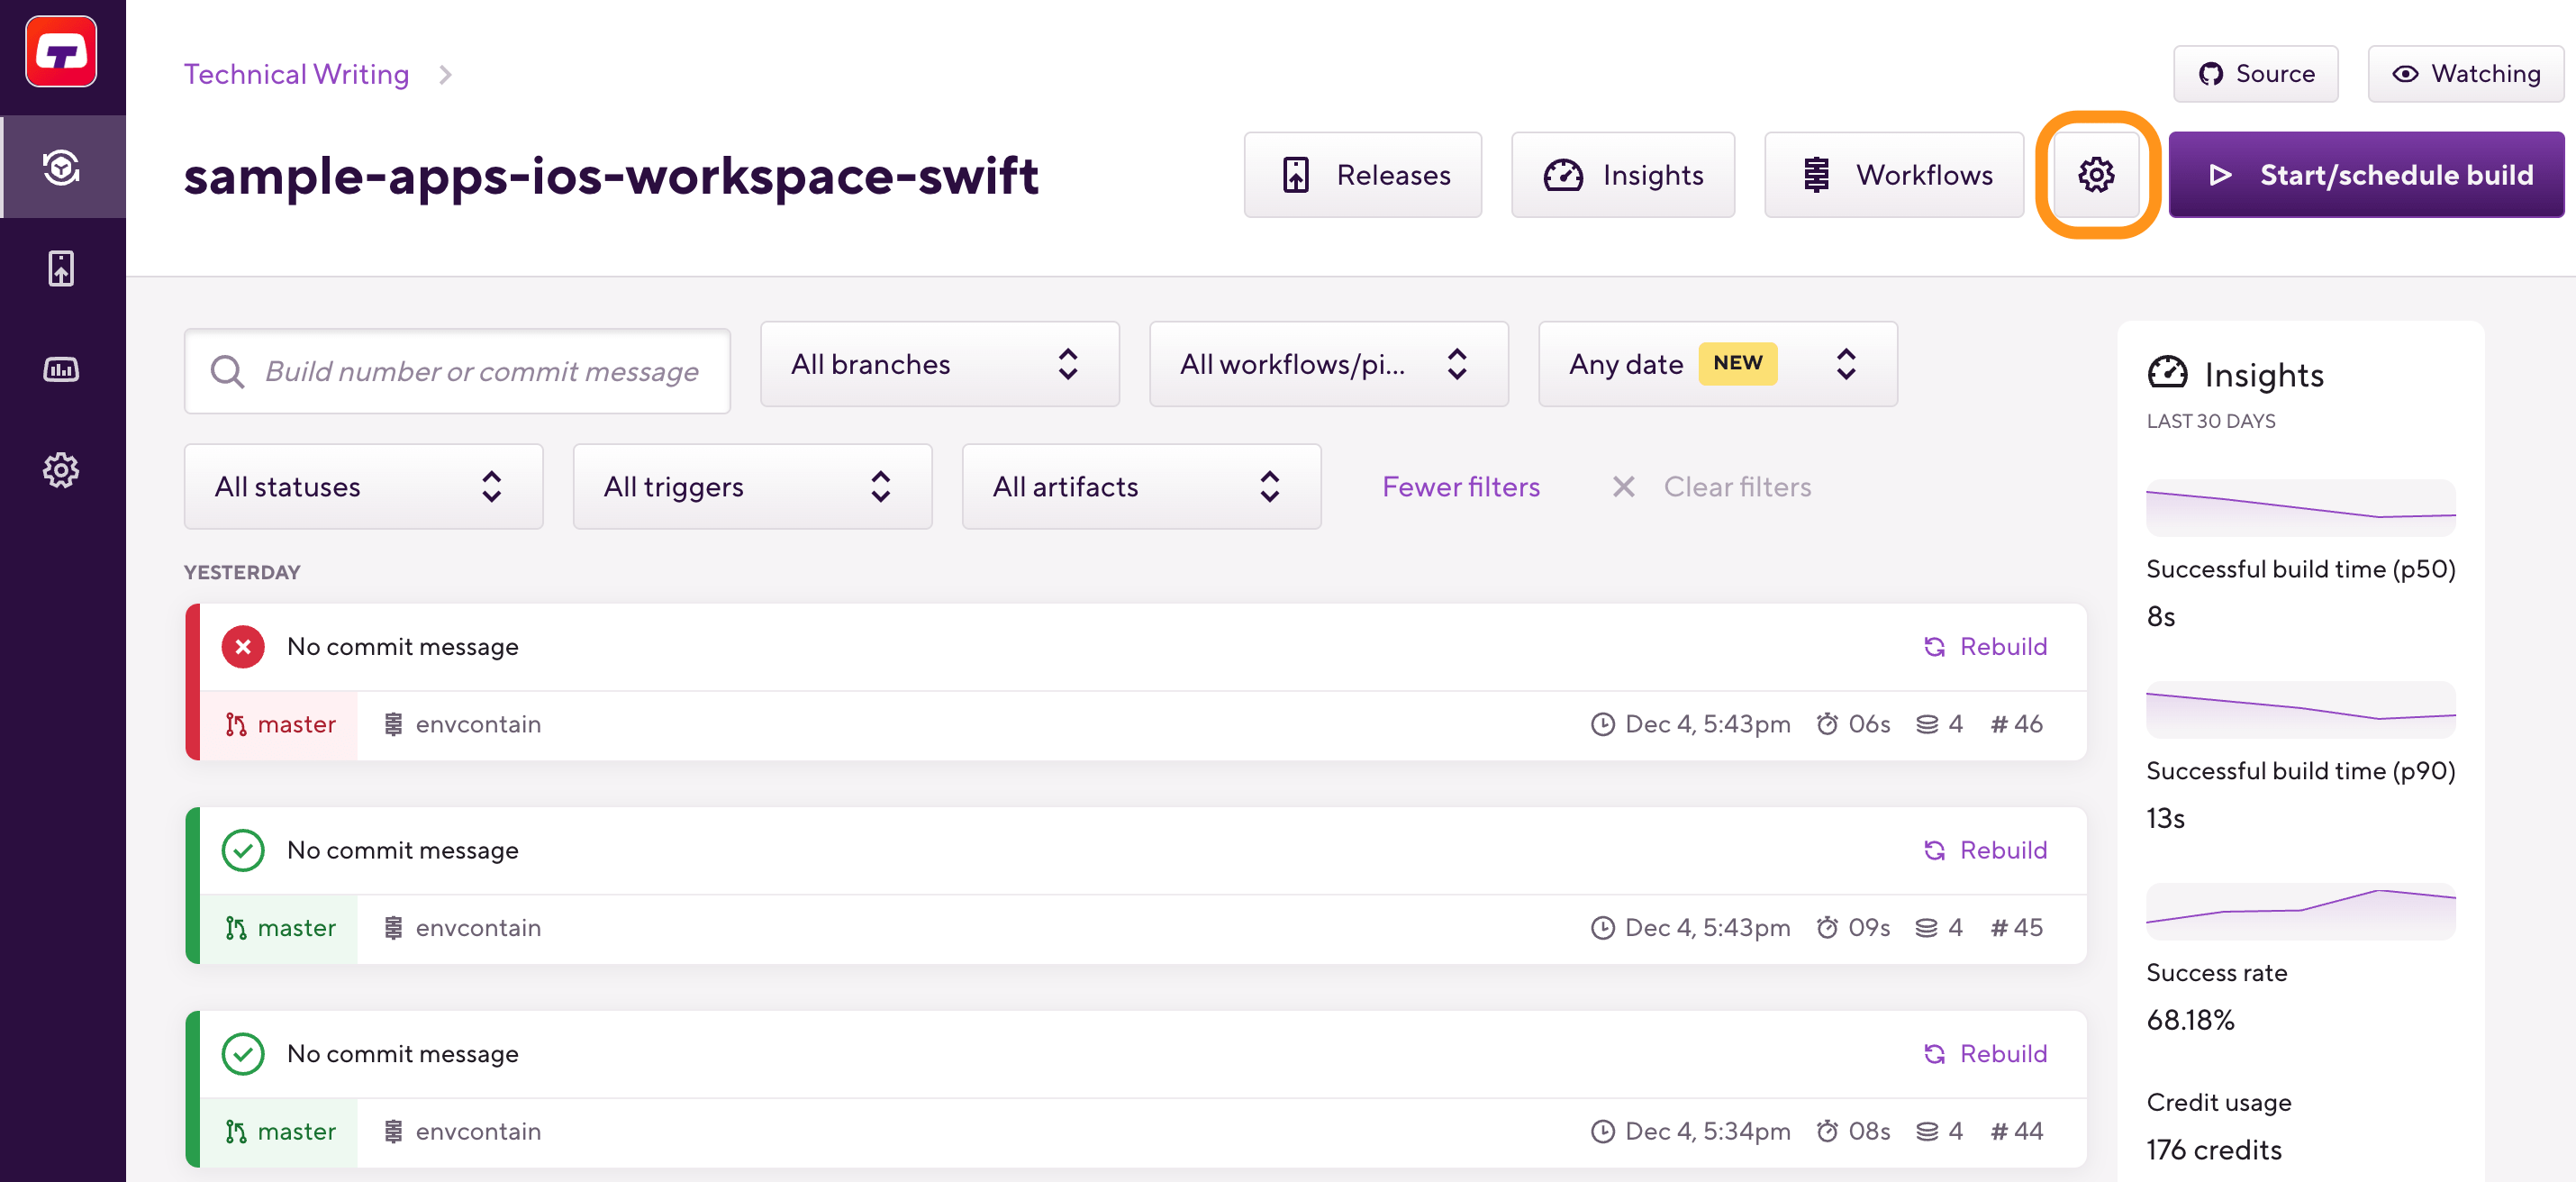
Bitriseでアプリを開くには、 管理者 アプリチームでの役割。
-
に移動します 設定 タブ。
-
On the left of the Settings page, select Integrations.
-
On the Git provider tab, find the Git integration status section.
-
Next to the GitHub Enterprise Server Instance, click the Test connection button to test the connection.