Building an iOS app for testing
You can build an iOS app specifically for testing: our dedicated Step builds your app and its associated tests and also exports an .xctestrun file. Once built, you can upload the app to a third-party testing service or install it on a simulator or a physical device. You
can also use this Step to set up virtual device testing with Firebase.
The Step uses the build-for-testing action of xcodebuild. To learn more about it, see How do I implement the Build For Testing and Test Without Building features from the command line?
Code signing
Installing the app on a test device requires code signing. The Xcode Build for testing for iOS Step has a built in code signing configuration: it allows code signing with automatic provisioning. In most use cases, you don't need any other Step to code sign your app for testing.
To build your iOS app for testing:
Workflow Editor
bitrise.yml
-
For code signing, make sure you have connected your Apple service account to Bitrise.
The Step accepts Apple ID and API key authentication for automatic code signing. We recommend using API key authentication.
Manual code signing
You can also use manual code signing: in that case, do not configure the automatic code signing options of the Step.
-
Make sure you install all of the app's dependencies in your Workflow.
-
Add the Xcode Build for testing for iOS Step to your Workflow after the Step or Steps installing dependencies.
-
Make sure the Project path input points to the correct location.
The input asks for the path to your
.xcodeprojor.xcworkspacefile. In most cases, you don't need to change this input: when adding a new app, the project scanner automatically finds the relevant file and stores its location in the Environment Variable that is the default value of the input.Checking the default value
If you are not sure whether the default value of the Project path input points to the right location, go to the Env Vars tab and check that the
$BITRISE_PROJECT_PATHvariable's value is the correct path to your.xcodeprojor.xcworkspacefile.CocoaPods
If you use CocoaPods as your dependency manager, the Project path input must point to the
.xcworkspacefile. -
Make sure the Scheme input points to the scheme you want to use to build the app.
The default value is the Environment Variable that stores the scheme you set during the initial configuration of the app. If you wish to use a different scheme, type its name into the input field.
-
Set the build configuration you want to build in the Build Configuration input.
The default value is
Debug.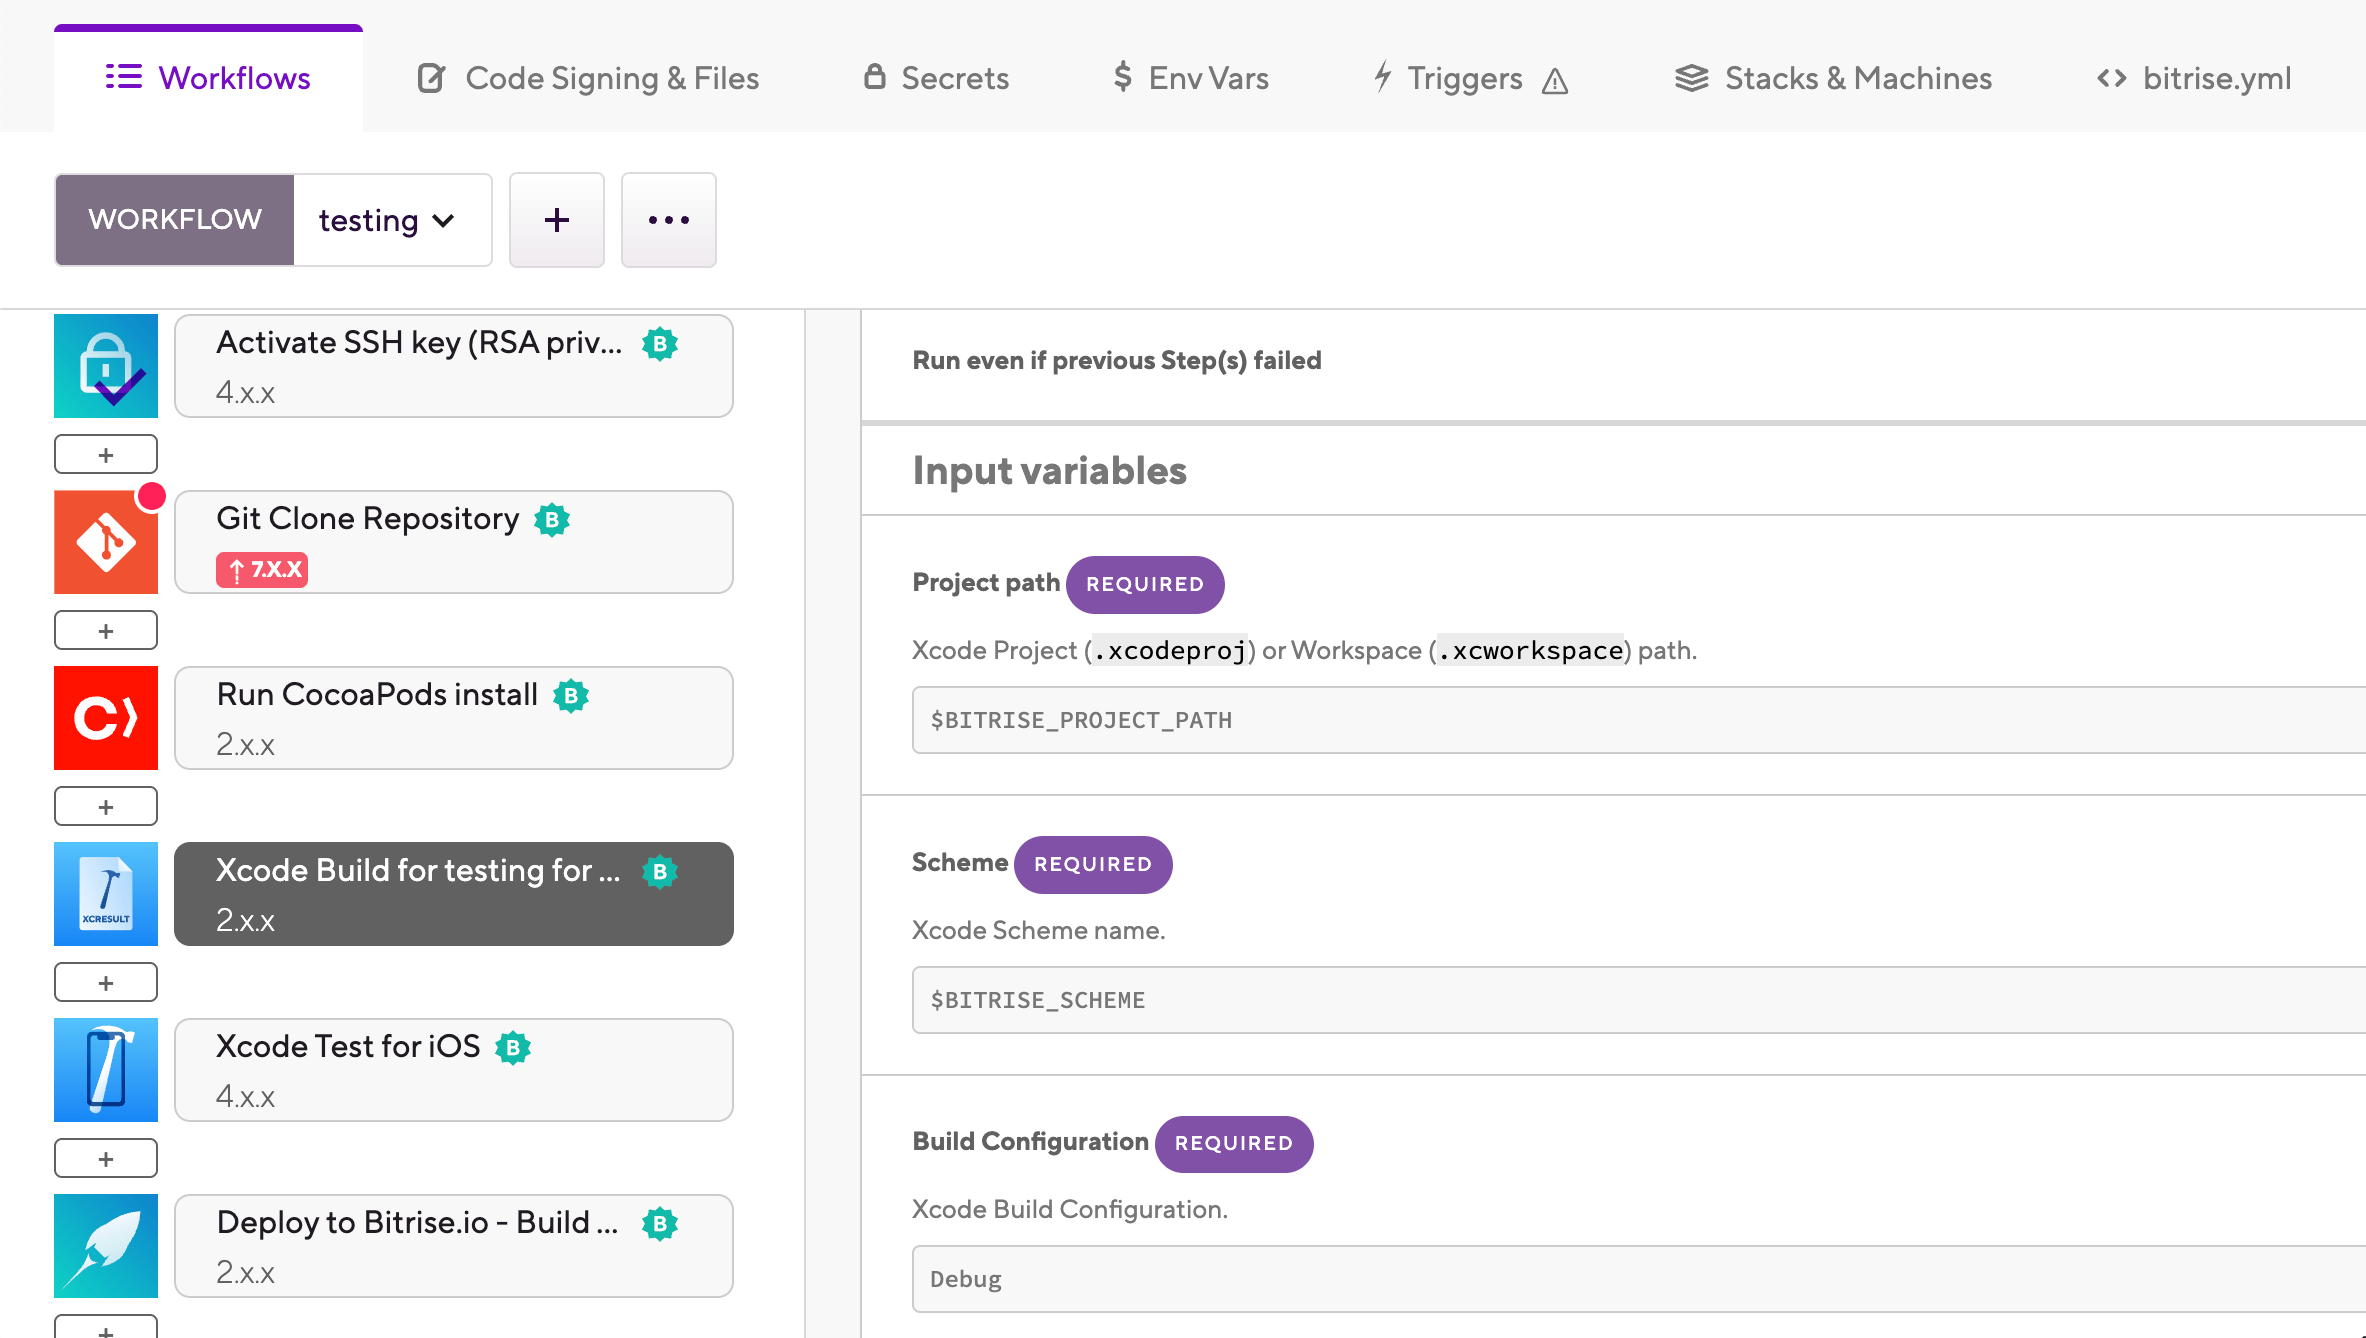
-
Configure the device destination in the Device destination specifier input: the input takes comma-separated key-value pairs.
Since the
build-for-testingaction can be performed without an actual specific device, we recommend targeting a platform generically:// building for physical iOS devices generic/platform=iOS // building for simulators generic/platform=iOS Simulator
The input sets the
-destinationoption of xcodebuild. Read more about the possible options: How do I run unit tests from the command line? -
Optionally, set a specific test plan in the Test plan input.
The input sets the
-testPlanoption of thebuild-for-testingaction of xcodebuild. If you leave this empty, the test plan specified in the Xcode scheme will be used. -
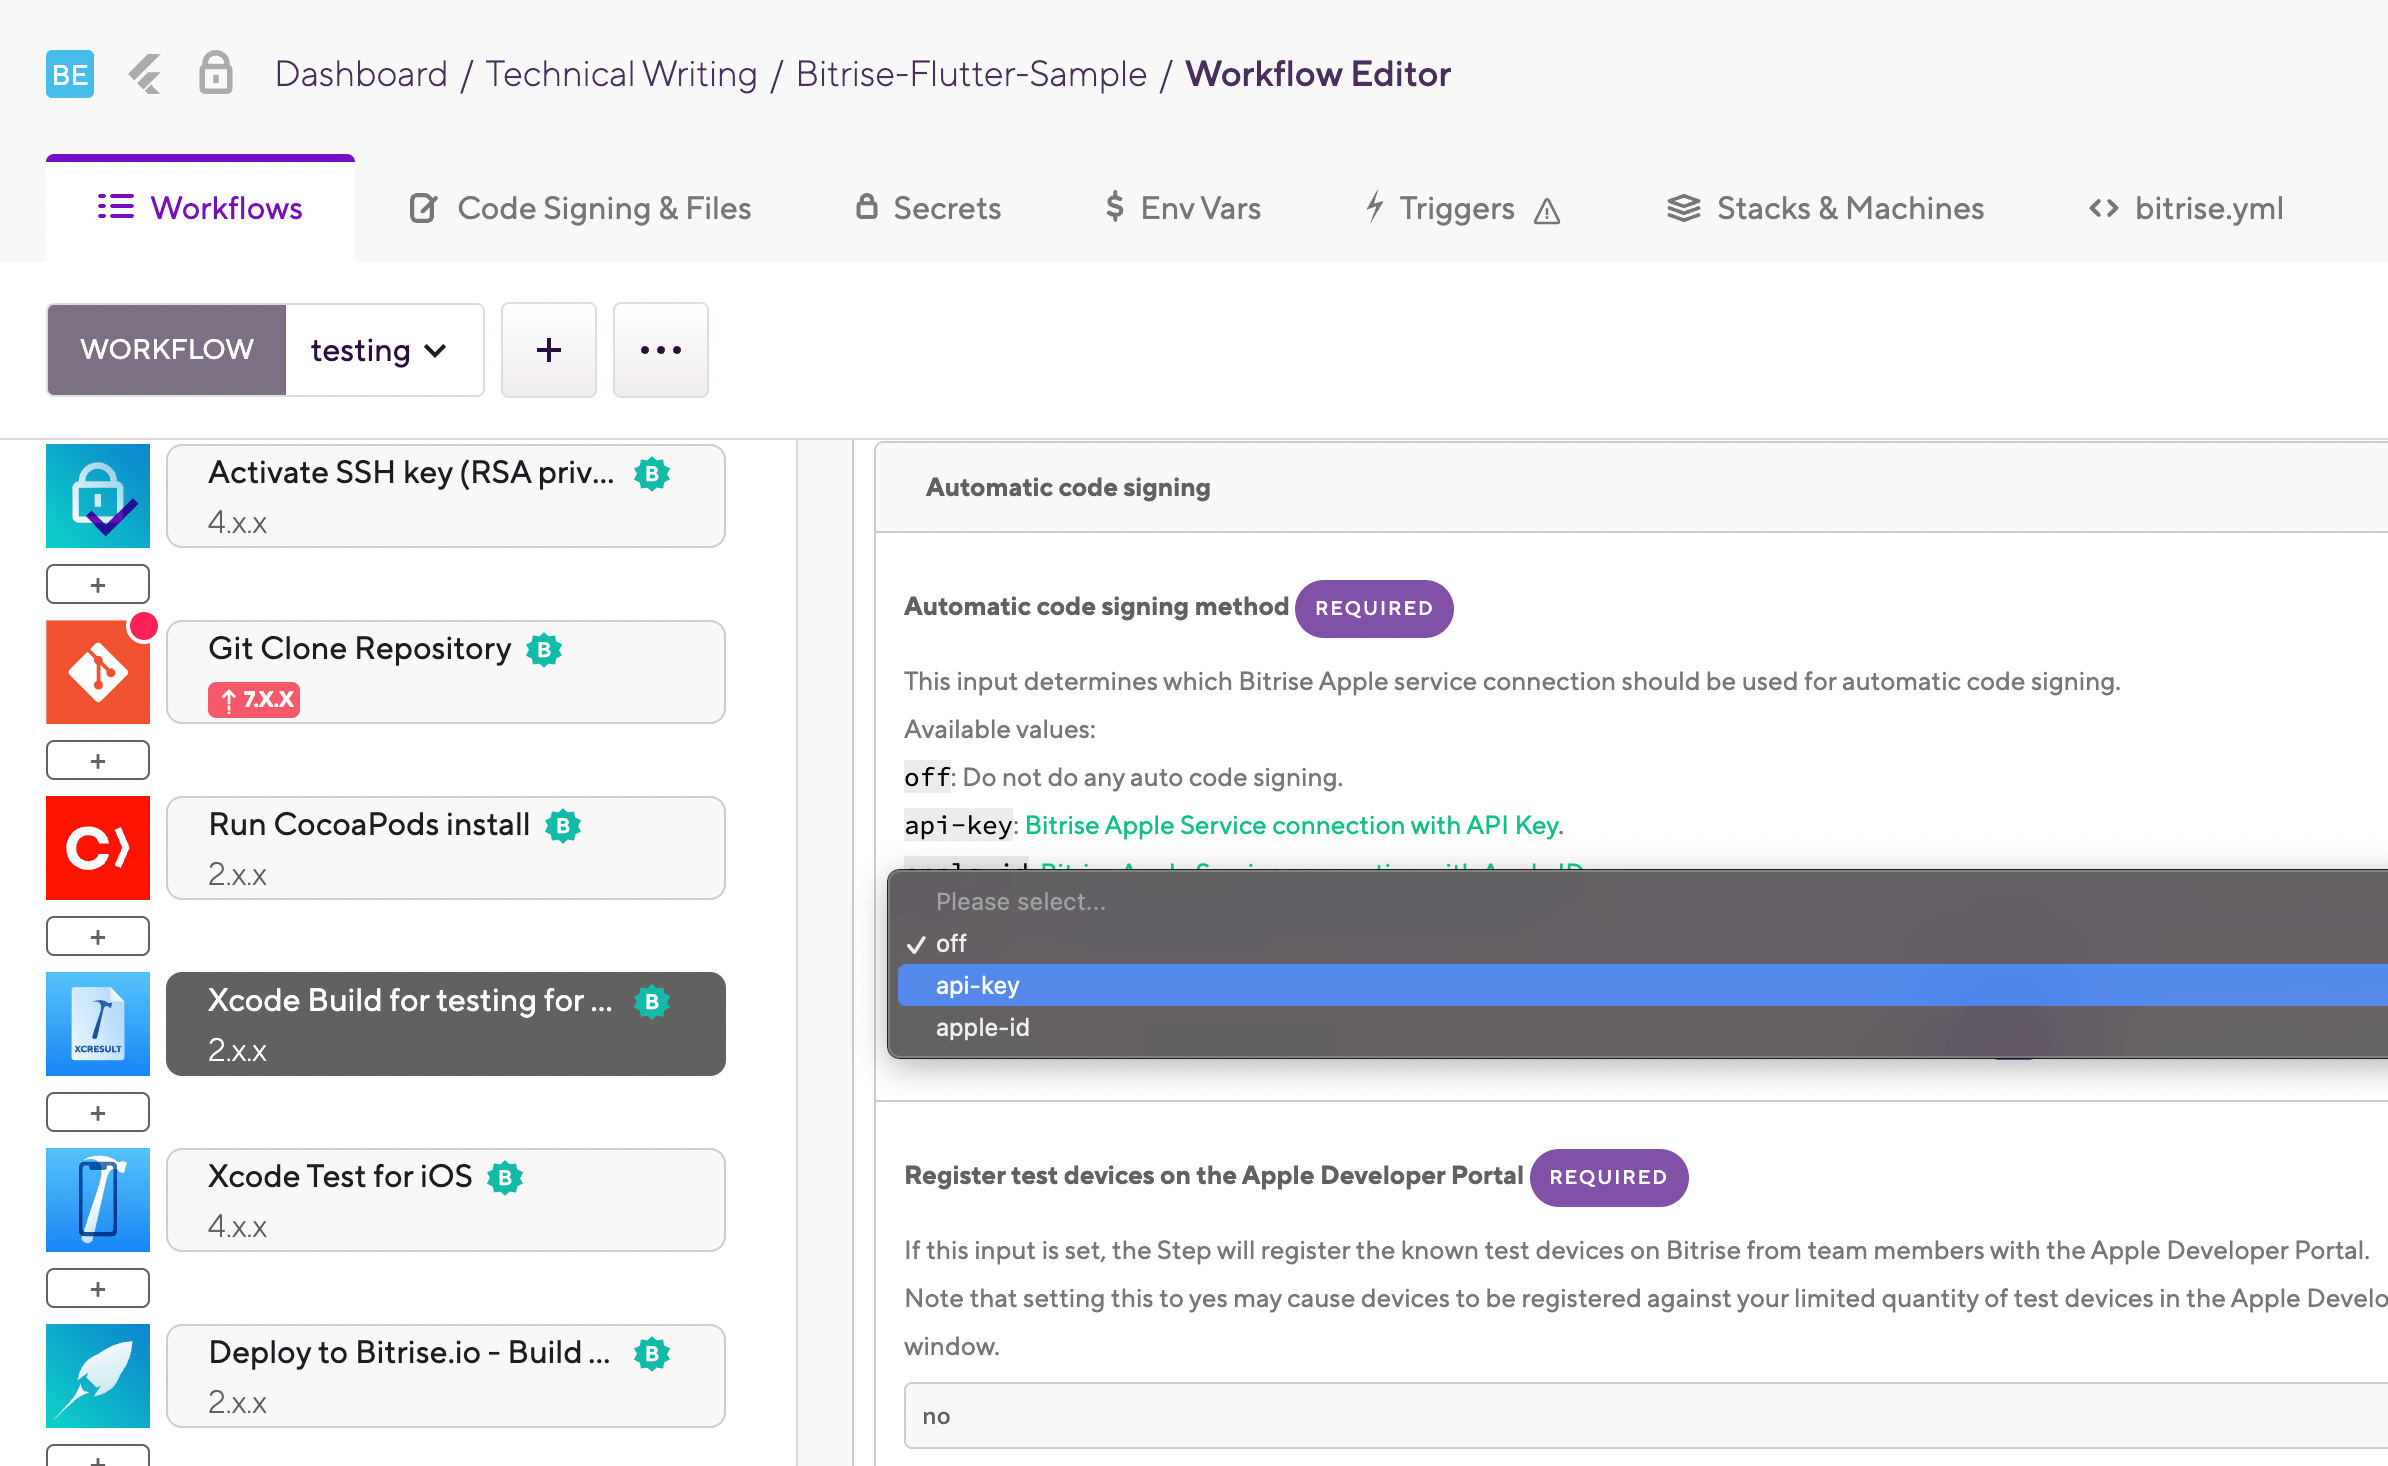
If you need code signing, we recommend using the automatic code signing option: find the Automatic code signing input group, and choose a method from the dropdown menu of the Automatic code signing method input.
Code signing certificates
Keep in mind that you need to upload code signing certificates to Bitrise in order to successfully sign your app.
We recommend using API key authentication: a Bitrise-managed authentication method configured on the App settings page.
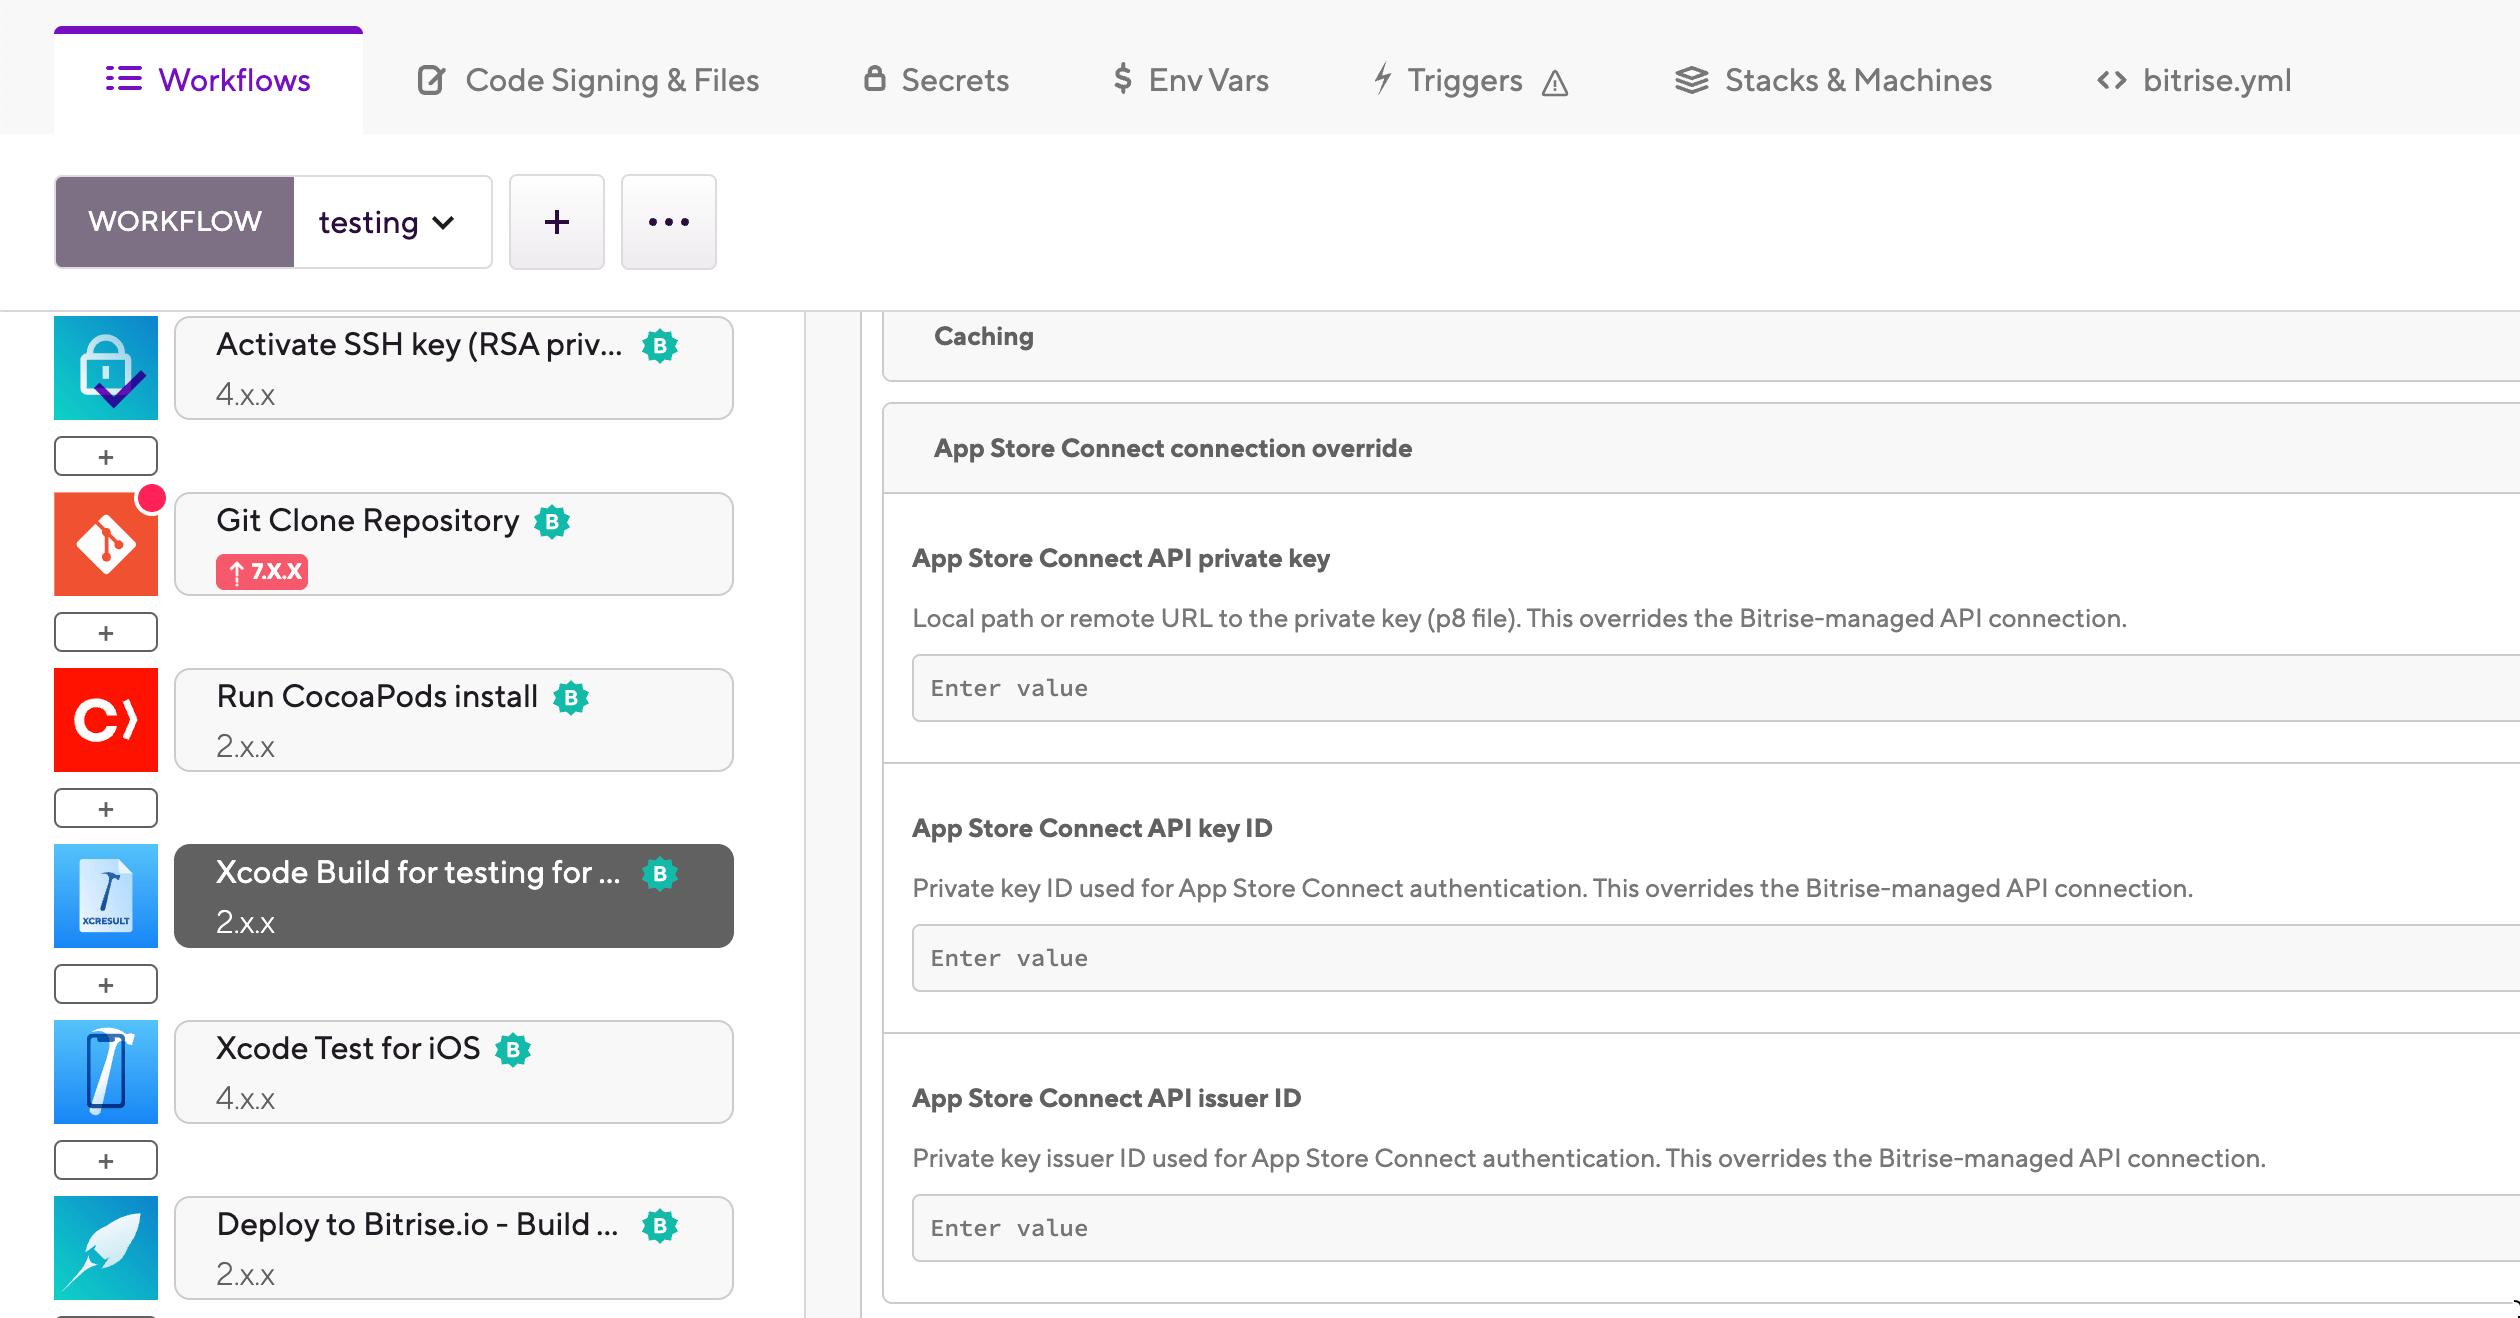
If you want to control API authentication on a Step level instead, you can override the default Bitrise-managed connection by setting all three inputs that define a different API key authentication in the App Store Connect connection override input group:
-
Add the Deploy to Bitrise.io Step to the end of your Workflow to be able to access the generated artifacts either on the Artifacts tab or in the Test Reports add-on.
-
For code signing, make sure you have connected your Apple service account to Bitrise.
The Step accepts Apple ID and API key authentication for automatic code signing. We recommend using API key authentication.
Manual code signing
You can also use manual code signing: in that case, do not configure the automatic code signing options of the Step.
-
Make sure you install all of the app's dependencies in your Workflow.
-
Add the
xcode-build-for-testStep to your Workflow after the Step or Steps installing dependencies.your-workflow: steps: - git-clone: {} - xcode-build-for-test: {} -
Make sure the
project_pathinput points to the correct location.The input asks for the path to your
.xcodeprojor.xcworkspacefile. In most cases, you don't need to change this input: when adding a new app, the project scanner automatically finds the relevant file and stores its location in the Environment Variable that is the default value of the input.your-workflow: steps: - git-clone: {} - xcode-build-for-test: {} inputs: - project_path: "$BITRISE_PROJECT_PATH"Checking the default value
If you are not sure whether the default value of the Project path input points to the right location, go to the Env Vars tab and check that the
$BITRISE_PROJECT_PATHvariable's value is the correct path to your.xcodeprojor.xcworkspacefile.CocoaPods
If you use CocoaPods as your dependency manager, the Project path input must point to the
.xcworkspacefile. -
Make sure the
schemeinput points to the scheme you want to use to build the app.The default value is the Environment Variable that stores the scheme you set during the initial configuration of the app. If you wish to use a different scheme, type its name into the input field.
your-workflow: steps: - git-clone: {} - xcode-build-for-test: inputs: - scheme: $BITRISE_SCHEME - project_path: $BITRISE_PROJECT_PATH -
Set the build configuration you want to build in the
configurationinput.The default value is
Debug: if you do not set a value for the input, the build will target the Debug configuration.your-workflow: steps: - git-clone: {} - xcode-build-for-test: inputs: - scheme: $BITRISE_SCHEME - configuration: Debug - project_path: $BITRISE_PROJECT_PATH -
Configure the device destination in the
destinationinput: the input takes comma-separated key-value pairs.Since the
build-for-testingaction can be performed without an actual specific device, we recommend targeting a platform generically:// building for physical iOS devices - destination: generic/platform=iOS // building for simulators - destination: generic/platform=iOS Simulator
The input sets the
-destinationoption of xcodebuild. Read more about the possible options: How do I run unit tests from the command line?your-workflow: steps: - git-clone: {} - xcode-build-for-test: inputs: - scheme: $BITRISE_SCHEME - configuration: Debug - destination: generic/platform=iOS Simulator - project_path: $BITRISE_PROJECT_PATH -
Optionally, set a specific test plan in the
test_planinput.The input sets the
-testPlanoption of thebuild-for-testingaction of xcodebuild. If you leave this empty, the test plan specified in the Xcode scheme will be used.your-workflow: steps: - git-clone: {} - xcode-build-for-test: inputs: - scheme: $BITRISE_SCHEME - configuration: Debug - destination: generic/platform=iOS Simulator - test_plan: my_plan - project_path: $BITRISE_PROJECT_PATH -
If you need code signing, we recommend using the automatic code signing option: set the
automatic-code-signinginput to either of two values:-
apple-id: Use Apple ID authentication to manage code signing. -
api-key: Use API key authentication to manage code signing.
Code signing certificates
Keep in mind that you need to upload code signing certificates to Bitrise in order to successfully sign your app.
your-workflow:
  steps:
    - git-clone: {}
    - xcode-build-for-test:
        inputs:
          - scheme: $BITRISE_SCHEME
          - configuration: Debug
          - destination: generic/platform=iOS Simulator
          - test_plan: my_plan
          - automatic_code_signing: api-key
          - project_path: $BITRISE_PROJECT_PATH
We recommend using API key authentication: a Bitrise-managed authentication method configured on the App settings page.
If you want to control API authentication on a Step level instead, you can override the default Bitrise-managed connection by setting three inputs that define a different API key authentication:
-
api_key_path: Local path or remote URL to the private key (p8 file) for the App Store Connect API. -
api_key_id: Private key ID used for App Store Connect authentication. -
api_key_issuer_id: Private key issuer ID used for App Store Connect authentication.
All inputs required
All three inputs must be set for the authentication override to work!
your-workflow: steps: - git-clone: {} - xcode-build-for-test: inputs: - api_key_path: path/to/p8 - api_key_id: key_id - api_key_issuer_id: issuer_id -
-
Add the
deploy-to-bitrise-ioStep to the end of your Workflow to be able to access the generated artifacts either on the Artifacts tab or in the Test Reports add-on.your-workflow: steps: - git-clone: {} - xcode-build-for-test: inputs: - scheme: $BITRISE_SCHEME - configuration: Debug - destination: generic/platform=iOS Simulator - test_plan: my_plan - automatic_code_signing: api-key - project_path: $BITRISE_PROJECT_PATH - deploy-to-bitrise-io: {}