Adding a new app from a CLI
You can register a Bitrise app from a command line interface and start building. You can create a bitrise.yml file in advance and use that, or have our project scanner scan your project and generate one for you.
You can easily register a new Bitrise app from any command line interface: the process is guided and simple to follow. And it’s fast: if, for example, you have the bitrise.yml file you want to use for the app, you do not have to wait for the project scanner to detect the app type and generate your
bitrise.yml file. Just plug in the existing file and you are good to go!
Adding an app with the API
You can also use the Bitrise API to add a new app: Adding and managing apps
Before you try adding a new app to Bitrise via our CLI, make sure a few things are in order:
-
You need a Bitrise account, with a connected Git provider.
-
Your project must have a local Git repository on your machine and a remote repository at a Git provider. If you want to use an SSH key to access the repository, the remote repository URL must be an SSH URL! For example,
[email protected]:example-user/example.git.
You can also create a bitrise.yml in advance and you will be able to add that to your app during the creation process. This is optional: you can have the project scanner generate one for you during the process, just like on our website!
This procedure guides you through adding an app which Bitrise will access with an SSH key. This requires that the app’s remote repository has an SSH URL, such as [email protected]:example-user/example.git.
You can, of course, use an HTTPS URL to access your remote repository, too: in that case, you will not set an SSH key for your app. We only recommend using HTTPS URLs for public apps (open source projects).
-
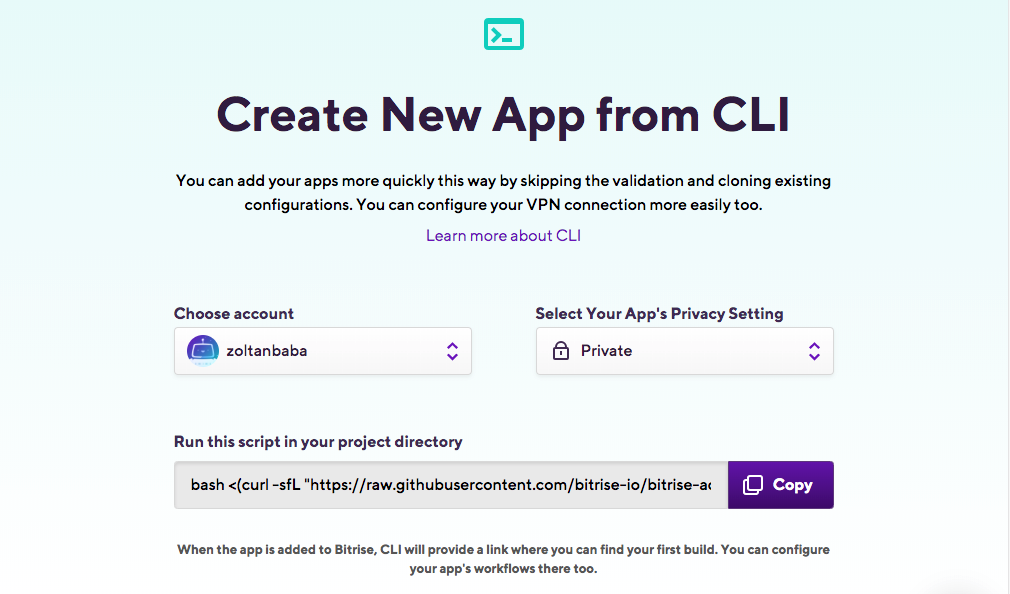
Go to the Create New App from CLI page.
You can reach this page from your Dashboard: click the Add new app button on the right, and then select Add New App from CLI.

-
Set the account that will own the app, and the privacy of the app.
-
Copy the curl command you find there.

-
Open a command line interface.
-
Change the directory to your project’s location.
-
Paste the curl command and hit Enter.
-
Select the repository URL: choose the
SSHoption.This prompt only comes up if your local repository’s remote has an SSH URL. If the remote repository has an HTTPS URL, you won’t see this prompt.
Remote URL: [email protected]:example-user/example.git

? Select repository URL::
    https://github.com/example-user/example.git
  > ssh://[email protected]:example-user/example.git
-
Register an SSH key.
 Specify how Bitrise will be able to access the source code:
 > Automatic
   Add own SSH
You can select either the automatic registration or choose to add your own.
-
If you choose automatic, Bitrise will automatically generate a key pair. If you need to use additional private repositories or submodules, choose the I need to option when prompted and follow the instructions. If not, select the No, auto-add SSH key option: this automatically adds the public key to your repository.
-
If you choose to add your own, you have to provide the path to the SSH key file: either enter it manually, or drag and drop the file, as that will input the path.
-
-
Decide what
bitrise.ymlfile you want to upload.? What bitrise.yml do you want to upload? > Run the scanner to generate a new bitrise.yml Use the bitrise.yml found in the current directory or specify manuallyYou can either have the scanner generate one based on your project files or you can provide a file. If your repository already contains a
bitrise.ymlfile, the path to it will be automatically filled in. -
Select the branch you want to use.
The default option is the current active branch.
The current branch is: master (tracking: origin master),

? Do you want to run the scanner for this branch?
  > Yes
    No
If you select
No, you will be prompted to check out the branch you wish to use, and then hit Enter again so the scanner can start.Once the scanner is done, it will either detect your app’s type or it will switch to manual configuration. Manual configuration means you have to select the type of your app (iOS, Android, React Native, Flutter, and so on) and you have to provide the path to the relevant configuration file. For example, a
config.xmlin the case of an Ionic app. In this guide, we’ll proceed with automatic detection. -
Select the stack you want to use.
If the scanner detects your project type, a stack will be automatically recommended but you can change it in the CLI if you want to. If you performed manual configuration as described above, you will have to choose the stack, too.
-
Finish the process with setting up webhooks and code signing files.
-
You can decide to skip webhook registration but it’s required to automatically trigger builds on Bitrise. For more information: Webhooks
-
You can upload code signing files: depending on your app’s type, you will be asked if you want to upload iOS code signing files and/or an Android keystore file. You can upload these files any time on the website. For more information: Code signing
-
And that’s it! You are done: the URL to your new app will be printed out, and you can also view the app on your Dashboard.