Unity software integration on Bitrise
Bitrise offers full support for using Unity software on our build machines: convenient license management, up to 40 GB of disk space, and a mobile-focused build environment that allows users to easily create both iOS- and Android versions of their Unity projects.
To be able to build a Unity app on Bitrise, you need to:
Adding a Unity project as a Bitrise app
Add your Unity project as a new app. The project scanner doesn't support Unity software so it won't detect your project as a Unity project so you can skip automatic configuration and register the project as Other.
We recommend using an Xcode stack: these contain the most important Android tools, too. You can build both iOS and Android versions of your Unity apps on our Xcode stacks.
Downloading and installing Unity software on Bitrise
To be able to build a Unity project on Bitrise, you'll need to install Unity software on the virtual machine at the start of your build. This is the standard practice of running Unity software in the cloud and it only takes a few minutes.
To be able to build a Unity project on Bitrise, you'll need to install Unity software on the virtual machine at the start of your build. This is the standard practice of running Unity software in the cloud and it only takes a few minutes.
Xcode stacks
Make sure you use an Xcode stack to run Unity builds: the instructions on this page are valid for installing Unity on our Xcode stacks.
-
Look up the Unity software version you want to download on the Unity download archive.
-
Find the Unity Editor of the version you need, and copy its download link.
The link will look something like this: https://download.unity3d.com/download_unity/b16b3b16c7a0/MacEditorInstallerArm64/Unity.pkg.
-
You will also need the download links for the two platform support packages (iOS and Android). You can find these on the LTS Releases page.
-
Add a Script Step to the start of your Workflow.
-
In the Content input, add the curl commands to download the necessary Unity packages. For example:
#workaround for .NET issue https://github.com/dotnet/runtime/issues/64103
export COMPlus_ReadyToRun=0
envman add --key COMPlus_ReadyToRun --value 0

#download unity pkg for Apple Silicon
curl -o ./unity.pkg http://download.unity3d.com/download_unity/8af3c3e441b1/MacEditorInstallerArm64/Unity-2021.3.12f1.pkg

#download android support platform
curl -o ./android.pkg http://download.unity3d.com/download_unity/8af3c3e441b1/MacEditorTargetInstaller/UnitySetup-Android-Support-for-Editor-2021.3.12f1.pkg

#download iOS support platform
curl -o ./ios.pkg http://download.unity3d.com/download_unity/8af3c3e441b1/MacEditorTargetInstaller/UnitySetup-iOS-Support-for-Editor-2021.3.12f1.pkg
Replace the download links with the links for the versions you need.
-
Optionally, you can install a Unity software version for Apple silicon that supports Rosetta:
#download unity pkg for Apple Silicon with Rosetta support
curl -o ./unity.pkg http://download.unity3d.com/download_unity/8af3c3e441b1/MacEditorInstaller/Unity-2021.3.12f1.pkg
If successful, you should be able to find Unity software at /Applications/Unity/Unity.app/Contents/MacOS/Unity.
Setting up Unity licenses on Bitrise
In alignment with Unity's policy, only paid plans are supporting command line… which means you need to add Unity license pools on Bitrise to be able to build a Unity project. Our build machines will be able to find the licence for your Workflow but you need to activate it by providing your Unity email address and password.
Multiple licenses required
To run multiple builds concurrently, you need separate license keys for each build. For example, if you want to run three builds of a Unity app at the same time, you need at least three separate Unity licenses.
Adding Unity license pools
-
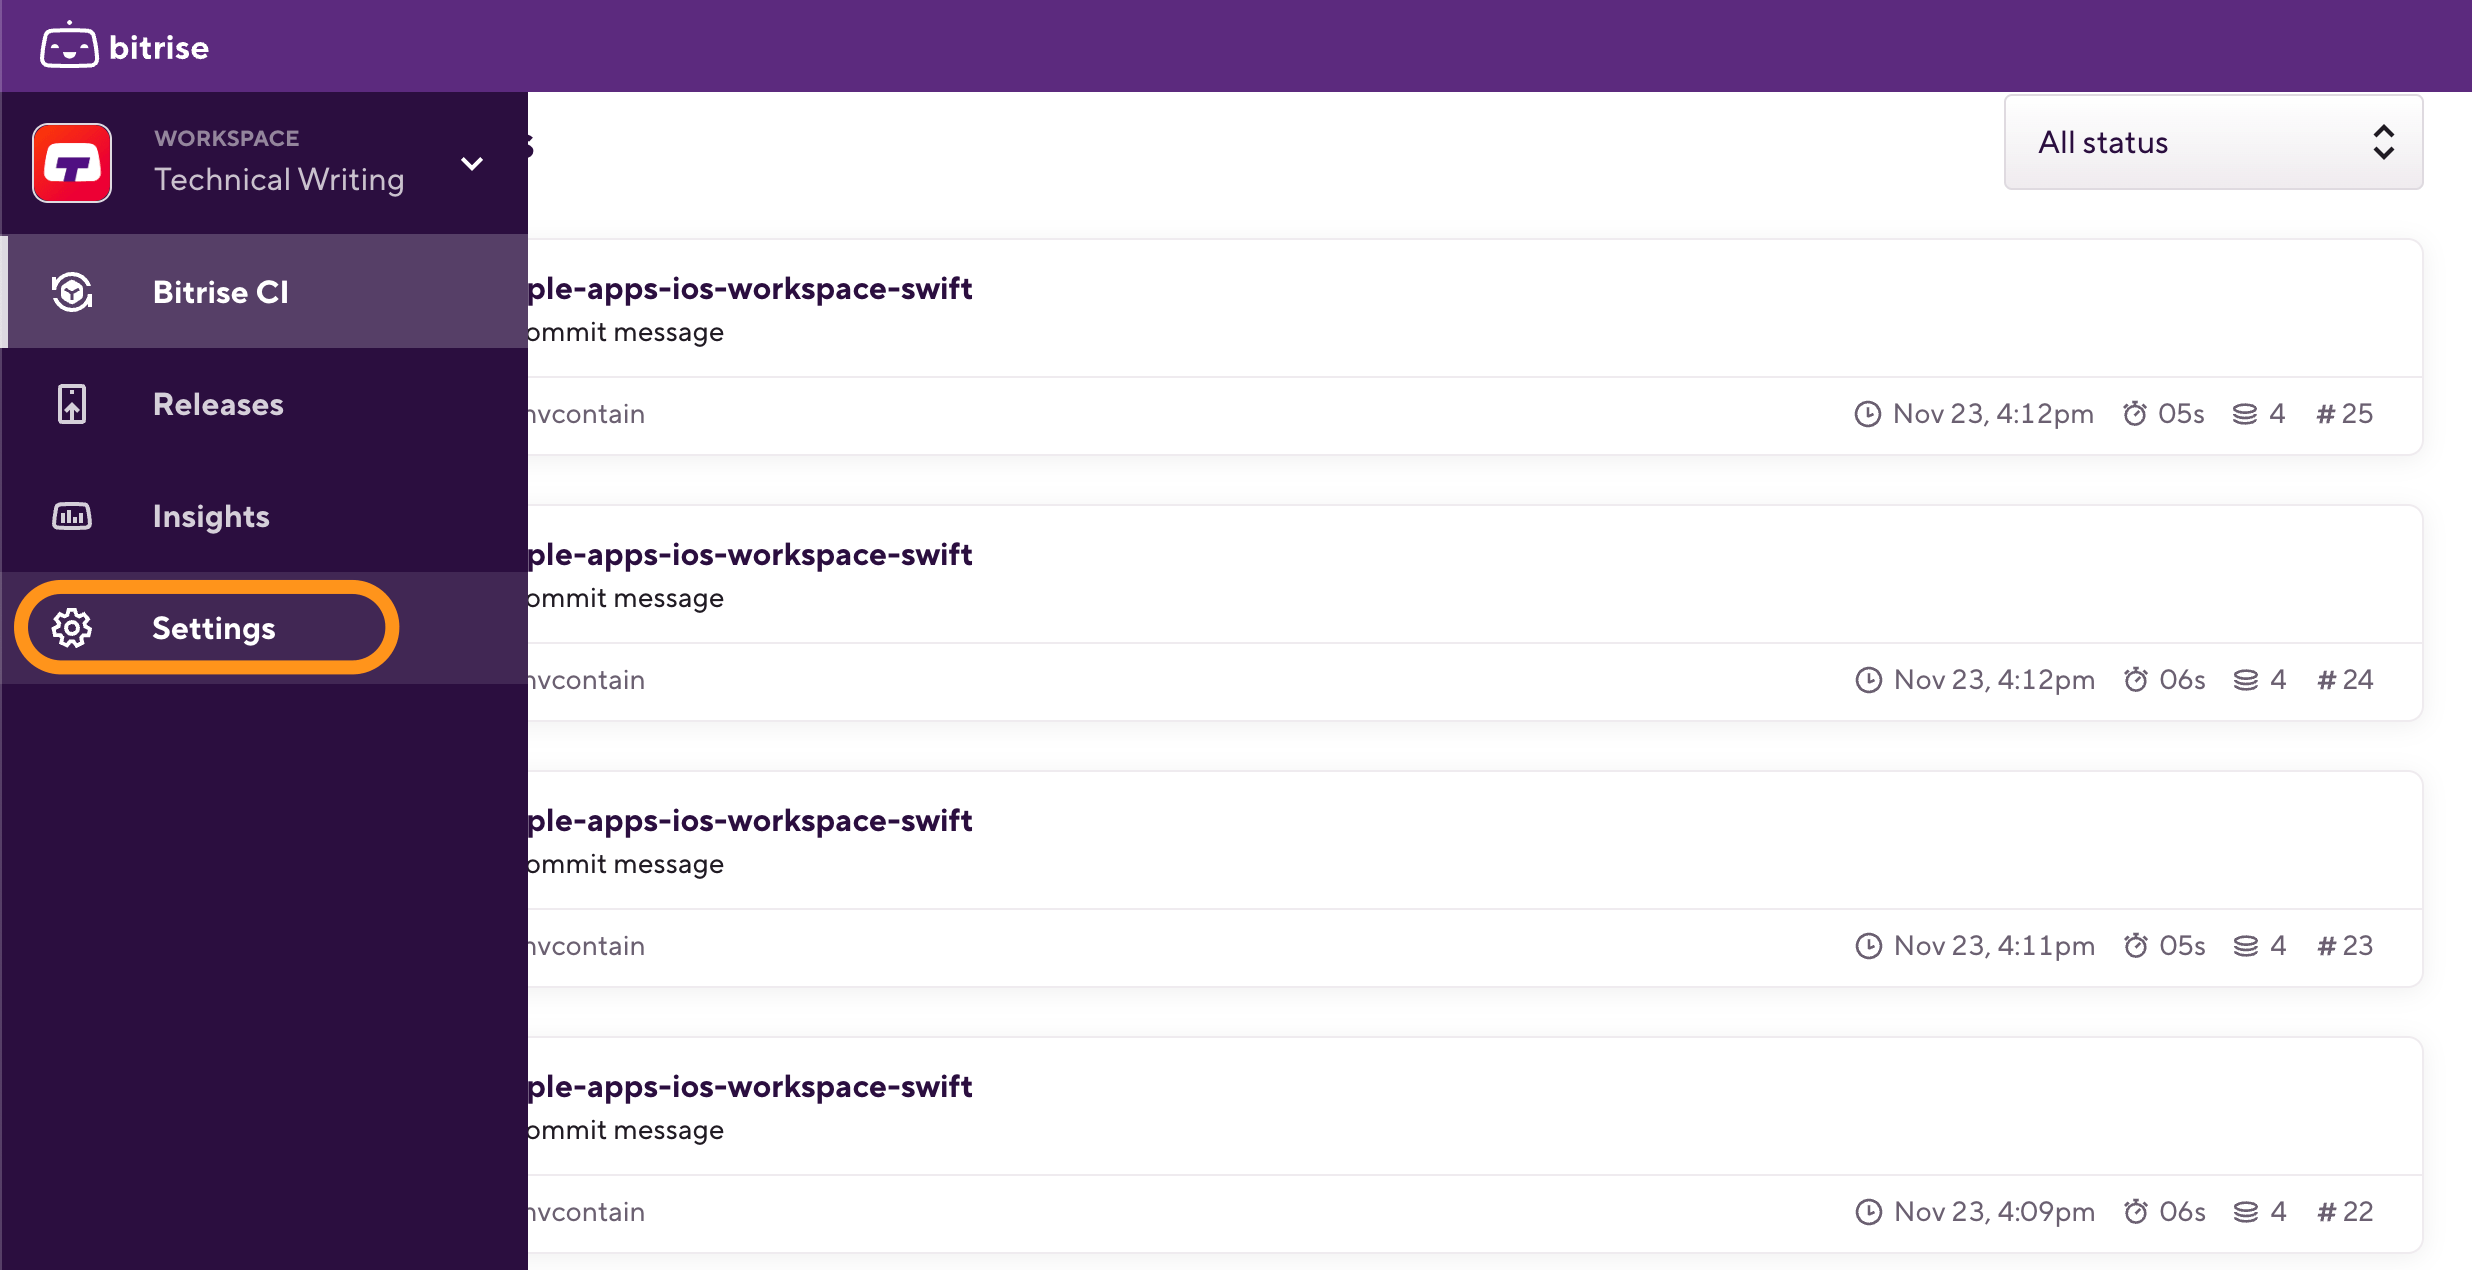
Log in to Bitrise and hover over the left navigation bar.
-
Make sure you have the right workspace selected in the Workspace menu.
-
Select Settings.
-
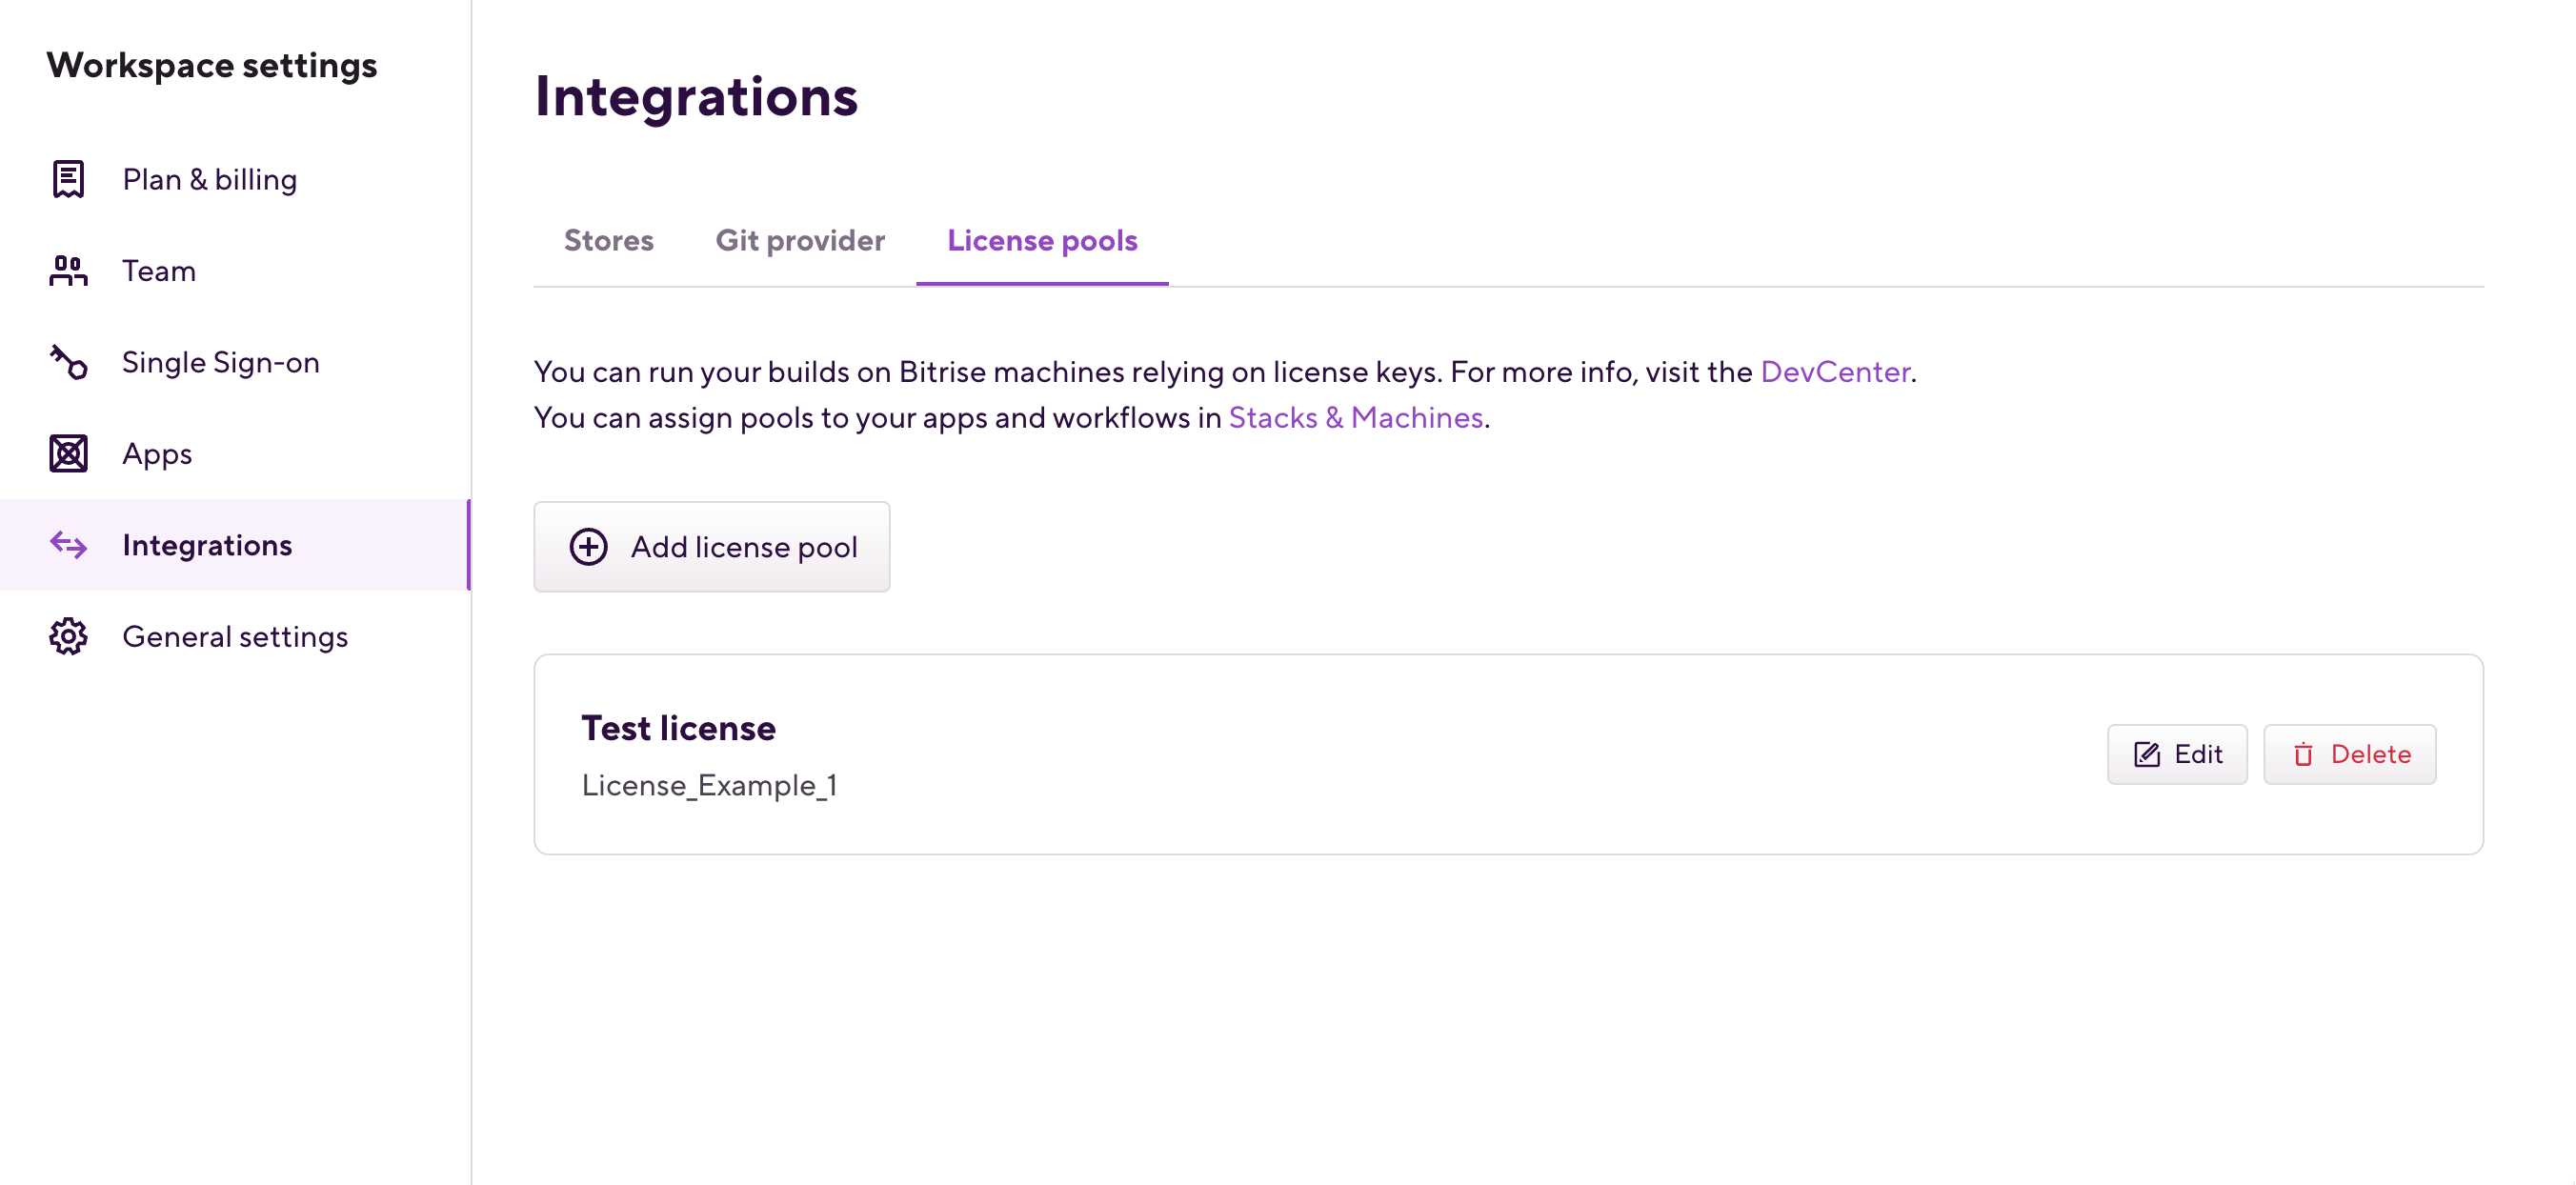
On the left, select Integrations.
-
Select the License pools tab.
-
Click .
-
Fill out the fields.
You must set:
-
A name: that's how you can find your pool in the Workflow Editor.
-
An Environment Variable key: this is how you can use the license in a build script.
-
The license keys themselves. A license key can't have a space or any special character other than underscore in it.
-
-
Click .
-
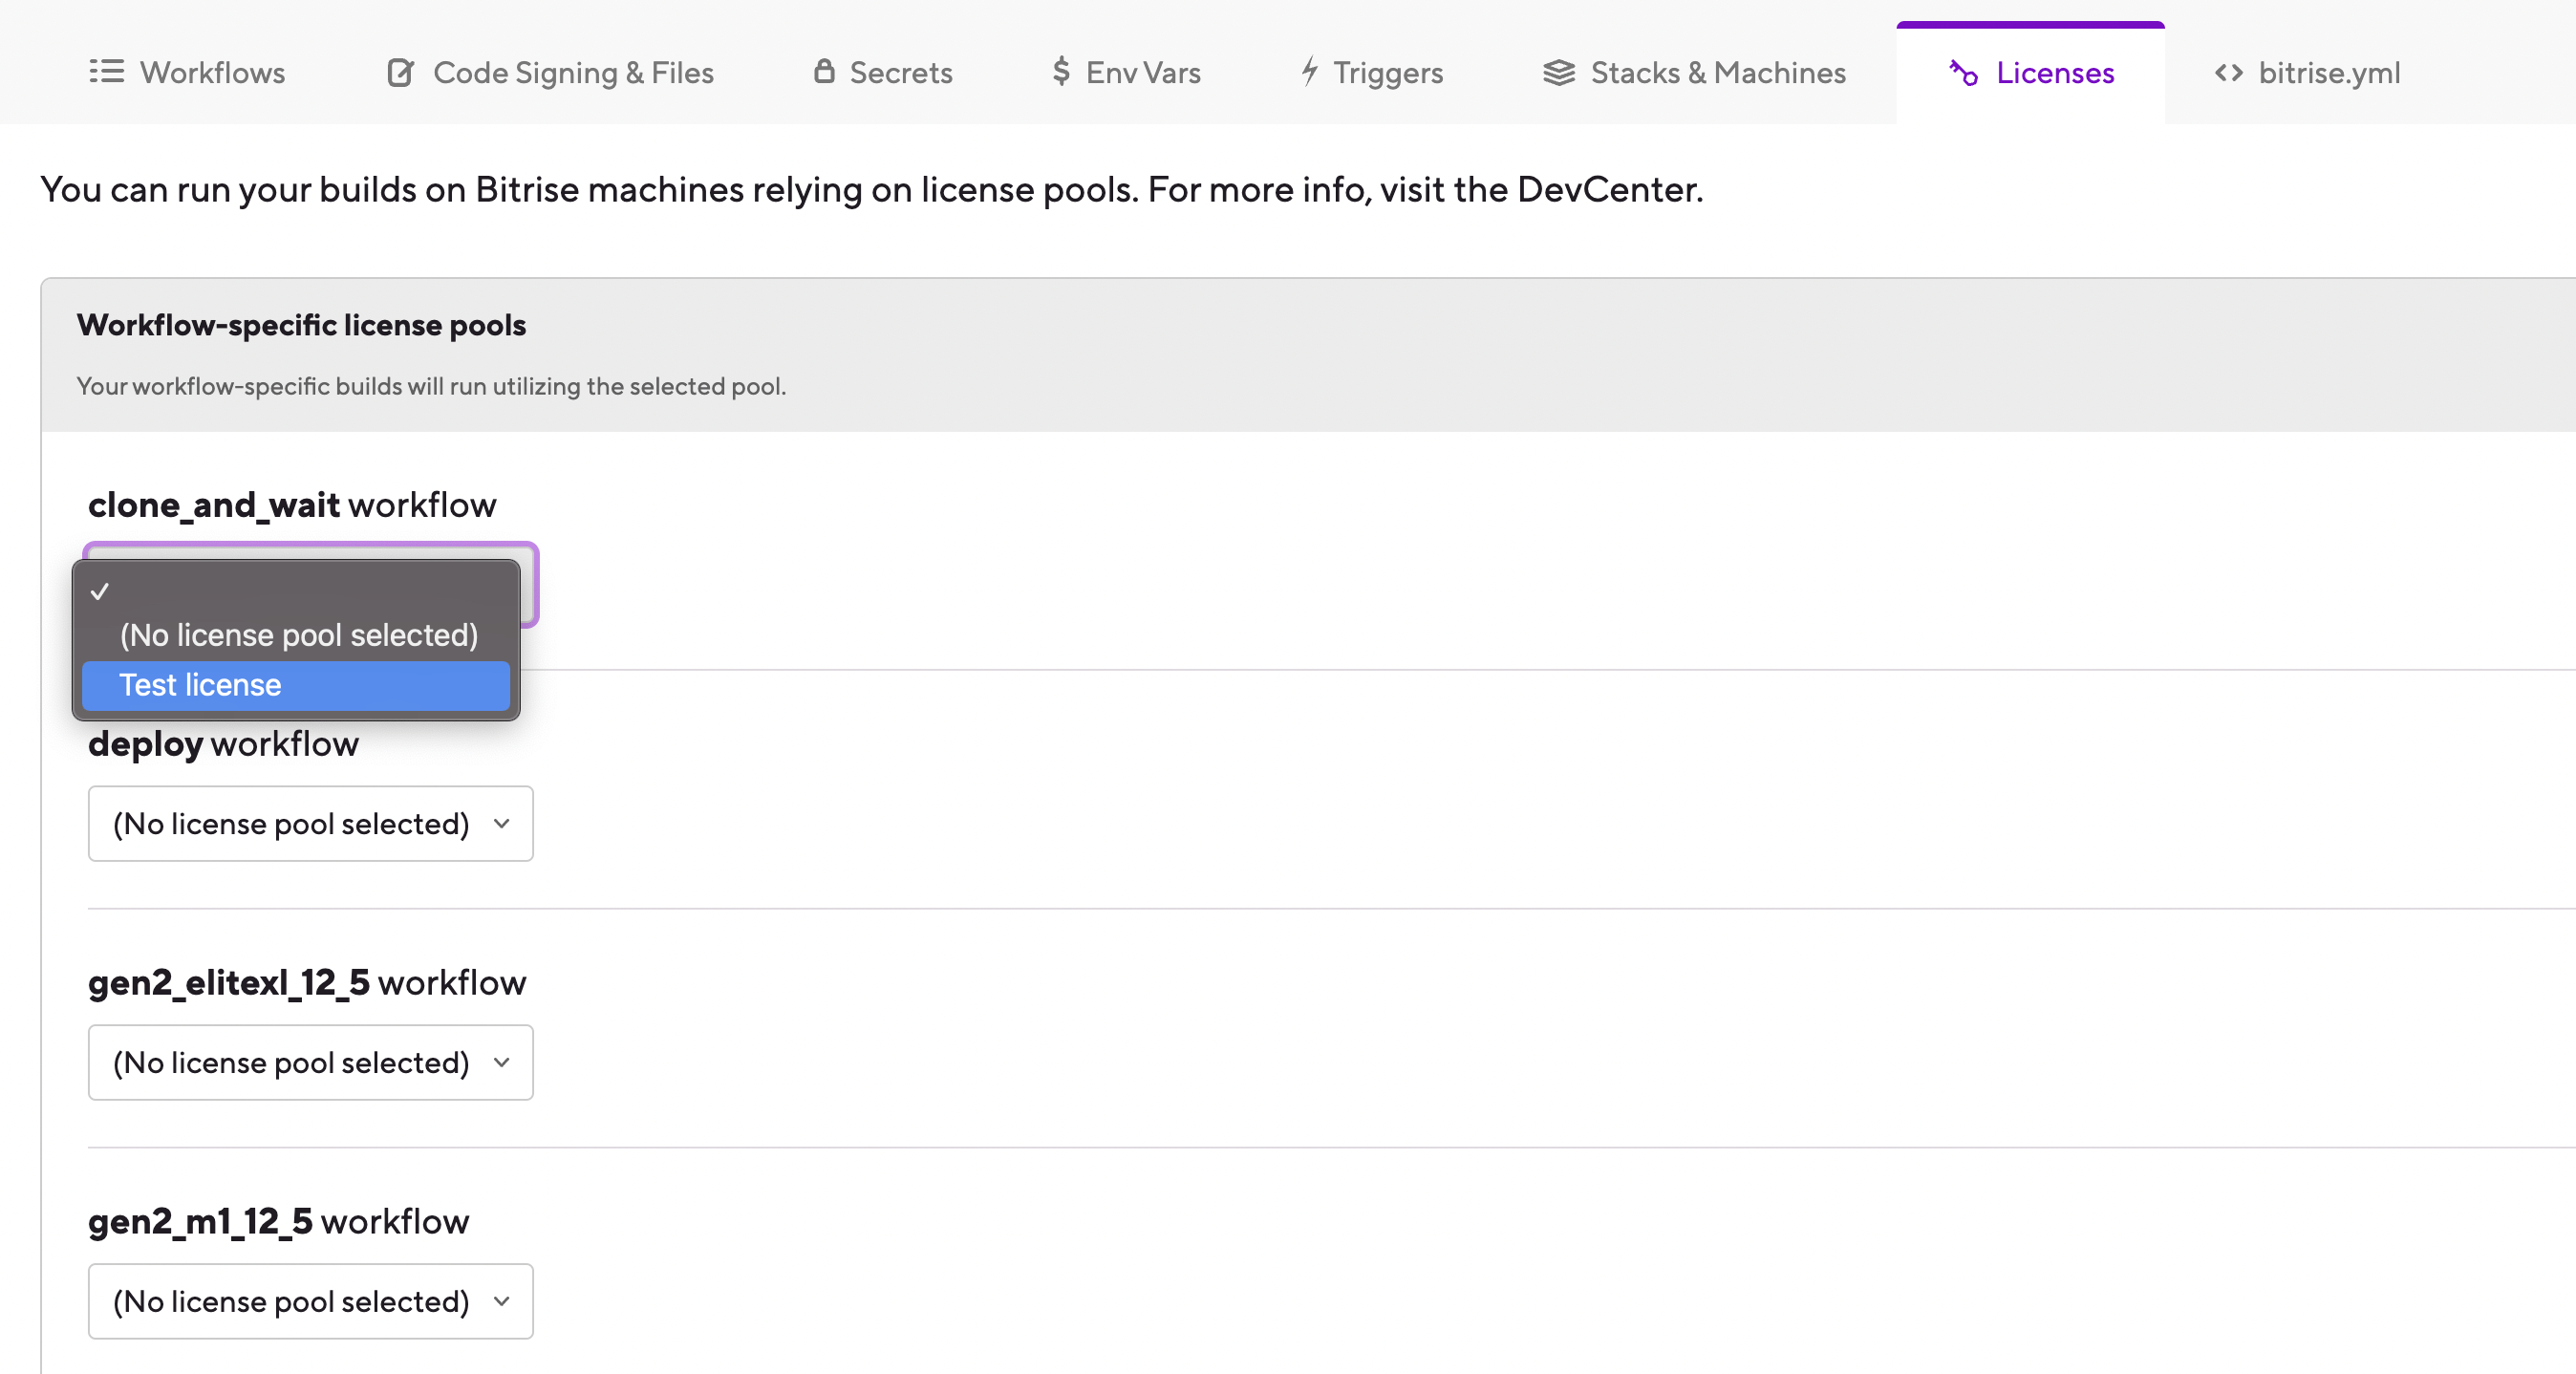
Open the Workflow Editor for the app you need and go to the Licenses tab.
-
Select a license pool for each Workflow where you need them.
Activating a Unity license
When trying to run a build, you need to activate your Unity license first. This requires providing your Unity email address and password. We recommend using Secrets to store these.
Deactivating a license
Once your build is finished, we strongly recommend deactivating the Unity license so you can reuse it:
/Applications/Unity/Unity.app/Contents/MacOS/Unity -quit -batchmode -logFile -returnlicense
-
Create two Secrets to store your email address and password. We recommend using the following keys:
-
UNITY_EMAIL, with your email address as the value. -
UNITY_PW, with your Unity password as a value.
-
-
Add the following code to a Script Step that comes after the Step installing Unity software in the Workflow:
/Applications/Unity/Unity.app/Contents/MacOS/Unity -quit -batchmode -serial "$UNITY_SERIAL" -username "$UNITY_EMAIL" -password "$UNITY_PW" -logfile
Use a Utility Workflow
A best practice is to create a utility Workflow that contains this Step, and run it before each Workflow that requires Unity.
Running a build using Unity software
Once everything is set up, you can run a build using Unity software on Bitrise. You can build both an Android and an iOS version of your app, even in the same Workflow.
To run a build using Unity software on Bitrise:
-
To build the Android version of your app, add a Script Step and in the Content input, add the following:
/Applications/Unity/Unity.app/Contents/MacOS/Unity -nographics -quit -batchmode -logFile -projectPath "$BITRISE_SOURCE_DIR" -executeMethod BitriseUnity.Build -androidSdkPath "$ANDROID_HOME" -buildOutput "$BITRISE_DEPLOY_DIR/mygame.apk" -buildPlatform android
-
To create an Xcode project for the iOS version of your app, add the following to the Script Step:
/Applications/Unity/Unity.app/Contents/MacOS/Unity -nographics -quit -batchmode -logFile -projectPath "$BITRISE_SOURCE_DIR" -executeMethod BitriseUnity.Build -buildOutput "$BITRISE_SOURCE_DIR/xcodebuild" -buildPlatform ios
-
When you are done, deactivate your license:
/Applications/Unity/Unity.app/Contents/MacOS/Unity -quit -batchmode -logFile -returnlicense