Creating workspaces
Create a Bitrise Workspace to be able to add new apps or run builds. When you sign up for Bitrise, you are automatically prompted to create your first Workspace.
A Workspace is an environment that allows you to manage your Bitrise apps and the team members working on the apps. You can create multiple Workspaces, and you can be invited to Workspaces by other Bitrise users.
You must have access to at least one Workspace to be able to use Bitrise. When you create a new account, you can’t add new apps or run builds. To be able to do so, you need to either create a Workspace, or to be invited to an existing one.
When you sign up for Bitrise, you are automatically prompted to create a new Workspace. If you skip creating a Workspace, or you want to create additional Workspaces later, you can do it:
-
Log in to bitrise.io.
-
Hover over the left navigation bar.
-
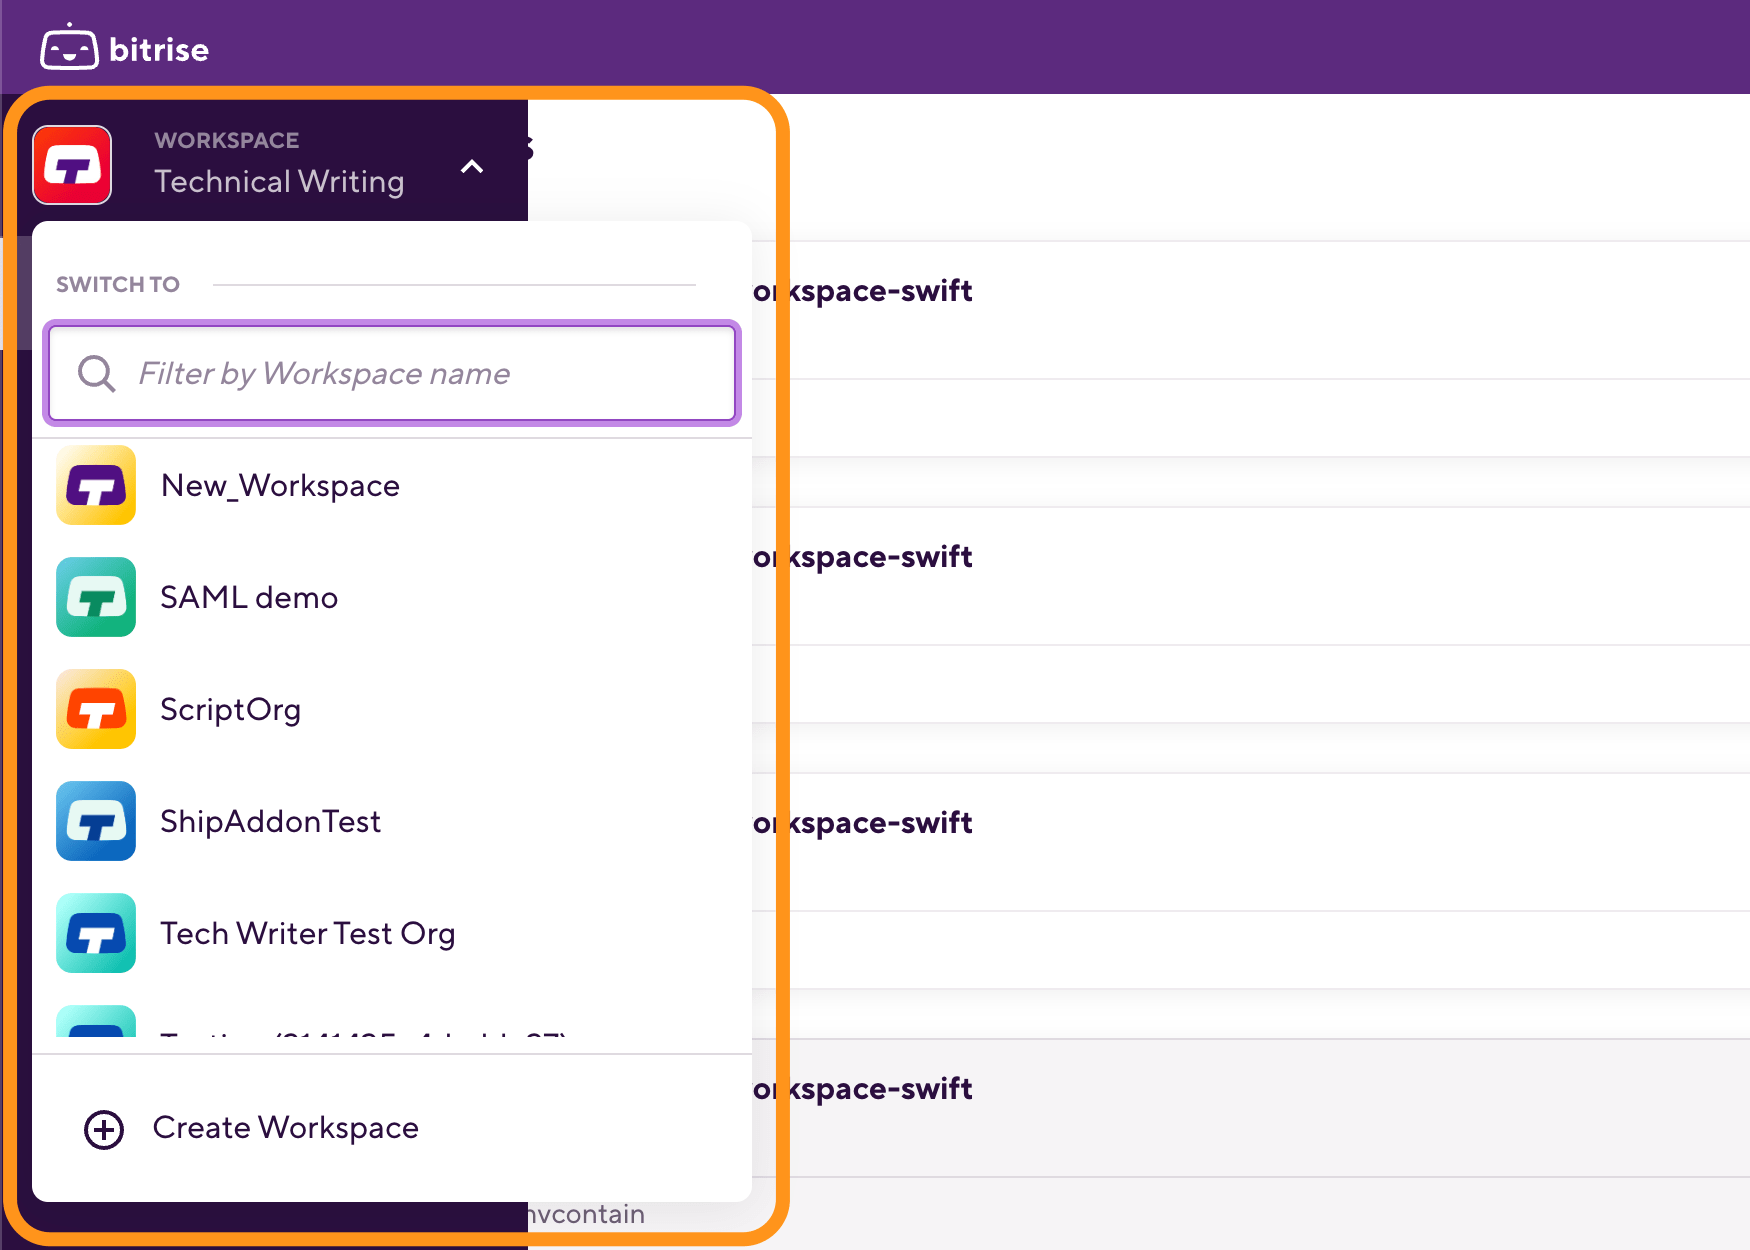
Open the dropdown menu next to your Workspace name.

-
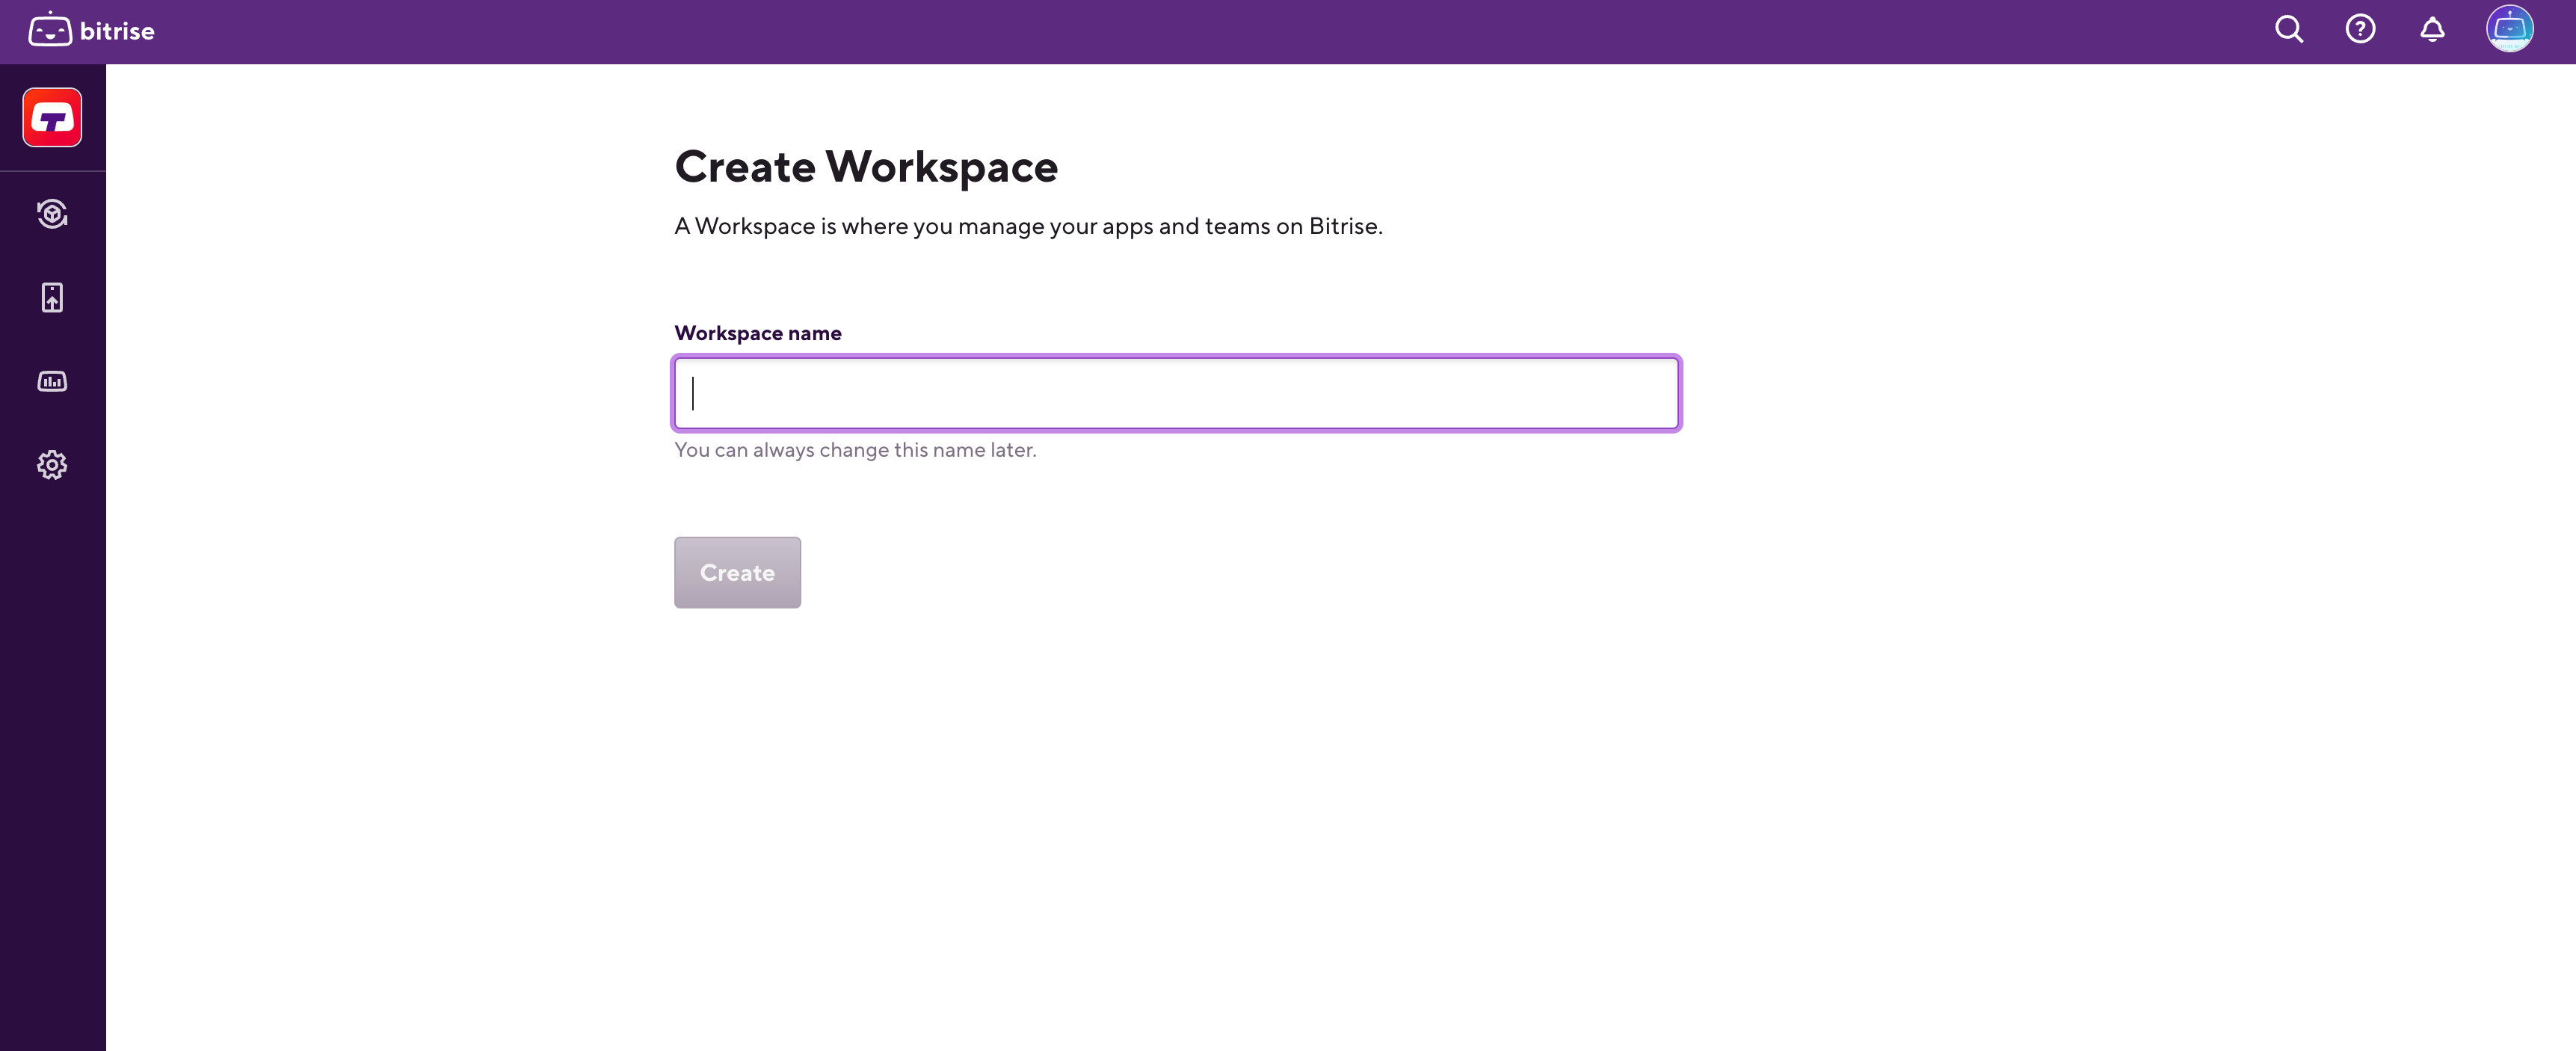
Select Create Workspace. This takes you to the Create a new Workspace page.
-
Find the Workspace name input field, and add a name.

-
Click Create.
This creates the Workspace - everything that comes after is optional and can be completed at a later point. However, without a subscription plan - either free or paid - your Workspace will be inactive and won't be able to own apps or run builds.
-
Choose a plan.
If you’re interested in the details, or you want to find out more about our other plans, check out our Pricing page for more info.
-
Select a paid subscription plan, and follow the instructions to configure the details of the plan and set up payment methods.
Alternatively, select the free plan for now and add a subscription later.
And that’s it. You can start adding apps and inviting people to your Workspace.