Configuring the repository URL and default branch
When adding a new project to Bitrise, you specify a repository that is used to store your source code, and a branch that Bitrise uses as the default branch. You can change these at any time from Project Settings.
When adding a new project to Bitrise, you specify a repository that is used to store your source code, and a branch that Bitrise uses as the default branch.
Once the project is set up, you can change these at any time.
Changing the repository URL
The repository URL is the address where your repository can be accessed by Bitrise. It can be either an SSH URL or an HTTPS URL: we strongly recommend using SSH URLs for all private projects for security reasons.
Using an HTTPS URL
You can use HTTPS Git URLs, using a personal access token for authorization: in this case, you don't need an SSH key: Configuring HTTPS authorization.
If you move your project's repository, or the URL changes for any other reason, you can update it on Bitrise and continue building without an issue.
-
Open your project on Bitrise with a user that has the Admin role on the project.
-
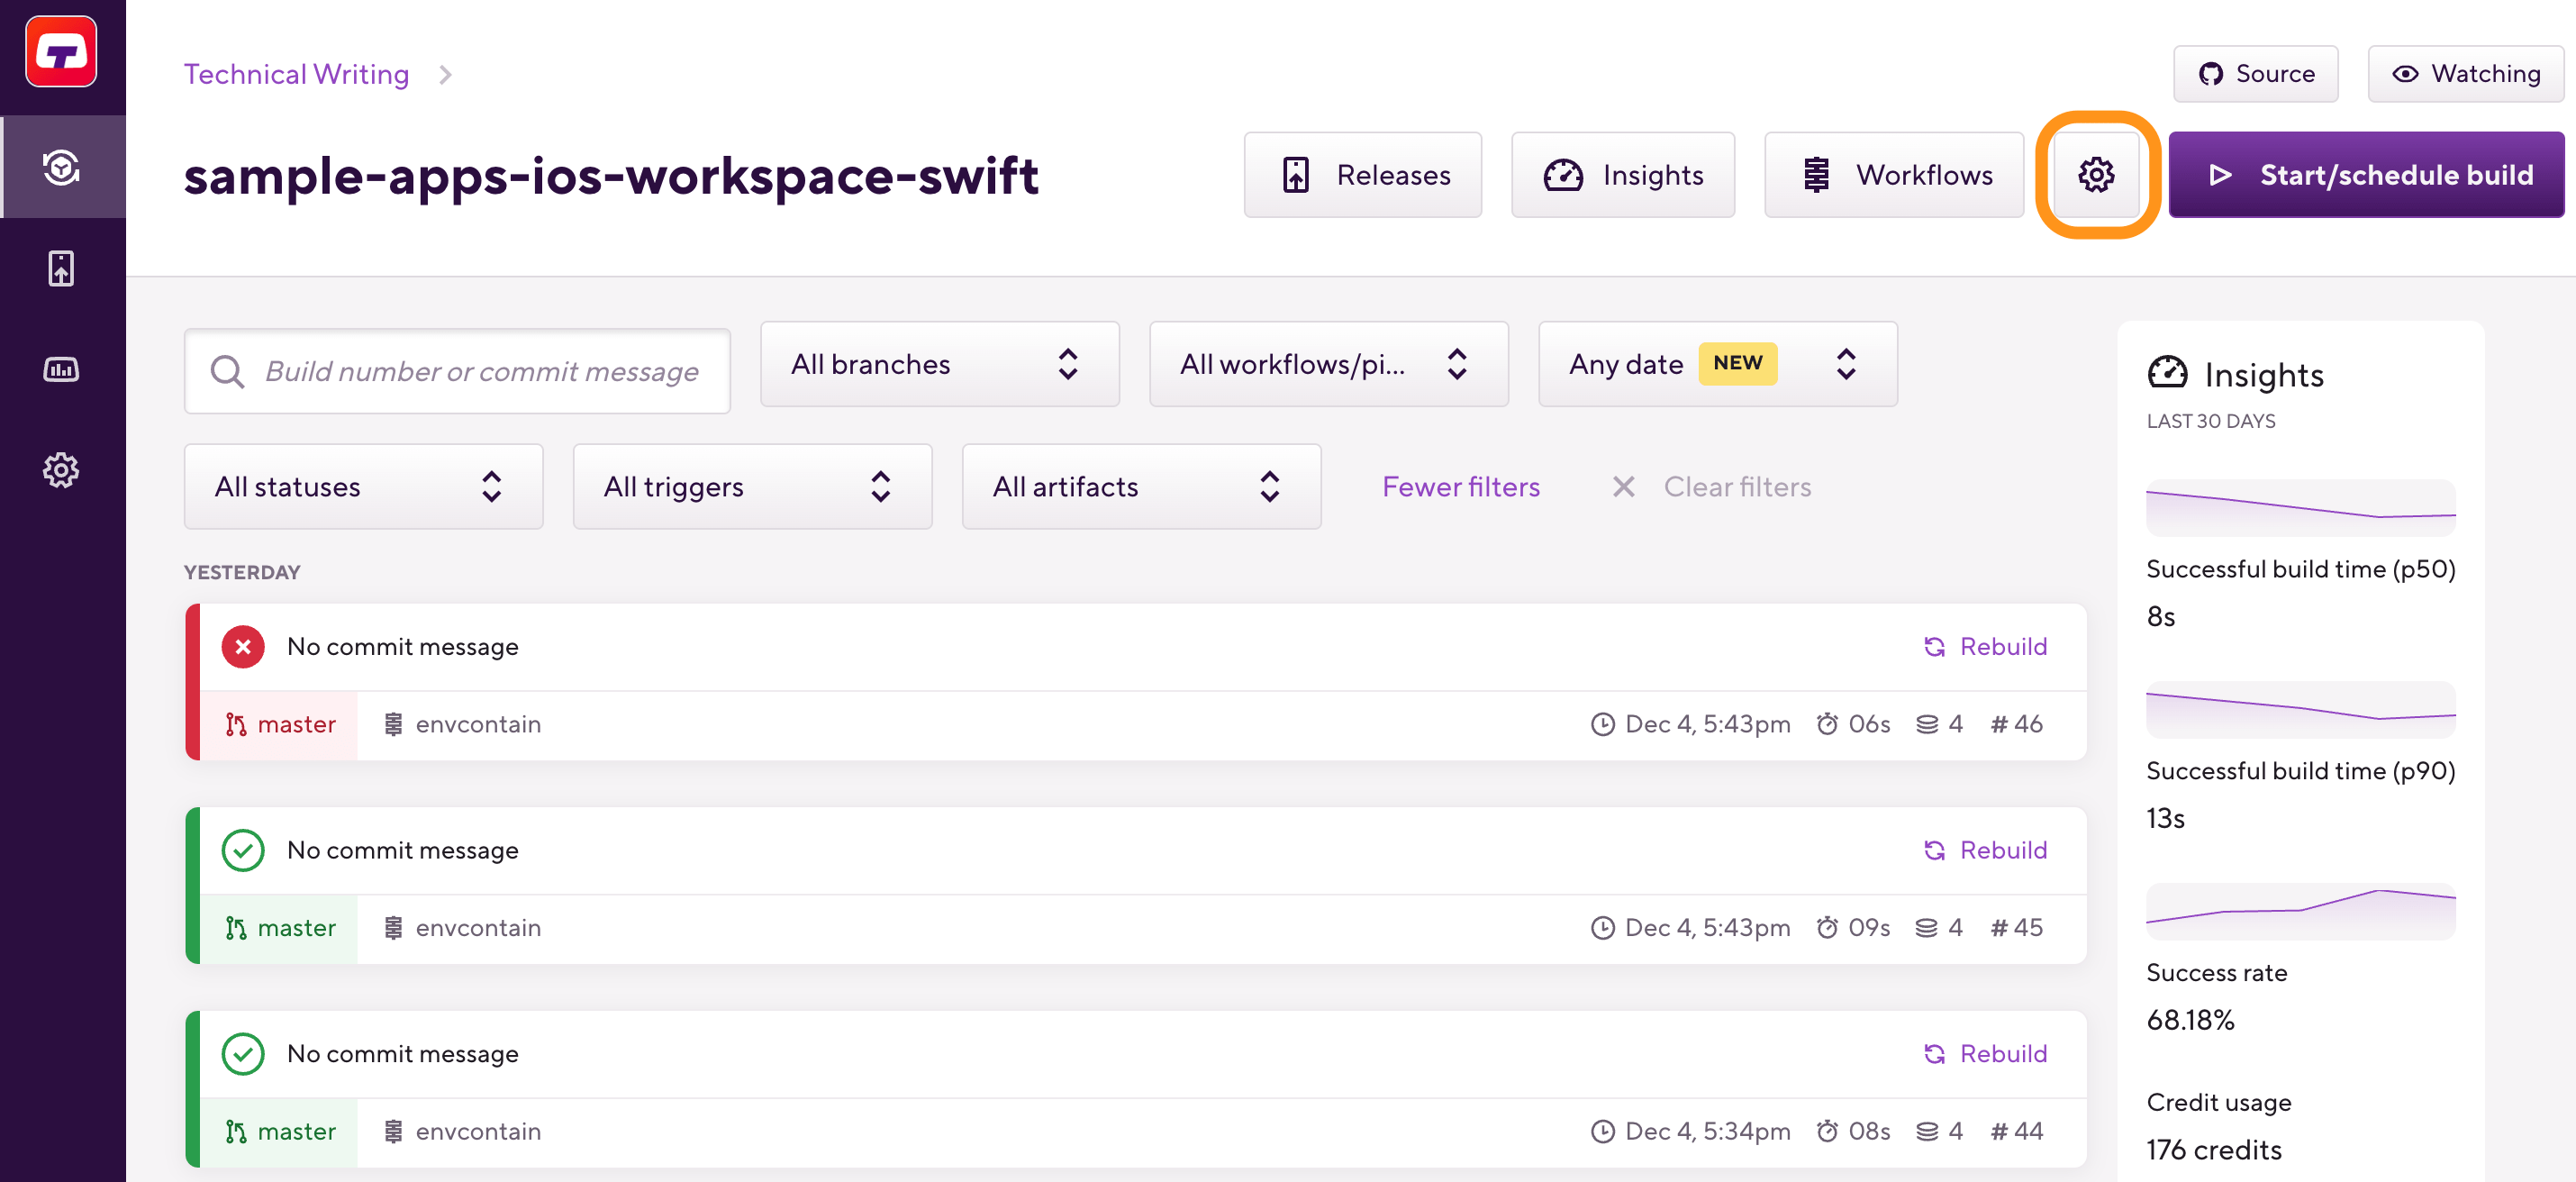
On the main page of the project, click on the Project settings button.
-
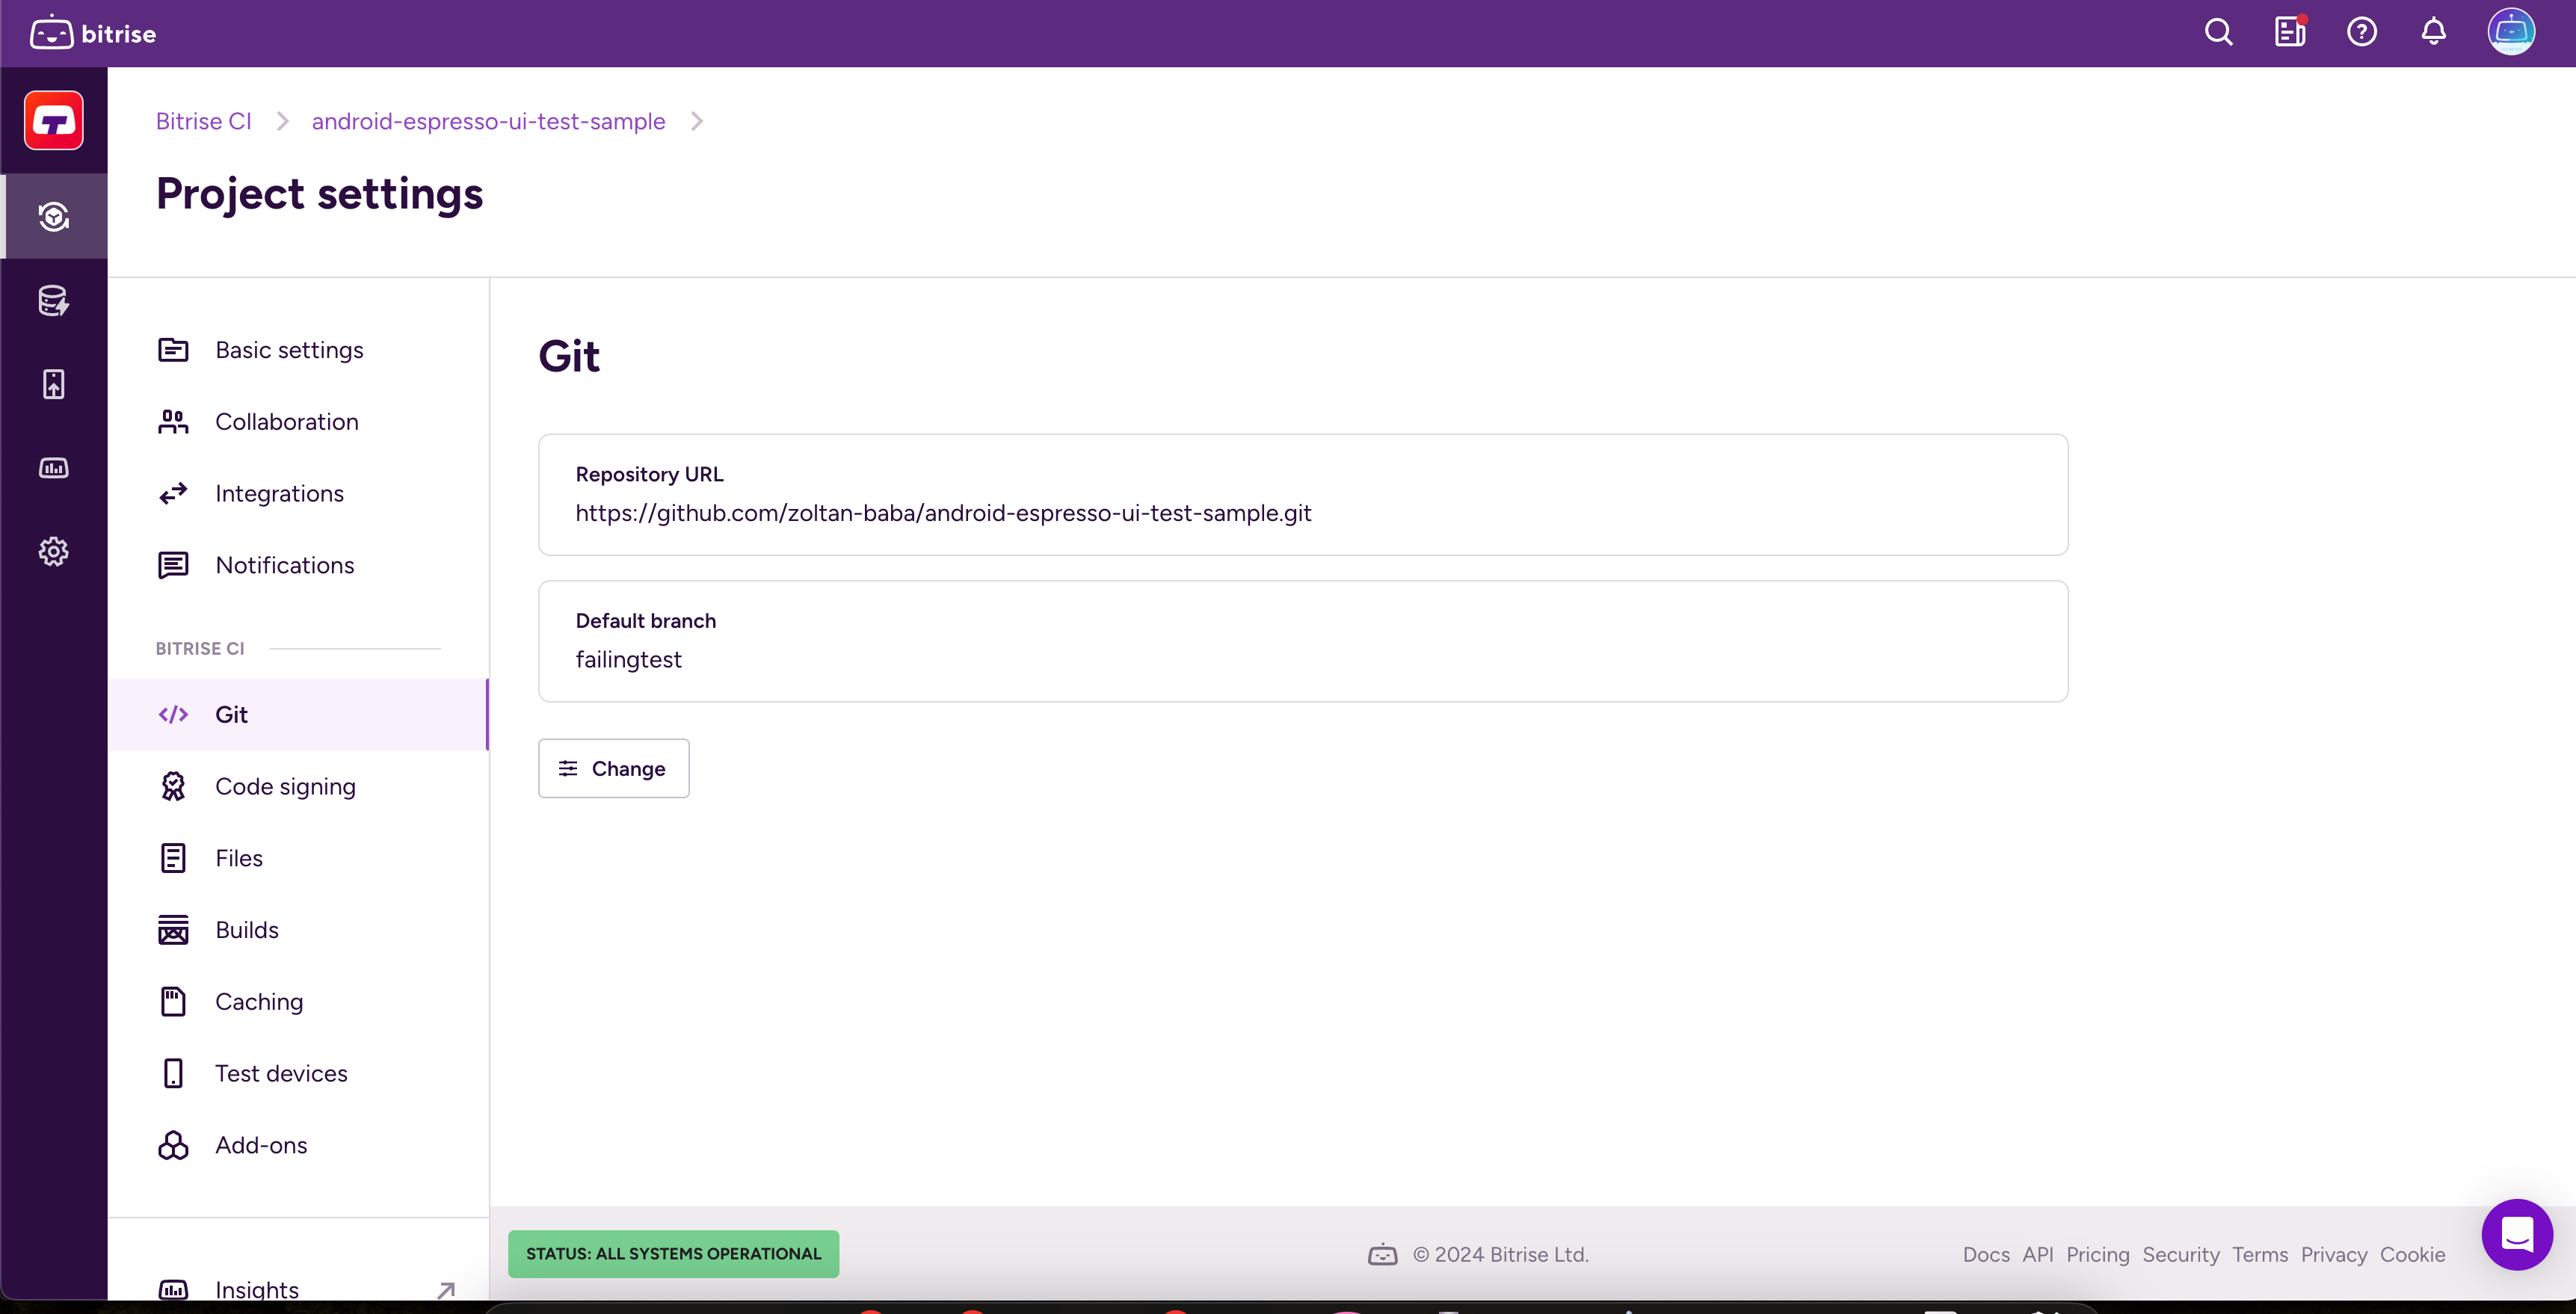
From the menu on the left, select Git and click .
-
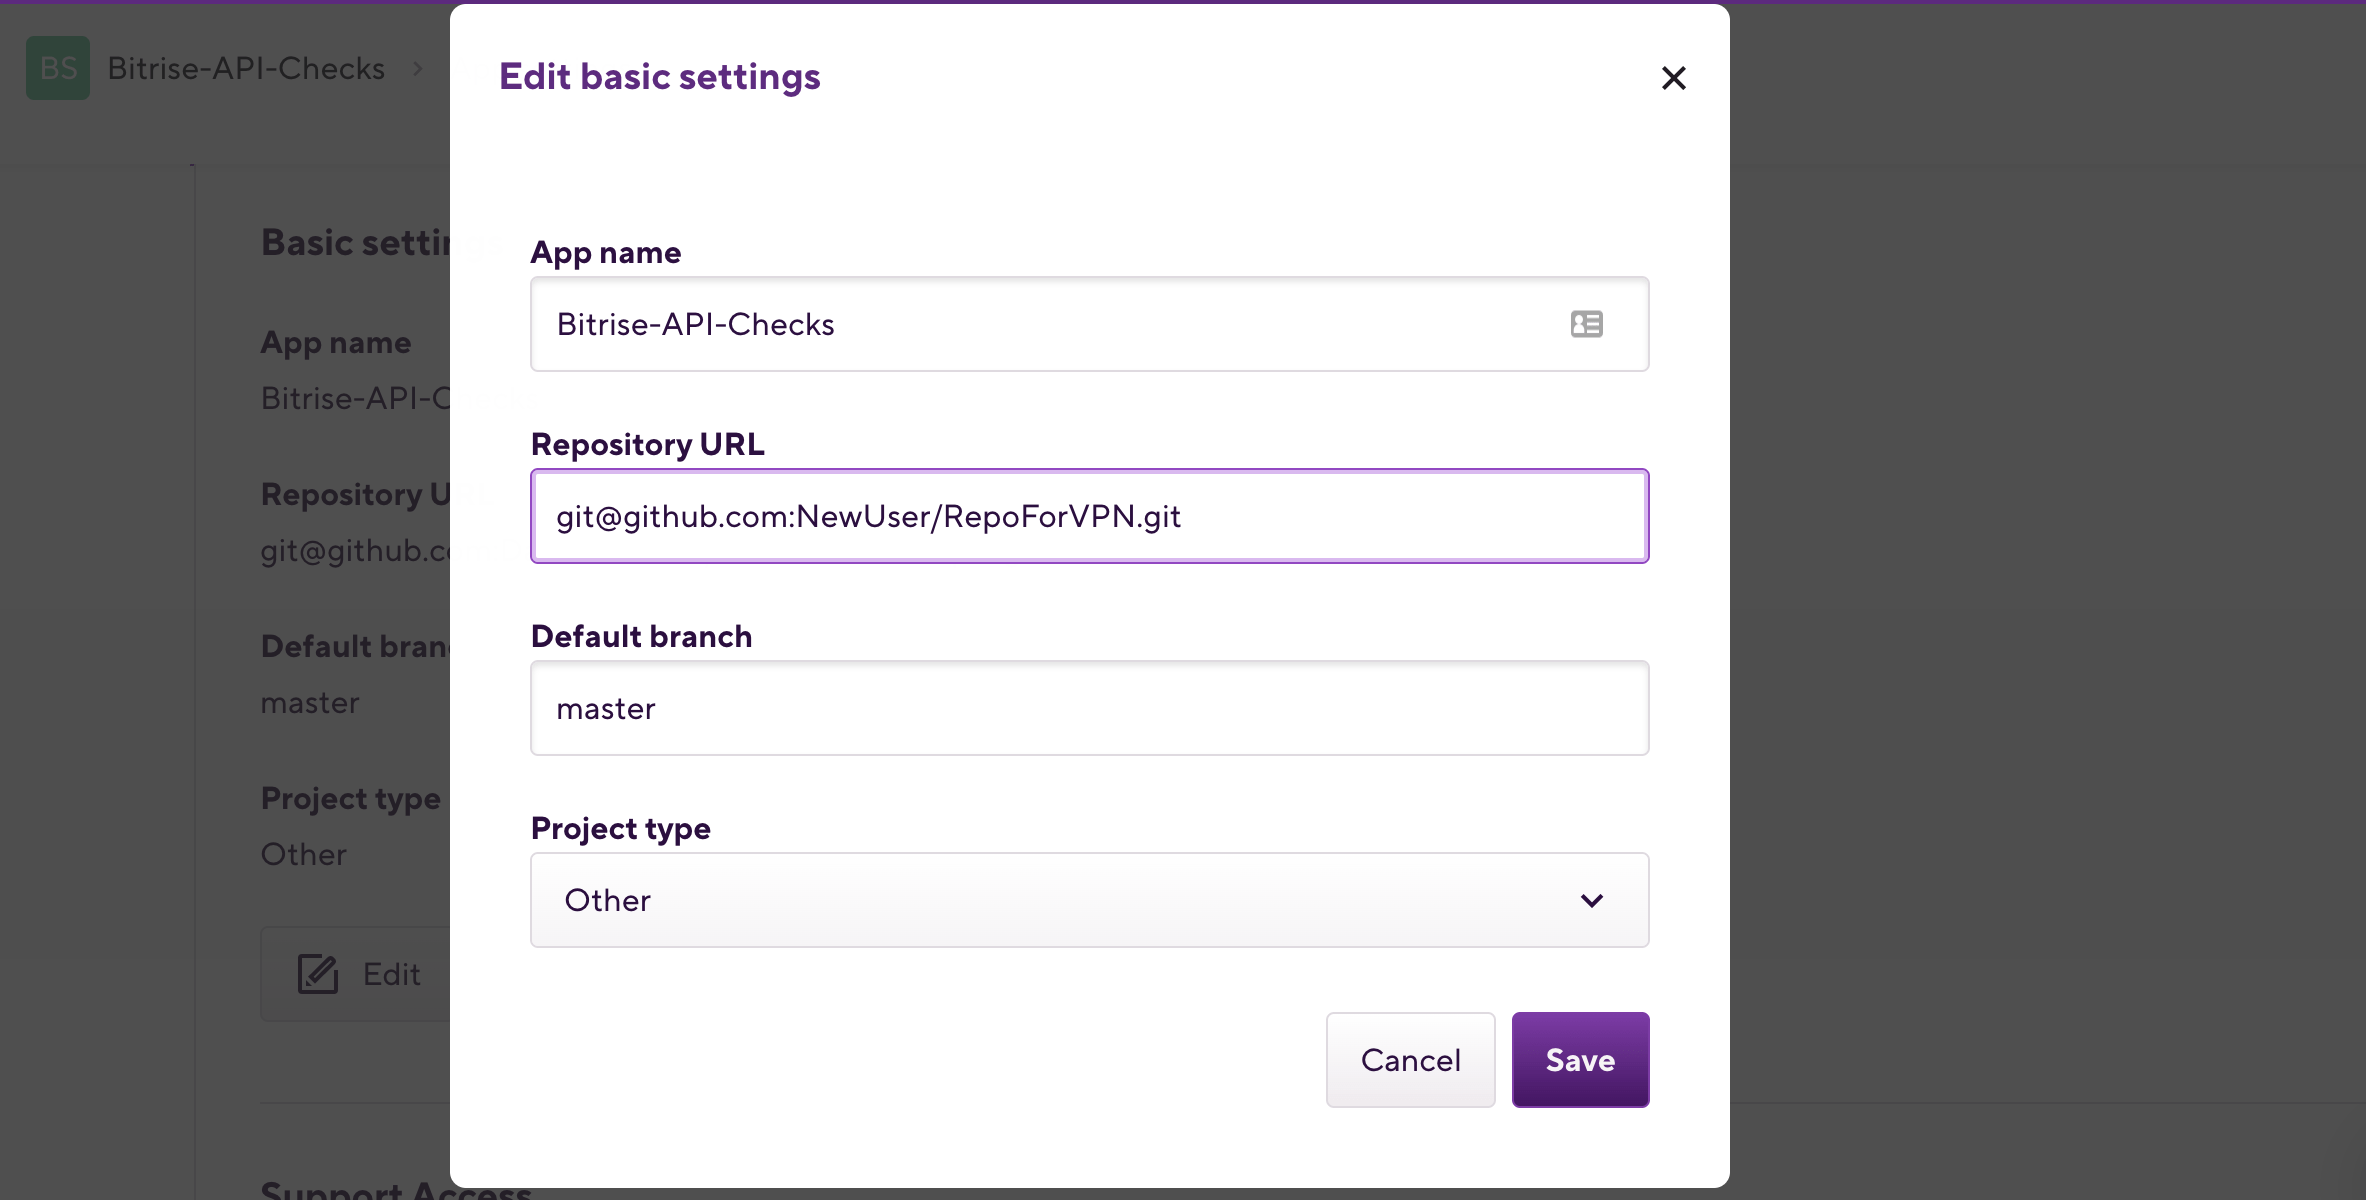
Enter the new URL in the dialog.
-
Click to save changes.
Changing the default branch
The default branch is the branch of your repository that Bitrise will use if no other configuration indicates otherwise.
You can change the default branch at any time.
-
Open your project on Bitrise with a user that has the Admin role on the project.
-
On the main page of the project, click on the Project settings button.
-
From the menu on the left, select Git and click .
-
In the dialog box, enter the branch name in the Default branch field.
-
Type the name of the branch you want to use as default branch.
-
Click to save changes.