iOS code signing with manual provisioning
To manage your code signing files manually, you need to upload your .p12 signing certificates and the app's provisioning profiles to Bitrise. There are multiple ways to do this.
To manage your code signing files manually, you need to upload your .p12 signing certificates and the app's provisioning profiles to Bitrise.
You always need to upload at least a Developer certificate and a Development type provisioning profile! That is necessary for our Xcode Steps to be able to test and build your apps properly.
Generating code signing files
If you don't have the necessary code signing files ready, you can generate new files: Generating iOS code signing files
To upload the code signing files to Bitrise, first you need to export the files in the .p12 file format. Once you successfully exported the files, you need to upload them to Bitrise. You have two options:
-
Uploading it manually to Bitrise. This guide focuses on this option.
To manually upload your code signing files to Bitrise:
-
Make sure you have your .p12 certificates and provisioning profiles exported and ready. Check out Exporting iOS code signing files for more information.
-
Open your project on Bitrise with a user that has the Admin role on the project.
-
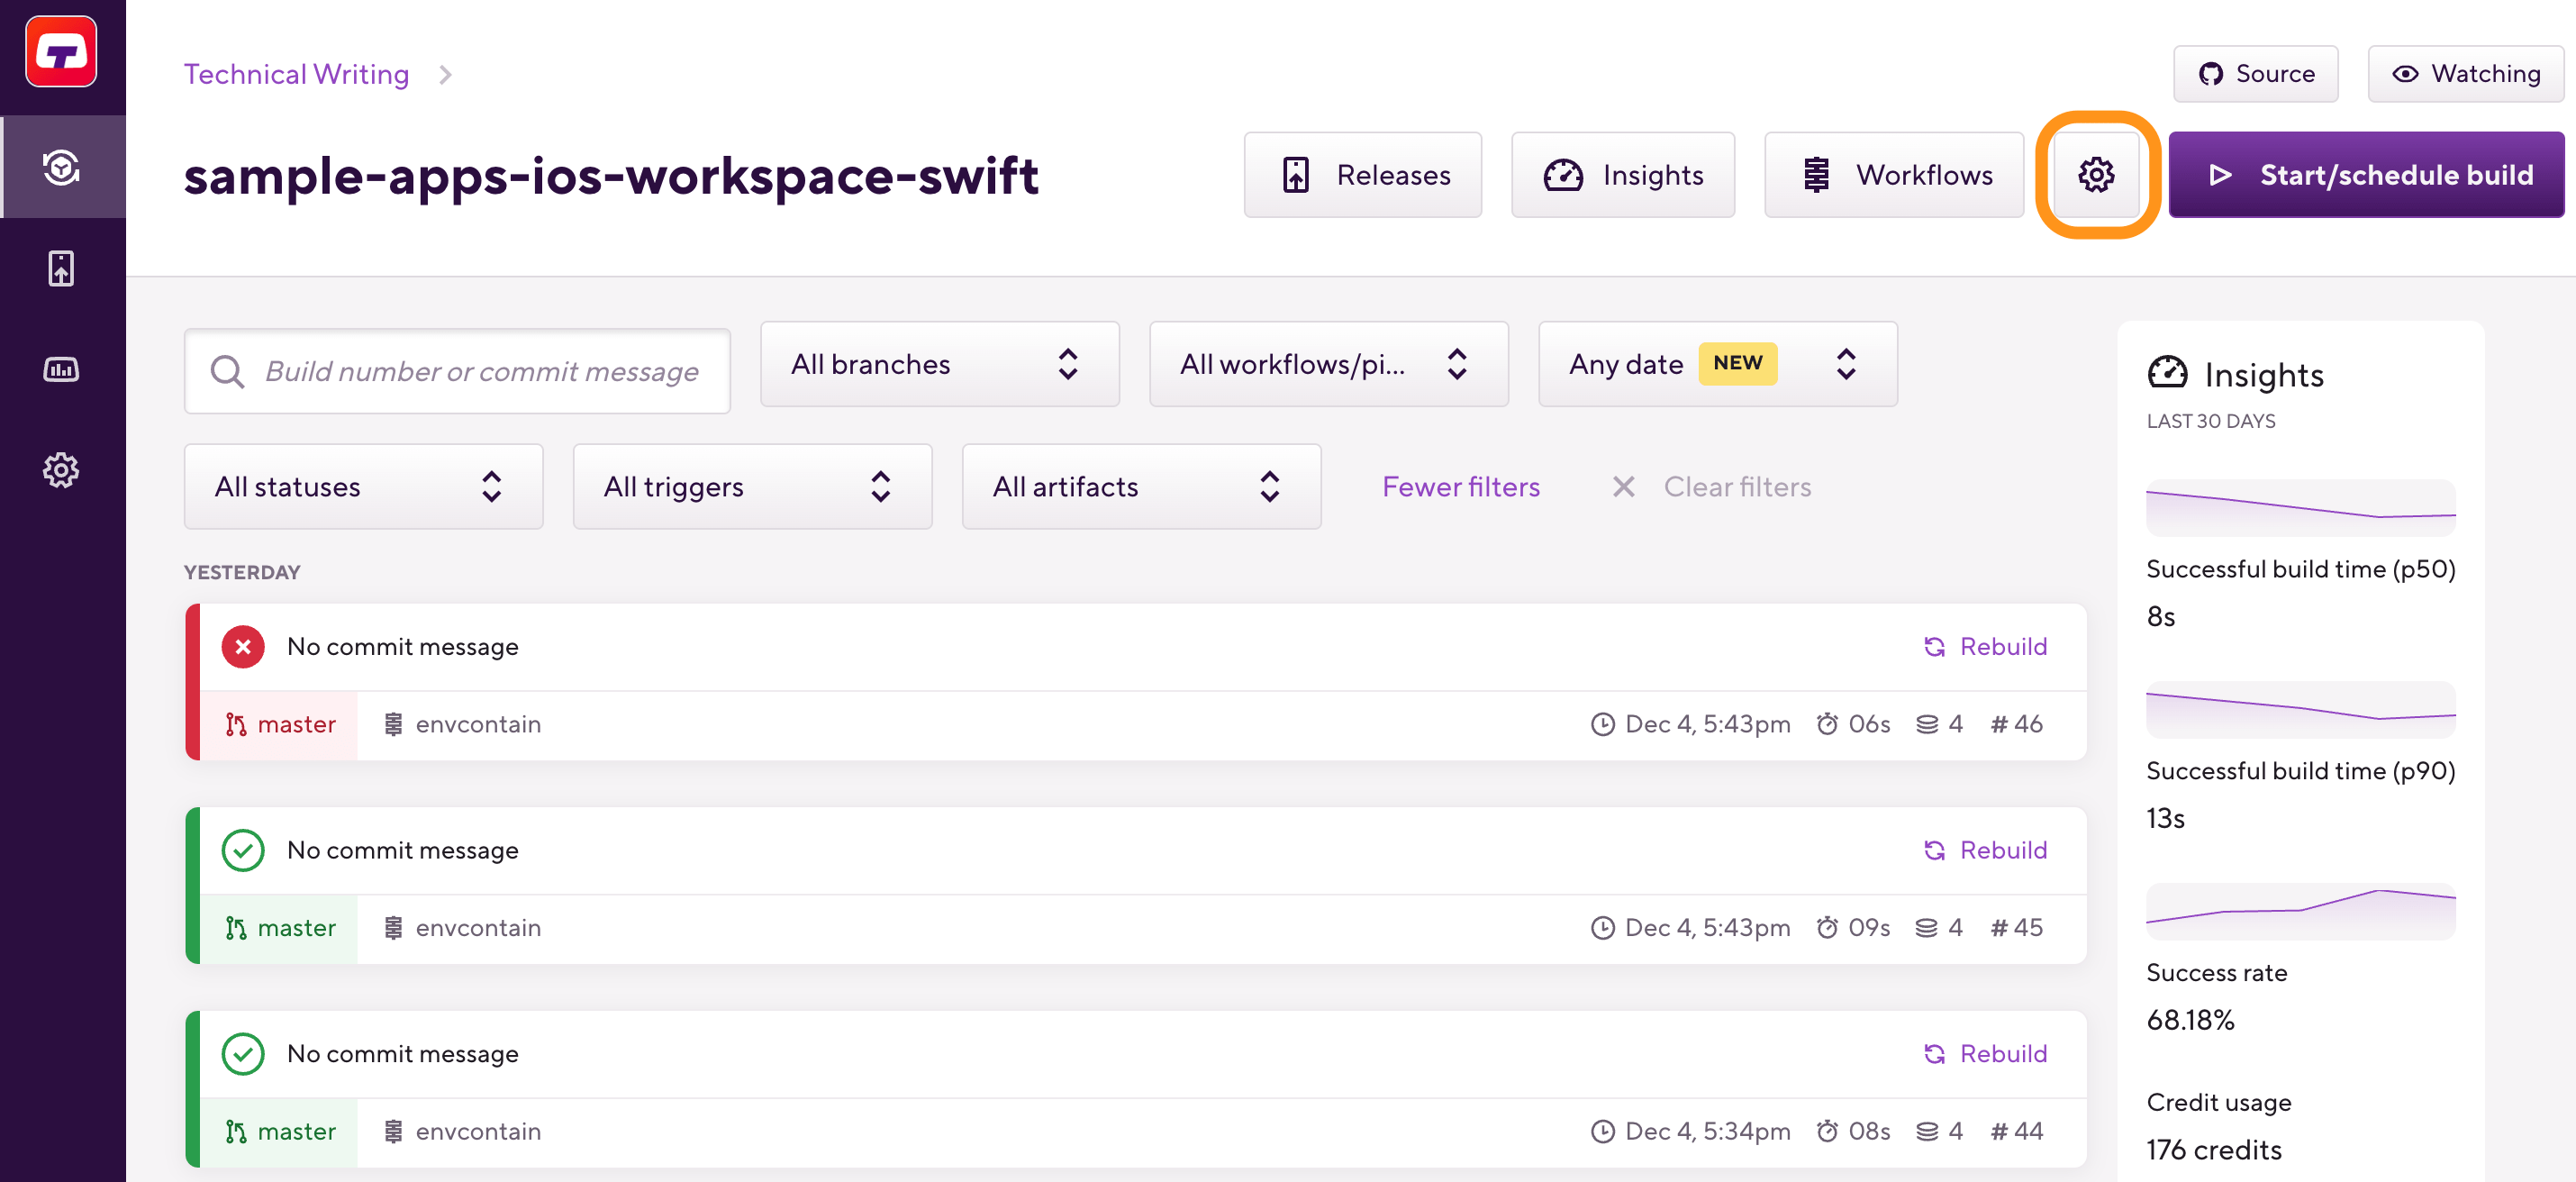
On the main page of the project, click on the Project settings button.

-
On the left, select Code signing from the menu.
-
Add your files:
-
To add a certificate, click the button. In the dialog box, upload the file and, if required, provide the password for the certificate.
-
To add provisioning profiles, click the button. In the dialog box, upload the file(s).
-
-
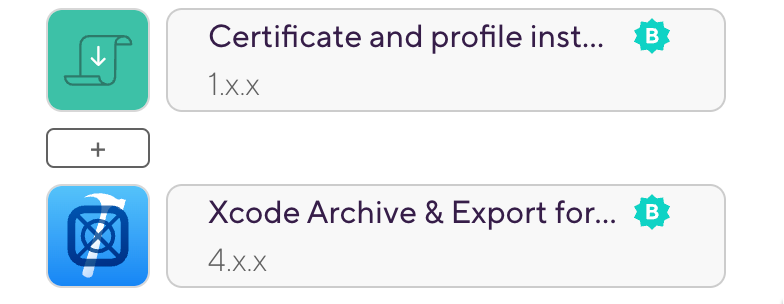
Make sure you have the Certificate and profile installerStep in your app’s Workflow. You can check it on the Workflow tab of the Workflow Editor.
Please note that these Steps must be BEFORE the Steps that archive and export your app (for example, Xcode Archive & Export for iOS) in your Workflow.
