Signing up for Bitrise
You can sign up for Bitrise either via an email address or by authenticating yourself with your GitHub, Bitbucket or GitLab account.
You can sign up for Bitrise either via an email address or by authenticating yourself with your GitHub, Bitbucket or GitLab account. Signing up using a Git provider account brings some practical benefits, like logging in with one click and of course you won’t have to authorize your Git account when adding repositories hosted by these providers again.
Signing up with email
Please note that if you want to sign up for Bitrise with an email address, the address cannot contain the character +.
Signing up with a Git provider
-
You can sign up for Bitrise through the Start for free button in the upper right corner of Bitrise. It will take you to the Sign up page.
-
On the Sign up page, scroll down to the OR SIGN UP WITH section where you can pick a git provider.

-
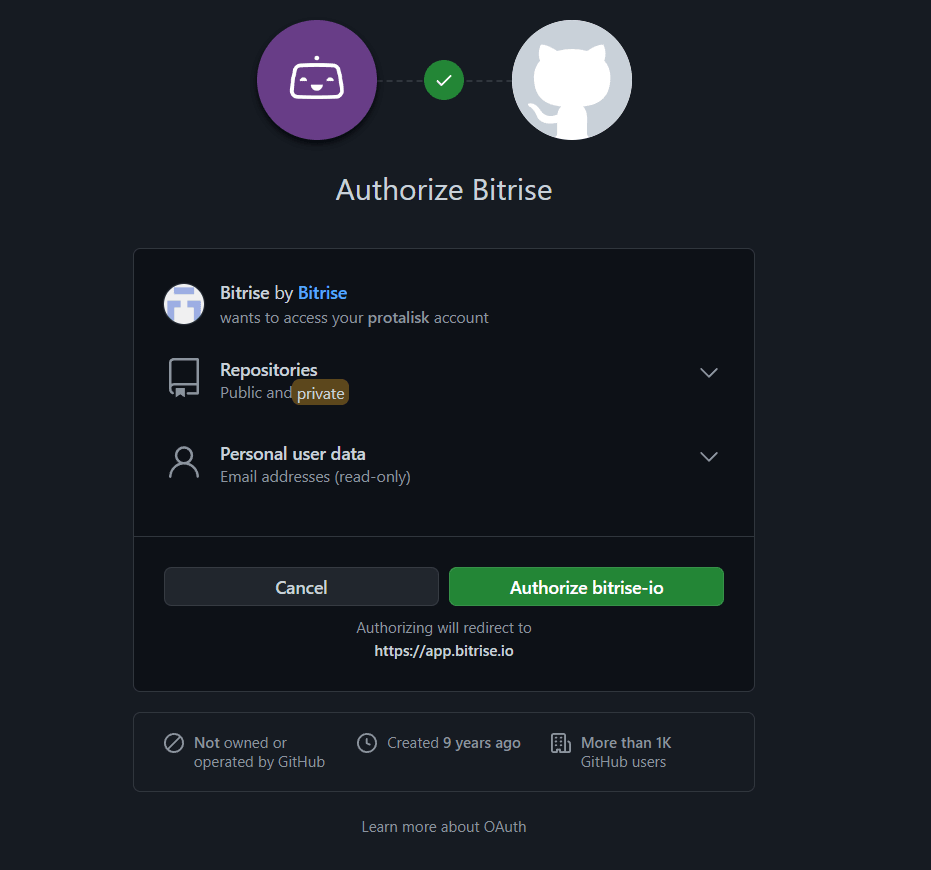
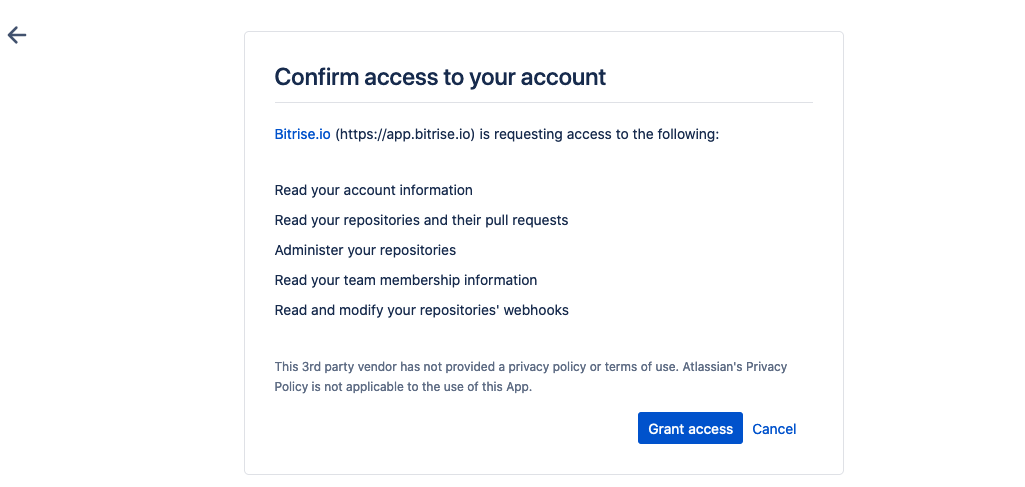
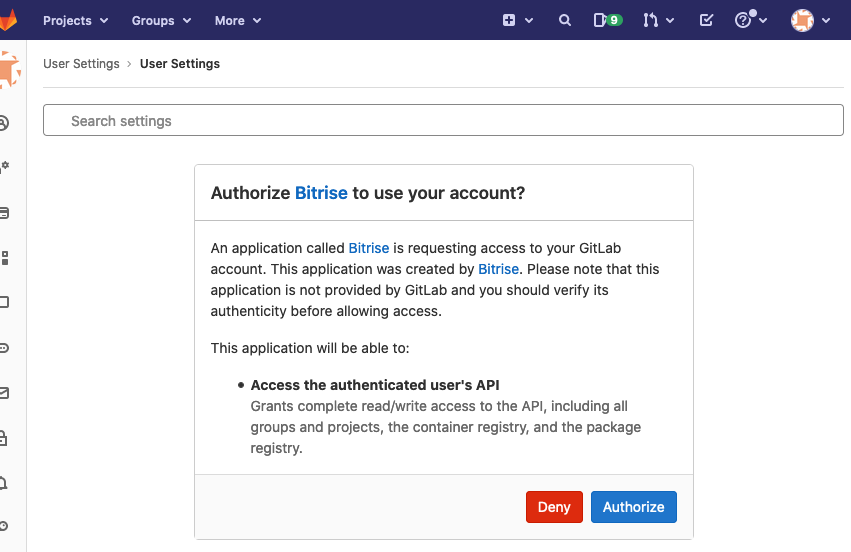
Authorize your selected Git provider.
-
If you chose GitHub, press the Authorize bitrise-io button, and then you will be redirected to Bitrise.
-
If you chose Bitbucket, press the Grant access button on Bitbucket, and then you will be redirected to Bitrise.
-
If you chose GitLab, press the Authorize button, and then you will be redirected to Bitrise.
-
-
Pick a username and a password. When done, click .
Strong password
Please note that you must provide a strong password which fulfills these requirements:
-
It should have at least 8 characters.
-
One upper case character.
-
One lower case character.
-
One number.
-
Cannot contain the same character more than 3 times in a row (aaa).
-
Cannot contain your email or username.
-
After that, you are ready to roll. Your first Workspace will be created automatically, and you will be redirected to the Getting Started page, where you can rename your Workspace, run a demo app, or start adding new apps!
 |
Signing up with email
Don't use the + character
Please note that if you want to sign up for Bitrise with an email address, the address cannot contain the character +.
-
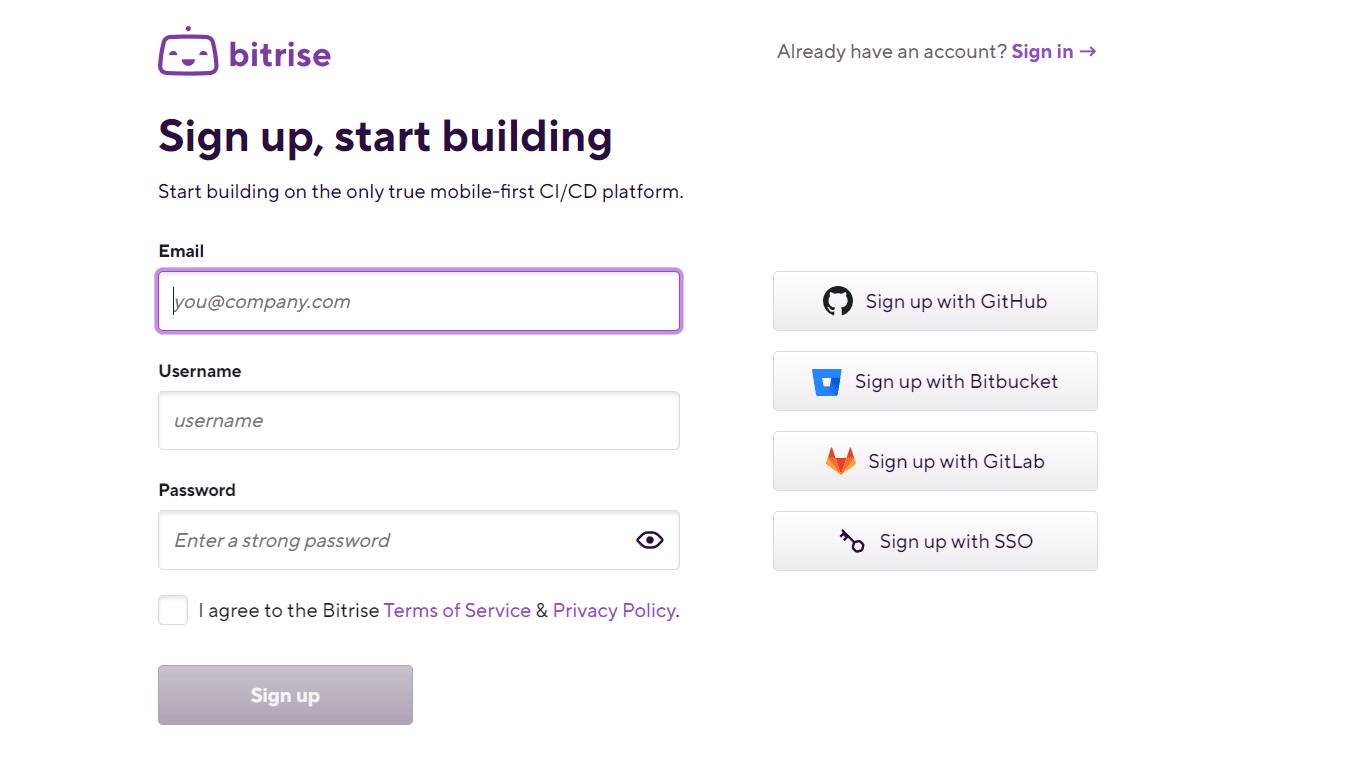
You can sign up for Bitrise through the Start for free button in the upper right corner of Bitrise. It will take you to the Sign up page.
-
Add your email address, username, and password.
Strong password
Please note that you must provide a strong password which fulfills these requirements:
-
It should have at least 8 characters.
-
One upper case character.
-
One lower case character.
-
One number.
-
Cannot contain the same character more than 3 times in a row (aaa).
-
Cannot contain your email or username.
-
-
Check the I agree to the Bitrise Terms of Service & Privacy Policy, and click the button.
-
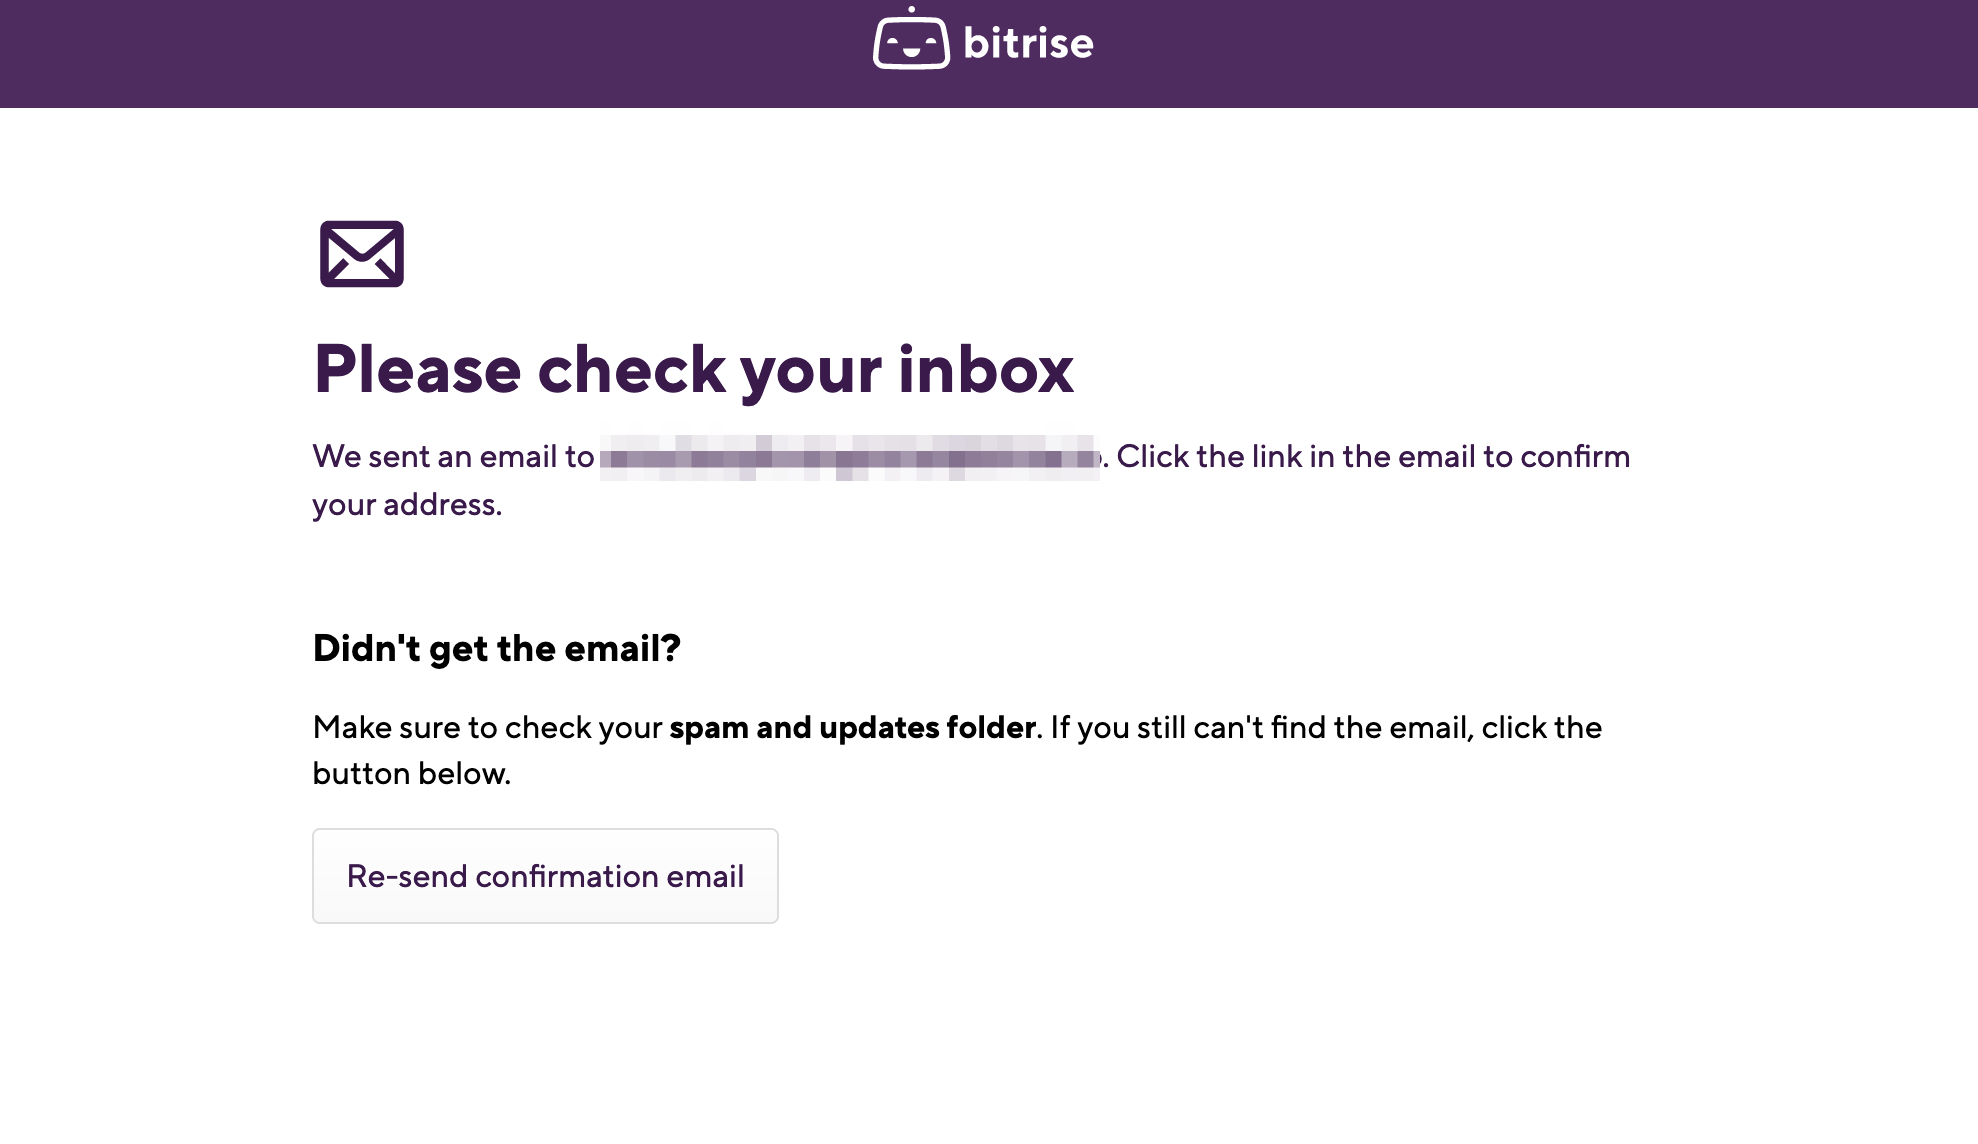
Check your inbox for a confirmation email from Bitrise and follow the instructions there. If you haven’t received a confirmation email from us, click the Resend confirmation email button.
And that's it! After confirming your account, your first Workspace will be created automatically, and you will be redirected to the Getting Started page. You can rename your Workspace, run demo apps, or start adding new apps!
|
Signing up with SAML SSO
You can sign up for Bitrise and join a Bitrise Workspace using the Workspace’s SAML SSO.
-
On the Identity Provider (IdP) side, the Administrator has to add you as a user to the Bitrise SAML SSO app’s Workspace.
The Bitrise Workspace owner can send you an invitation from the Groups menu of the Workspace on Bitrise.
-
Go to our Sign up page.
-
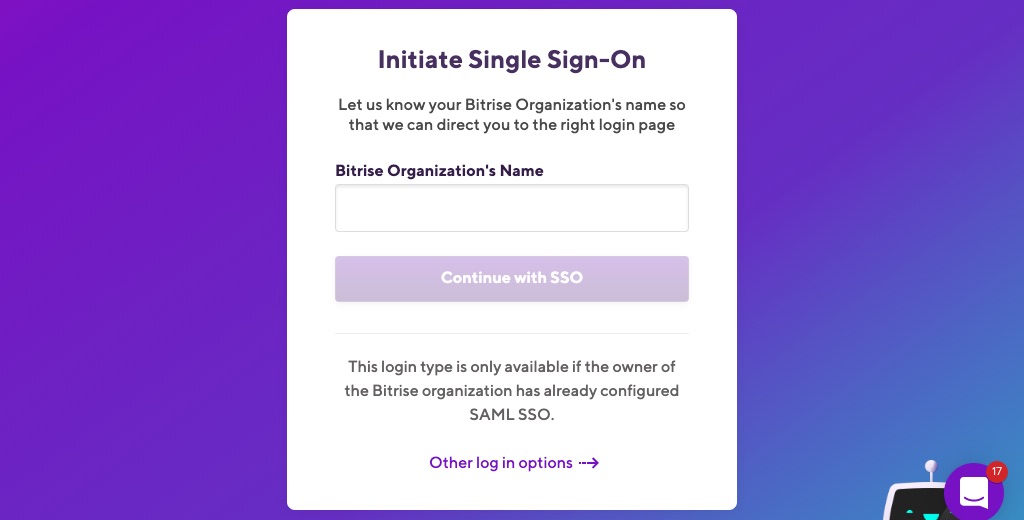
Click the SAML button.
You are directed to the Initiate Single Sign-On page.
-
Provide the Bitrise Workspace’s Name that you got from the Bitrise Workspace owner and click Continue with SSO so that Bitrise can direct you to the Workspace’s connected SAML SSO provider.
-
Provide your credentials associated with your SAML SSO account.
-
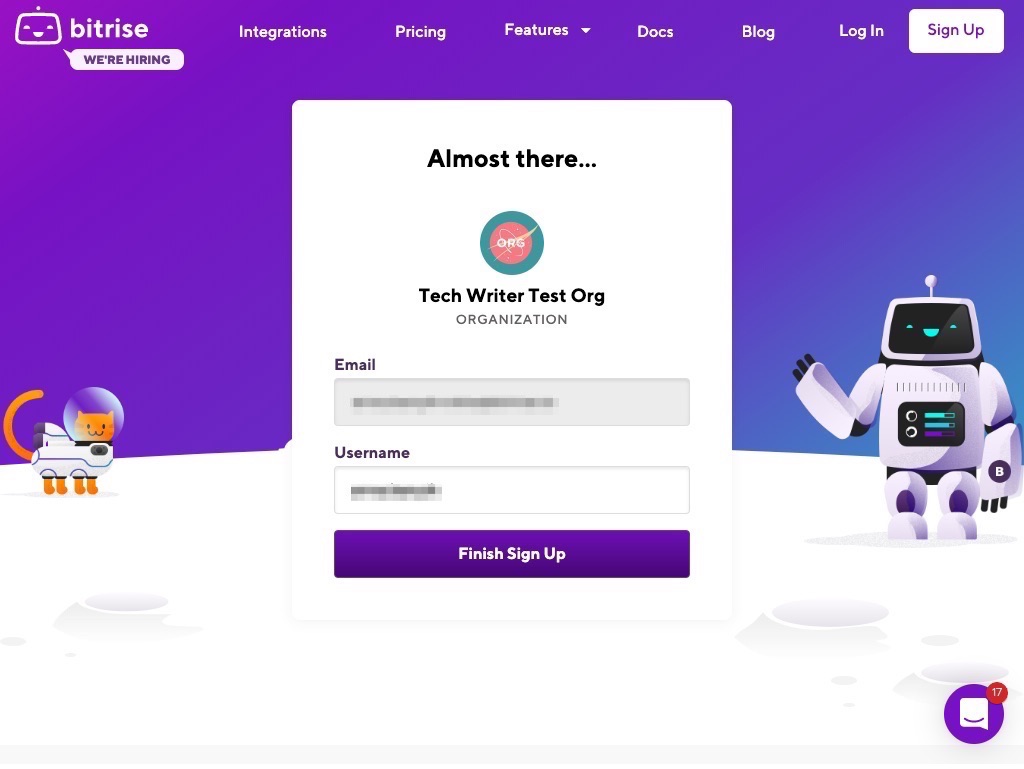
On the Almost there page the Email field is automatically populated based on your registered email address at your SAML SSO account. You can alter the provided Username as you wish.
-
Click Finish Sign Up.
-
Check your inbox for a confirmation email from Bitrise and follow the instructions there. If you haven’t received a confirmation email from us, click the Resend confirmation email button.
If all went well, you’re landed on your Bitrise Dashboard where you can view the Workspace’s apps! If you go to your Account Settings, you will see the Workspace you’ve just joined.