Creating white label app versions
You can create different versions of your white label project and build all or just one version by chaining Workflows and setting differences in Environment Variables.
This guide explains how to create different versions of your white label project and build all or just one version by chaining Workflows and setting differences in Environment Variables.
In this article, we’re building three individual versions (red, green, white) of our white label project.
What you’ll need for this setup:
-
A main Workflow that launches each version-specific Workflow.
-
One or more version-specific Workflow(s) where you can set all the parameters that distinguish your versions from each other.
-
A utility Workflow which describes your build logic, and refers to the version-specific options as parameters. Utility Workflows are Workflows that have an underscore before their Workflow ID. Utility Workflows cannot be executed with the
bitrise_runcommand: you need to reference them with thebefore_runorafter_runproperties. You can chain utility Workflows with your regular Workflows in the Workflow Editor.
Prepping Workflows of a white label app
-
Add your project to Bitrise in the usual way.
-
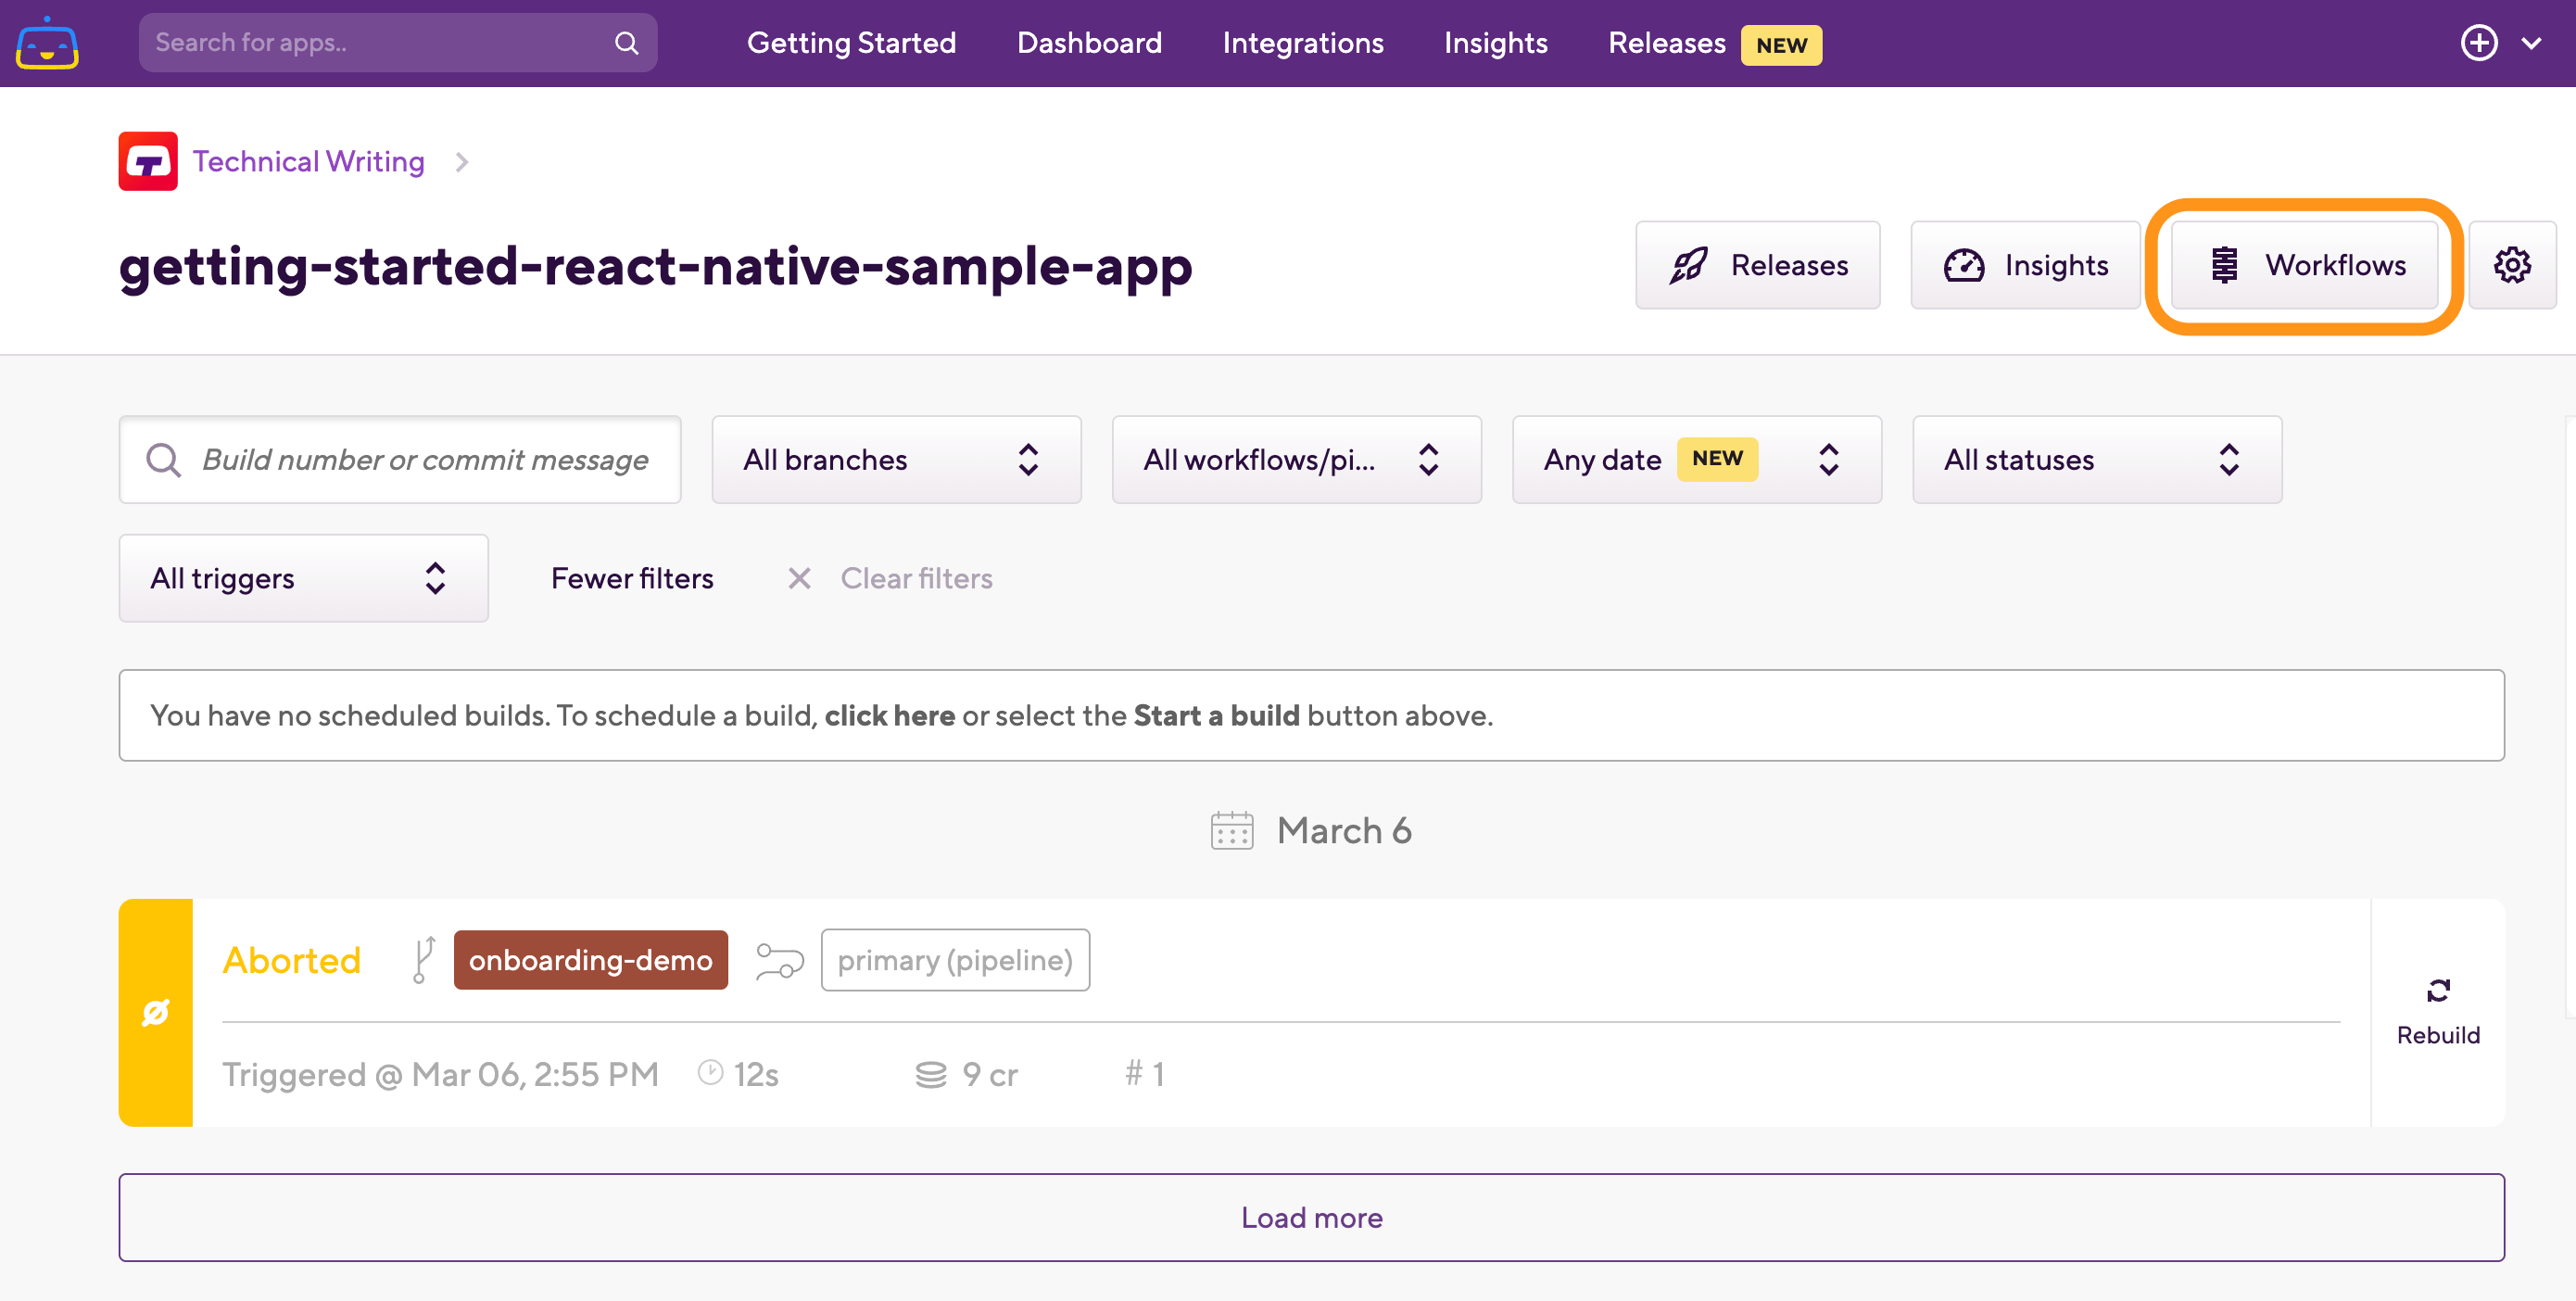
Select your project on the Bitrise CI page and click Workflows.
-
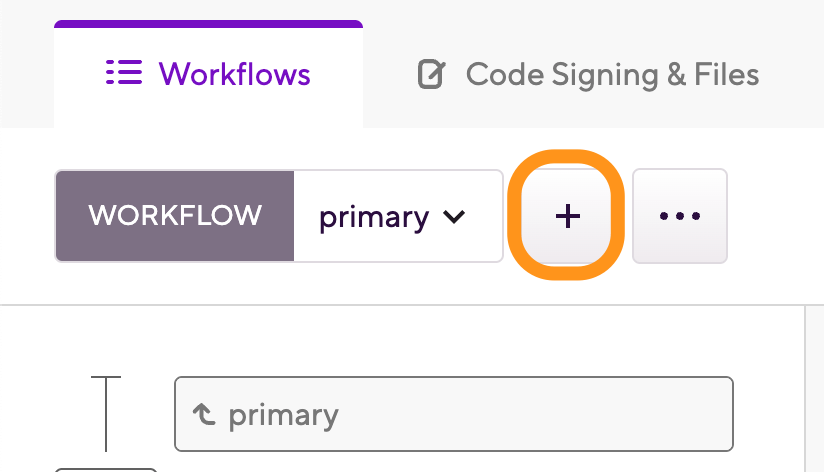
Open the dropdown menu of available Workflows and click Create Workflow to create your main Workflow.
-
Add a new Workflow based on an Empty Workflow.
In this example, our main Workflow is called allcolor. This Workflow will start running your version-specific Workflows in the chain.
-
Click + again to create your version-specific Workflow.
Keep adding as many Workflows as many different versions you wish to create.
-
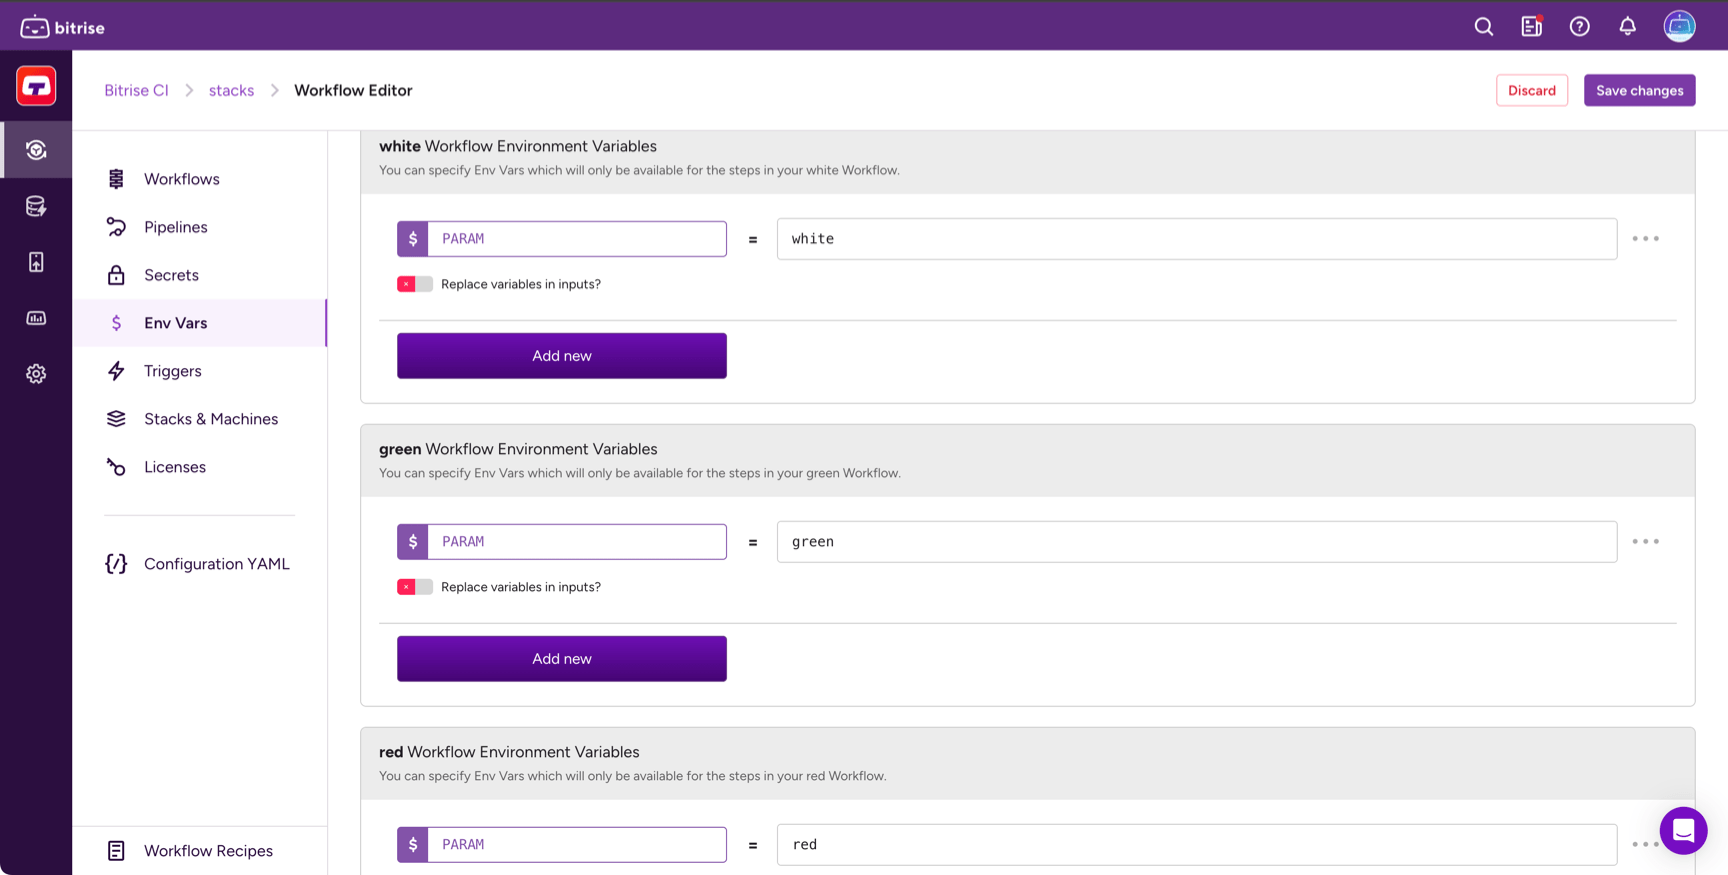
Select Env Vars on the left navigation menu and add your version-specific parameters to each Workflow you’ve just created.
In this example we’re adding Workflow Environment Variables to our green, red and white Workflows but leaving allcolor intact.
-
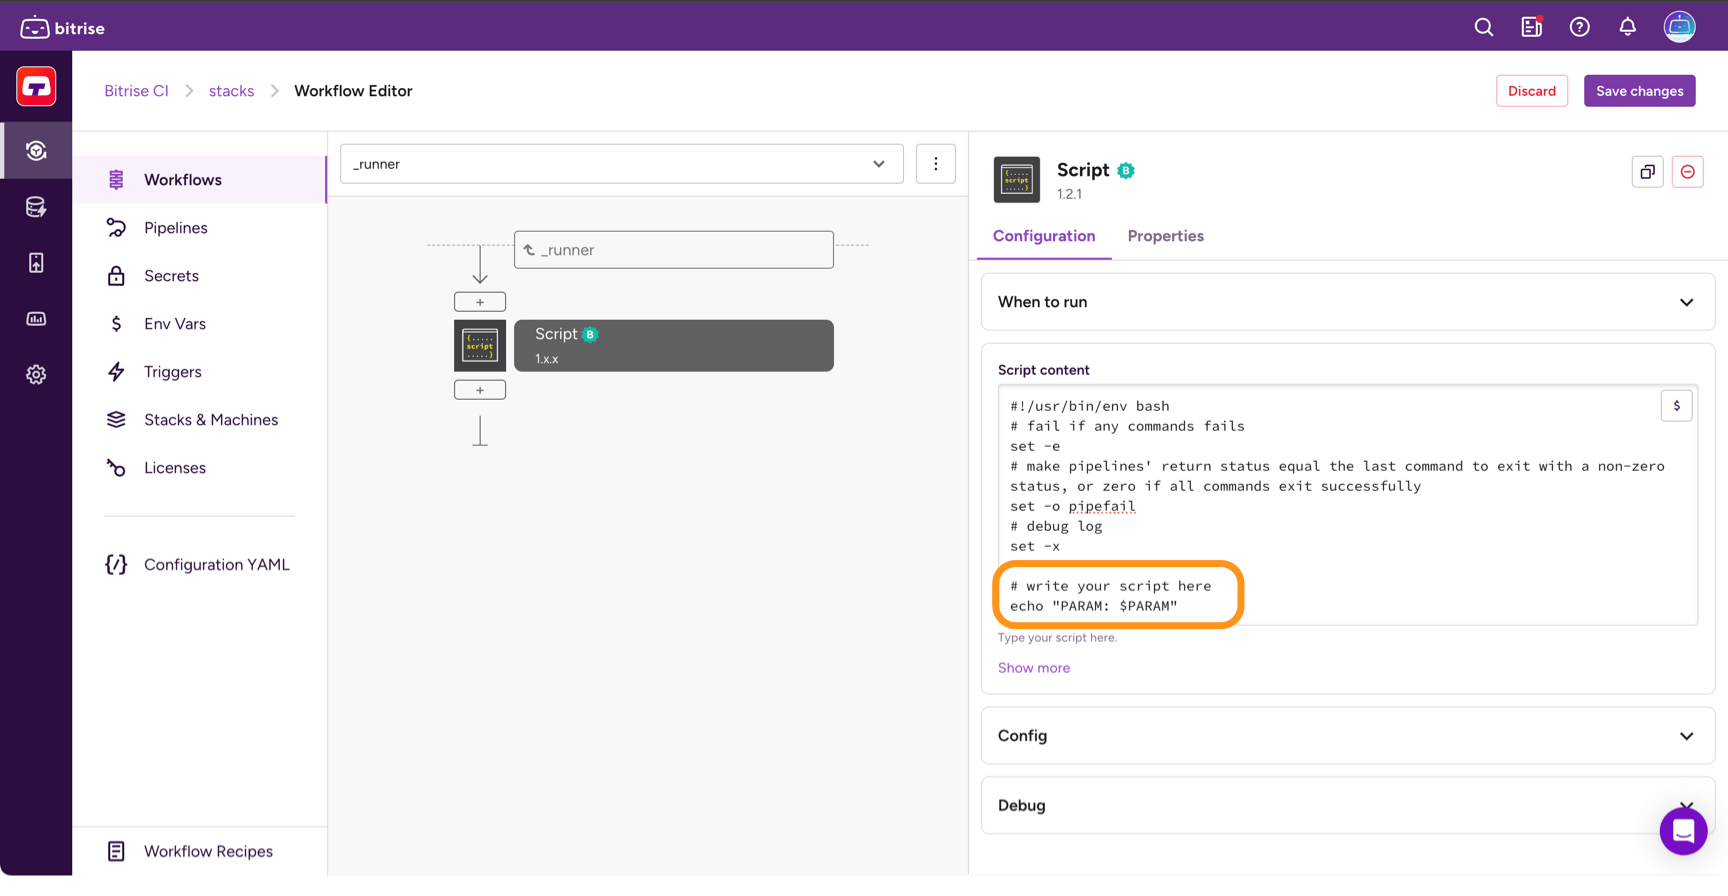
Go back to Workflows and create a utility Workflow.
Make sure you give a name that starts with an underscore, for example, _runner, otherwise Bitrise CLI will not treat it as a utility Workflow.
-
Add Steps to your utility Workflow.
In this example, we’re adding a Script Step which will inherit the Environment Variable from the Workflows and print out the value in the build log.
Chaining Workflows for a white label app
Now that we have a bunch of Workflows ready, it’s time to chain them together in the right order.
-
Select your main Workflow (allcolor in this example). This is the Workflow that should be triggered by your build triggers.
-
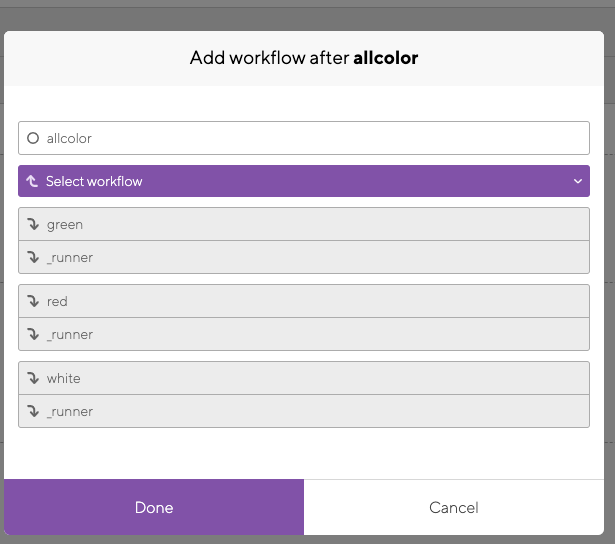
Click the vertical ellipsis next to the Workflow's name and select Chain Workflows. Select a version Workflow (for example, white) and click Add after.
-
Add each version-specific Workflow the same way (such as white, green, and red in our example) and add your utility Workflow after each of them, as seen in this image:
-
Go back to your Build’s page and click Start build.
-
In the Build configuration dialog, select your main Workflow under Workflow. This will kickstart your chained Workflows and build the app versions of your white label app.