Running lint checks for your Android apps
On Bitrise, you can run lint checks with our dedicated Step called Android Lint. It runs the same lint function that is built into Android Studio. To perform lint checks, you don't need to write test cases or execute your app.
Android Studio provides a code scanning tool called lint that can help you identify and correct problems with the structural quality of your code. When using Android Studio, configured lint checks run automatically when building your app. Lint checks don't require test cases.
On Bitrise, you can run lint checks with our dedicated Step called Android Lint. To do so:
Workflow Editor
Configuration YAML
-
Add the Android Lint Step to your Android app's Workflow.
It should come before any Step that builds your app (for example, Android Build), if you have such a Step in your Workflow.
-
Make sure the Project Location input points to the root directory of your Android project, where the top level
build.gradlefile is located. -
In the Module and Variant inputs, specify the module and variant of the app you want to check.
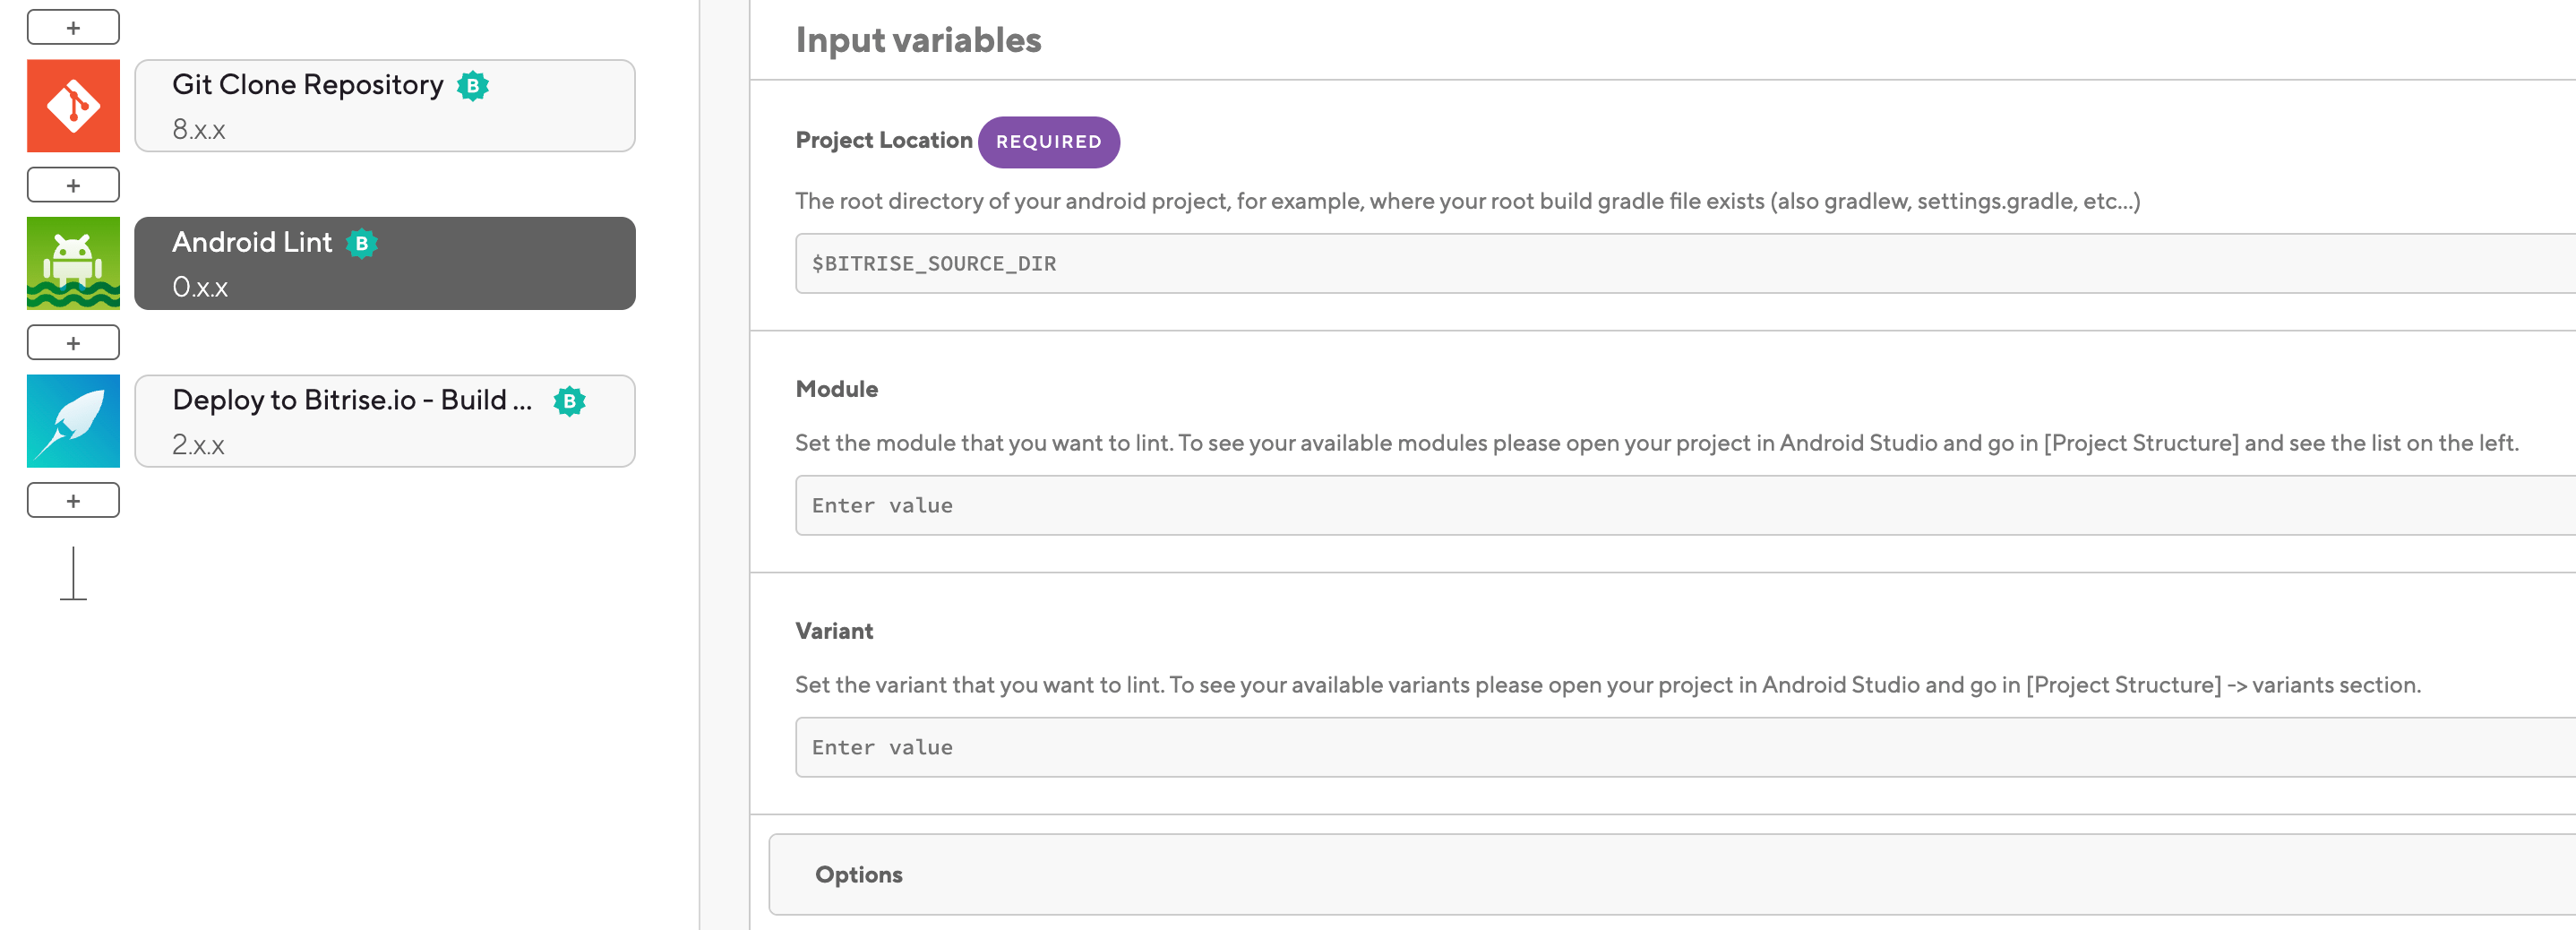
If you are unsure about the exact names of modules and variants in your project, you can check them in the Project view in Android Studio.
-
In the Options input group, the Report location pattern input allows you to specify where the lint report should be found once the Step has run.
The input accepts asterisks as a wildcard. You can set the input to return the results either as html or xml.
-
In the Options input group, the Additional Gradle Arguments input allows you to pass arguments to the Gradle task.
-
In the Configuration YAML file, add the
android-lintStep to your Android app's Workflow.It should come before any Step that builds your app (for example, Android Build), if you have such a Step in your Workflow.
my-workflow: steps: - git-clone: {} - android-lint: -
Make sure the
project_locationinput points to the root directory of your Android project, where the top levelbuild.gradleorbuild.gradle.ktsfile is located.my-workflow: steps: - git-clone: {} - android-lint: inputs: - project_location: $BITRISE_SOURCE_DIR -
In the
moduleandvariantinputs, specify the module and variant of the app you want to check.If you are unsure about the exact names of modules and variants in your project, you can check them in the Project view in Android Studio.
my-workflow: steps: - git-clone: {} - android-lint: inputs: - module: module - variant: variant - project_location: $BITRISE_SOURCE_DIR -
The
report_path_patterninput allows you to specify where the lint report should be found once the Step has run.The input accepts asterisks as a wildcard. You can set the input to return the results either as html or xml.
my-workflow: steps: - git-clone: {} - android-lint: inputs: - module: module - variant: variant - report_path_pattern: '*/build/reports/lint-results*.xml' - project_location: $BITRISE_SOURCE_DIR -
The
argumentinput allows you to pass arguments to the Gradle task.my-workflow: steps: - git-clone: {} - android-lint: inputs: - module: module - variant: variant - report_path_pattern: '*/build/reports/lint-results*.xml' - argument: arg - project_location: $BITRISE_SOURCE_DIR