Adding a Visual Studio webhook
You can specify webhooks in Visual Studio so that Bitrise automatically triggers a build of your app whenever you perform a specified action, such as a code push or a pull request.
You can set up webhooks so that Bitrise automatically triggers a build of your app whenever you perform a specified action, such as a code push or a pull request. For Visual Studio, all you have to do is register your bitrise-webhooks URL for a visualstudio.com project as a Service Hooks integration.
-
Open your project on Bitrise with a user that has the Admin role on the project.
-
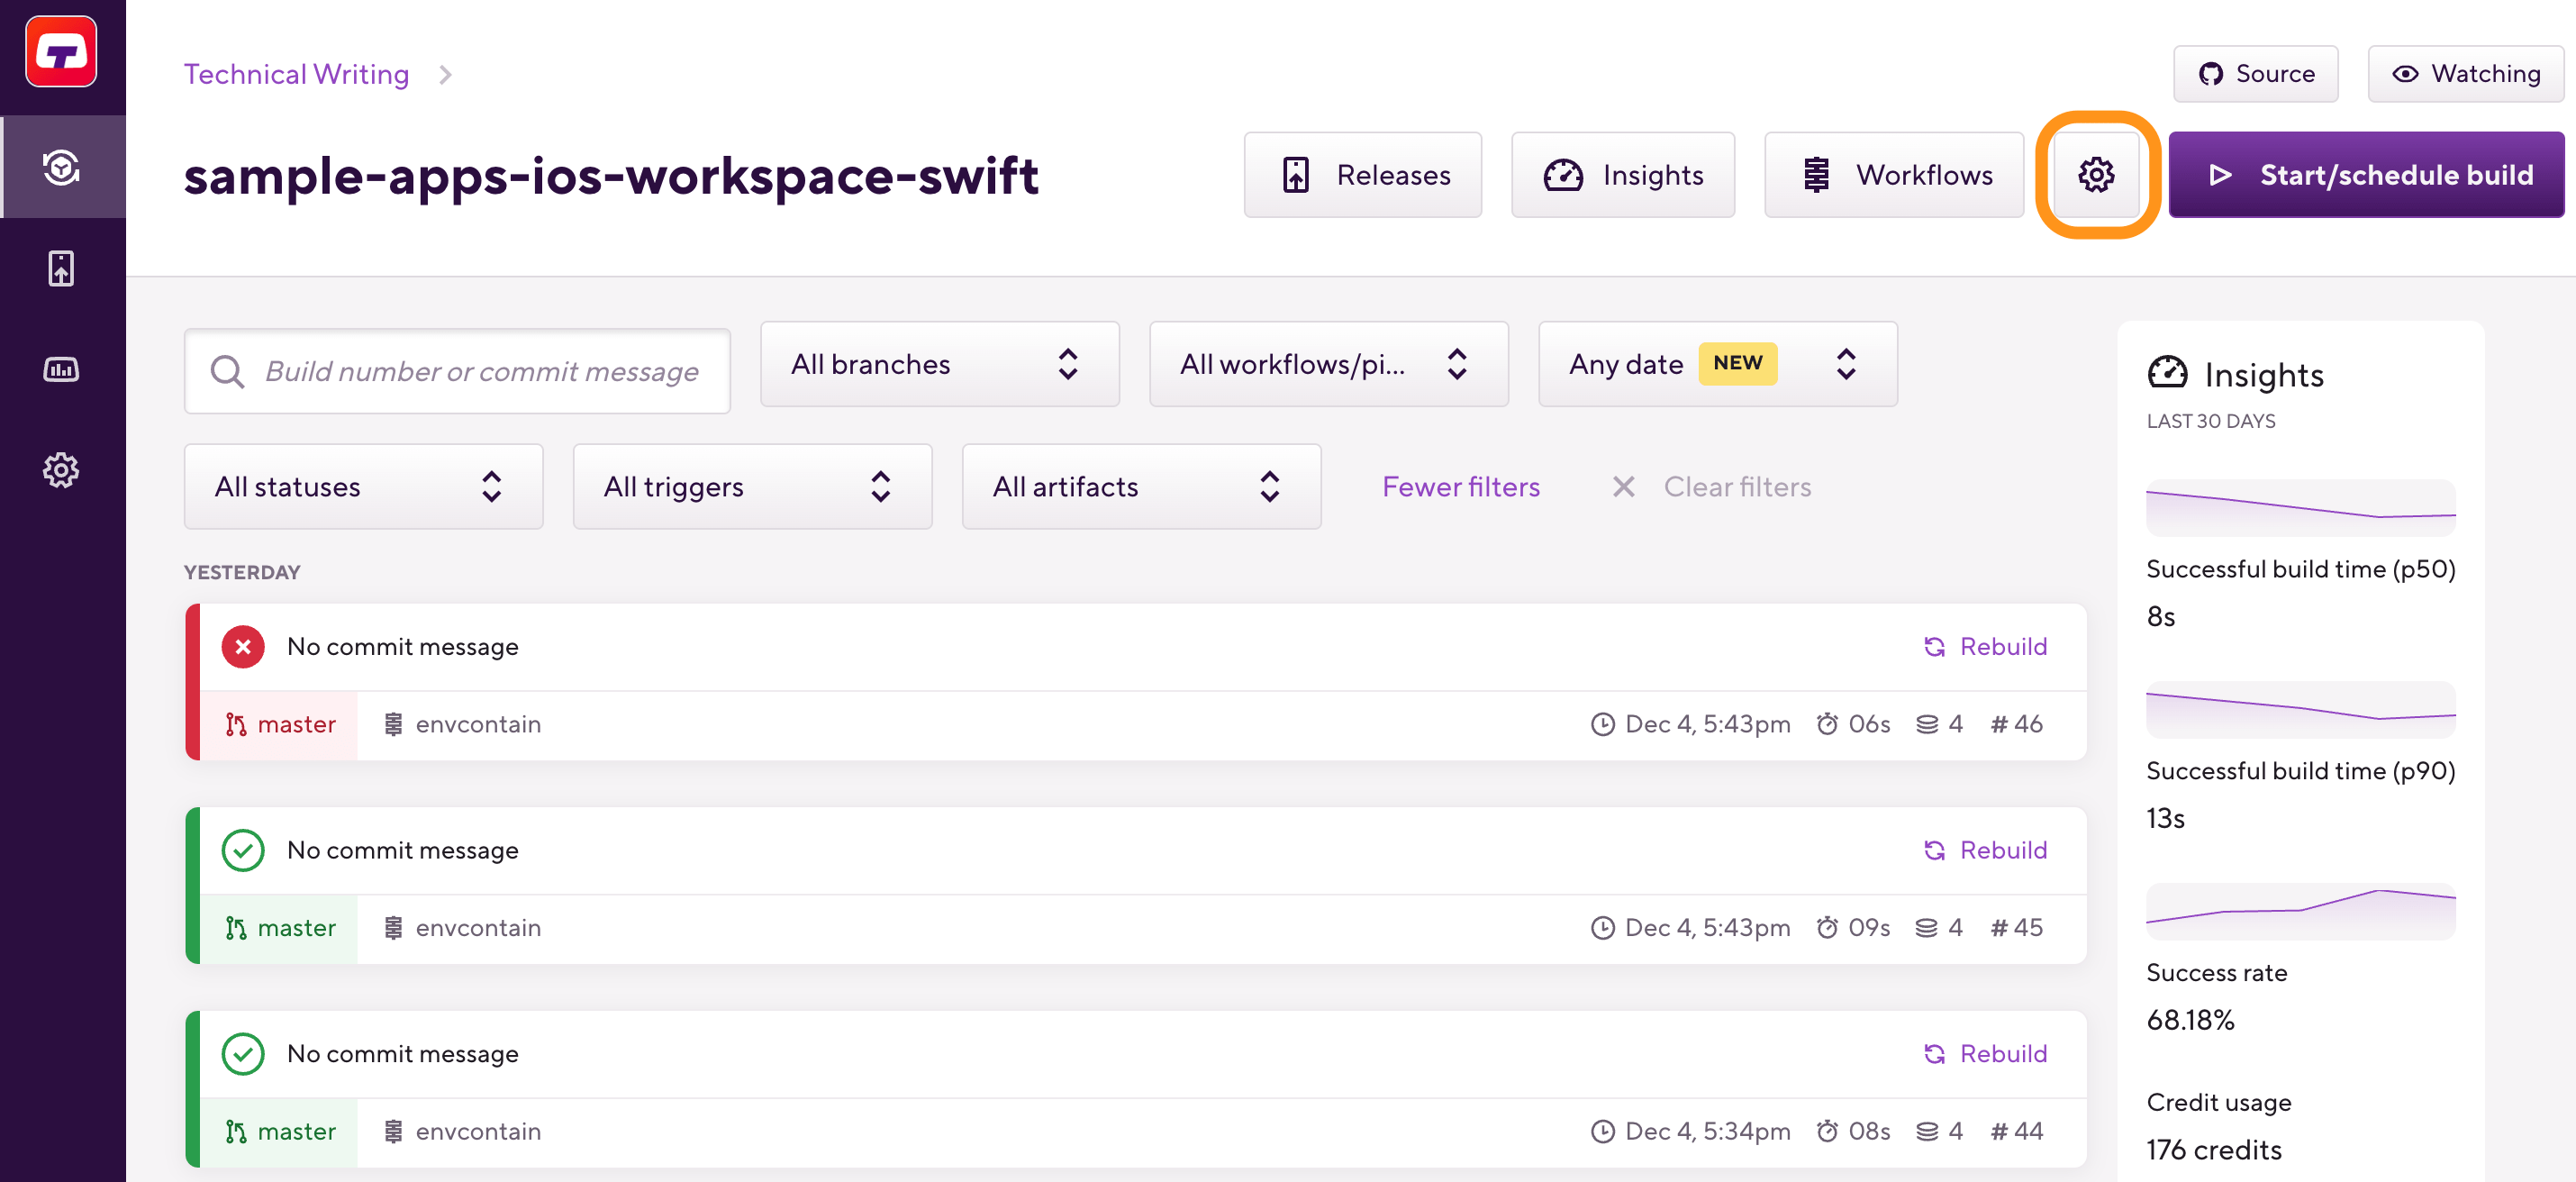
On the main page of the project, click on the Project settings button.
-
On the left, select Integrations and then the Webhooks tab.
-
Find the Incoming webhooks section and open Manual webhooks.
-
In the pop-up window, select Visual Studio Online from the dropdown menu.

-
Copy the webhook URL.
-
Open your project on visualstudio.com.
-
Go to the Admin/Control pane of the project.
-
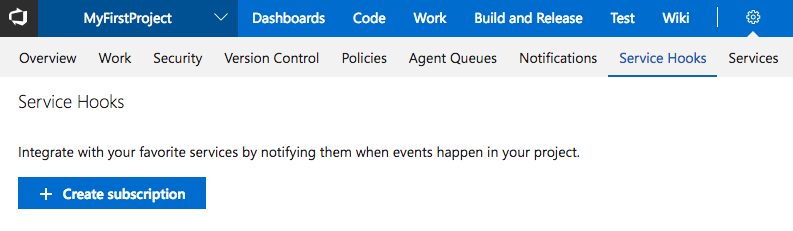
Select Service Hooks.
-
Click Create subscription.
-
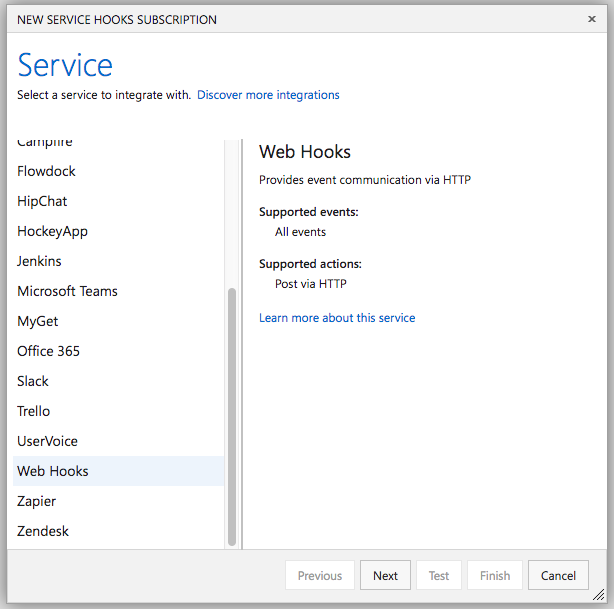
Create a service integration:
-
In the Service list select the Web Hooks option.
-
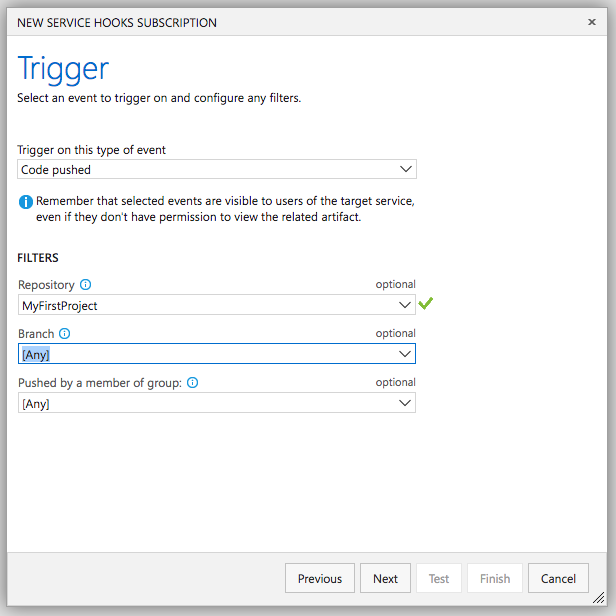
Select the Code pushed event as the Trigger.
-
In the Filters section select the Repository you want to integrate.
-
You can leave the other filters on default.
-
Click Next.
-
On the Action setup form enter the
bitrise-webhooksURL (.../h/visualstudio/BITRISE-APP-SLUG/BITRISE-APP-API-TOKEN) in the URL field. You can leave every other option on default.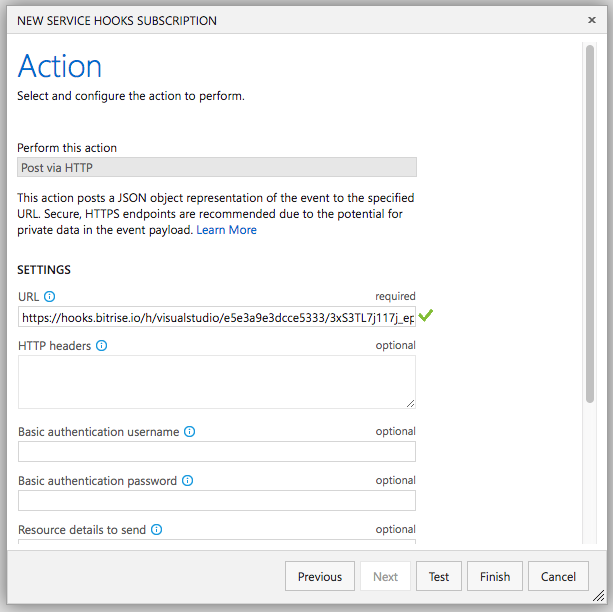
-
-
Click Finish.