Adding a Bitbucket webhook
You can specify webhooks on Bitbucket so that Bitrise automatically triggers a build of your app whenever you perform a specified action, such as a code push or a pull request.
To have Bitrise automatically start a build every time you push code into your repository, you can set up a webhook at your code hosting service which will automatically trigger a build on Bitrise with the code you push to your repository.
In addition, you can take advantage of Git Insights if you set up the webhook with the necessary permissions. Git Insights enables you to quantify and optimize Git collaboration. It provides crucial metrics like pull request cycle time and merge frequency.
You can register a webhook either automatically or manually. This guide walks you through the process of manually registering a Bitbucket webhook.
-
Open your project on Bitrise with a user that has the Admin role on the project.
-
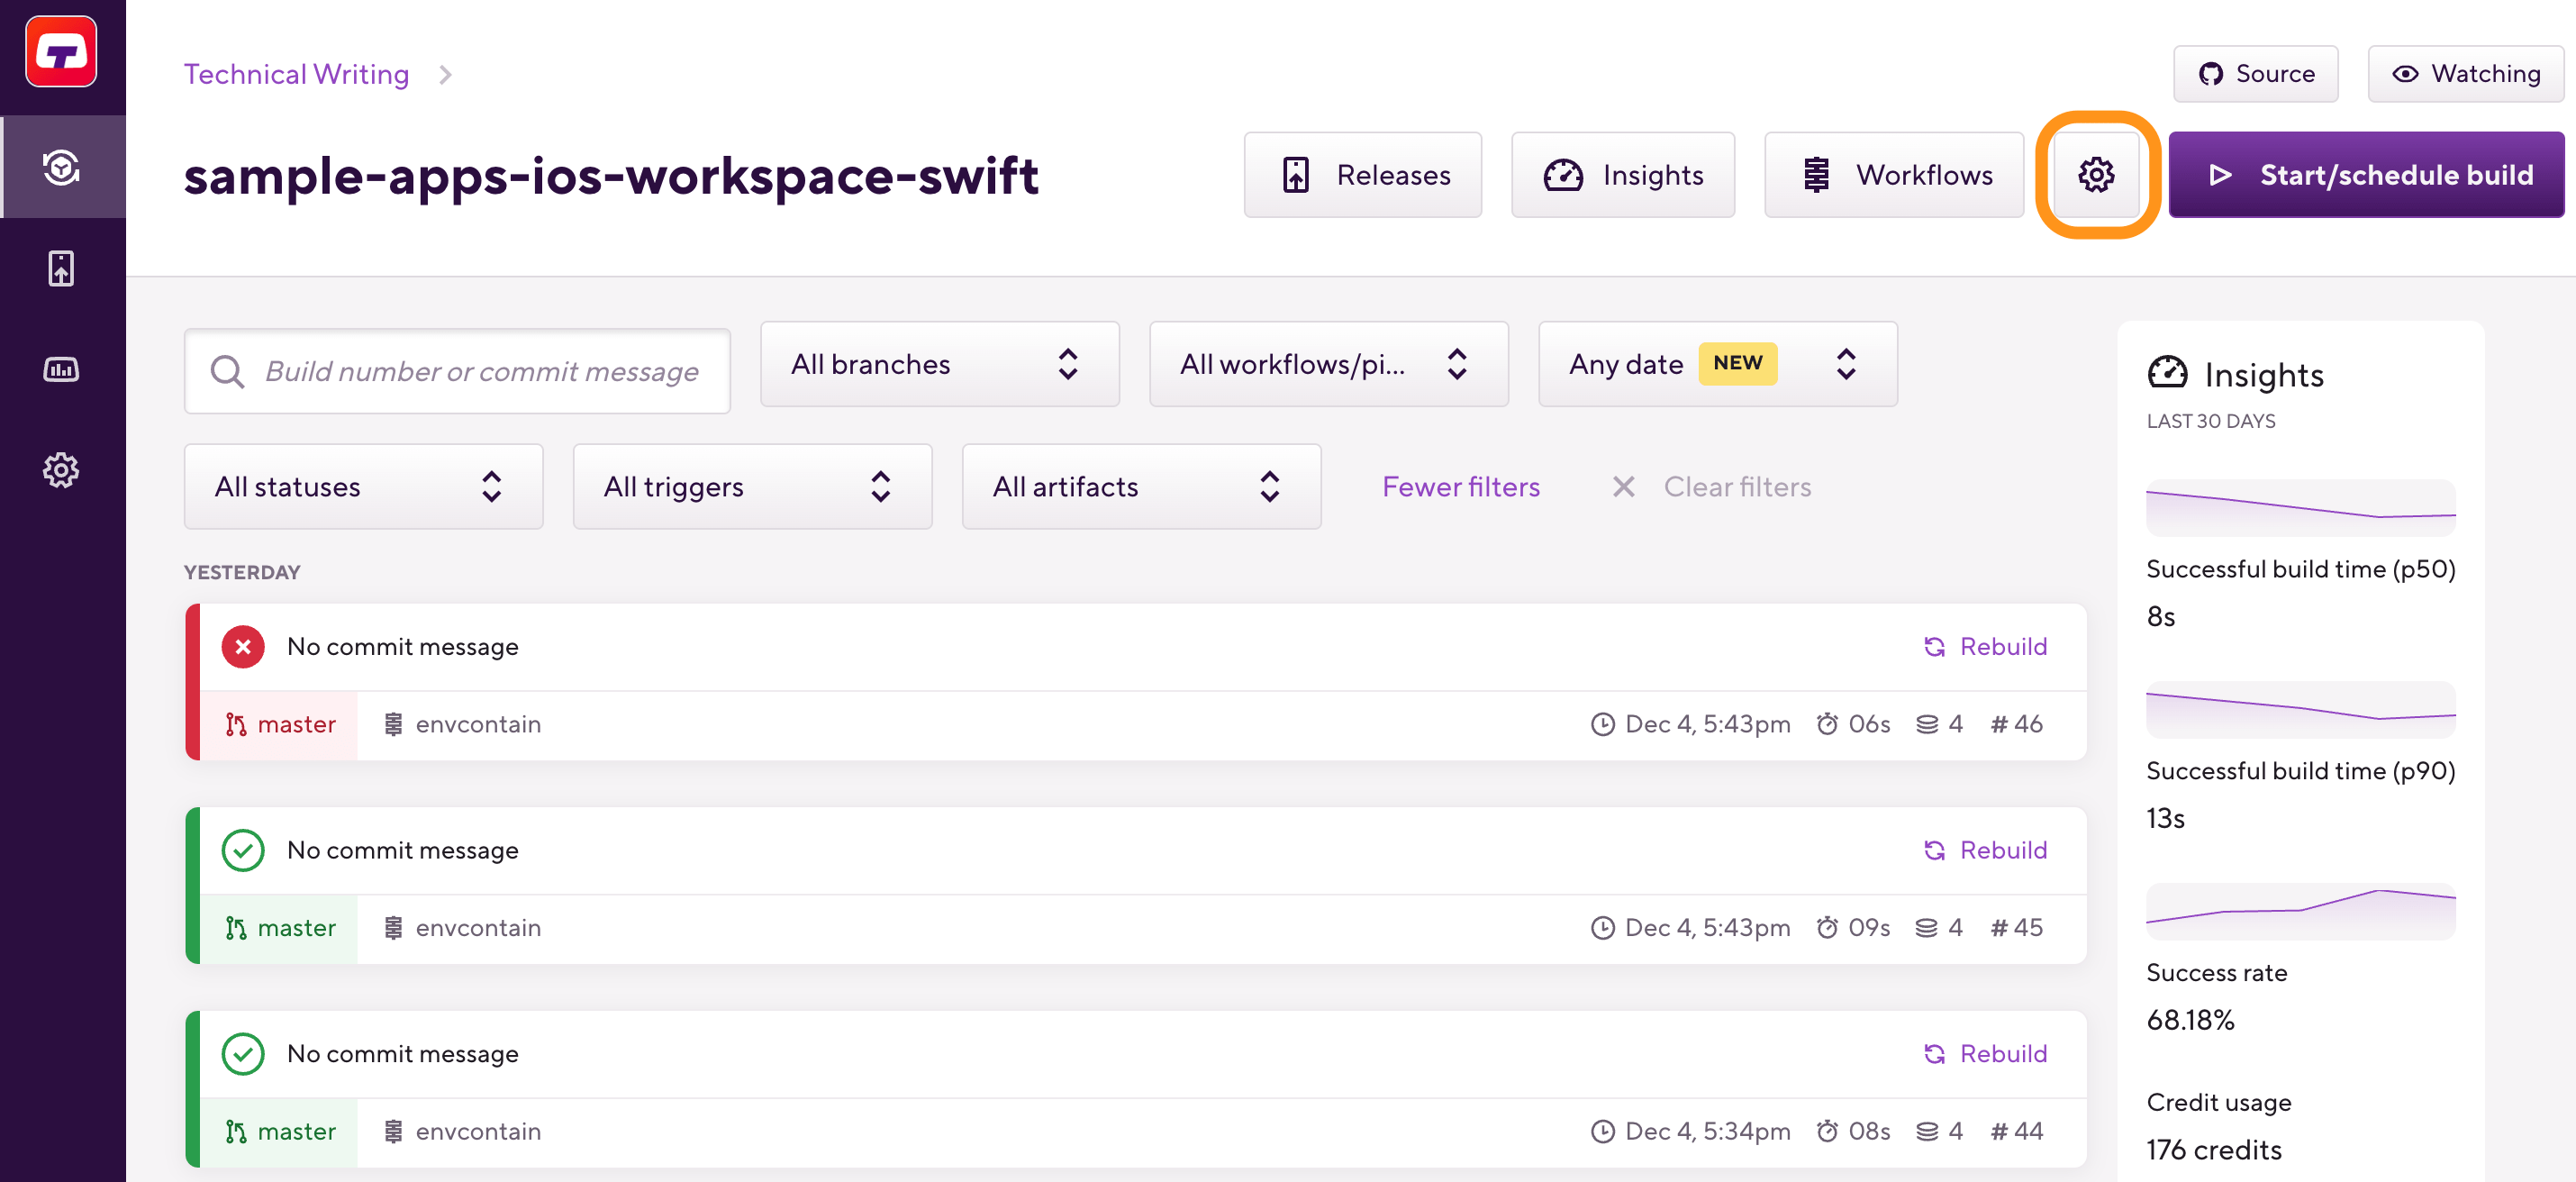
On the main page of the project, click on the Project settings button.
-
On the left, select Integrations and then the Webhooks tab.
-
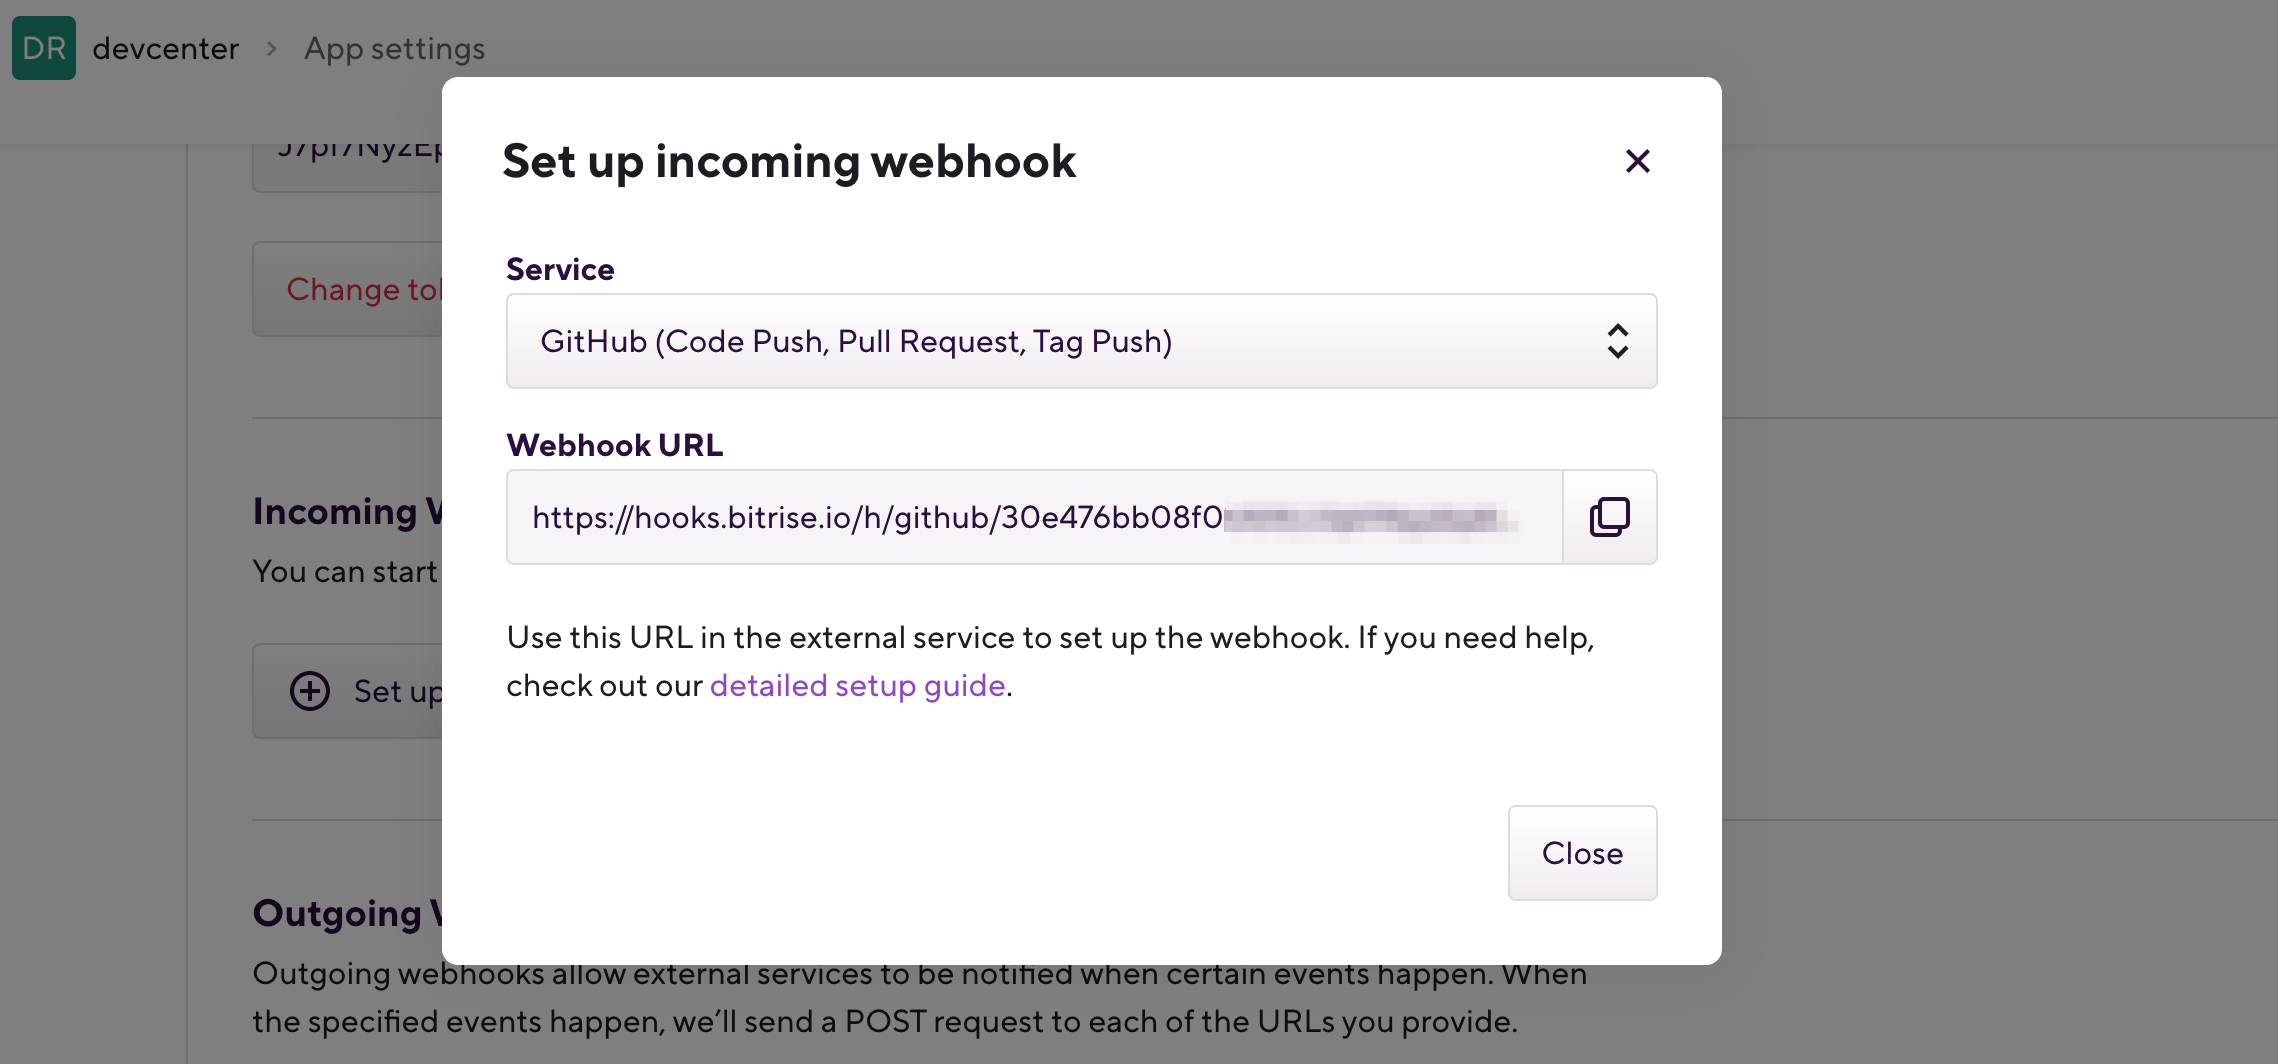
Find the Incoming webhooks section and open Manual webhooks.
-
Select Bitbucket Webhooks from the dropdown menu.
-
Copy the webhook URL.
-
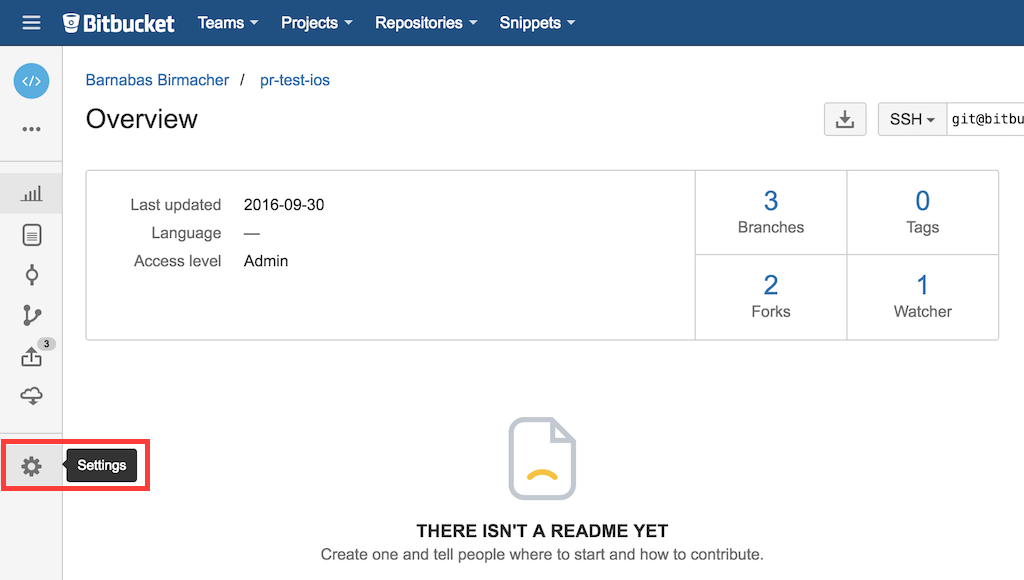
Navigate to your Bitbucket repository and select Settings.
-
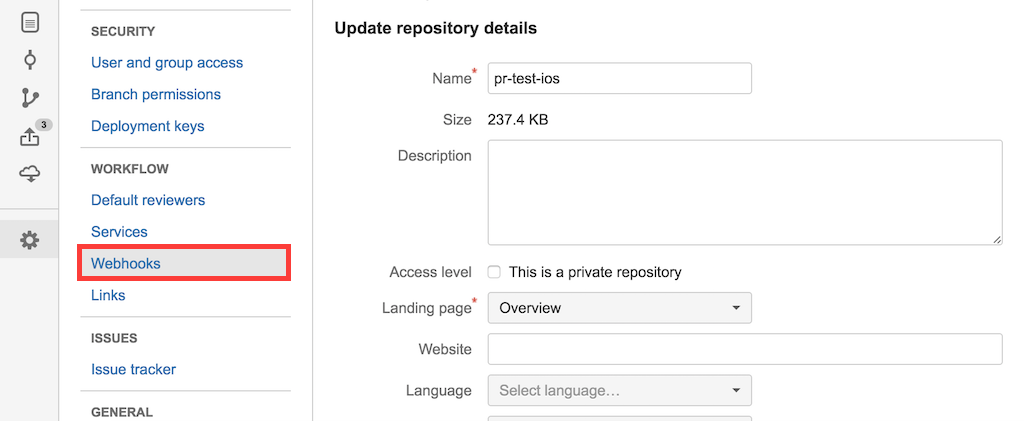
Select Webhooks from the left.
-
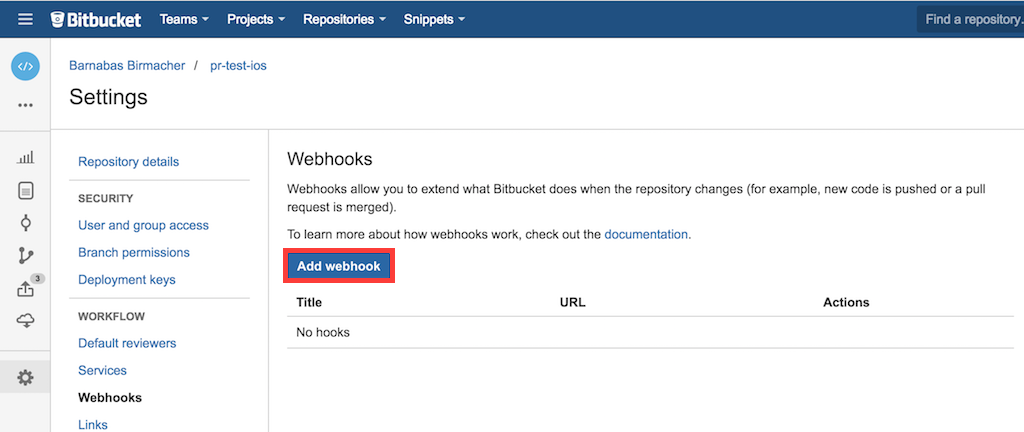
Select Add Webhook.
-
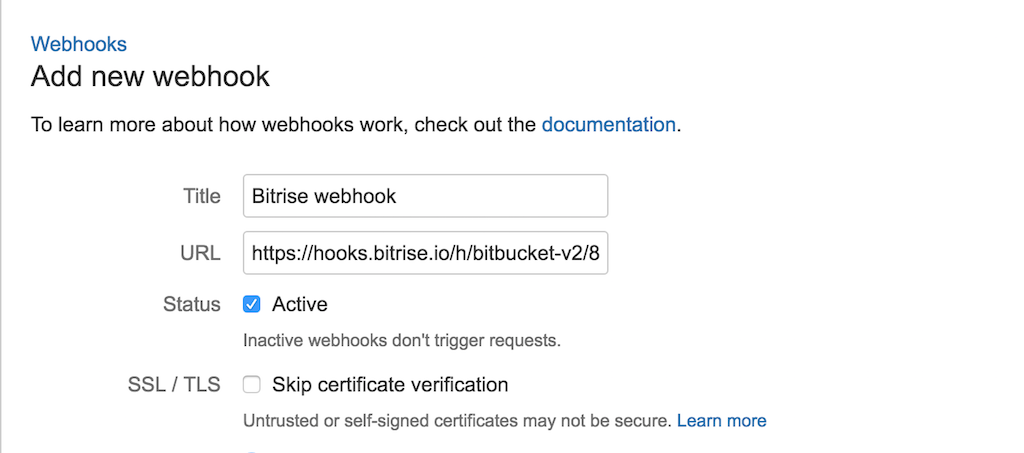
Paste the Bitbucket Webhook URL from Bitrise to the URL and add a Title.
-
Select Choose from a full list of triggers.

-
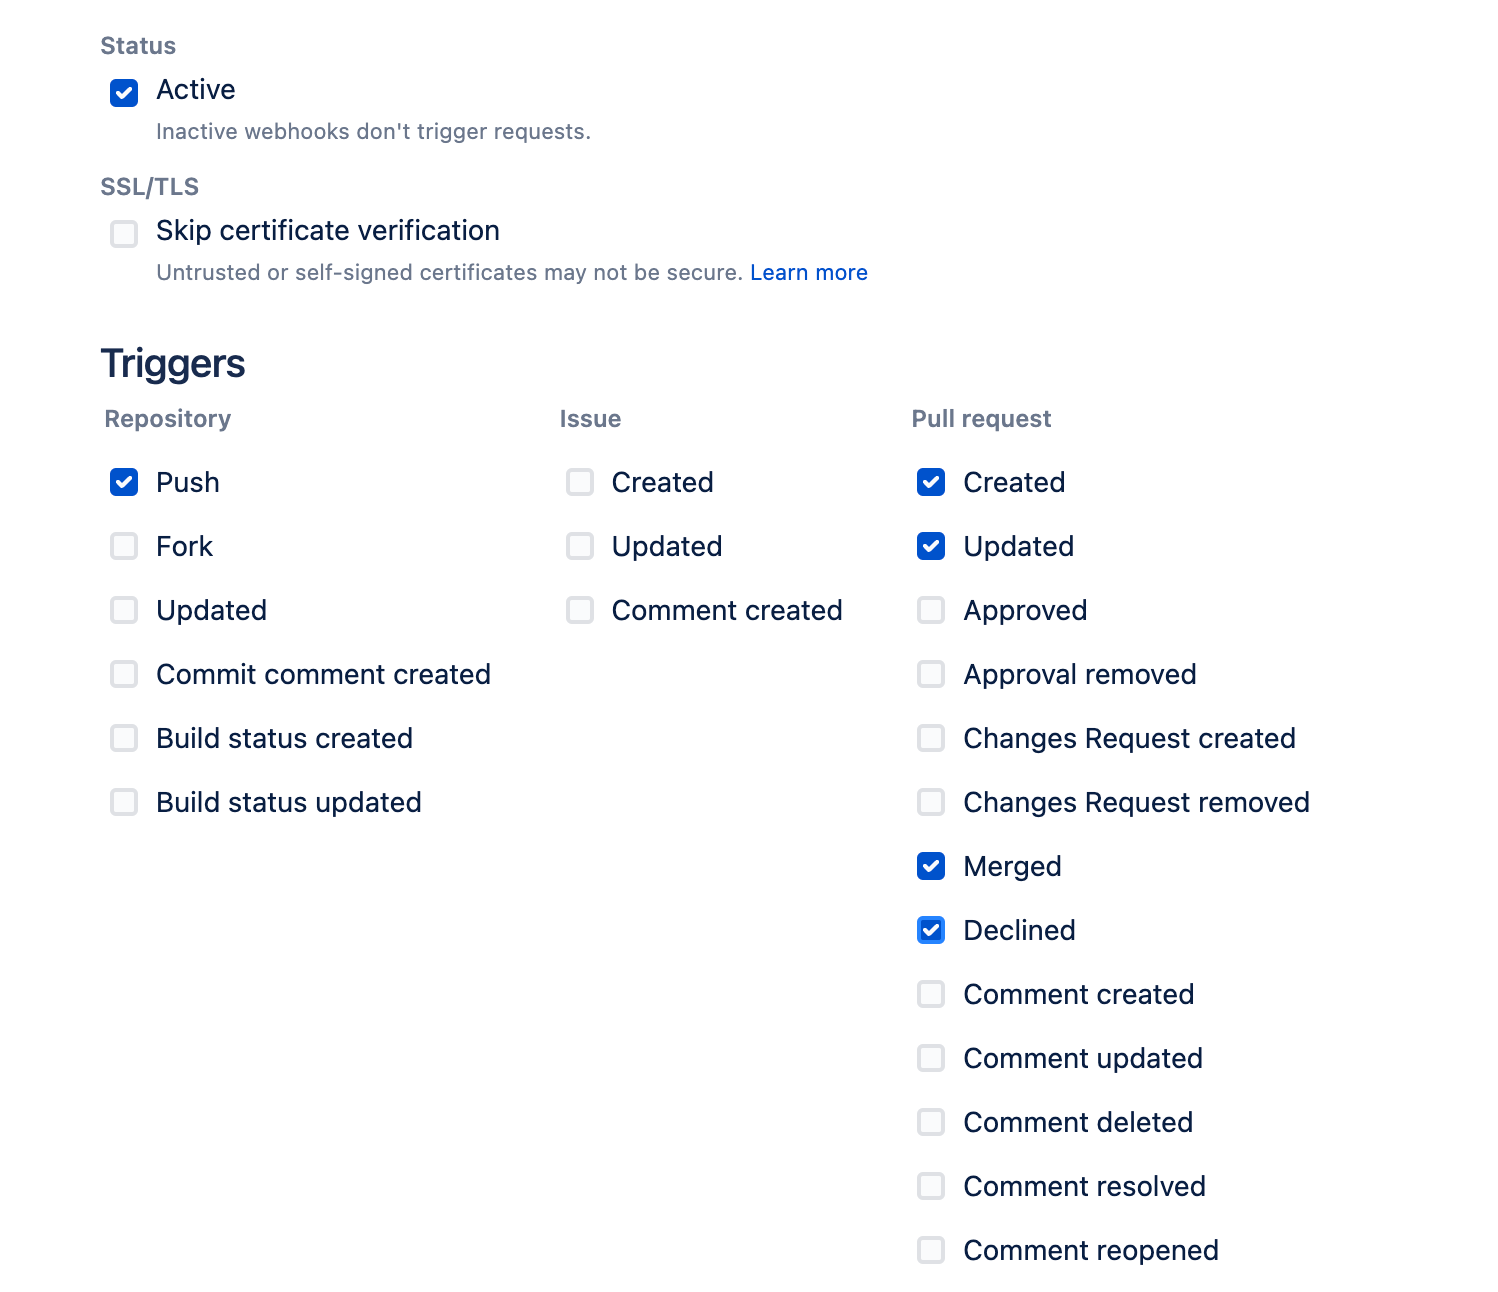
Select the necessary permissions:
-
For automatically triggering builds, you just need to select Push from the Repository permissions, and Created, Updated and Comment created and Comment updated from the Pull Request permissions.
-
For Git Insights, you need everything you need, in addition to the above, Merged and Declined from the Pull Request permissions.
-