Step bundles
Step bundles allow you to reuse Steps and sequences of Steps in any Workflow in a convenient way, without having to manually copy and paste Steps from a YAML file.
Step bundles allow you to group multiple Steps into a single unit. With Step bundles, you can reuse Steps and sequences of Steps without manually copying and pasting from a YAML configuration file.
Step bundles are configured with a root level entity called step_bundles. You can insert Step bundles into any Workflow. Unlike utility Workflows and Workflow chaining, Step Bundles can
be placed anywhere in a Workflow.
When running a build, each Step within the bundle will run at the position the bundle is inserted.
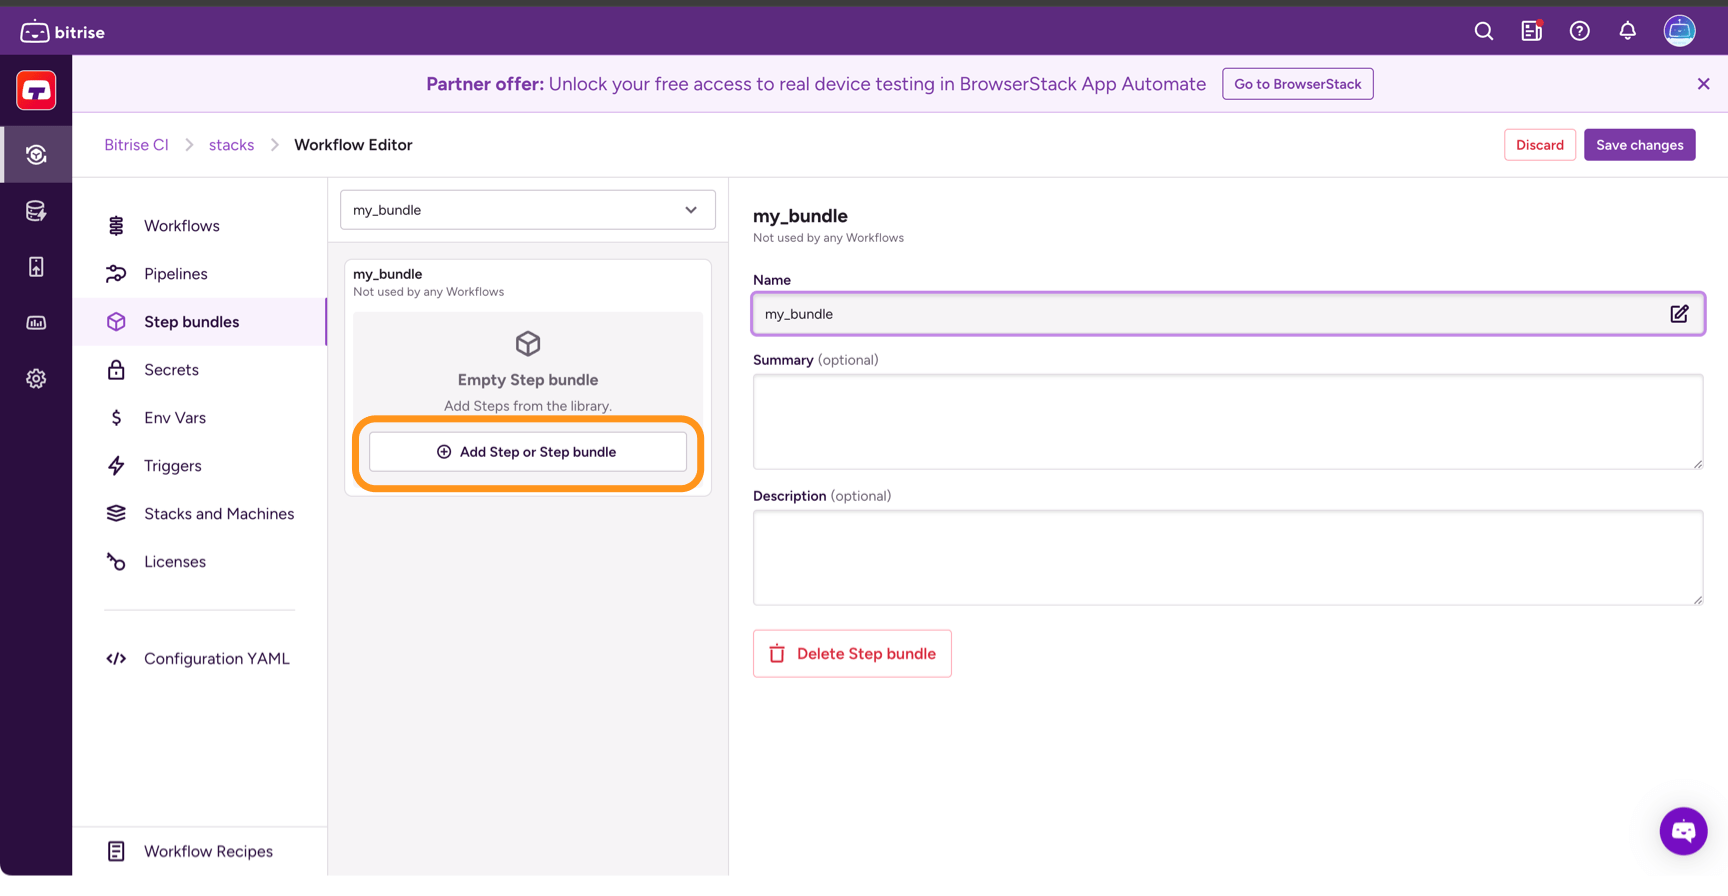
Creating a Step bundle
Workflow Editor
Configuration YAML
-
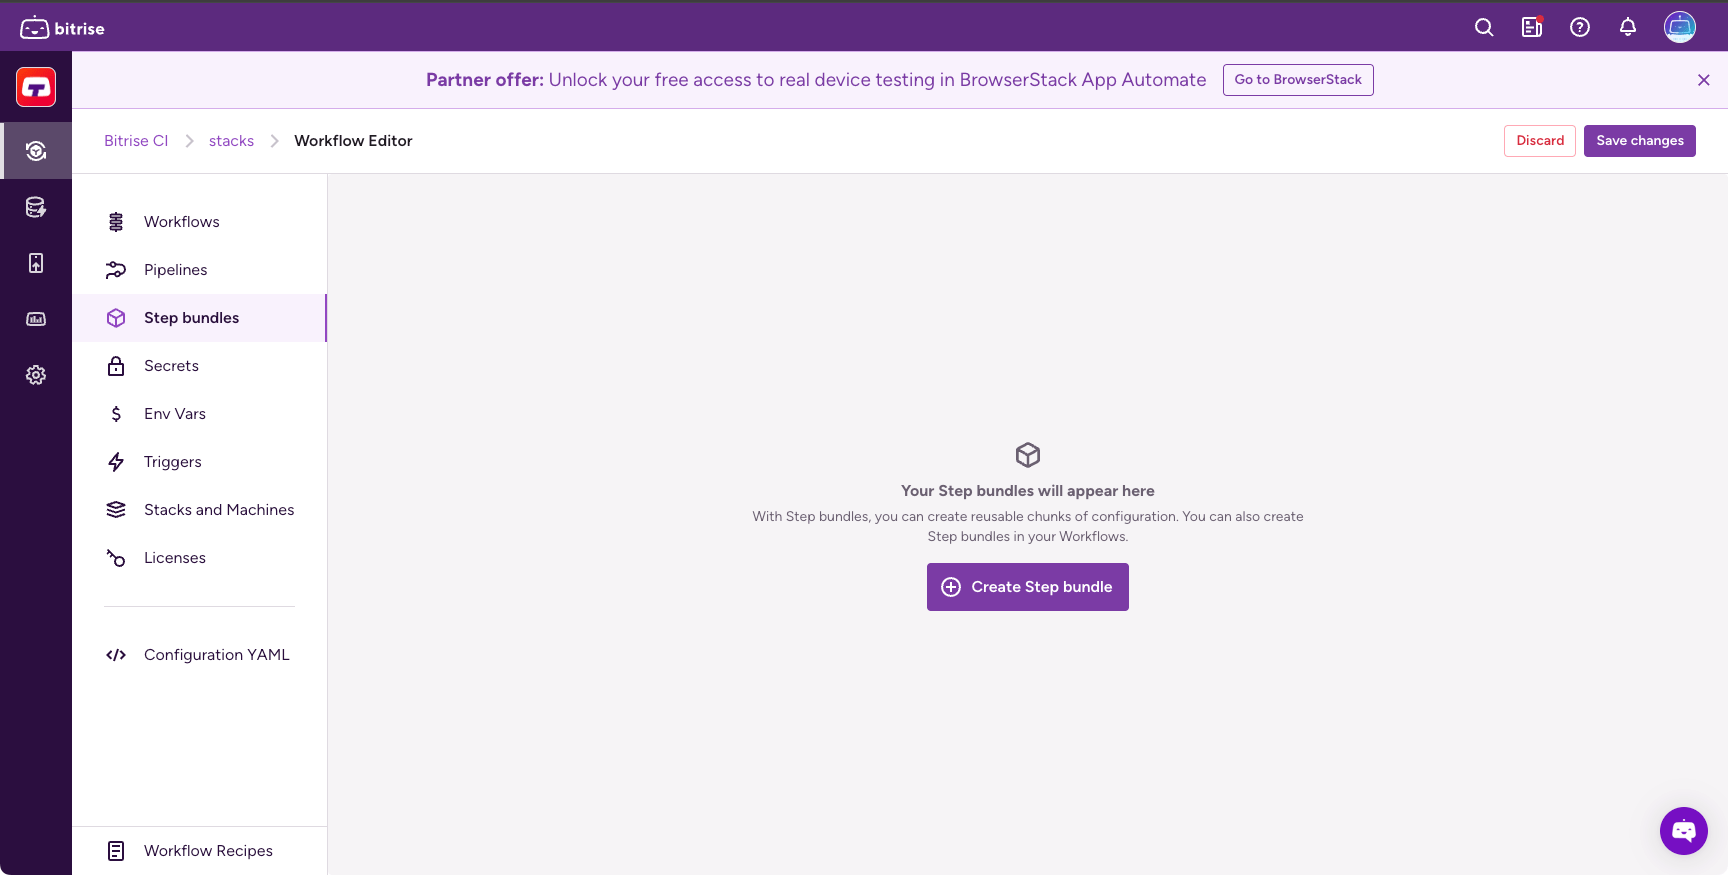
Open the Workflow Editor.
-
On the left, select Step bundles.
-
Click if you don't have any bundles.
If you already have at least one Step bundle, open the dropdown menu in the middle and click Create Step bundle.
-
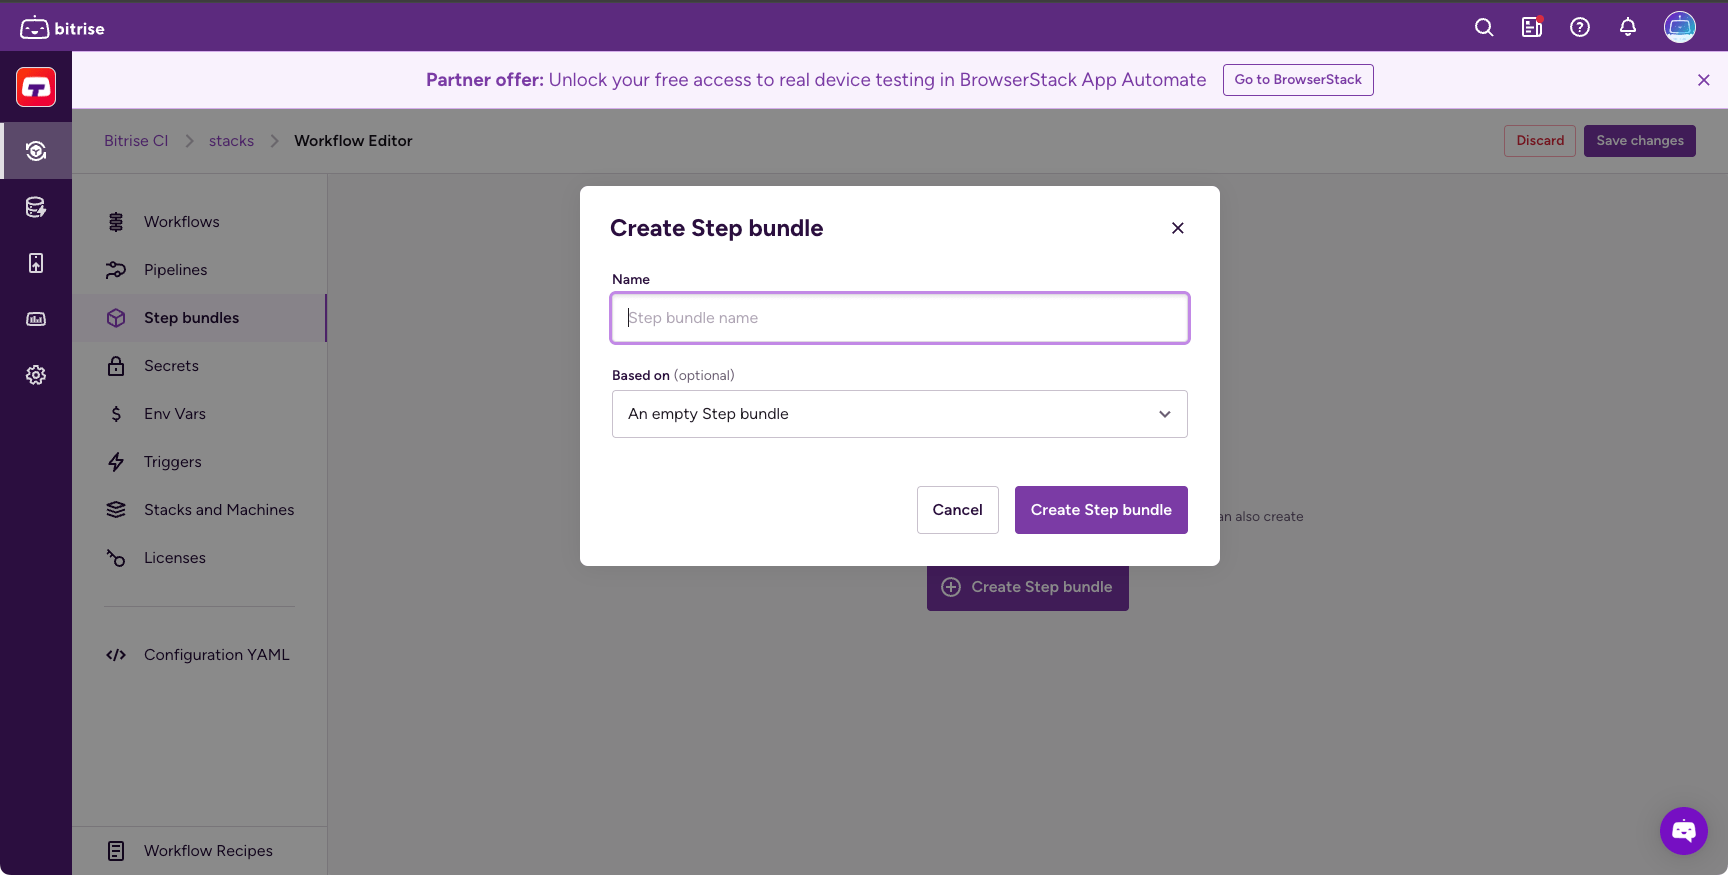
In the dialog, provide a name for your bundle.
-
If you have existing Step bundles, you can select one from the dropdown menu: your new Step bundle will be a copy of the existing one.
-
When done, click .
-
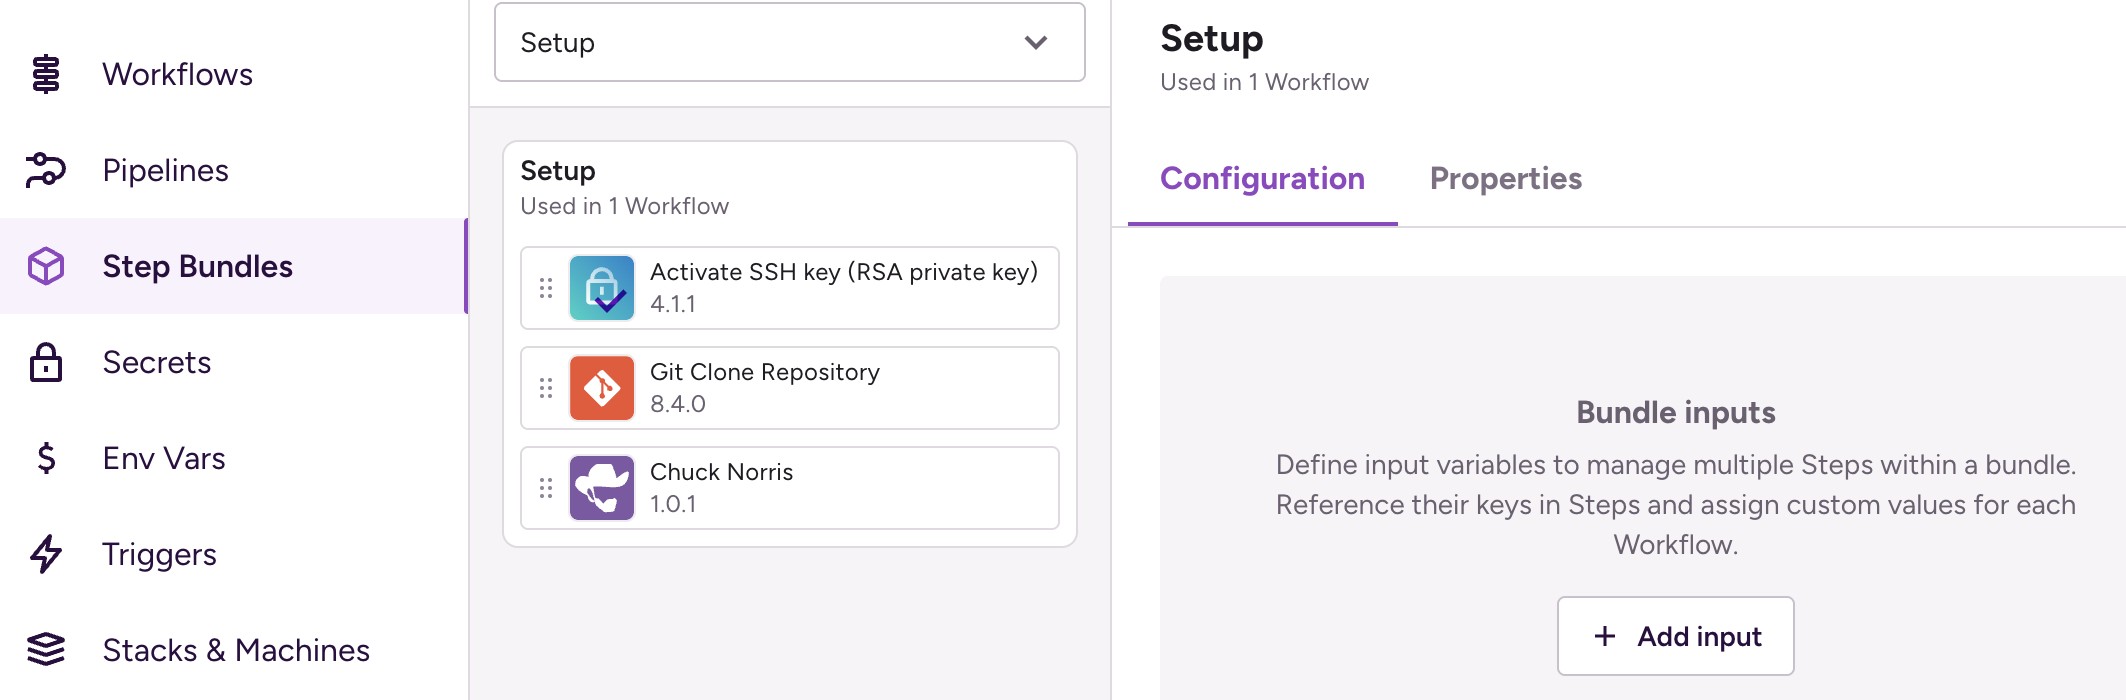
Add your first Step by clicking .
Adding a Step bundle within another Step bundle is called nesting: Nested Step bundles.
-
Add additional Steps or bundles by hovering above or under an already added Step or bundle and clicking on the plus sign.
-
Configure new bundle inputs under the Configuration tab by clicking + Add input. In the New bundle input dialog you can define input variables to manage multiple Steps within a bundle. Reference their keys in Steps and assign custom values for each Workflow.
-
Add a
step_bundlesentity to the top level of the YAML file and give it a name. You will refer to the bundle by this name.format_version: 11 step_bundles: install_deps:
-
Add a
stepsproperty under your bundle and add the Steps you want to run. You can reference Steps here the same way as in a Workflow.In this example, we add the restore-cache Step and an
npmStep.format_version: 11 step_bundles: install_deps: steps: - restore-cache@1: {} - npm@1: {} -
Add your Step bundle to an existing Workflow. The syntax works like this:
bundle::<bundle-name>.workflows: ci: steps: - [email protected]: {} - bundle::install_deps: {} - deploy-to-bitrise-io@2: {}
Creating a Step bundle based on a utility Workflow
You can create a Step bundle based on a utility Workflow. The bundle will contain all the Steps that were part of the utility Workflow. But unlike a utility Workflow, you can place the Step bundle anywhere within another Workflow.
-
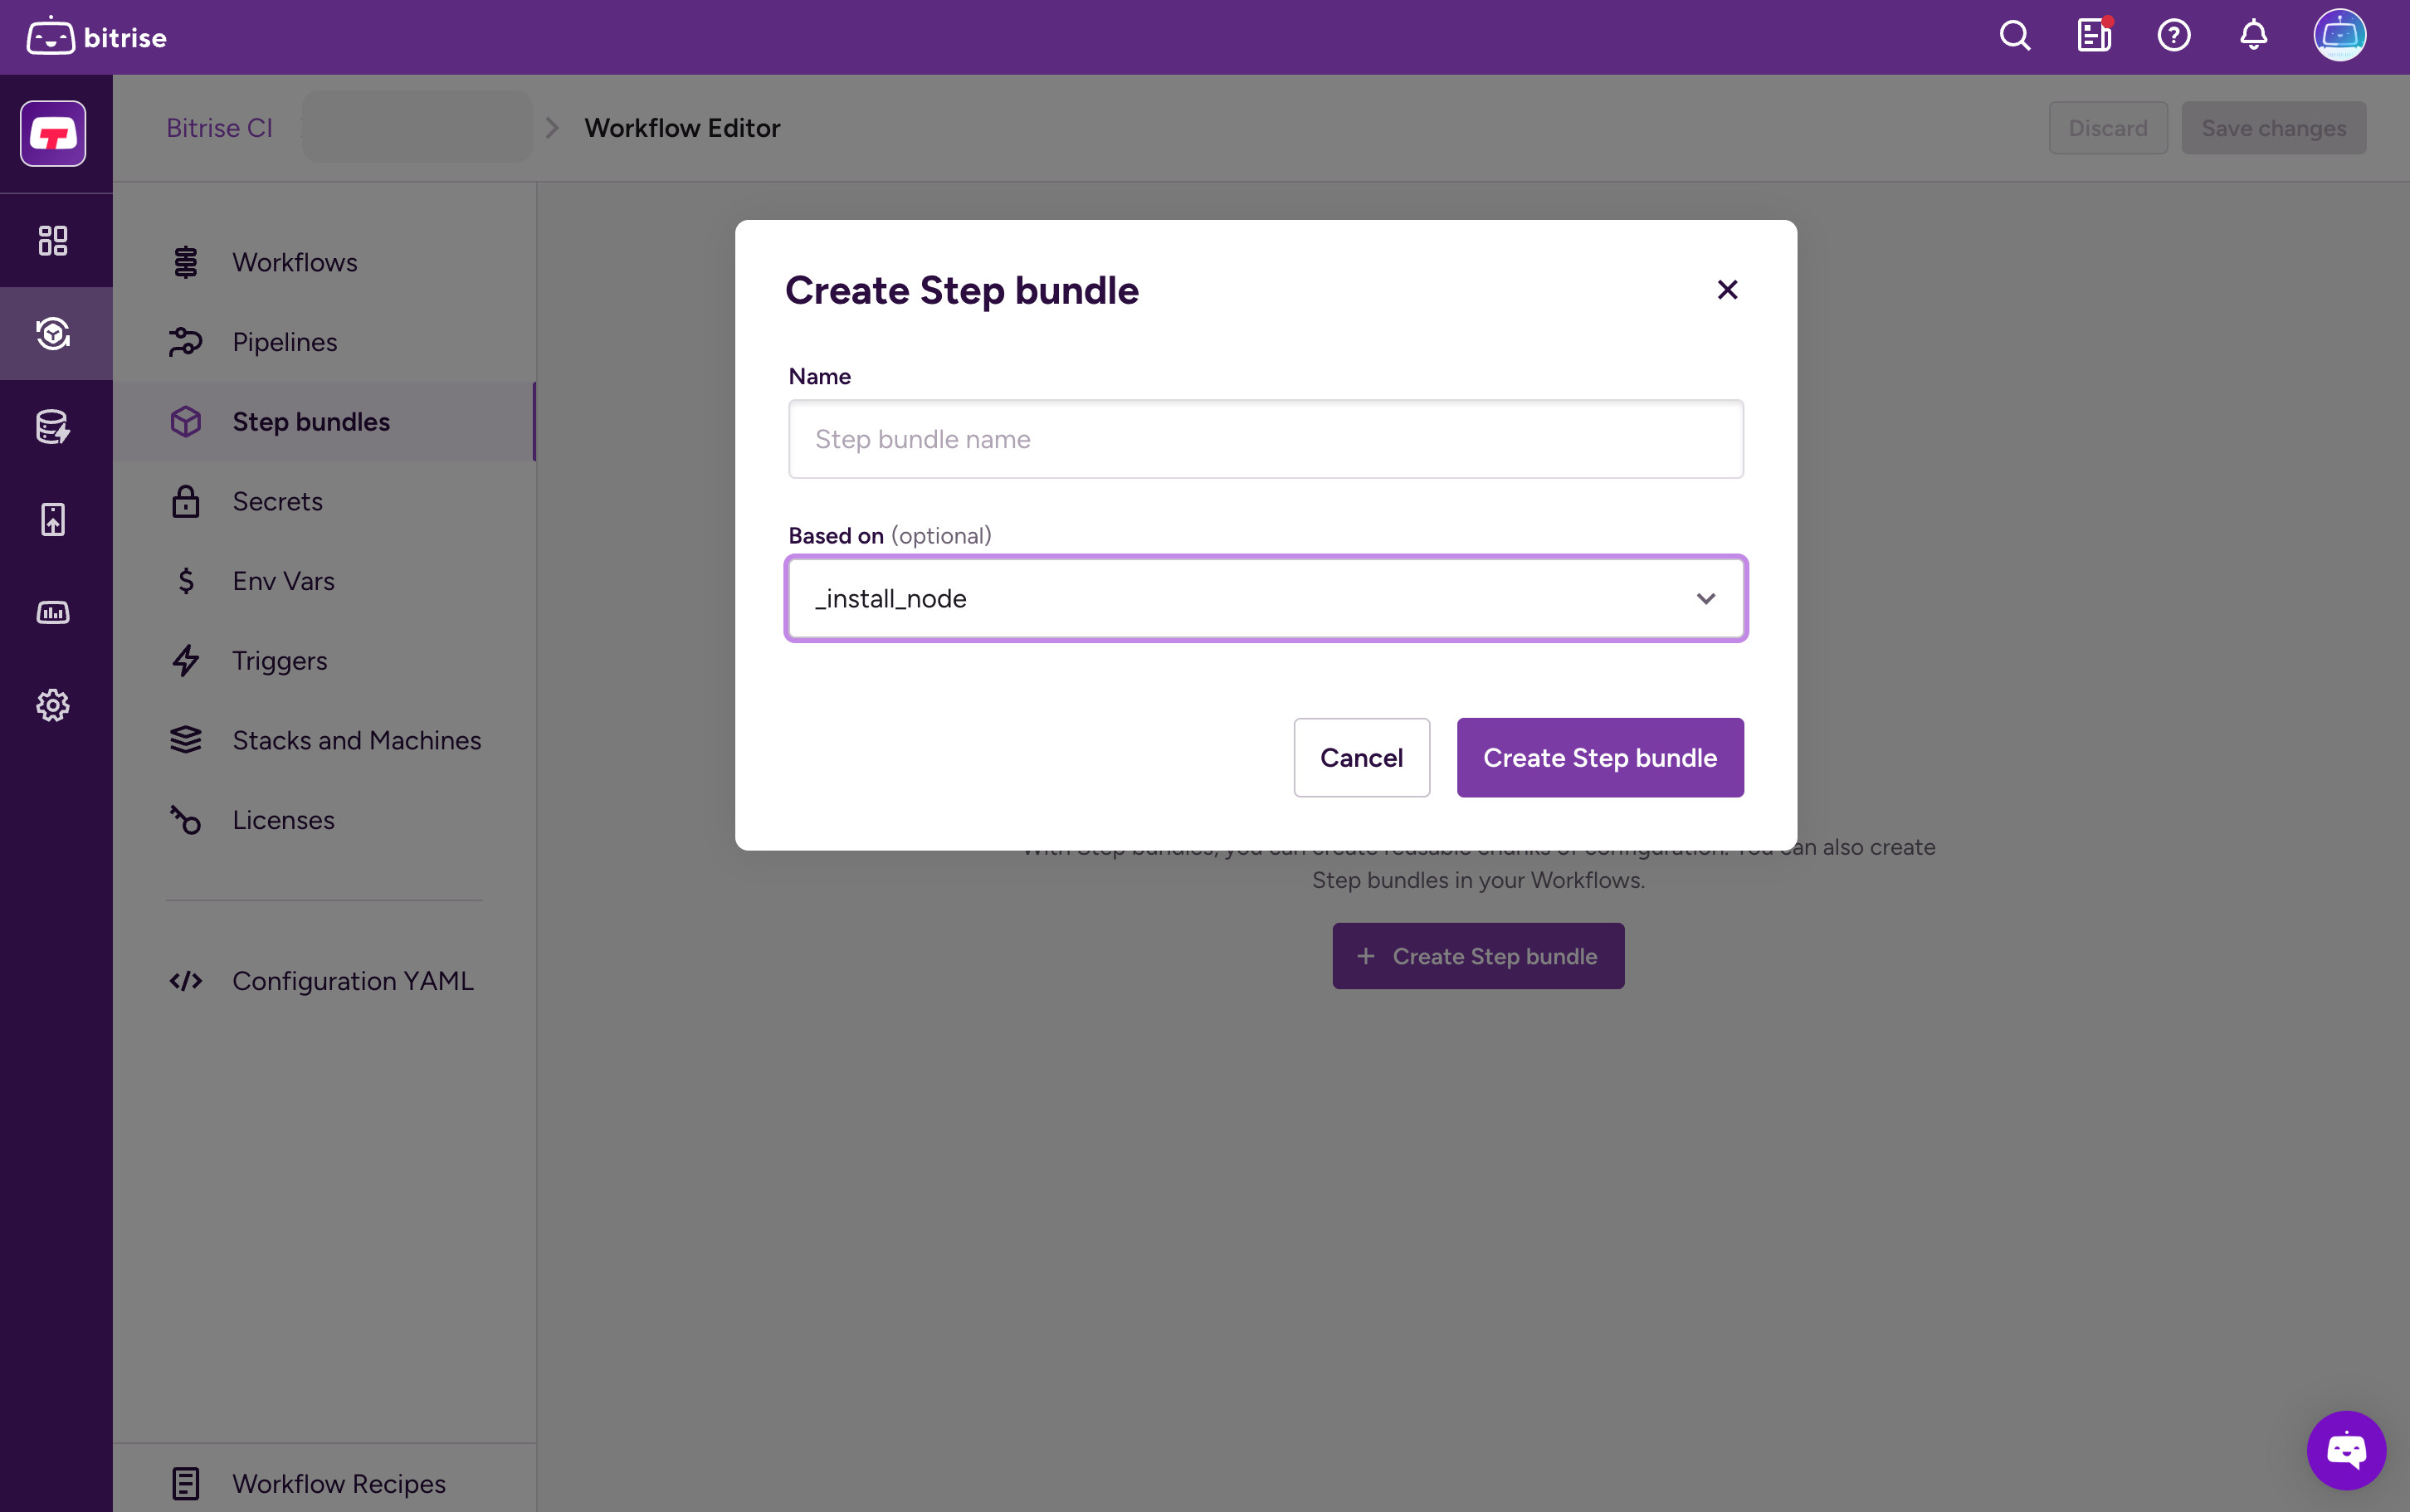
Open the Workflow Editor.
-
On the left, select Step bundles.
-
From the Based on dropdown menu, choose a utility Workflow.
-
Click Create Step bundle.
Nested Step bundles
Step bundles allow nesting: you can add a Step bundle within another Step bundle. This allows you to create large, complex configurations with easily replaceable parts. You can add as many Step bundles within another Step bundles as you want.
Workflow Editor
Configuration YAML
-
Open the Workflow Editor.
-
On the left, select Step bundles.
-
Select a Step bundle from the dropdown menu in the middle.
-
If it's an empty bundle, click .
If the bundle already has Steps in it, hover between Steps and click the plus sign.
-
In the dialog, go to the Step bundle tab.

-
Select a bundle to add it to the original bundle.
-
Use drag-and-drop to move it within the bundle.
-
When done, click
-
In the configuration YAML file, define the Step bundle you want to nest within a
step_bundlesproperty.step_bundles: initialize: steps: - activate-ssh-key: {} - git-clone: {} -
Nest this bundle within another one by using the
bundlesproperty.step_bundles: initialize: steps: - activate-ssh-key: {} - git-clone: {} deploy_bundle: steps: - bundle::initialize: {} - deploy-to-bitrise-io: {}
Step bundle inputs
In any Step bundle, a list of inputs can be defined under the inputs key. These are the only inputs you can set for a Step bundle: you can't define additional inputs outside the bundle definition.
You can, however, set values for the predefined inputs of a Step bundle outside the bundle definition: Configuring Step bundle inputs.
Step bundle inputs share the same model as Step inputs. You can read more about Step inputs and their format: Step inputs reference.
-
In your configuration YAML file, add the
inputsproperty to your Step bundle.format_version: 11 step_bundles: install_deps: inputs: -
Under
inputs, add key-value pairs that will be used for Step inputs.format_version: 11 step_bundles: install_deps: inputs: - cache_key: "npm-cache-{{ checksum "package-lock.json" }}" - npm_command: install -
Add the keys to the appropriate Step inputs.
In our example, we configured default inputs for the
keyinput of therestore-cacheStep and thecommandinput of thenpmStep.format_version: 11 step_bundles: install_deps: inputs: - cache_key: "npm-cache-{{ checksum "package-lock.json" }}" - npm_command: install steps: - restore-cache@1: inputs: - key: $cache_key - npm@1: {} inputs: - command: $npm_command
Configuring Step bundle inputs
You define Step bundle inputs in the Step bundle definition and you can't add new inputs outside the definition.
You can set new values for Step bundle inputs defined in the Step bundle in the Step list of the Workflow:
-
In your configuration YAML file, find your Workflow and the Step bundle in its
stepslist. -
Add an
inputsproperty where your Step bundle is referenced, and add a key-value pair to it.In this example, we set a new value of the
cache_keyinput instead of its default value defined in the Step bundle. When the Workflow runs, therestore-cacheStep will use thenpm-cachevalue instead ofnpm-cache-{{ checksum "package-lock.json" }}.format_version: 11 step_bundles: install_deps: inputs: - cache_key: "npm-cache-{{ checksum "package-lock.json" }}" - npm_command: install steps: - restore-cache@1: inputs: - key: $cache_key - npm@1: inputs: - command: $npm_command workflows: ci: steps: - git-clone@8: {} - bundle::install_deps: inputs: - cache_key: "npm-cache" - deploy-to-bitrise-io@2: {}
Step bundle outputs
Steps can generate output variables. When Steps are included in a Step bundle, their output variables are available to all Steps in the Workflow after the Step bundle.
For example, if the Step bundle used in the Workflow uses the xcode-archive Step, the next Steps after the bundle will have access to the BITRISE_IPA_PATH output variable which is exposed by the Step.