Uploading files for your builds
If your build requires any files to make it work, you can upload them in the Code Signing tab of the Workflow Editor.
If your build requires any files to make it work, you can upload them to Bitrise on the App settings page. It accepts any file type, all you need to do is provide a unique ID and upload the file.
Once a file is uploaded, it is stored as an Environment Variable (Env Var). You can use this Env Var to access the file and use it in your builds. The file can also be:
-
Downloaded by anyone who has either admin or owner role on the app’s team on Bitrise. You can prevent this: Protecting your uploaded files
-
Exposed to pull request builds.
File restrictions
There are certain restrictions on upload size and number of files:
-
You can't upload a file bigger than 5 MB.
-
You can only store a total of 5 different files at the same time. If you want to upload more, you need to delete one of the files in the storage.
To upload a file:
-
Open your project on Bitrise with a user that has the Admin role on the project.
-
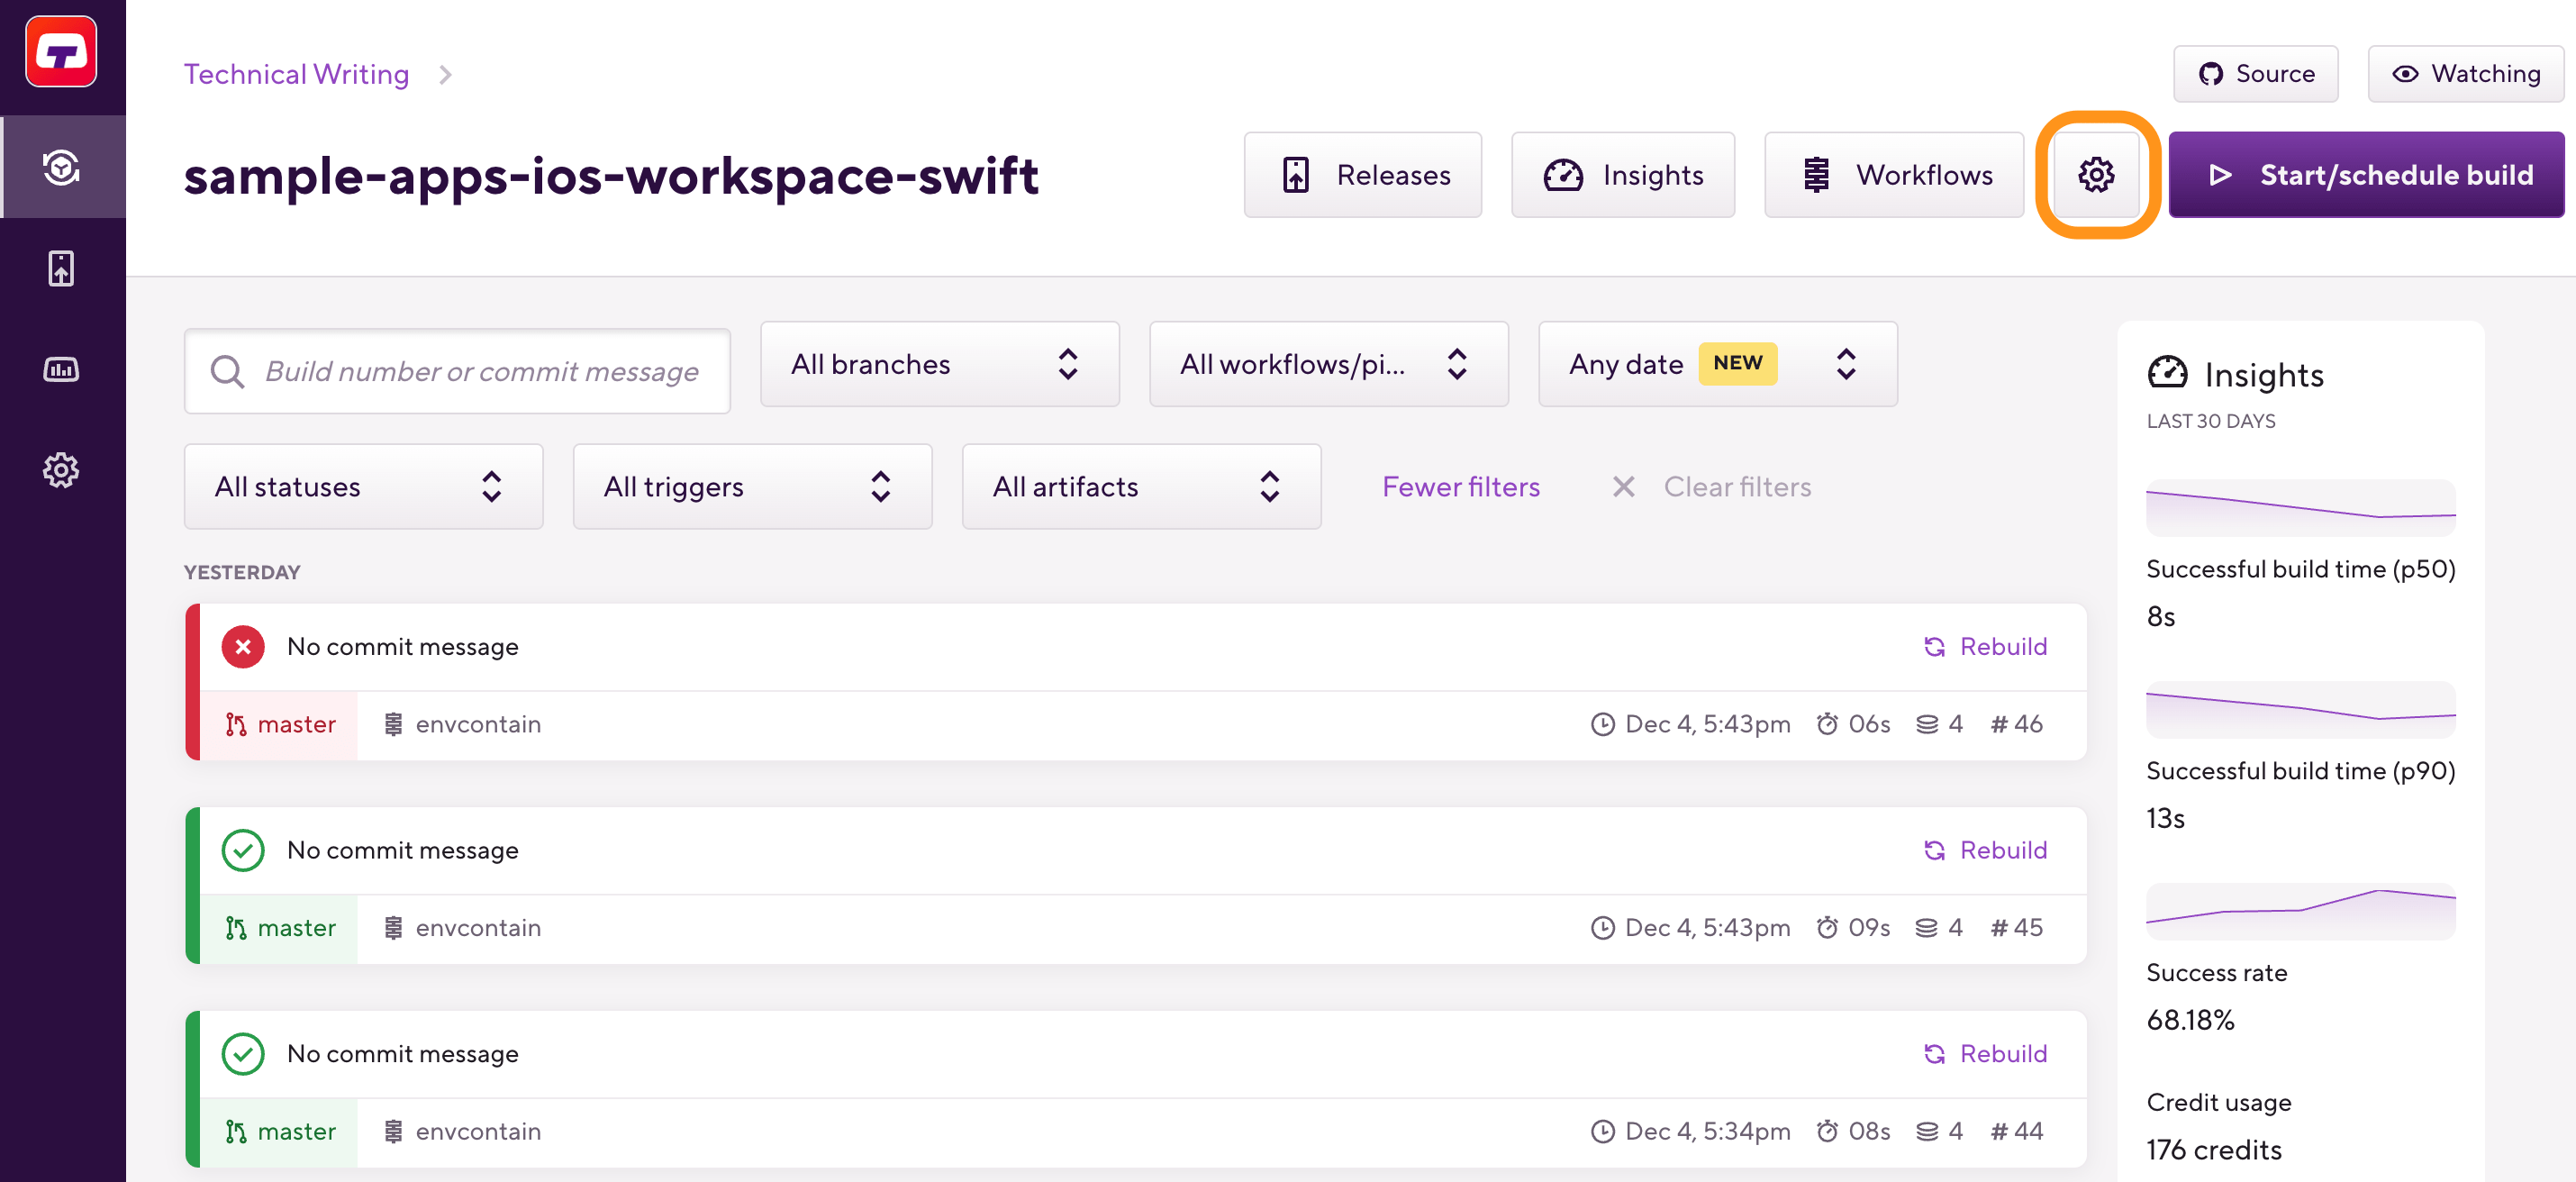
On the main page of the project, click on the Project settings button.

-
On the left, select Files.
-
Click .
-
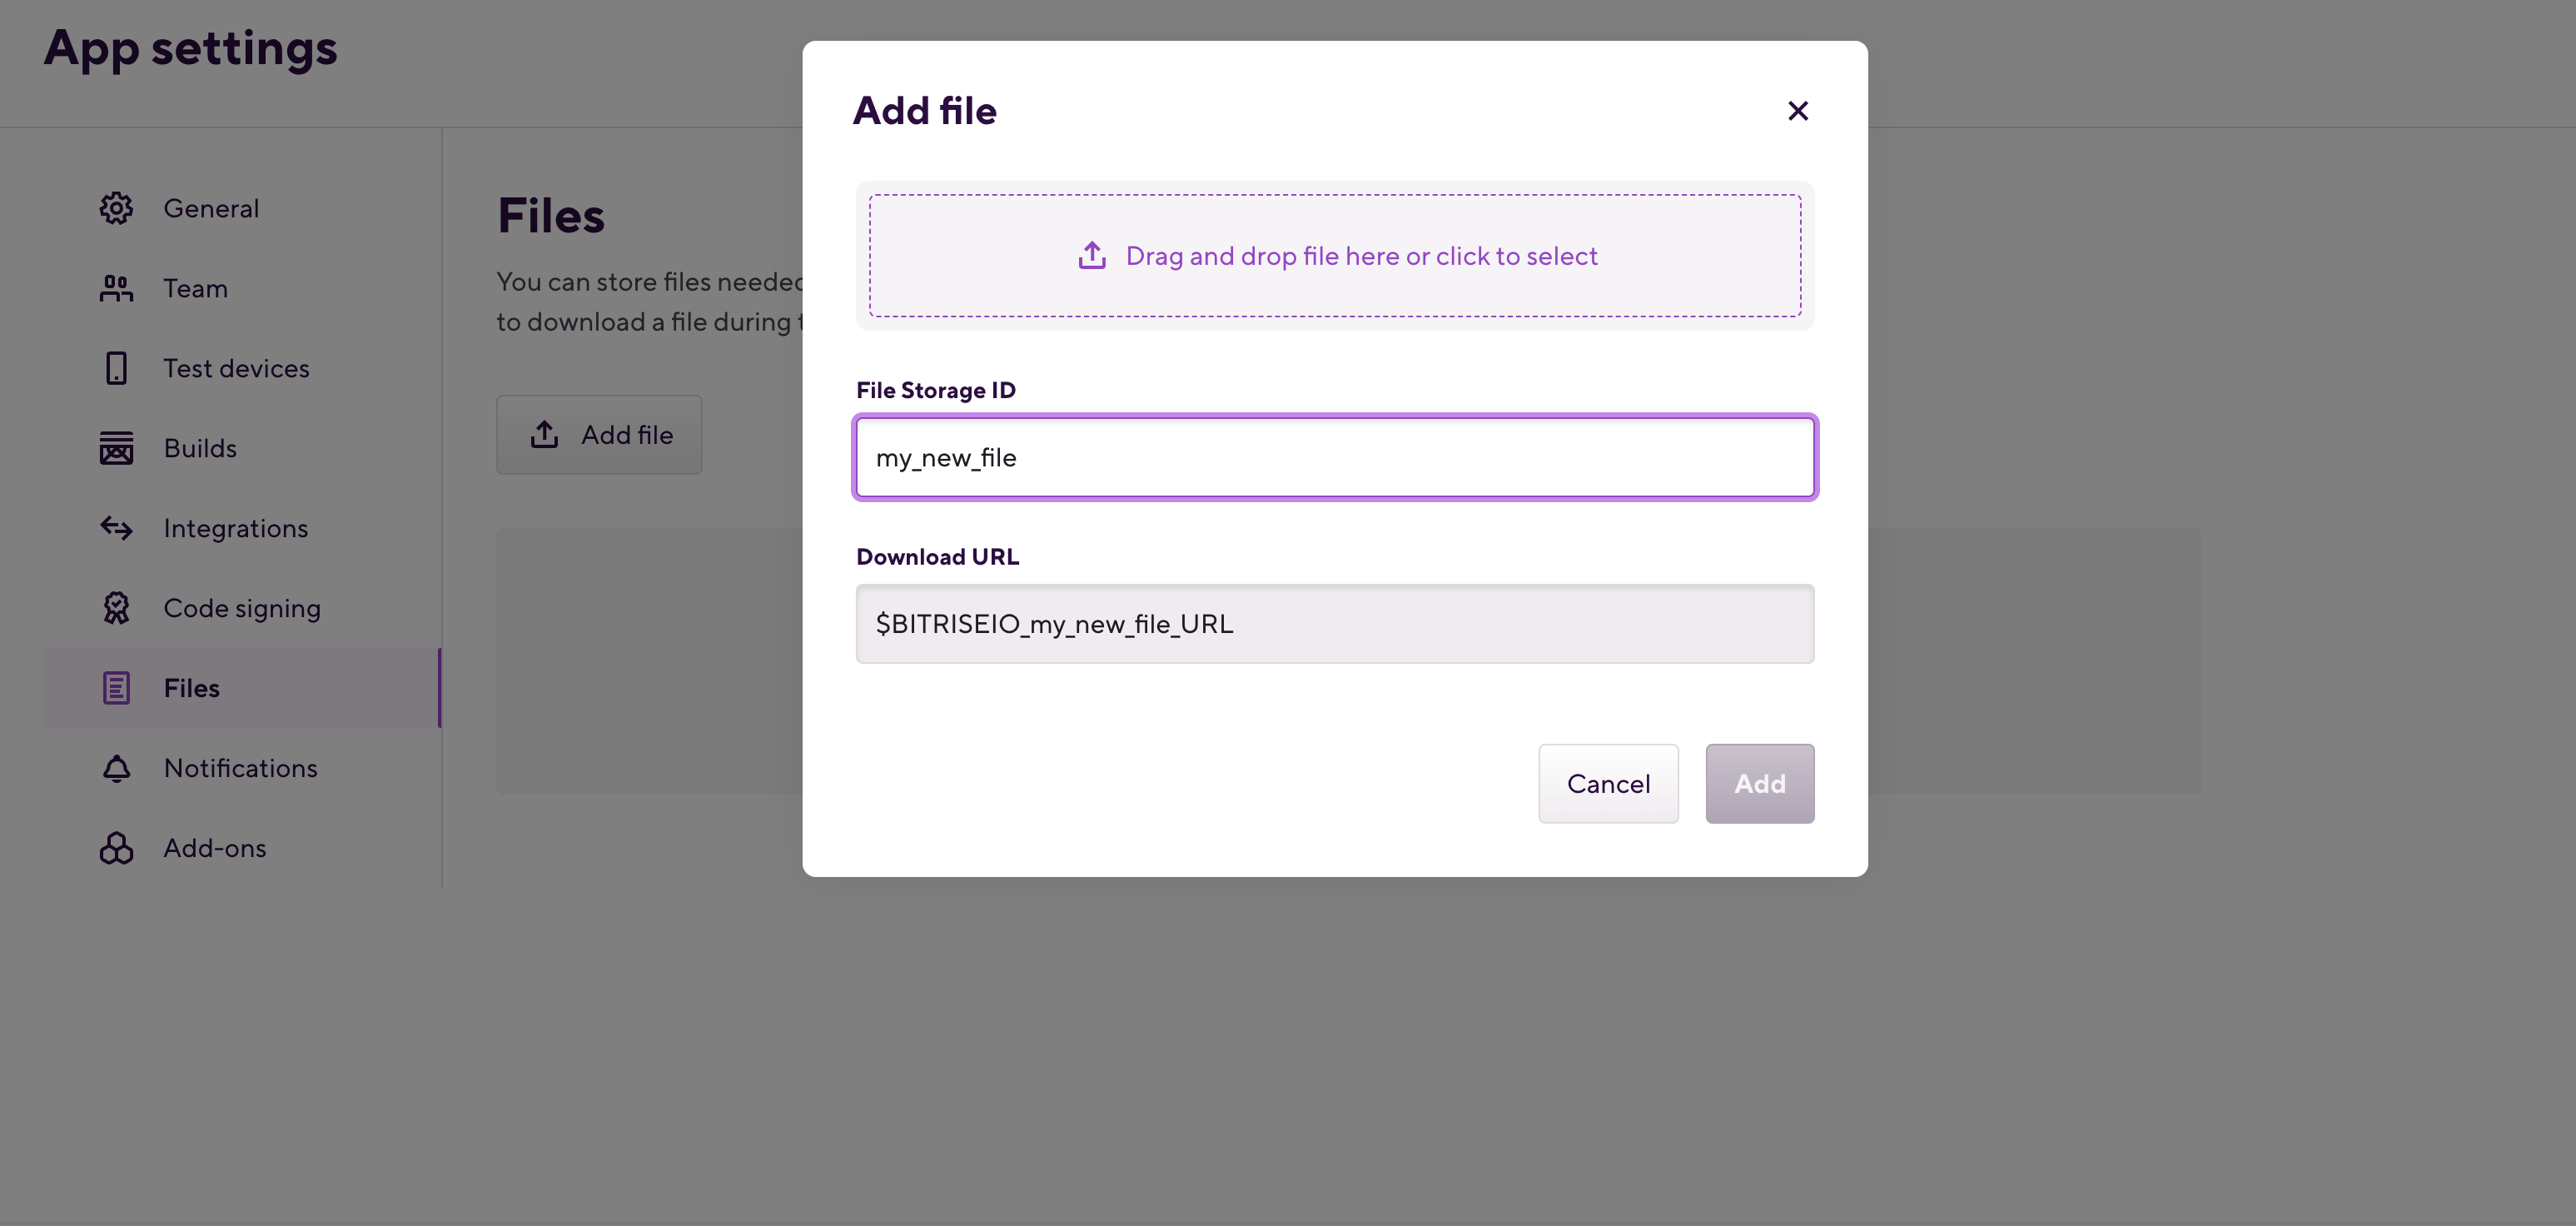
In the dialog box, enter a unique ID in the File Storage ID input field.
The unique ID will be part of the generated download URL that Bitrise stores as an Environment Variable.

-
Upload the file. You have two options:
-
Click anywhere in the Select a file to upload section and select the file from your computer.
-
Drag and drop a file into the Select a file to upload section.
Remember that the file size cannot exceed 5 MB.
-
Protecting your uploaded files
Once you uploaded a file to Bitrise, you can set your uploaded files to Protected mode. This means that no one can download or reveal the file from your account but your builds can still use them. Bitrise will handle the Environment Variable attached to your uploaded files as a Secret.
-
Open your project on Bitrise with a user that has the Admin role on the project.
-
On the main page of the project, click on the Project settings button.

-
On the left, select Files.
-
Click the horizontal ellipsis button next to the name of the file, and select Make protected.
-
Click Make it protected in the dialog box.