Using branch-based caching in your builds
You can use two dedicated Bitrise Steps for caching: Bitrise.io Cache Pull to tap into the cache and use the contents of it in your build, and Bitrise.io Cache Push to store information from your build in the cache.
Branch-based caching vs key-based caching
This guide is is about legacy, branch-based caching. For key-based caching, check out our in-depth guide: Key-based caching.
You can read about our dedicated key-based caching Steps here: Dedicated caching Steps for dependency managers.
The basics of using the cache in your builds are simple and it can work out of the box, depending on your Workflows: you just have to use the two dedicated Steps.
-
Add the Bitrise.io Cache:Pull Step right before you need the cache.
For example, in the case of an iOS app, you can insert the Bitrise.io Cache:Pull Step between the Git Clone Repository and the dependency installer Steps (such as the Run CocoaPods install or the Carthage Steps). You should not put the Bitrise.io Cache:Pull Step BEFORE the Git Clone Repository Step.
Build cache expiry
The build cache, related to a specific branch, expires after seven days which means it is automatically deleted - but only if there’s no new build on that branch in the meantime. This means that if you do builds on a specific branch more frequently than a week, the cache won’t get deleted. If you don’t start a build on that specific branch for more than seven days, then the related cache will be deleted, and and your next build will run like the first.
-
Add the Bitrise.io Cache:Push Step as the last Step of the Workflow.
For simple use cases, that’s it, that’s all you have to do. These Steps work out of the box alongside Steps with their own caching function. But if you wish to learn more and create your own caching configuration, read on!
Pull request builds
By default, if you run a build that is triggered by a pull request, the Bitrise.io Cache:Push Step won’t work: in this case, a pull request build can only read the build cache but can’t update it!
We strongly recommend that you do not change this! From a security perspective, the best practice is to never allow pull request builds to alter anything that can affect other Bitrise builds.
If you absolutely must change it, you need to use a run_if expression in the app’s bitrise.yml file. Read more about run_if expressions: Enabling or disabling a Step conditionally.
You can find example build cache configurations/guides at our build-cache discuss page.
Including files and folders in the build cache
As mentioned before, every file and folder specified in the Bitrise.io Cache:Push Step’s Cache paths input gets cached, unless the Step is configured to ignore certain folders and files. In most cases, you don’t have to change this input. If you use Steps that have their own in-built caching function, you don’t have to worry about specifying files and folders unless you have a specific use case.
To check whether a Step has a caching function, take a look at their inputs. If there’s no input to turn caching on and off, the Step in question doesn’t have its own caching function.
To include files from Steps that do not have their own caching function:
-
In your Workflow, open the Bitrise.io Cache:Push Step.
-
Find the Cache paths input.
-
Add the path or paths for files and folders that you want to include in the cache. You can use either an absolute path, or a path relative to the root of your repository.
Ignoring files and dependencies
You can also tell the Bitrise.io Cache:Push Step to specifically ignore certain content. Ignoring means one of two things:
-
A file or folder isn’t checked for changes: if the specified path is included in the previous cache archive, it will be included in the new one with the same content as before.
-
A file or folder is completely excluded: in other words, it isn’t uploaded to the cache at all, regardless of its changes.
You can choose either option for any of your files or folders.
To ignore certain files or folders:
-
In your Workflow, open the Bitrise.io Cache:Push Step.
-
Find the Ignore Paths from change check input.
-
Add the path or paths for files and folders that you want to ignore. You can use either an absolute path, or a path relative to the root of your repository.
-
If you want to completely exclude a given path from the cache archive, prefix the path with
!. For example,!my/path/. -
If you want to exclude a given path from change checking, just add the path without any prefix. If a path is located inside an ignored cache path item and the path is NOT prefixed with an
!, the path will be included in the cache archive, but it will not be checked for changes. For example, if you addmy/path/to the input, the path directory will be included in the archive but it will not be checked for changes.
You can, of course, specify certain patterns in the paths, too. For example:
-
Replacing a path element with
*:a/*/b: this will matcha/x/b -
Replacing a part of the path with
**:a/**/bwill matcha/x/y/z/b -
Ignoring an entire directory with
/. For example,/my/full/path/ignores everything in the path folder.
-
Ignoring paths
You can’t ignore a path which results in an invalid cache item. For example, if you specify a/path/to/cache path to be cached, you can’t ignore a/path/to, as that would ignore every file and wouldn’t check for changes, hence no fingerprint could be generated for
a/path/to/cache. This won’t fail the Step: you’ll simply receive the following warning: No path to cache, skip caching...
You can, however, ignore paths inside a cache path. For example, if your path is a/path/to/cache, you can ignore a/path/to/cache/.ignore-me, unless that’s the only file inside a/path/to/cache.
Downloading or deleting the build cache
You can download and delete build caches for every branch which generated a cache. You can check the size of the caches and the last time a given cache was used.
Deleting a single branch's cache
If you only want to delete the cache which is related to a single branch, you should also delete the default branch’s cache too! This is because if a build runs on a branch which doesn’t have a cache, the Bitrise.io Cache:Pull Step will get the cache of the default branch.
To manage the build caches:
-
Open your project on Bitrise with a user that has the Admin role on the project.
-
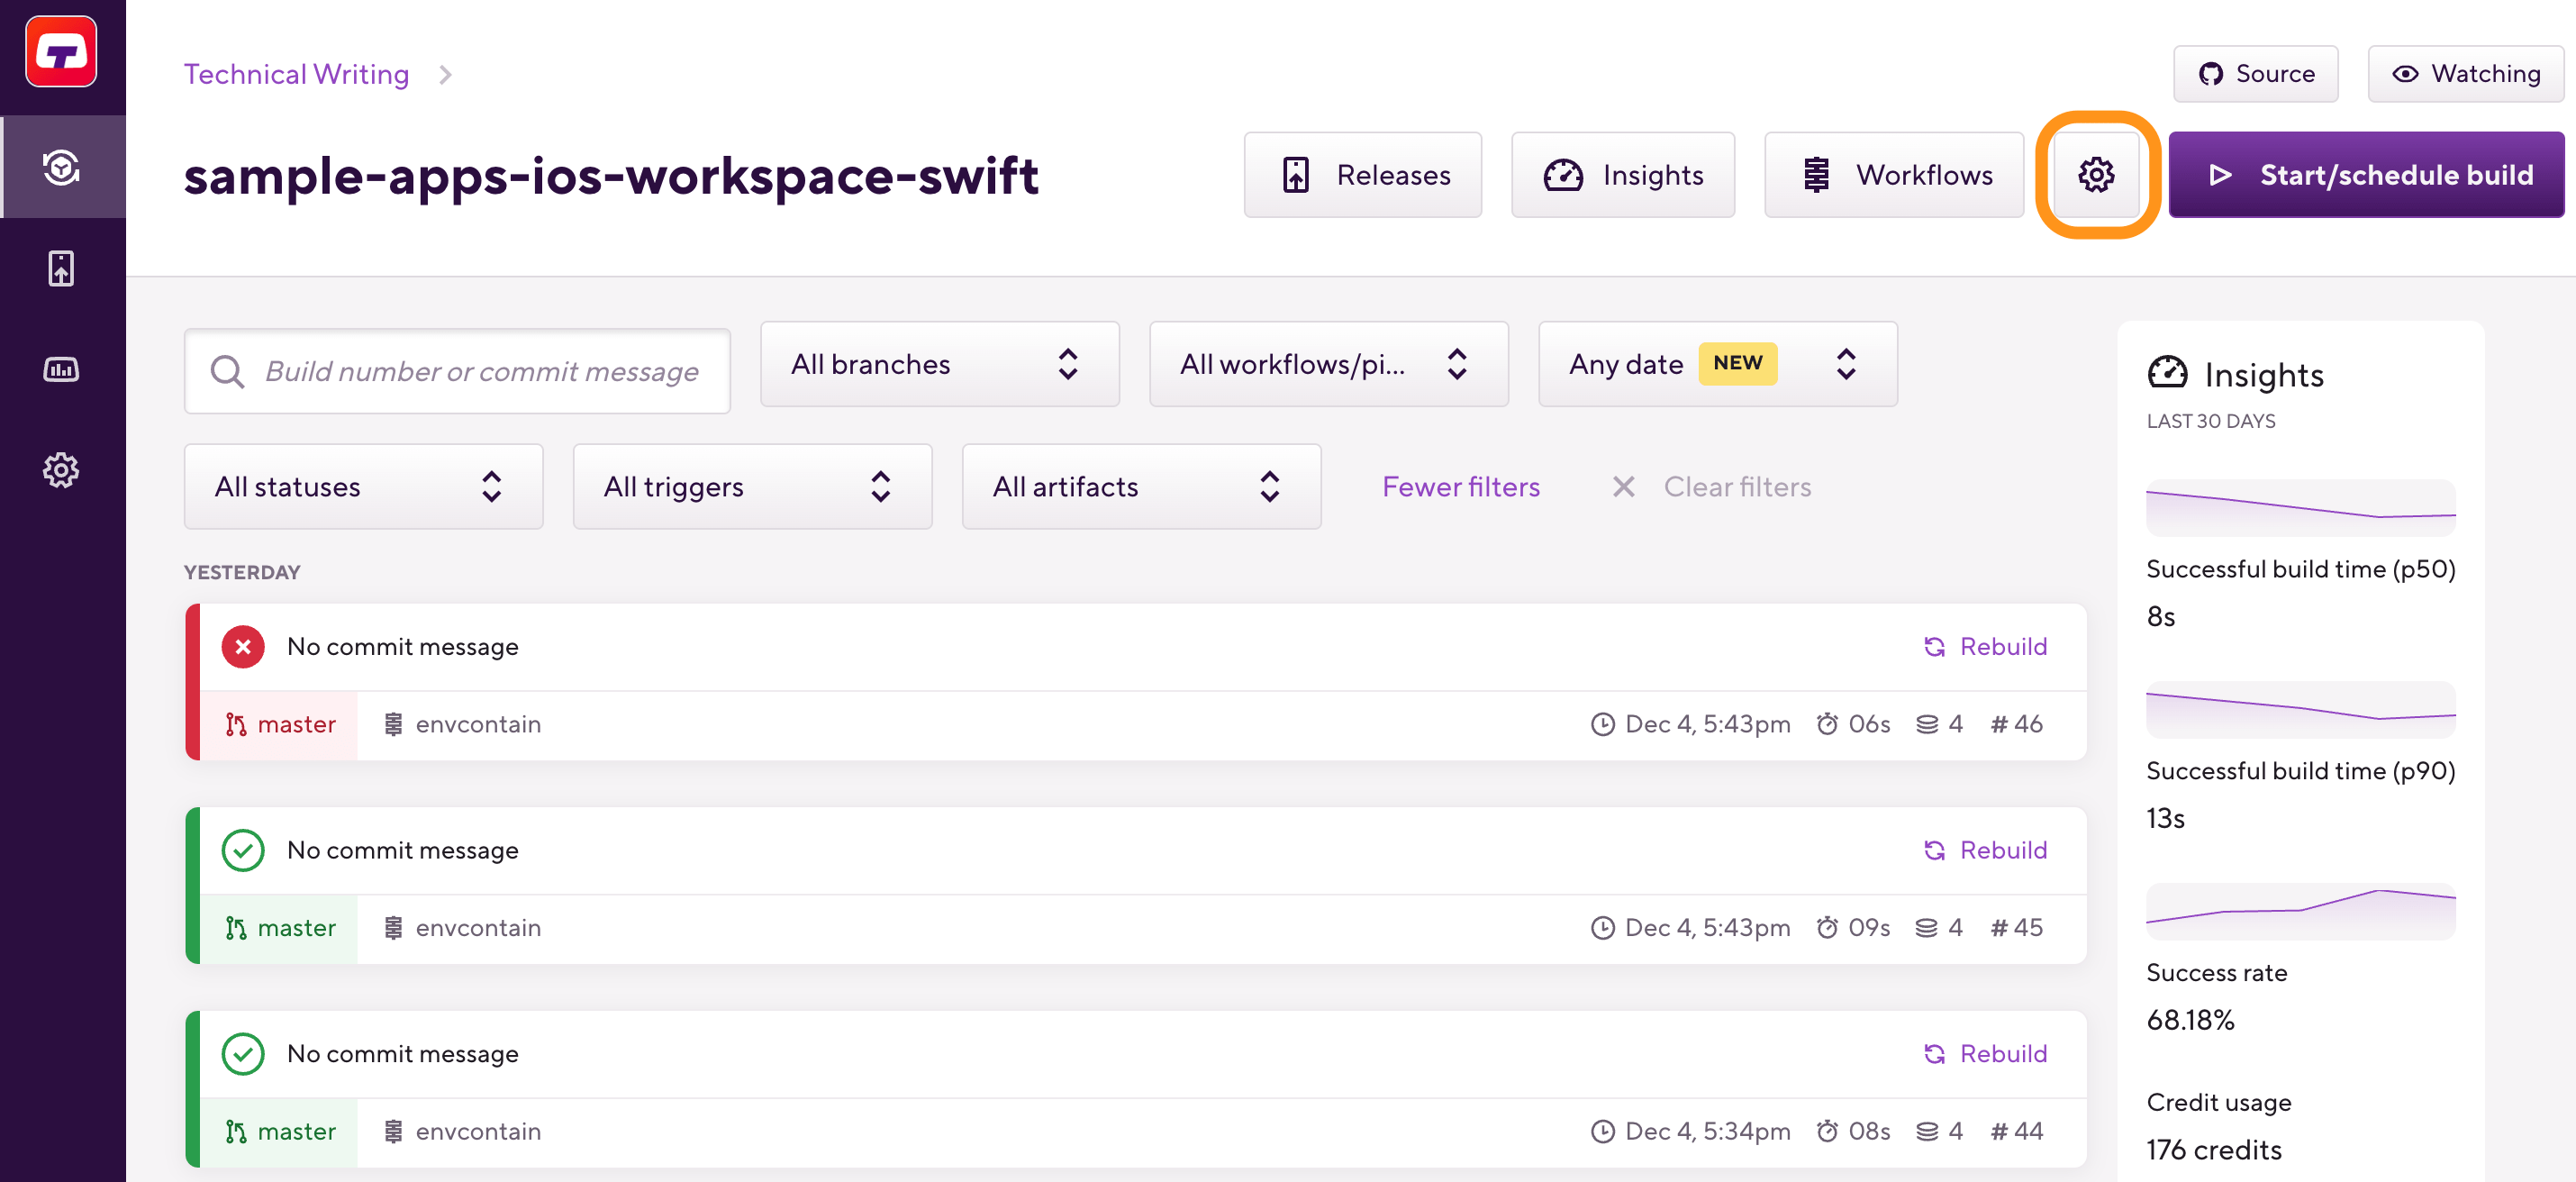
On the main page of the project, click on the Project settings button.
-
On the left, select Builds.
-
Find the Manage Build Caches section.
-
Select the Branch-based (legacy) caching tab.
You can see the cache archives in the pop-up window. You can download or delete any of the cache archives, or all of them.