Adding incoming webhooks
An incoming webhook on Bitrise serves one purpose: to start builds automatically when a certain code event (code push, Git Tag, pull request) happens. You can setup incoming webhooks manually or automatically when adding your project to Bitrise.
An incoming webhook on Bitrise serves one purpose: to start builds automatically when a certain code event (code push, Git Tag, pull request) happens. You need to register an incoming webhook to your repository and configure build triggers.
Webhook issues
If your builds triggers don't work, there might be a problem with your webhooks: Builds aren't getting triggered.
Registering an incoming webhook automatically
Automatic webhook registration is supported for projects that have their code hosted on GitHub, GitLab and Bitbucket.
If you use one of the above services as your source code hosting provider, Bitrise automatically sets up a webhook for it with a click of a button at the end of your project setup journey.
GitHub App integration
If you use the Bitrise GitHub App to connect your Bitrise Workspace to a Git account or organization, you don't need a webhook. The app can trigger builds or send status updates without it.
However, you can always change this webhook later or add a new one if you skipped registering a webhook when adding the project.
You can automatically register a webhook to the repository on the Project settings page. Automatic registration means that Bitrise registers the webhook at the repository, so you don't have to manually go there and add it on your Git provider's website. This requires:
-
That you have admin rights to the repository.
-
That the account that hosts the repository is connected to your Bitrise account.
To register a webhook automatically:
-
Make sure your Bitrise account is connected to the Git provider account that hosts the repository and that your Git account has admin rights to the repository.
-
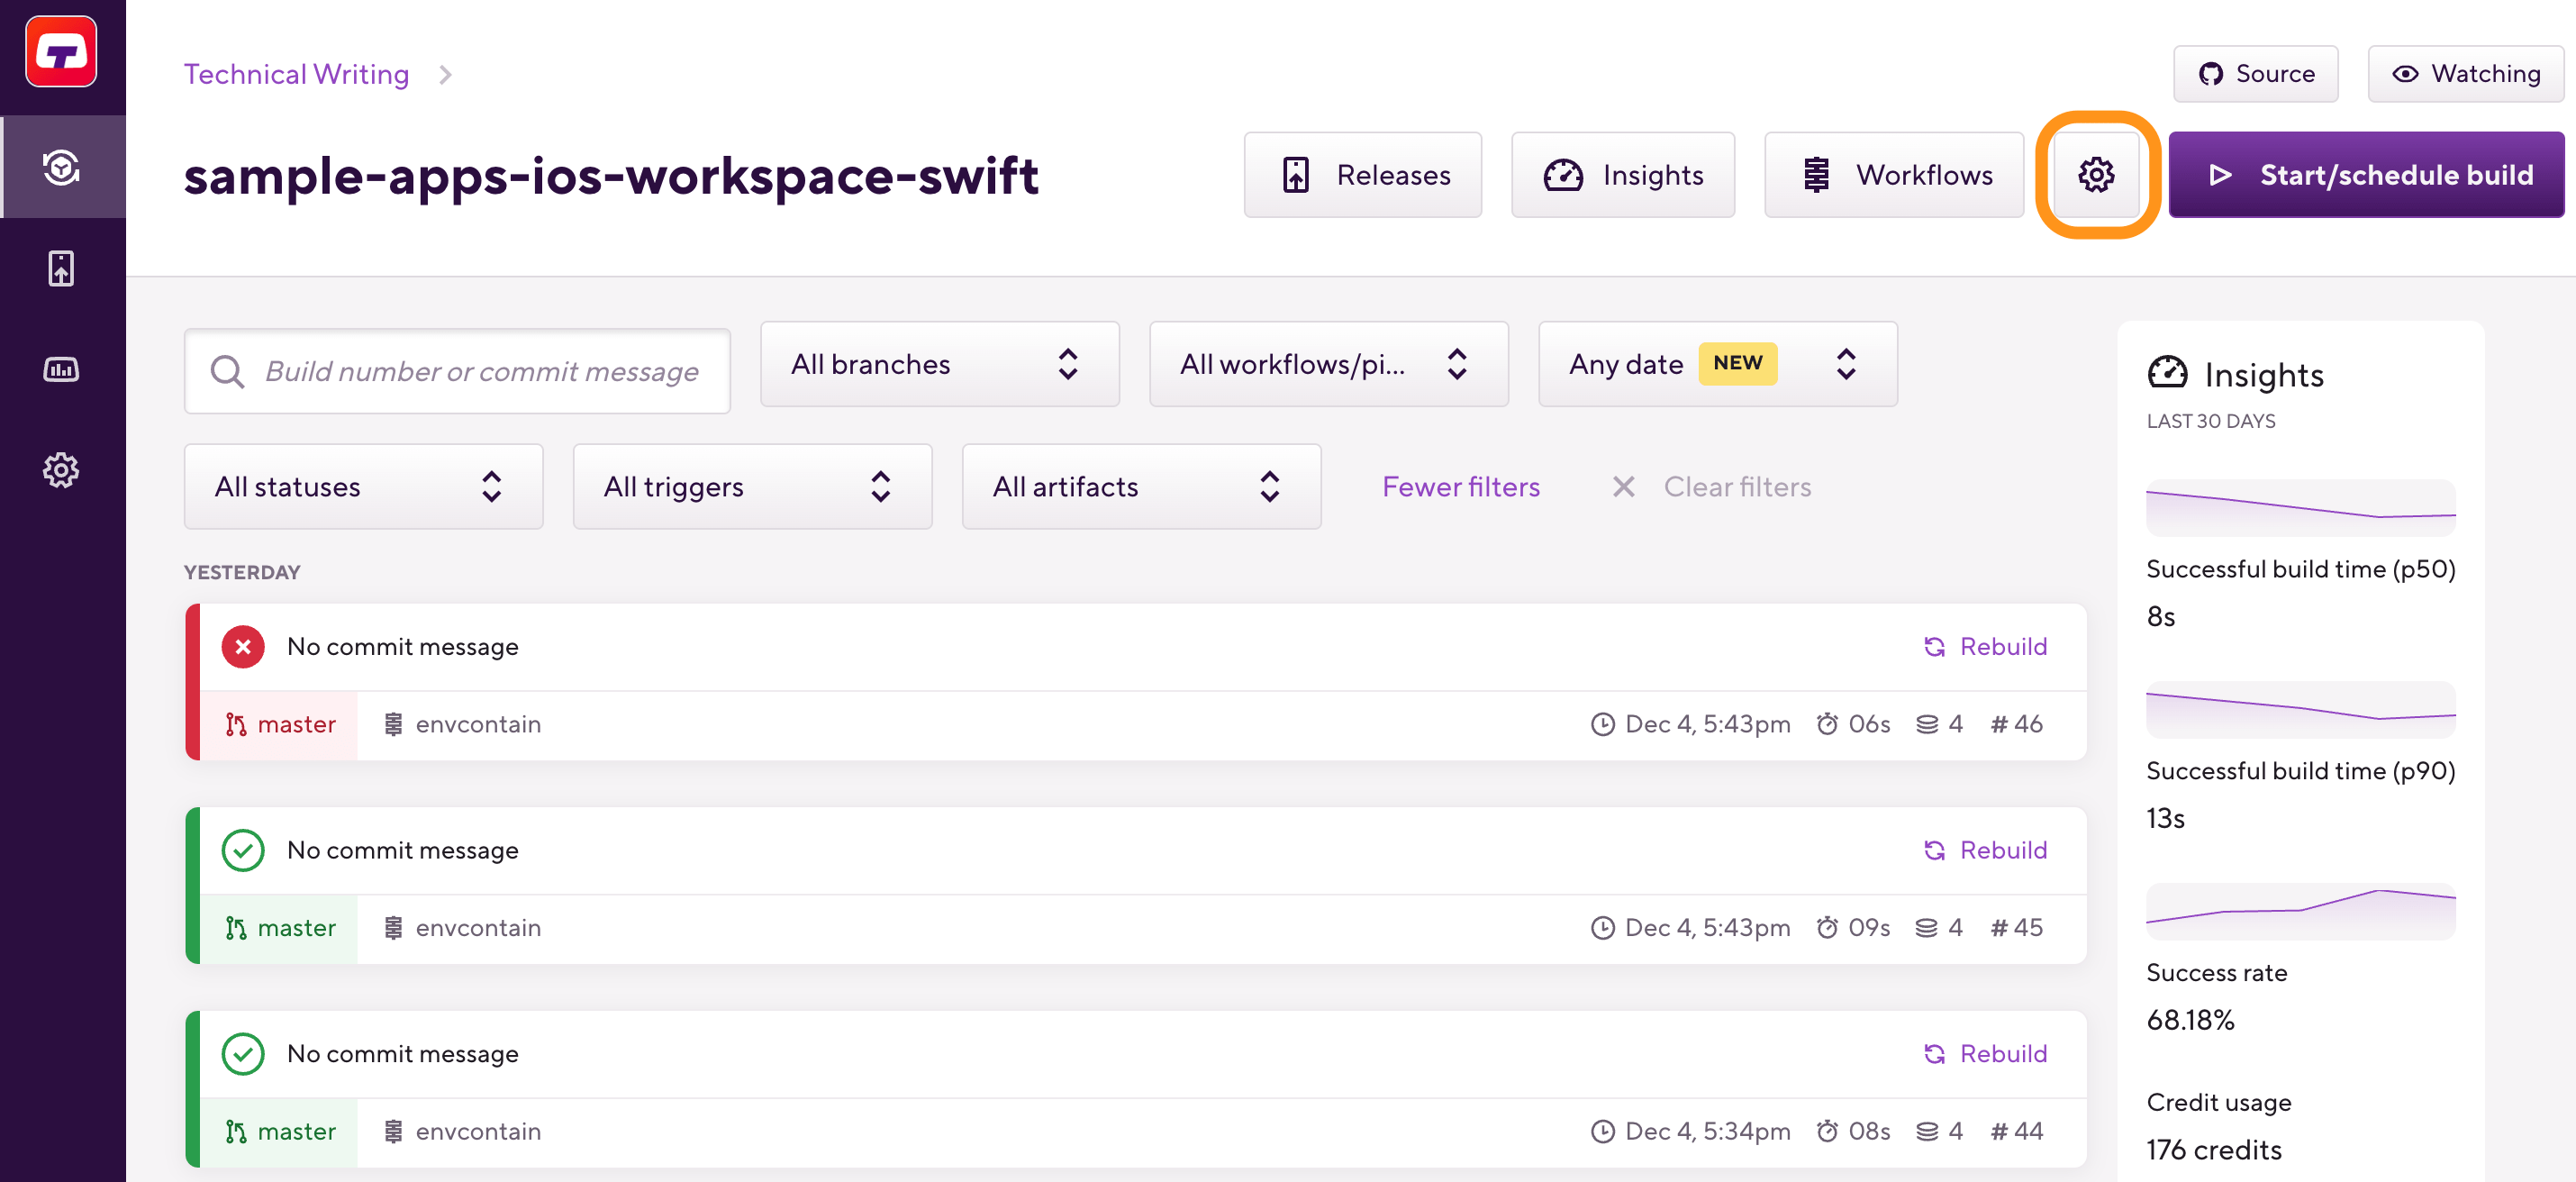
Open your project on Bitrise with a user that has the Admin role on the project.
-
On the main page of the project, click on the Project settings button.
-
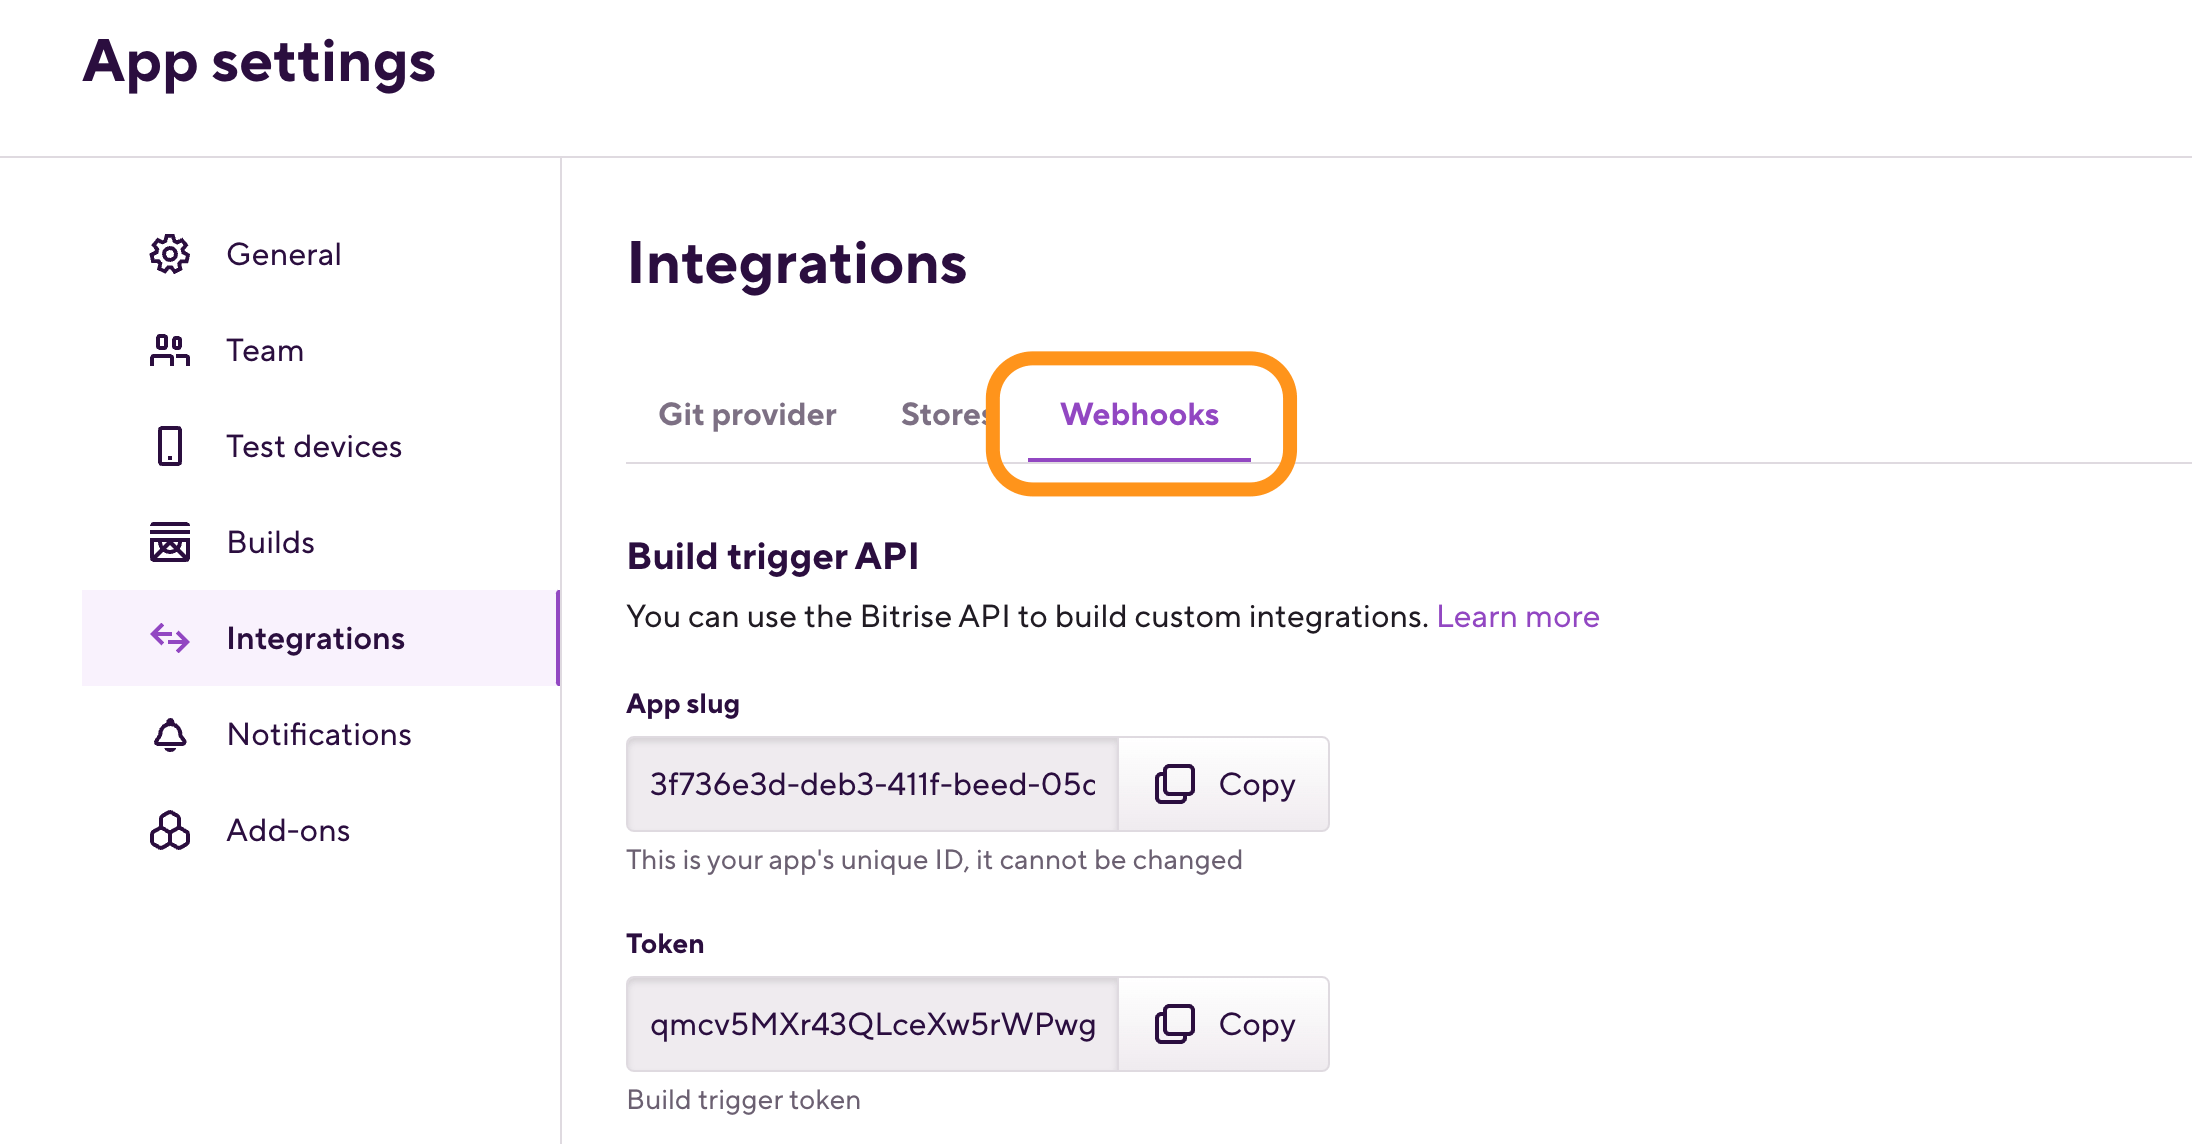
On the left, select Integrations.
-
On the top of the Integrations page, select the Webhooks tab.
-
In the Incoming webhooks section, select .
Bitrise will automatically register a webhook at the project's repository.
Registering an incoming webhook manually
You can manually setup or change your webhooks after you registered your project on Bitrise. The process is different depending on your Git provider but on Bitrise, the basic steps are the same for each.
Create your own webhook implementation
Our webhook processor is Open Sourced. If you are looking for an unsupported solution, you can create an issue on the GitHub page or create a pull request with the implementation. You can also run your own webhook provider behind your own firewall if required.
-
Open your project on Bitrise with a user that has the Admin role on the project.
-
On the main page of the project, click on the Project settings button.
-
In the Incoming webhooks section, .
-
On the top of the Integrations page, select the Webhooks tab.
-
Scroll down to the Incoming webhooks section and open Manual webhooks.

-
Copy the webhook URL and register it at your Git provider.