Reporting the build status to your Git hosting provider
You need to authenticate Bitrise and specify a Service credential user in the App settings page of your app to push back build status reports to your Git provider.
Bitrise can send build status reports to your Git provider (GitHub/GitLab/Bitbucket). This helps developers make informed decisions quickly and eliminates the need to switch between platforms.
We send a status report for each build, even if the same commit triggers multiple builds. You can customize the report using variables to make it more descriptive and convey specific information.
You can set up status reports on the project level or the level of Workflows or Pipelines.
Pipeline reports
If the triggered entity is a Pipeline, it will report its build status but the individual Workflows within the Pipeline won't report separate statuses. Other than the Pipeline status report, Bitrise also reports test result statuses for Steps that are exporting a test result.
Setting up build status reporting
There are two ways to set up Git status reports on Bitrise:
-
By using the GitHub App integration. It automatically sends status reports without any additional configuration, other than optionally customizing your reports.
-
Via the service credential user. If you use OAuth authentication for repository access, this is how you can send status reports. The service credential user must have their Bitrise account connected to the Git provider account and must have access to the Git repository. The following permissions are required:
-
GitHub: Write
-
Bitbucket: Write
-
GitLab: Developer.
You can test the service credential user's connection at any time: Checking the service credential user.
-
Allowlist the Bitrise website IP addresses
If you use some form of self-hosted solution for storing your code, you might need to allowlist the static IP addresses of the Bitrise website and its background workers. This allows you to use such features as storing the bitrise.yml file in your own repository, or receiving build status updates from Bitrise: IP address ranges for Bitrise backend workers.
You can send both project level and Workflow or Pipeline level reports with both methods.
Branch protection rules
When updating your build status report settings, you might need to change your branch protection rules at your Git provider.
If you use Workflow/Pipeline level status reports or use the target-id dynamic variable, you will have a different status check for every Workflow or Pipeline that was run. This means you might need more than one branch protection rule IF all checks are mandatory for all your pull
requests.
Custom status reports
You can create custom Git status reports: You can tailor the commit status message to your team's preferences and requirements. You can give your report a name that allows you to immediately identify it on the Git provider site. You can use dynamic variables in the status report's name, like the title of your project or the name of the Workflow.
The default status report name is ci/bitrise/<project_slug>/<event_type>. For legacy GitHub Checks reports, the default name is Bitrise.
You can set up custom reports on two levels:
-
Project level reports apply to all Workflows and Pipelines within a project. This provides a consistent format for the status of any build in the same project.
-
On the level of individual Workflows or Pipelines. These custom reports will take precedence over the general project-level status report. This is useful when you want to provide more specific information about a particular build stage or to differentiate between different types of builds.
Character limit and accepted characters
Keep your status message concise. The limit is 100 characters, and BitBucket allows only 40 characters.
The following characters are supported: , . / ( ) : - _ (space) (a-z) (A-Z) (0-9) < > [ ] |
Project level status reports
To create a custom status report on a project level, add the status_report_name property under app in your configuration YAML file. It can have static values:
app:
  status_report_name: 'Bitrise build'
Or you can use dynamic values:
app:
  status_report_name: 'PR check for <project_title>'
You can also combine multiple dynamic values:
app:
  status_report_name: 'Executing <target_id> for <project_title>'
We recommend using target_id: it's the name of the Workflow or Pipeline that the build uses. With this variable, Git commit statuses from different Workflows/Pipelines on the same commit don't override each other.
Find the available variables here: Table 1, “Dynamic variables for status reports”.
Workflow/Pipeline level status reports
To create a custom status report on the Workflow level, add the status_report_name property under the name of the Workflow in the configuration YAML file:
workflows:
  build-ios:
    status_report_name:
Similarly, to create one on the Pipeline level, add the property under the name of the Pipeline:
pipeline:
  deploy-pipeline:
    status_report_name:
You can also combine multiple dynamic values:
pipeline:
  deploy-pipeline:
    status_report_name: 'Executing <target_id> for <project_title>'
We recommend using target_id: it's the name of the Workflow or Pipeline that the build uses. With this variable, Git commit statuses from different Workflows/Pipelines on the same commit don't override each other.
Find the available variables here: Table 1, “Dynamic variables for status reports”.
Branch protection rules
When switching from project-based status reports to Workflow level status reports, you might need to update branch protection rules.
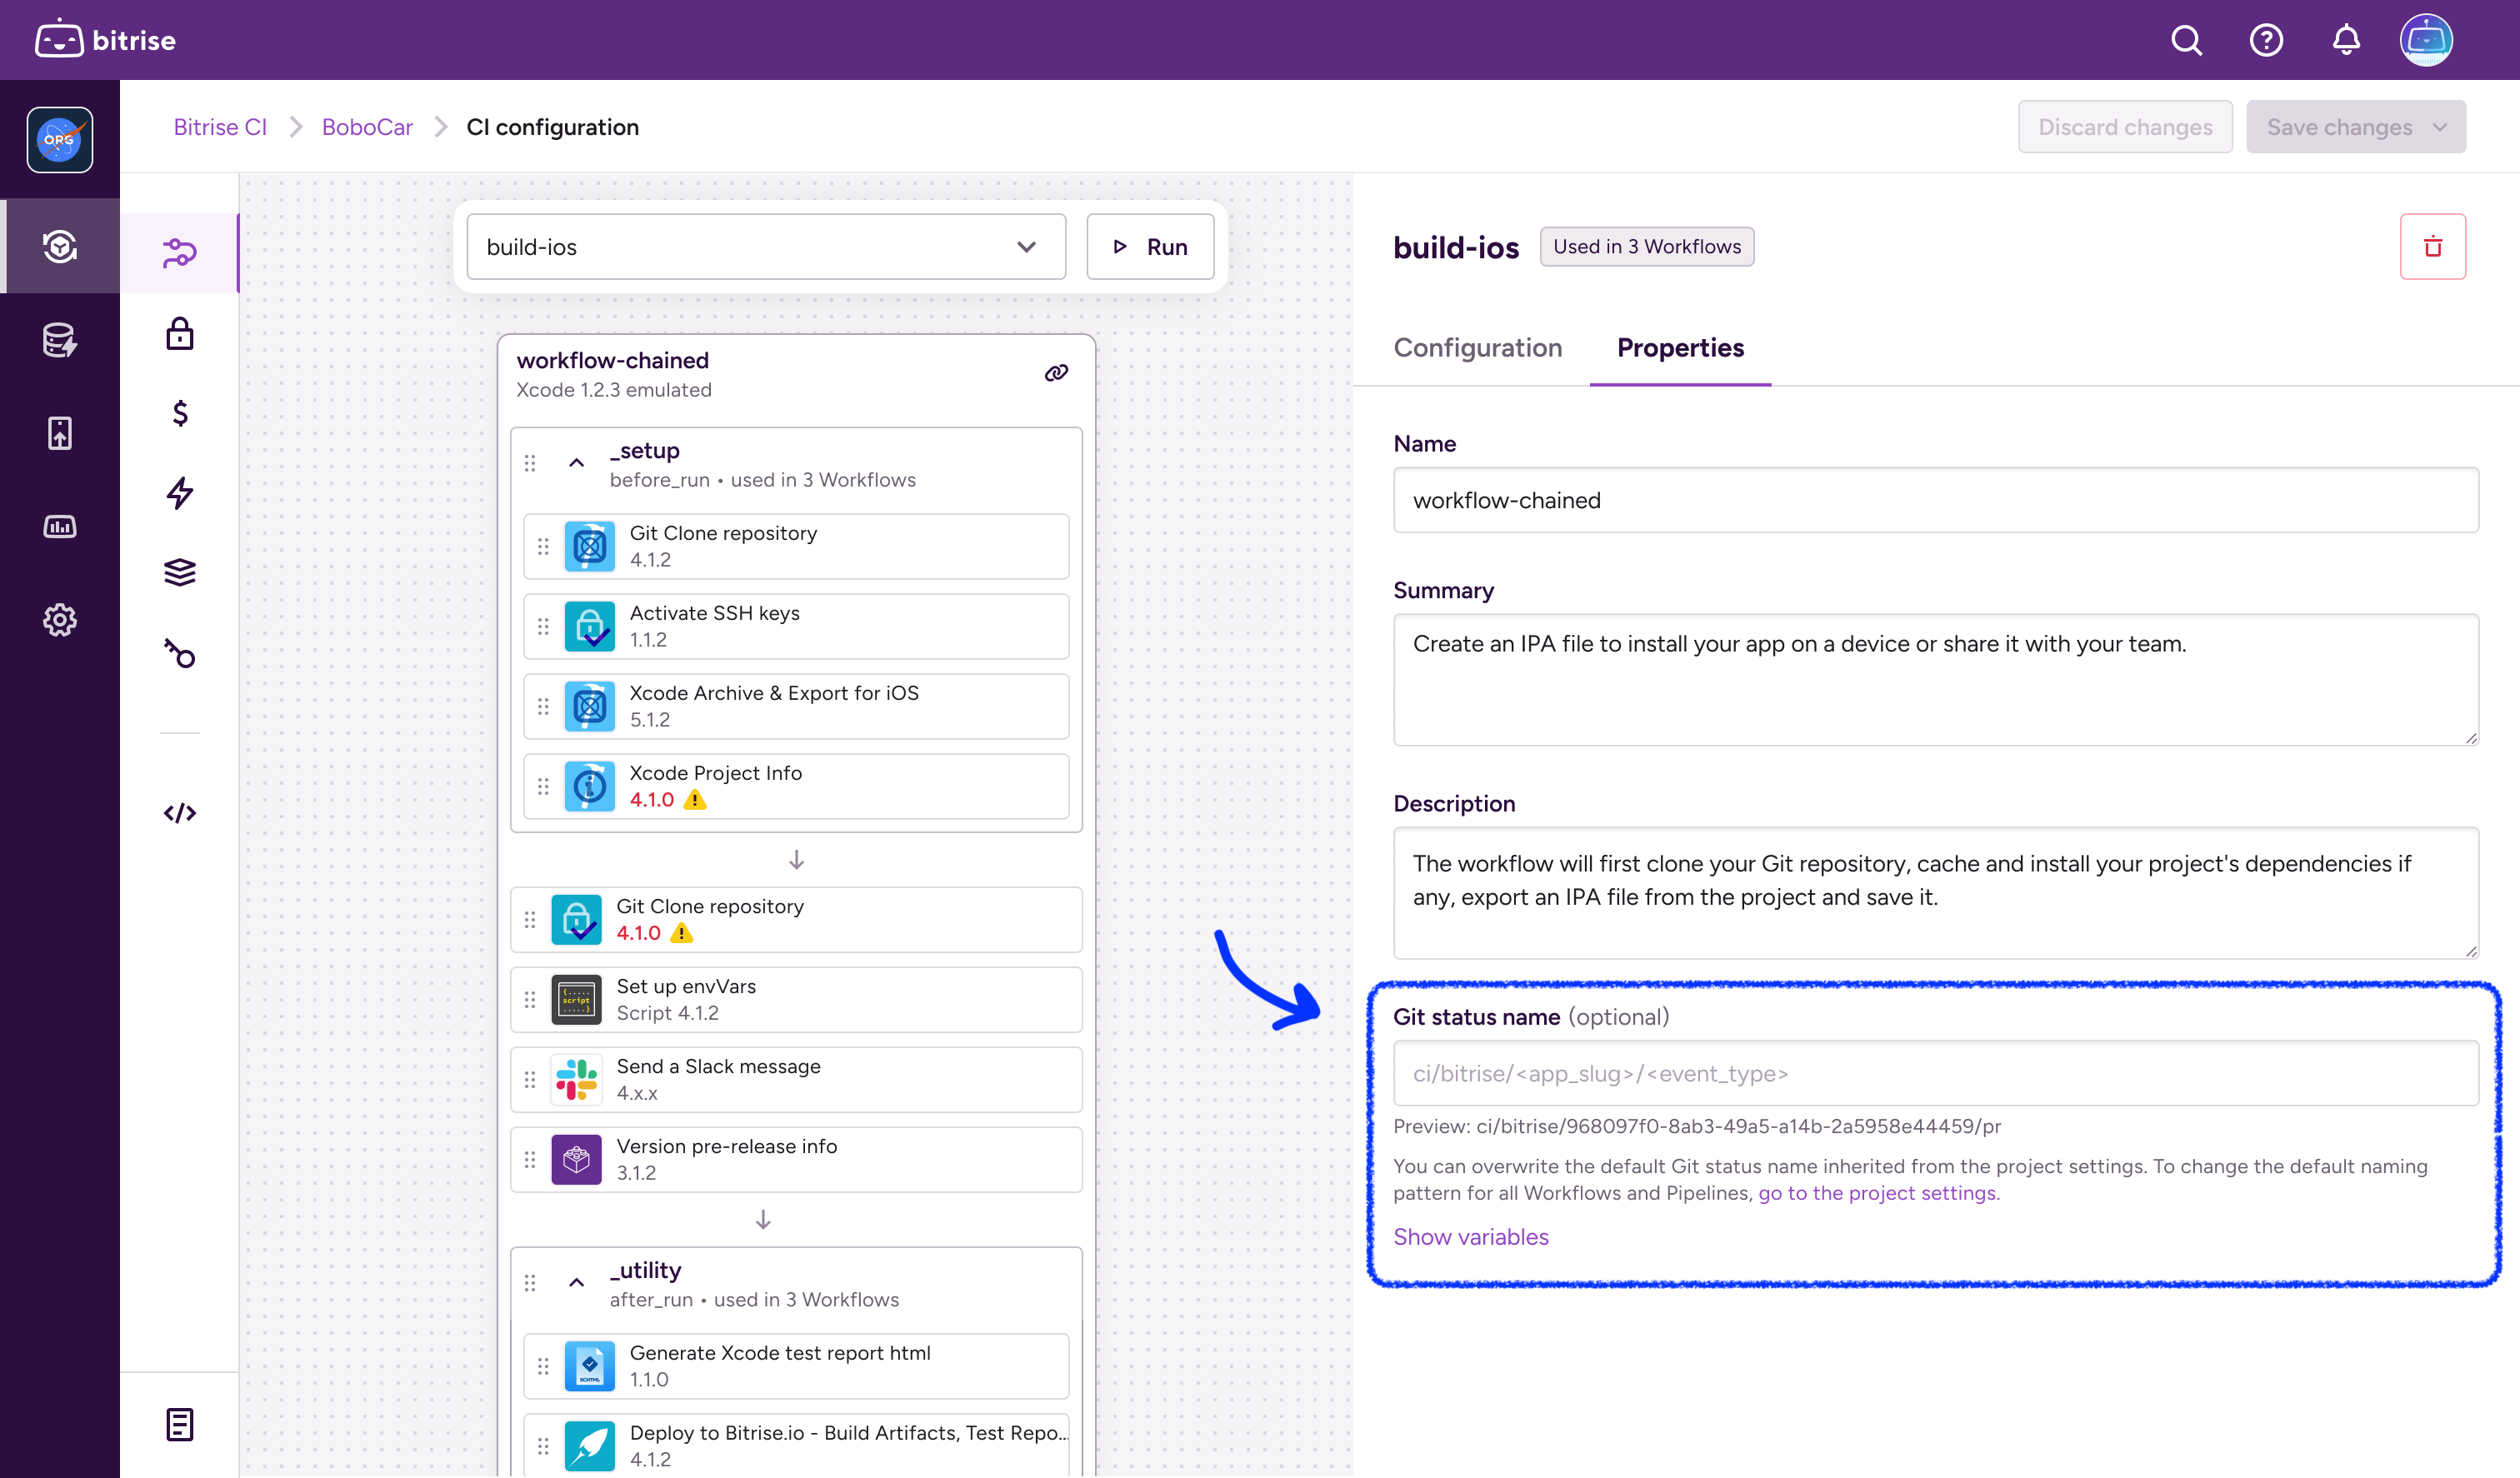
You can also set Workflow-level status reports in the Workflow Editor: open the Workflow, and go to its Properties tab, then find the Git status name input.

Dynamic variables
You can use the following dynamic variables in your status reports:
|
Variable name |
Description |
|---|---|
|
|
The unique alphanumeric identifier of the project on Bitrise which is part of the project’s URL. |
|
|
The human-readable title of the project. |
|
|
The name of the specific Workflow or Pipeline that was used for the build. |
|
|
Represents the type of event that triggered the status report. The possible values are:
|
Troubleshooting build status reporting
If your builds do not send status reports to your Git hosting provider - GitHub, GitLab or Bitbucket -, you will need to do a little investigating to find out what causes the problem. Let’s take a look at the potential issues!
Checking the service credential user
The service credential user of the app on bitrise.io must have connected their Bitrise account to their Git hosting account and must have access to the repository of the app on that Git account.
You can check the service credential user and test their Git connection.
-
Open your project on Bitrise with a user that has the Admin role on the project.
-
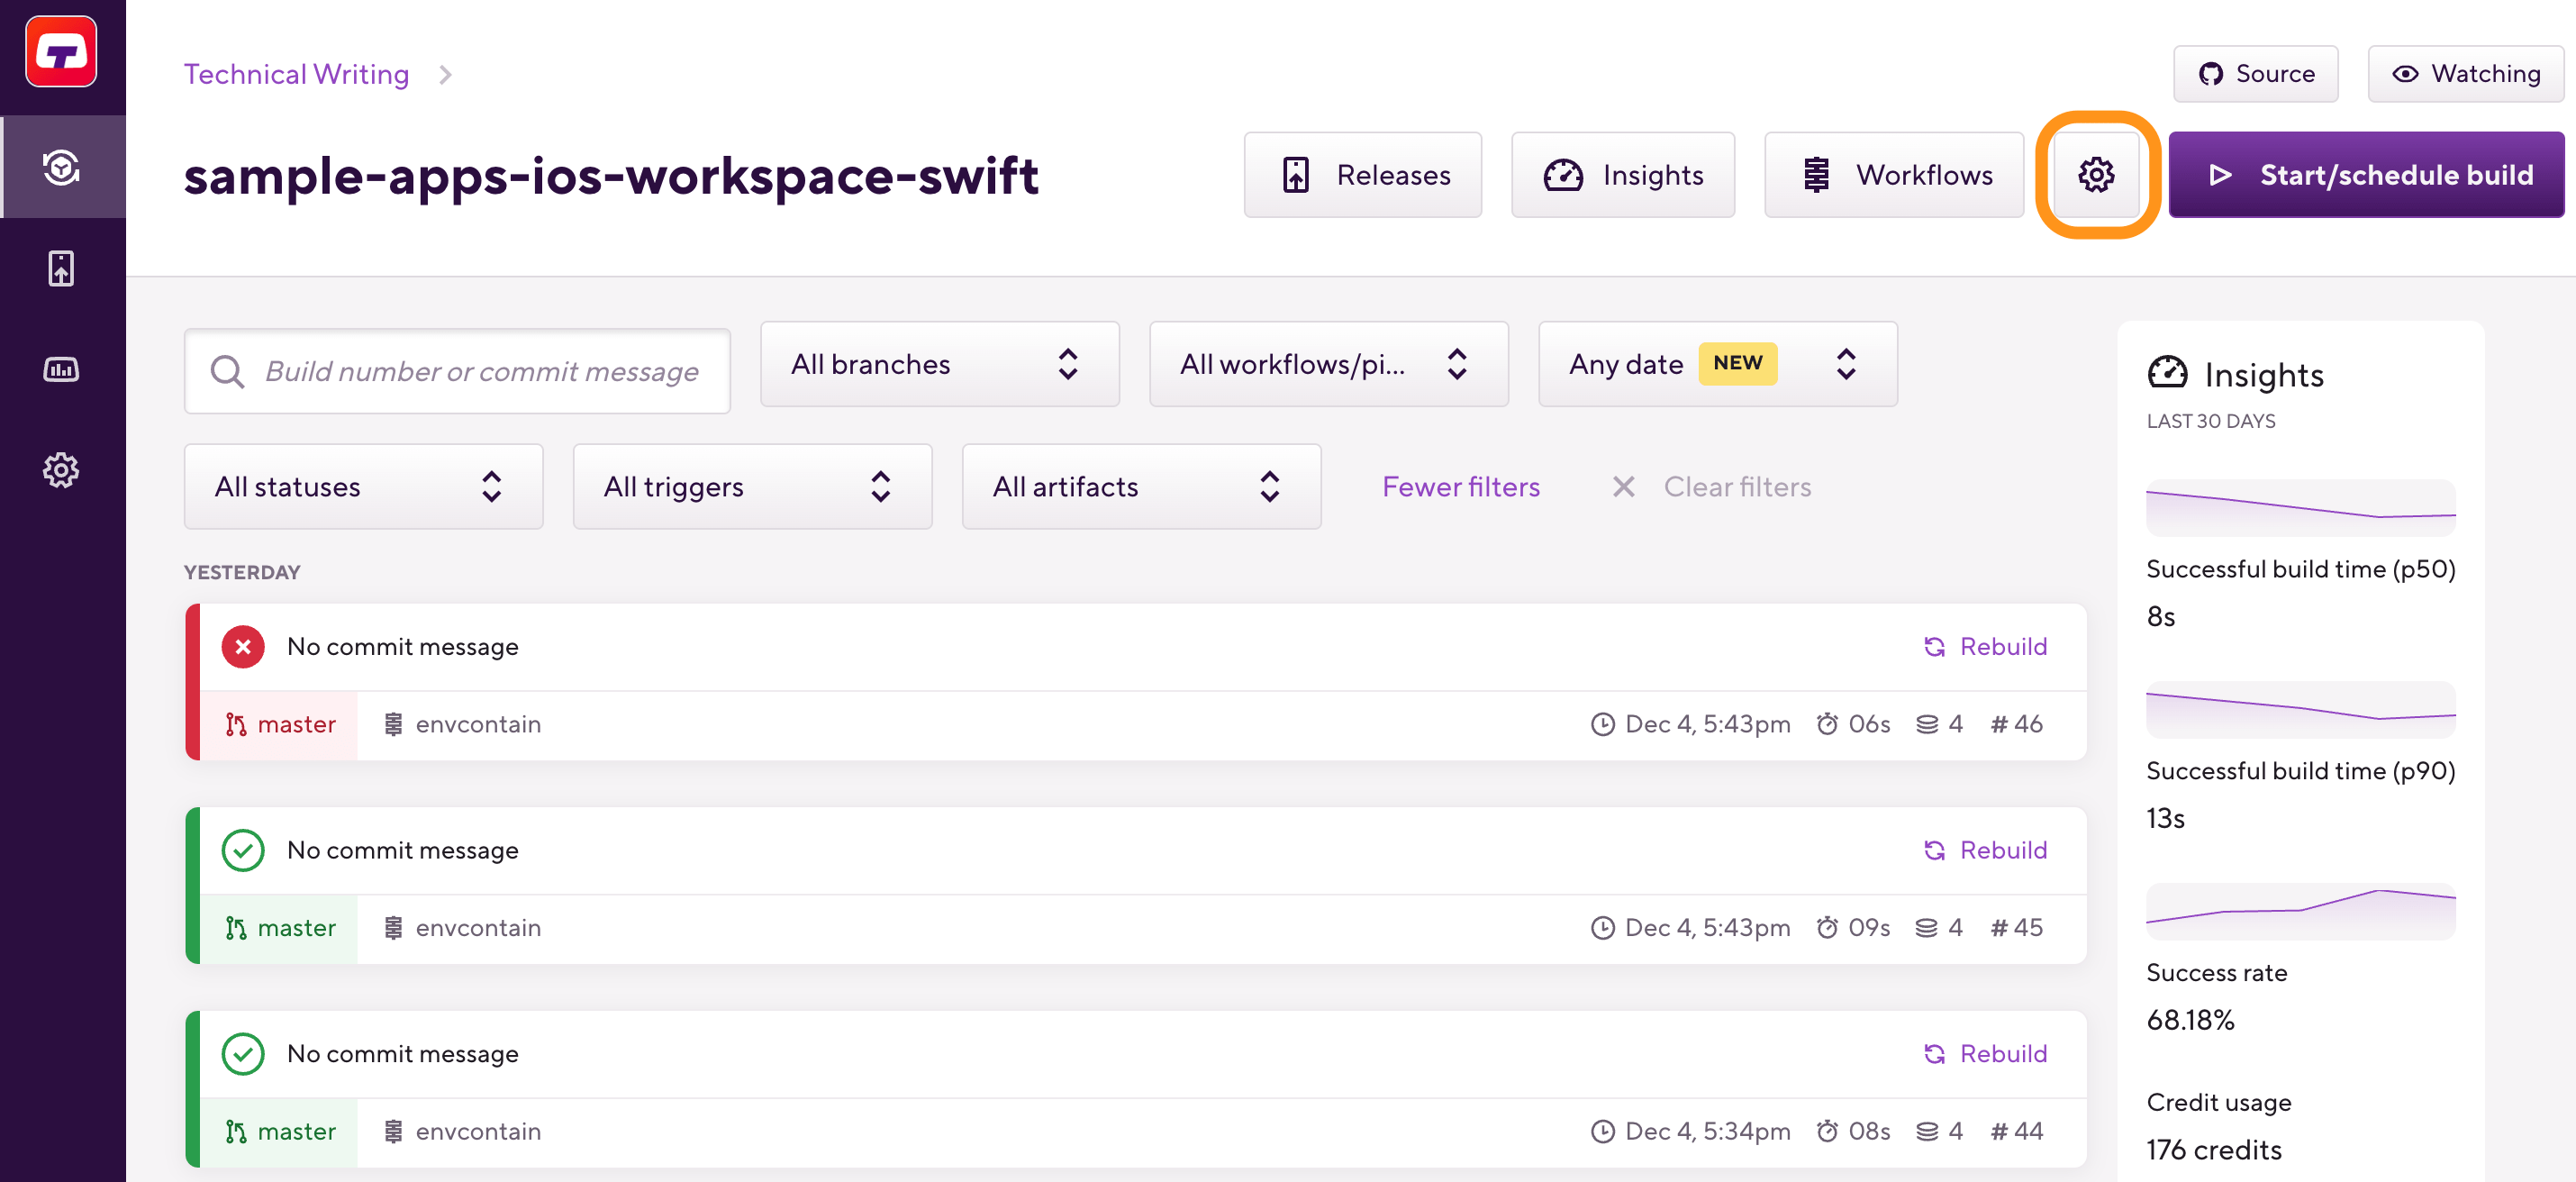
On the main page of the project, click on the Project settings button.

-
Go to your app’s page on bitrise.io.
-
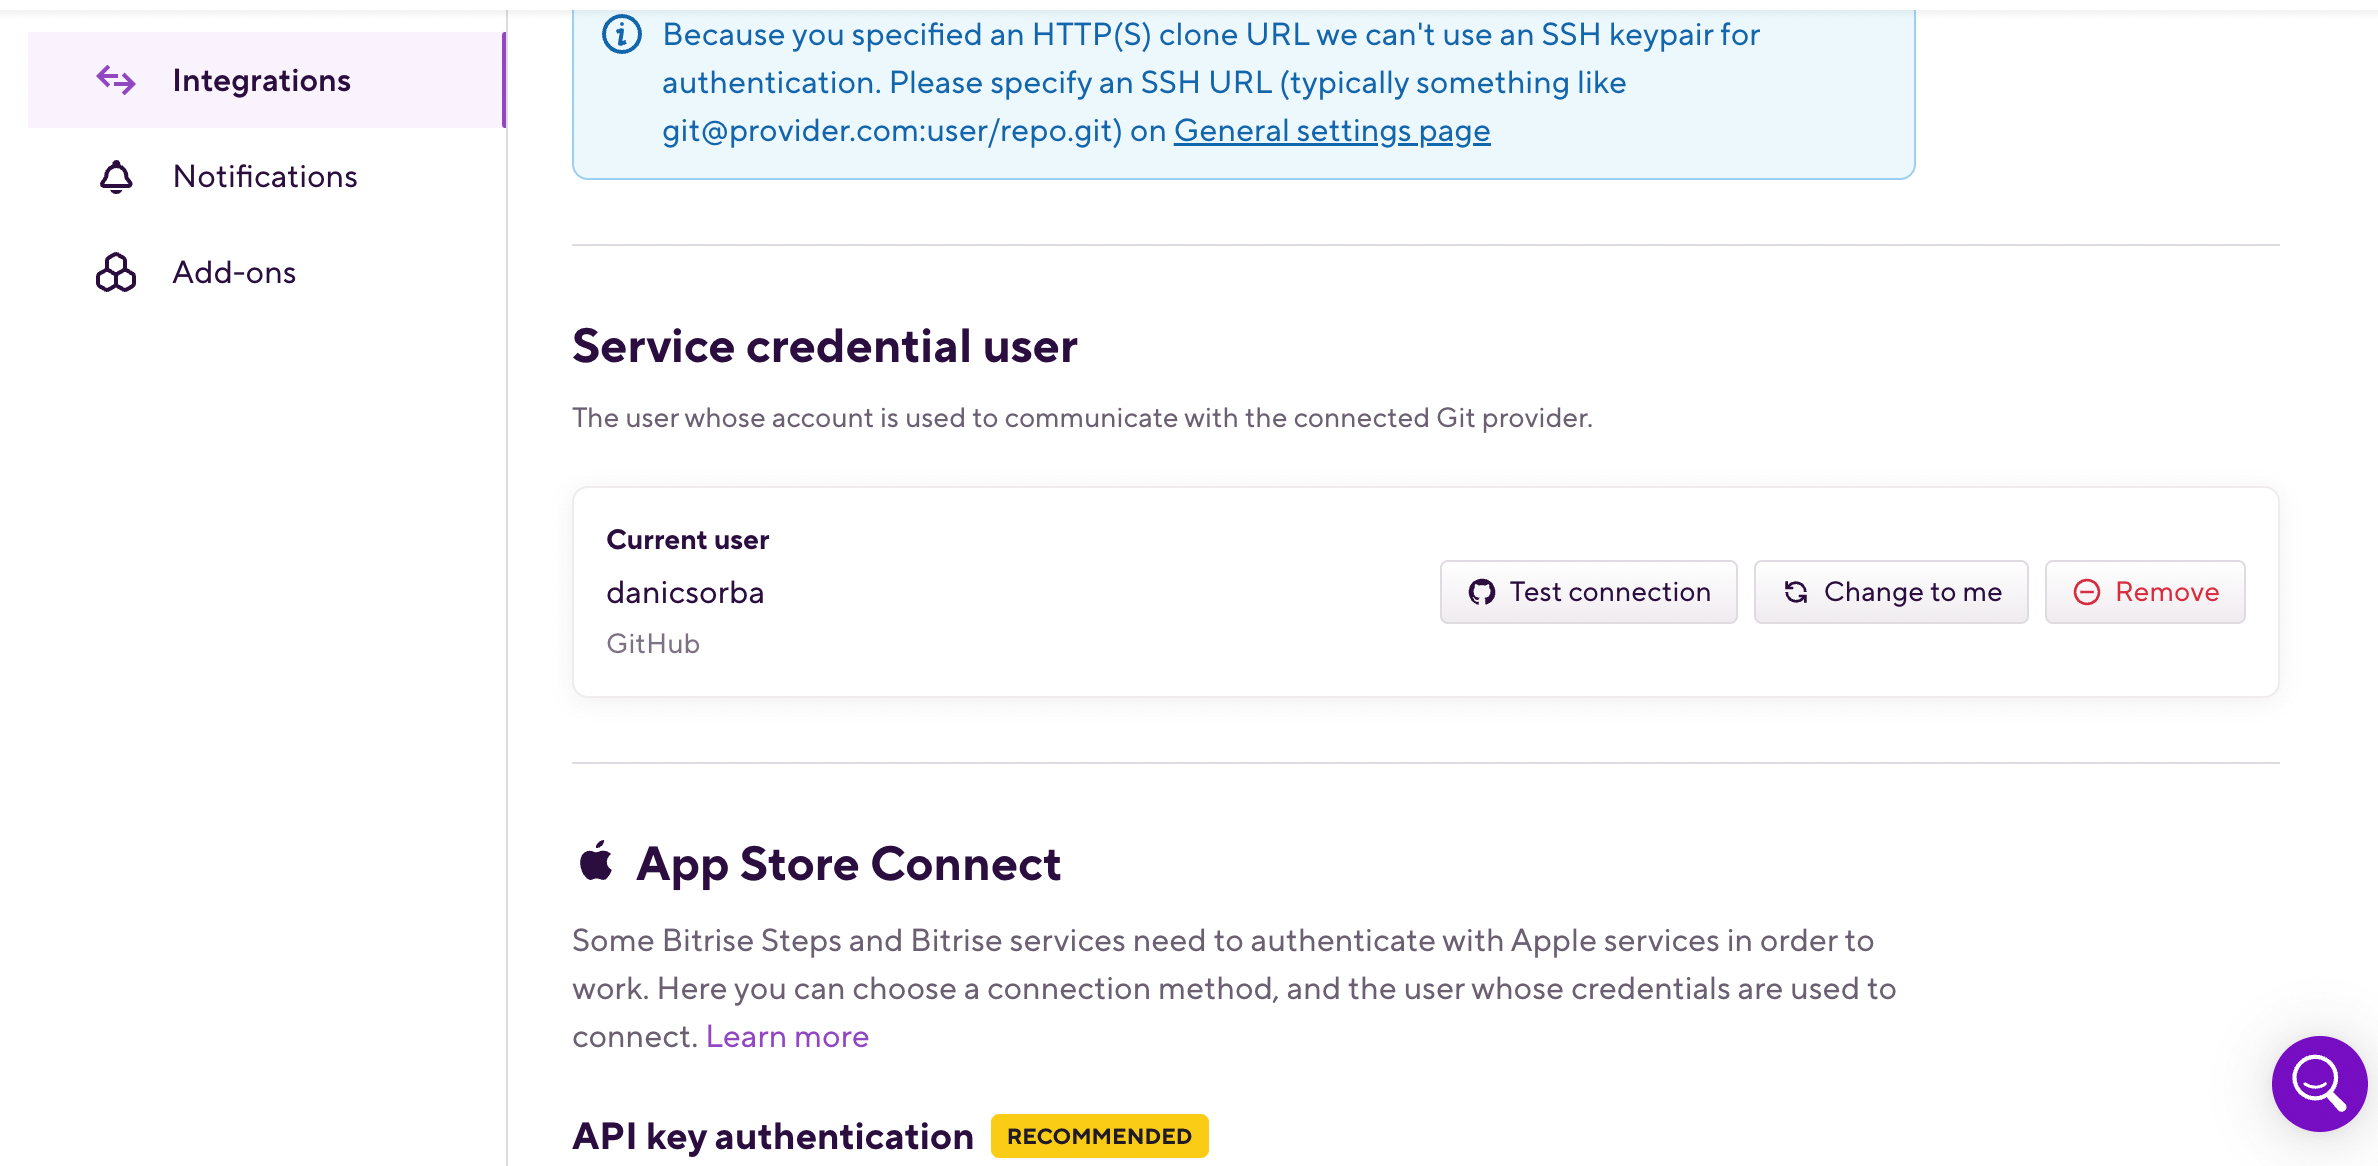
Find the Service credential user section.

Current user
In the figure, the current active user is the service credential user. If the service credential user is a different user, this looks a little different, including the button's text.
-
Click the button to test the user's Git connection.
Checking repository permissions and repository URL
Make sure that you granted Bitrise access to your Workspace or team. It might be that you did not grant Bitrise access or denied access to the GitHub Workspace or Bitbucket team that owns the repository.
Make sure the URL repository is up to date:
-
Open your project on Bitrise with a user that has the Admin role on the project.
-
On the main page of the project, click on the Project settings button.

-
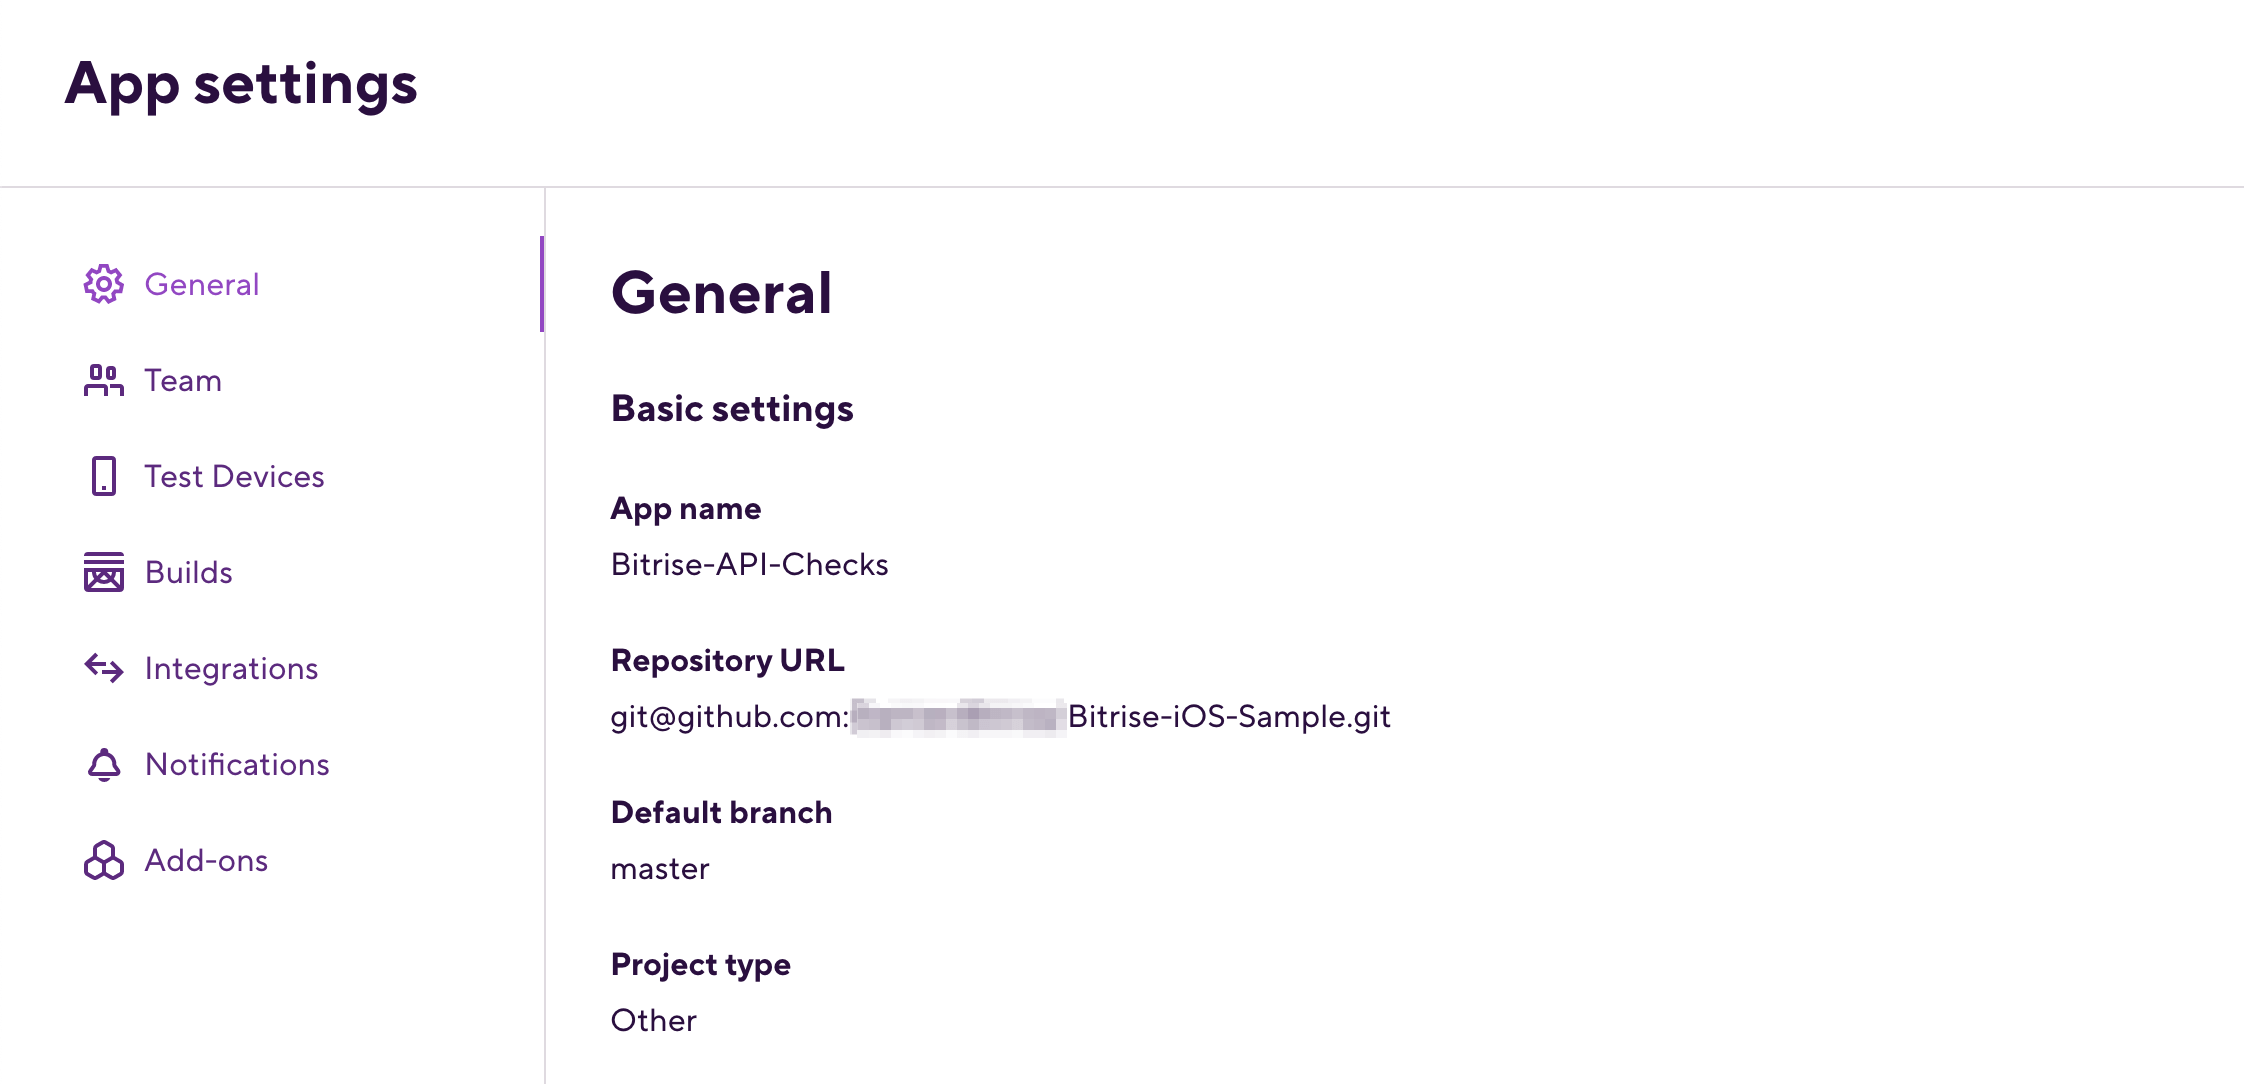
On the left, select General.
-
Find the repository URL and make sure it's correct.
