Scheduling builds
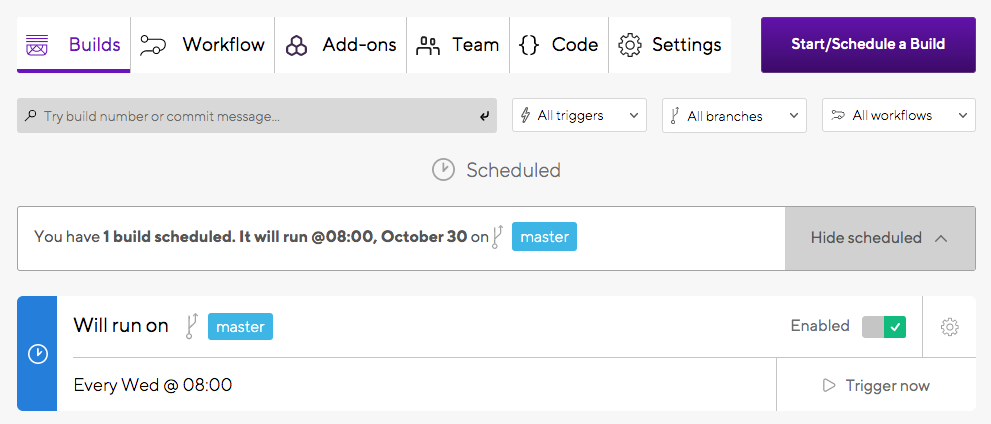
You can schedule your builds to run automatically at a specific time of the week.
You can schedule your builds to run automatically at a specific time of the week so that you can check your logs when it’s most convenient for you.
When scheduling a build, you can define custom Environment Variables. You can also set advanced filters for Git Tags and for Git commit hash.
If you have one or more regularly scheduled builds, you can:
-
Edit their configuration.
-
Trigger them manually at any time.
-
Temporarily disable them.
-
Permanently delete them.
Scheduling a build
How to schedule a build with the basic configuration options on Bitrise:
-
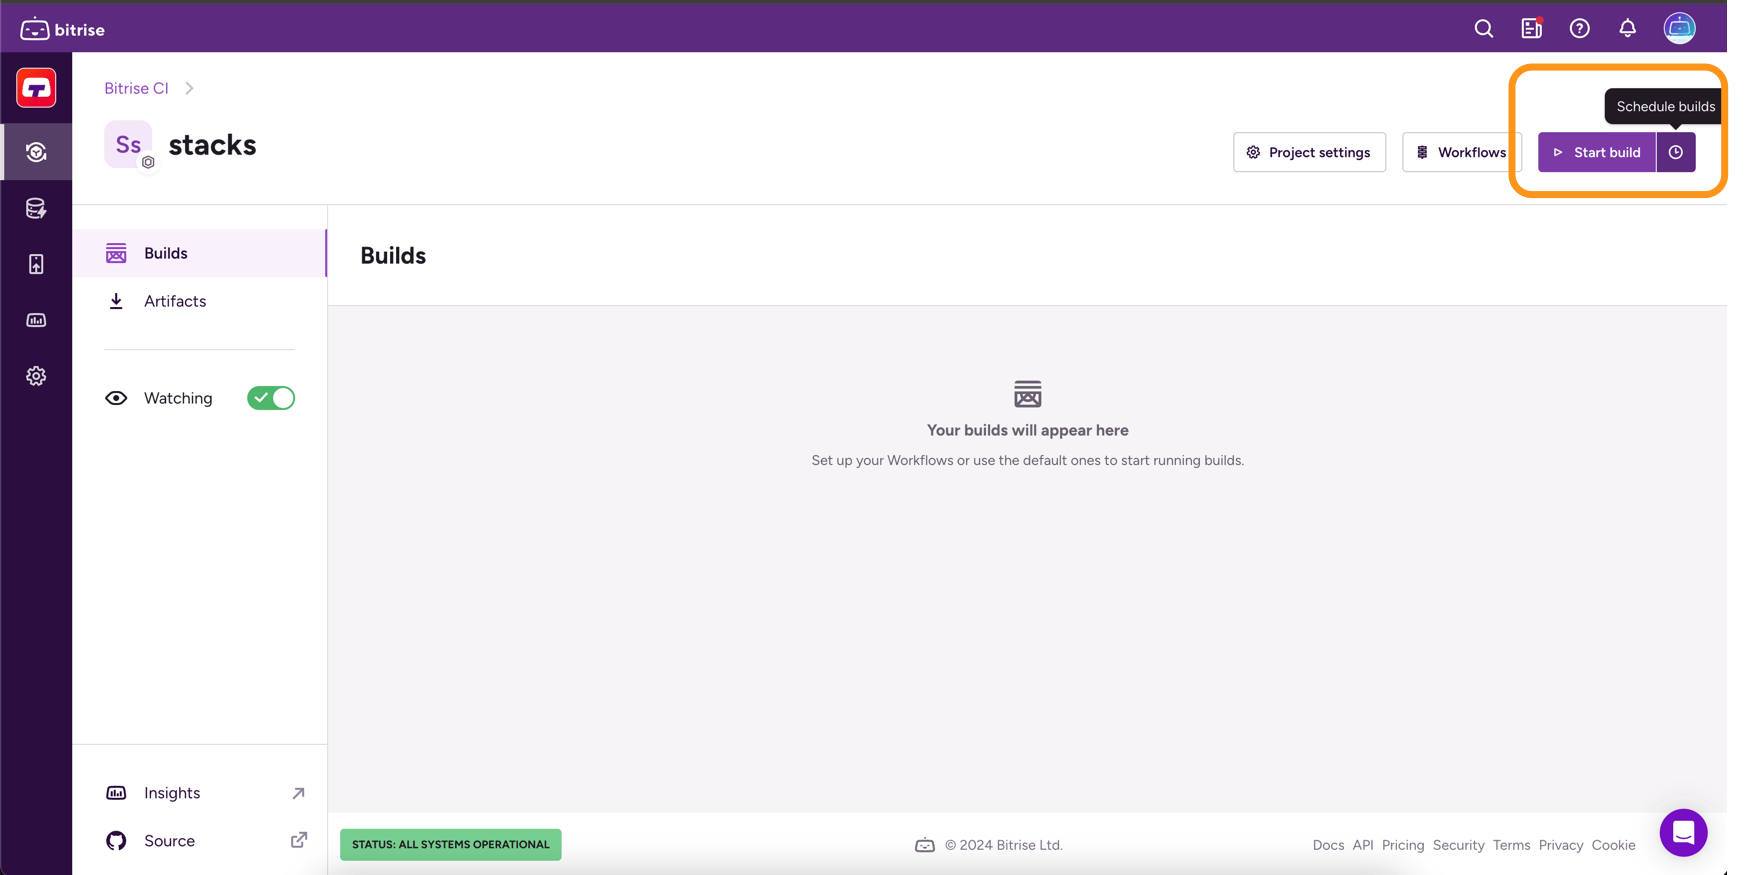
On the Bitrise CI page of your app, find the button and click the button with the clock icon next to it.
-
In the Schedule build dialog, set up the scheduling cadence: you can choose between Basic and Cron settings.
-
In the Basic settings, you need to set a start date, a start time in 24-hour time format, and select a timezone.
-
In the Cron settings, you can set a
cronschedule expression. The dialog will parse your expression and display the configured time in a human-readable format.
-
-
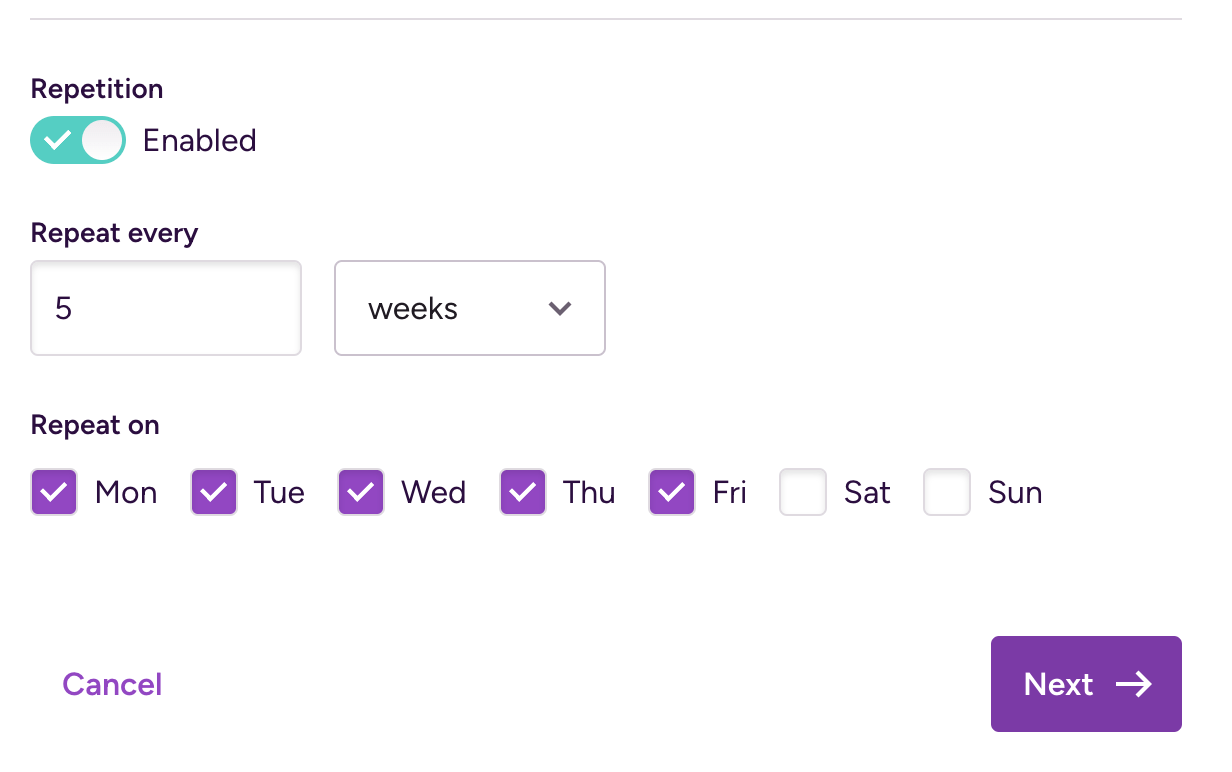
If you chose Basic, enable or disable repetition with the Repetition toggle. If you enable repetition, configure the frequency, from minutes to years.
The build will be triggered with the configured frequency, always at the same time, determined by the scheduling cadence. For example, you can configure your builds to run on Monday and Thursday every week.
-
When ready, click Next to proceed to the build configuration.
-
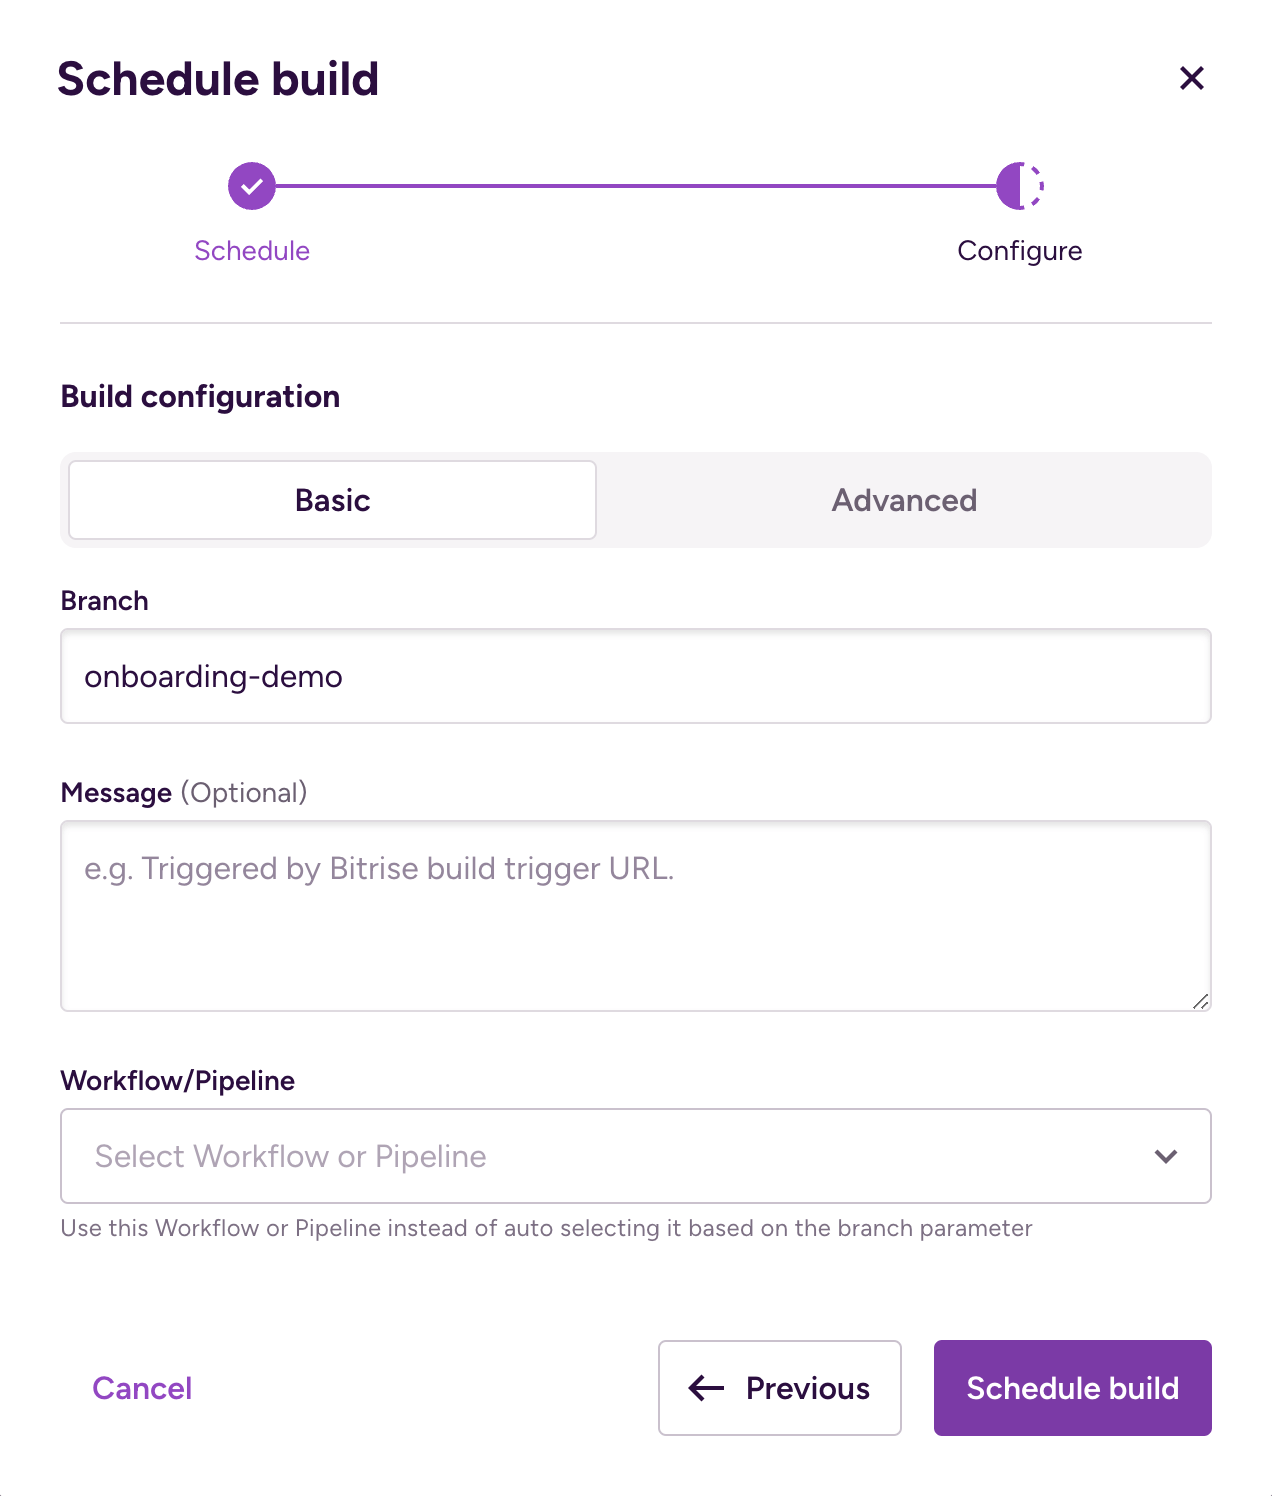
Select between Basic and Advanced configuration.
Basic configuration offers three options:
-
A branch name. This is a required field.
-
A message in the Message field. This is not related to Git commit messages at all. It's just a place to provide some optional information about your build.
-
A Workflow or a Pipeline. You can select a specific one or use the Based on trigger map option to select one using the the trigger map in the app's
bitrise.ymlconfiguration file.
Pull request branch
Starting a build of a pull request’s branch is NOT the same as a pull request build. The manually started build of a pull request branch will only build the state of the code on that branch. An automatically triggered pull request build, however, builds the state of the code as it will look like once you merged the pull request.
For advanced configuration options, see the Advanced configuration options for starting/scheduling builds section.
-
-
When done, click Schedule build.
Advanced configuration options for starting/scheduling builds
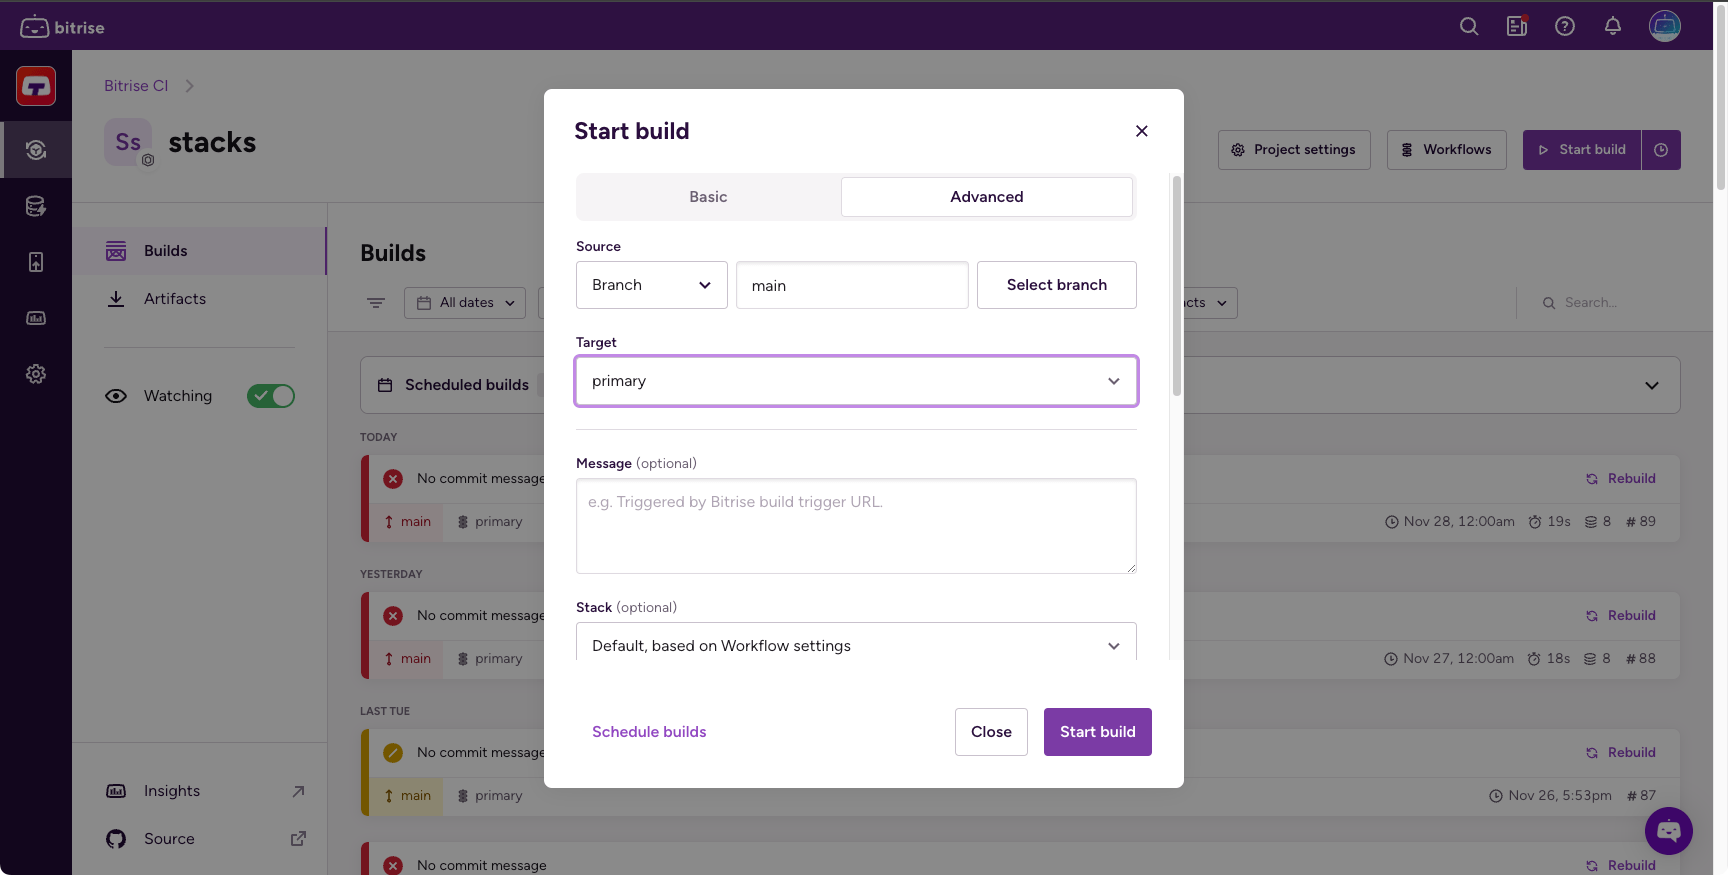
If you choose Advanced in the Build configuration window, you have all the options available with Basic, and a few more:
You can select a source type in the Source dropdown menu. In addition to the default Branch option, you can also select:
-
Git Tag: Builds a particular branch or commit that is tagged with the Tag you enter. If you set this, you can't set a commit hash.
Git Tags and commit hashes are conflicting options
You cannot specify both a Git Tag and a commit hash. When you set one, the other one will disappear. This ensures you cannot enter conflicting input values.
-
Commit Hash: Copy a specific commit’s hash here to build that particular commit. This option can even send a build status update to your git hosting service. If you set this, you can't set a Git Tag.
Commit hash takes precedence over the Branch option
If the Branch option specifies a branch where the commit hash you chose doesn't exist, Bitrise will find the branch that does have the given commit and run a build with that branch.
In addition to different sources, you can also add:
-
Priority: Determines the priority of your build in the build queue. The higher the number, the sooner your build will run. The priority must be an integer between -100 and 100. The default value is 0. For more information, check out Build priority.
-
Custom Environment Variables: Create a custom Environment Variable that is used in the build. See Setting a custom Env Var when starting a build.
-
Generated cURL command: Based on the options you set in the Build configuration window, we provide an automatically generated cURL command. This can be copied and pasted, and you can run it on any platform that has cURL installed.
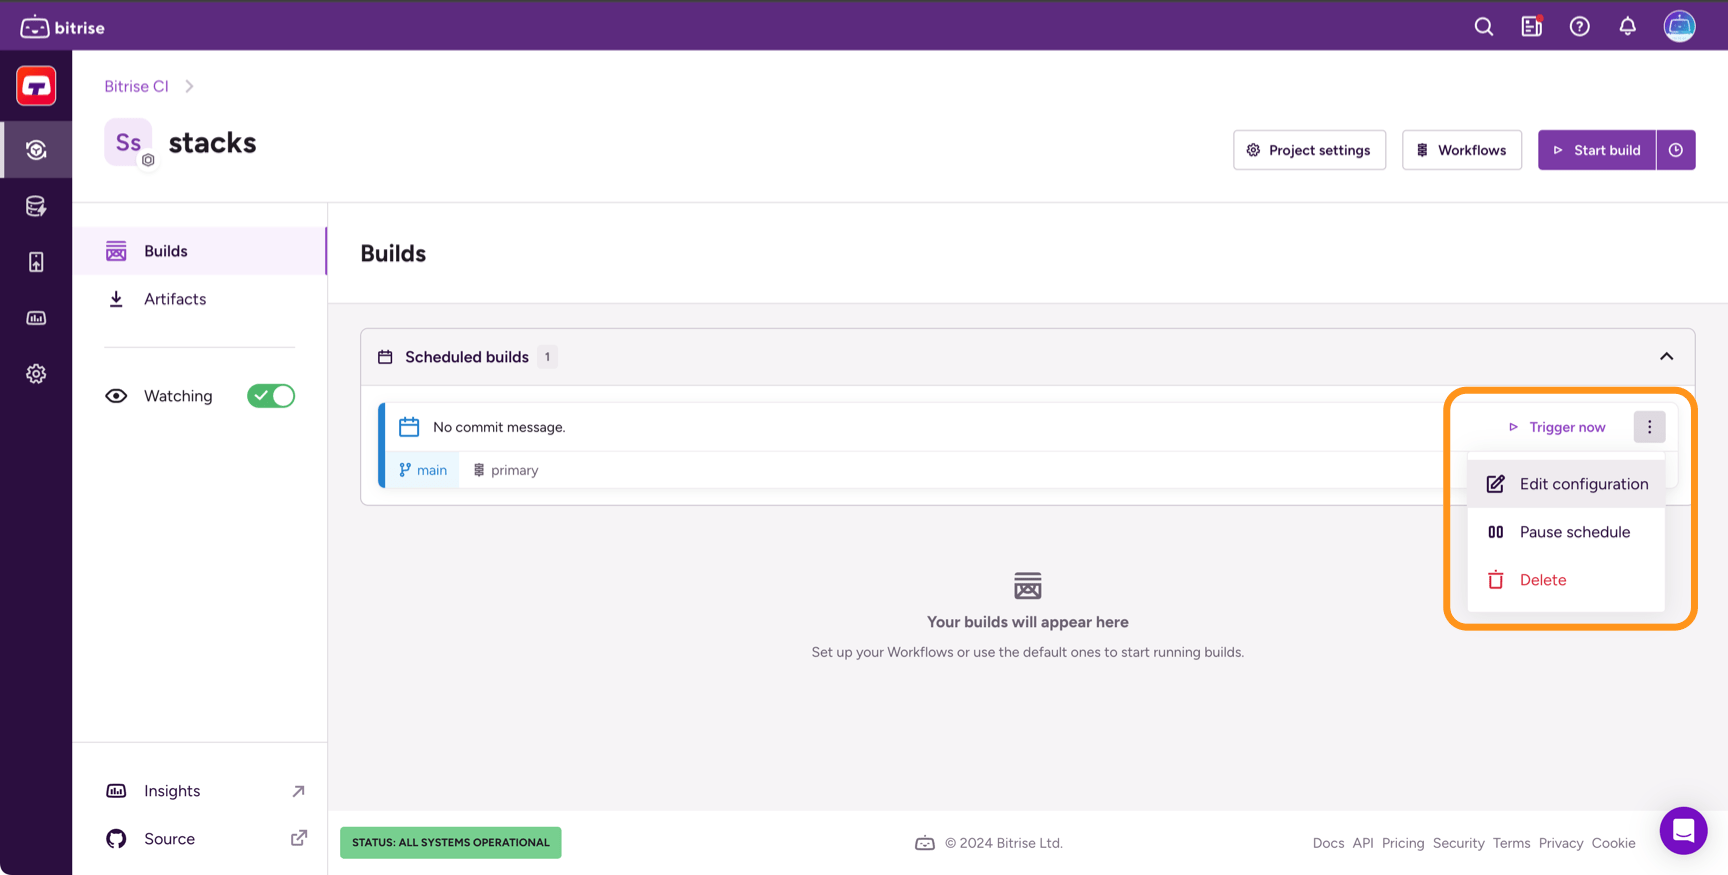
Editing a scheduled build
To change the configuration of a regularly scheduled build:
-
Go to the Builds page of your app.
-
Find the Scheduled builds section and open it to view your scheduled builds.
-
Click the vertical ellipsis to open the context menu.
-
Select Edit configuration.
-
Make the changes you want and click Save.
Triggering a scheduled build manually
To immediately trigger a scheduled build:
-
Go to the Builds page of your app.
-
Find the Scheduled builds section and open it to view your scheduled builds.
-
Click Trigger now.
Pausing a scheduled build
To temporarily pause a regularly scheduled build:
-
Go to the Builds page of your app.
-
Find the Scheduled builds section and open it to view your scheduled builds.
-
Click the vertical ellipsis to open the context menu.
-
Select Pause schedule.
The build will not run until you enable it again.
Deleting a scheduled build
To permanently delete a regularly scheduled build:
-
Go to the Builds page of your app.
-
Find the Scheduled builds section and open it to view your scheduled builds.
-
Click the vertical ellipsis to open the context menu.
-
Select Delete and then click Delete again when prompted for confirmation.