Configuring email notifications
Bitrise's built-in email notification system sends emails about builds to every user who is assigned to work on an application. They are sent when a build is finished and they can be configured for both successful and failed builds.
Notifications are updates about your activity on Bitrise. Usually, they concern the state of your builds but you can receive notifications about a lot of different things.
Our built-in email notification system sends emails about builds to every user who is assigned to work on an application. They are sent when a build is finished and they can be configured for both successful and failed builds.
Watching the app
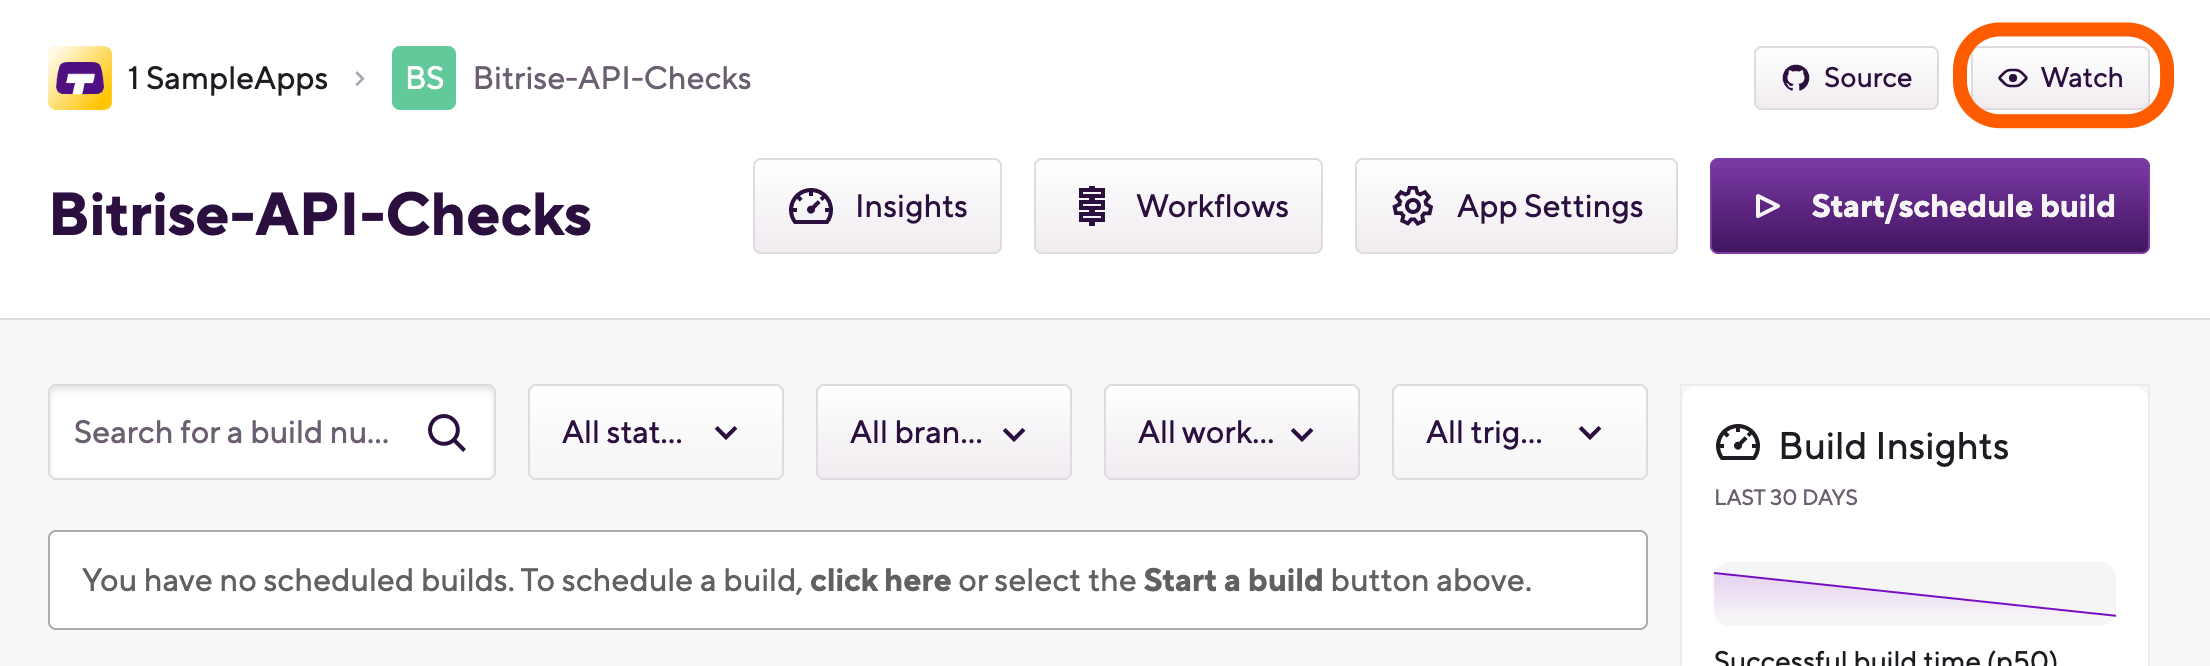
To receive automatic email messages, you need to be watching the app. If you turn off watching, you won’t receive the automated emails.
Email notifications are automatically set up for all applications when first creating them but you can modify these notification settings at any time: Changing your email notification settings
The alternative solution is to send emails via a dedicated Step. This allows for far more customization regarding the notifications: Sending emails with a Step
Watching a project
Watching a Bitrise project means getting email notifications for that project. Turning off watching the project means you won't get automatic notifications.
To enable watching:
-
Open Bitrise CI.
-
From the project list on the right, select your project.
-
On the left, toggle Watching.
Changing your email notification settings
Email notifications are automatically set up for all projects when first creating them. There are three possible settings for both successful builds and failed builds:
-
Always. This is the default setting for failed builds.
-
Never.
-
Send email when build status changes on the same branch. This is the default setting for successful builds. This means that if build #1 and build #2 both succeeded, you will not get a notification about build #2. However, if build #3 fails and then build #4 succeeds again, you will be notified.
You can change your email notification settings at any time - you can even completely disable them.
-
Open your project on Bitrise with a user that has the Admin role on the project.
-
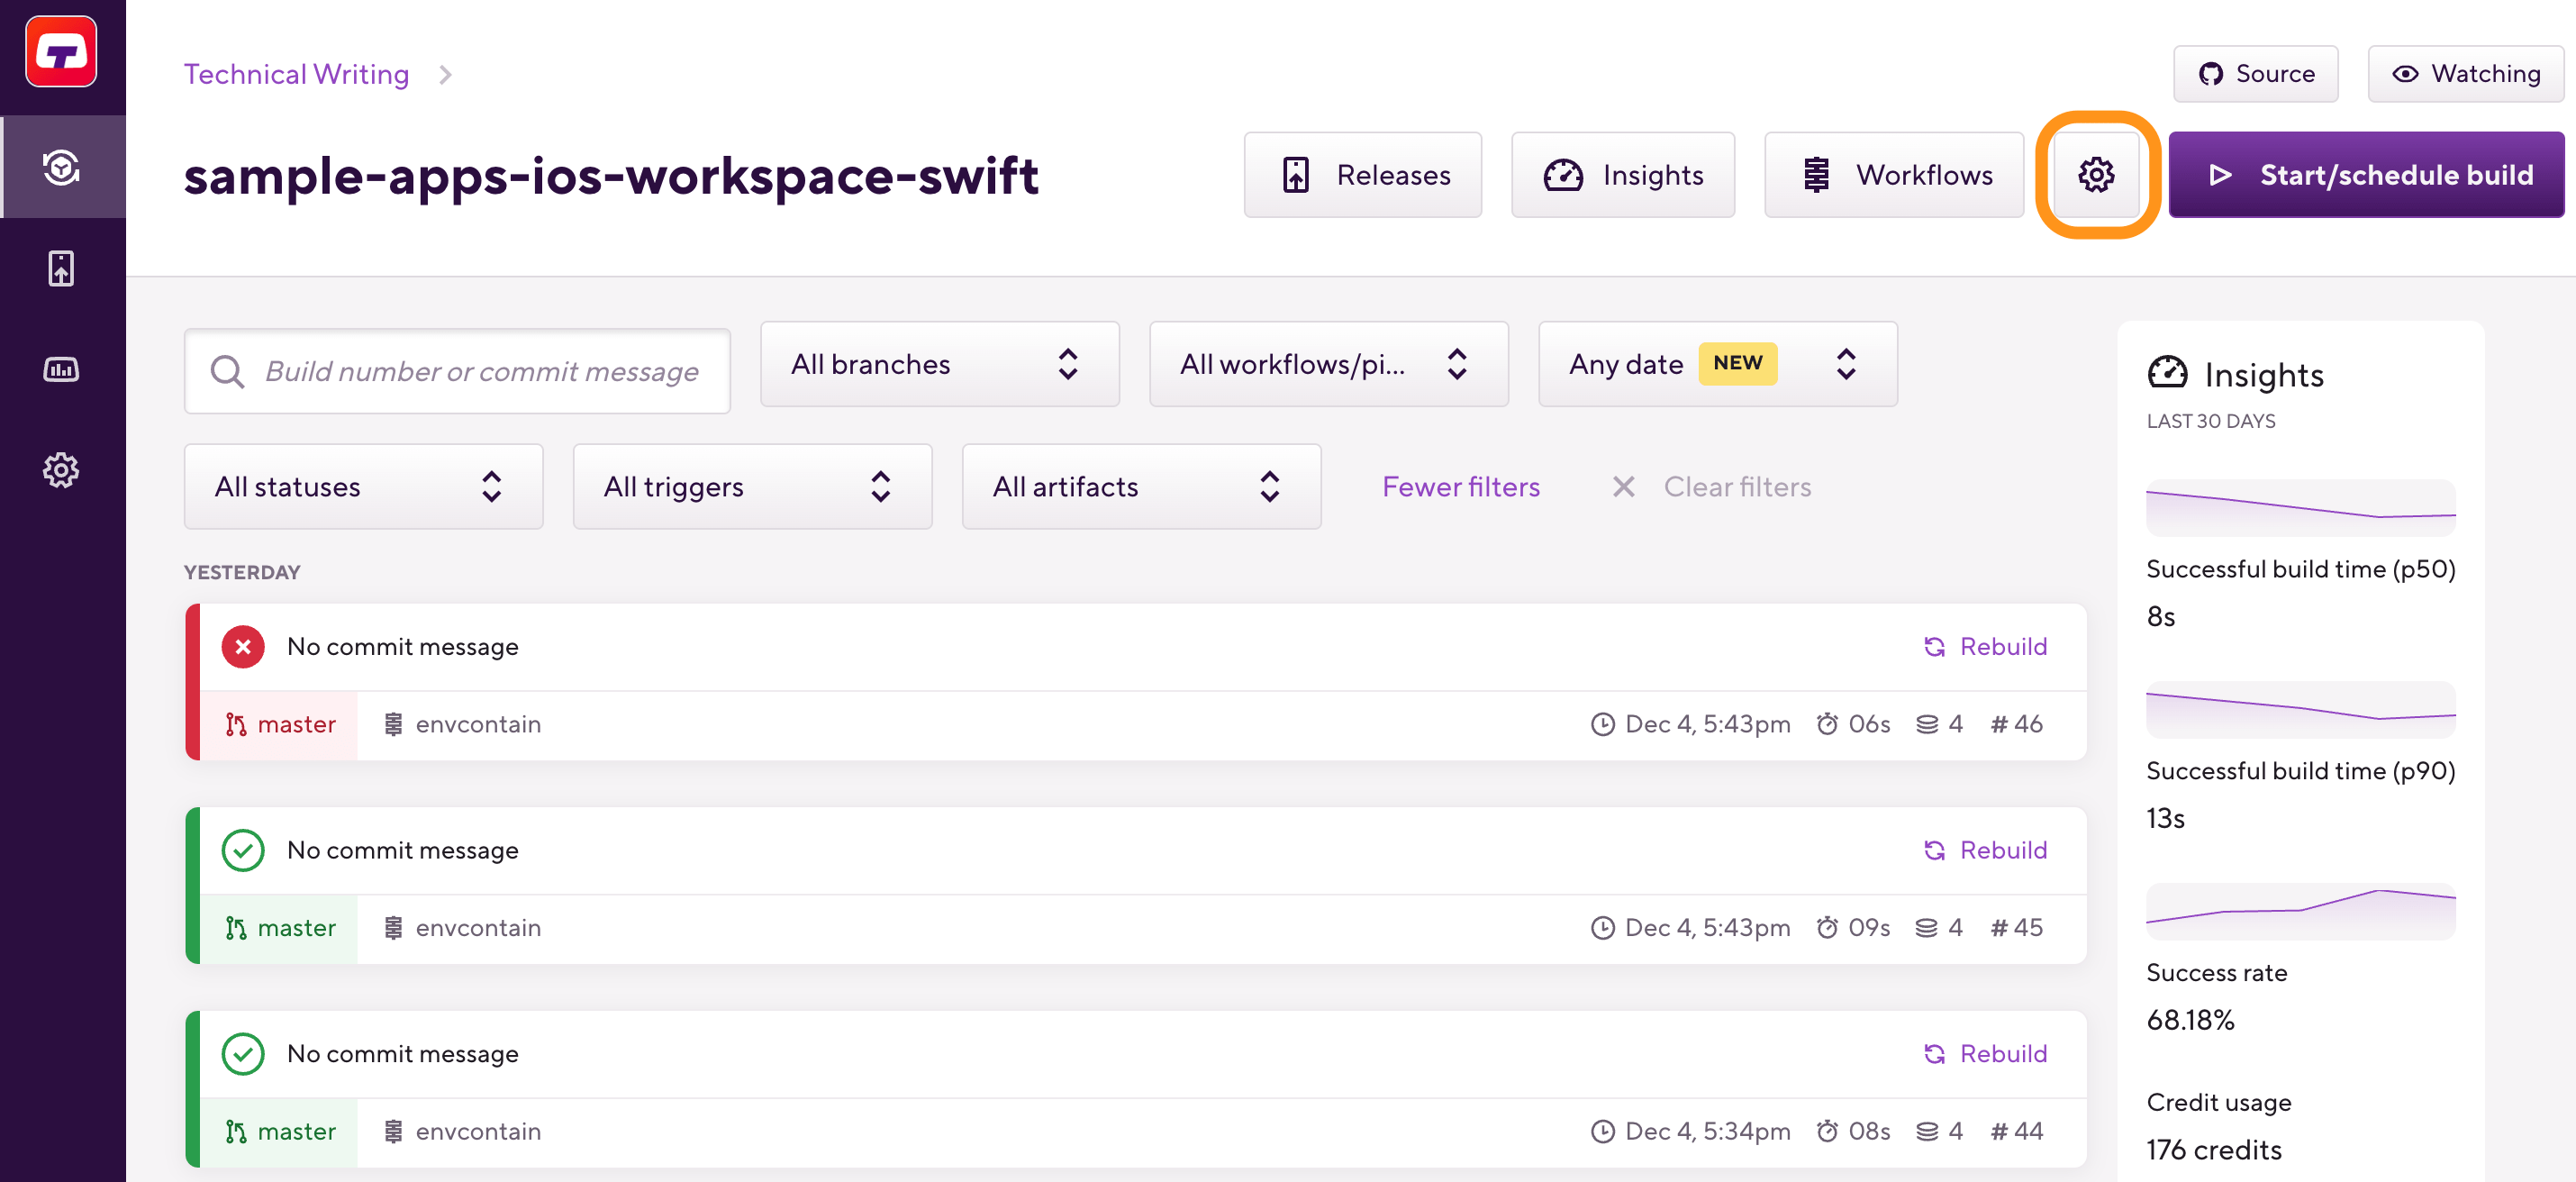
On the main page of the project, click on the Project settings button.
-
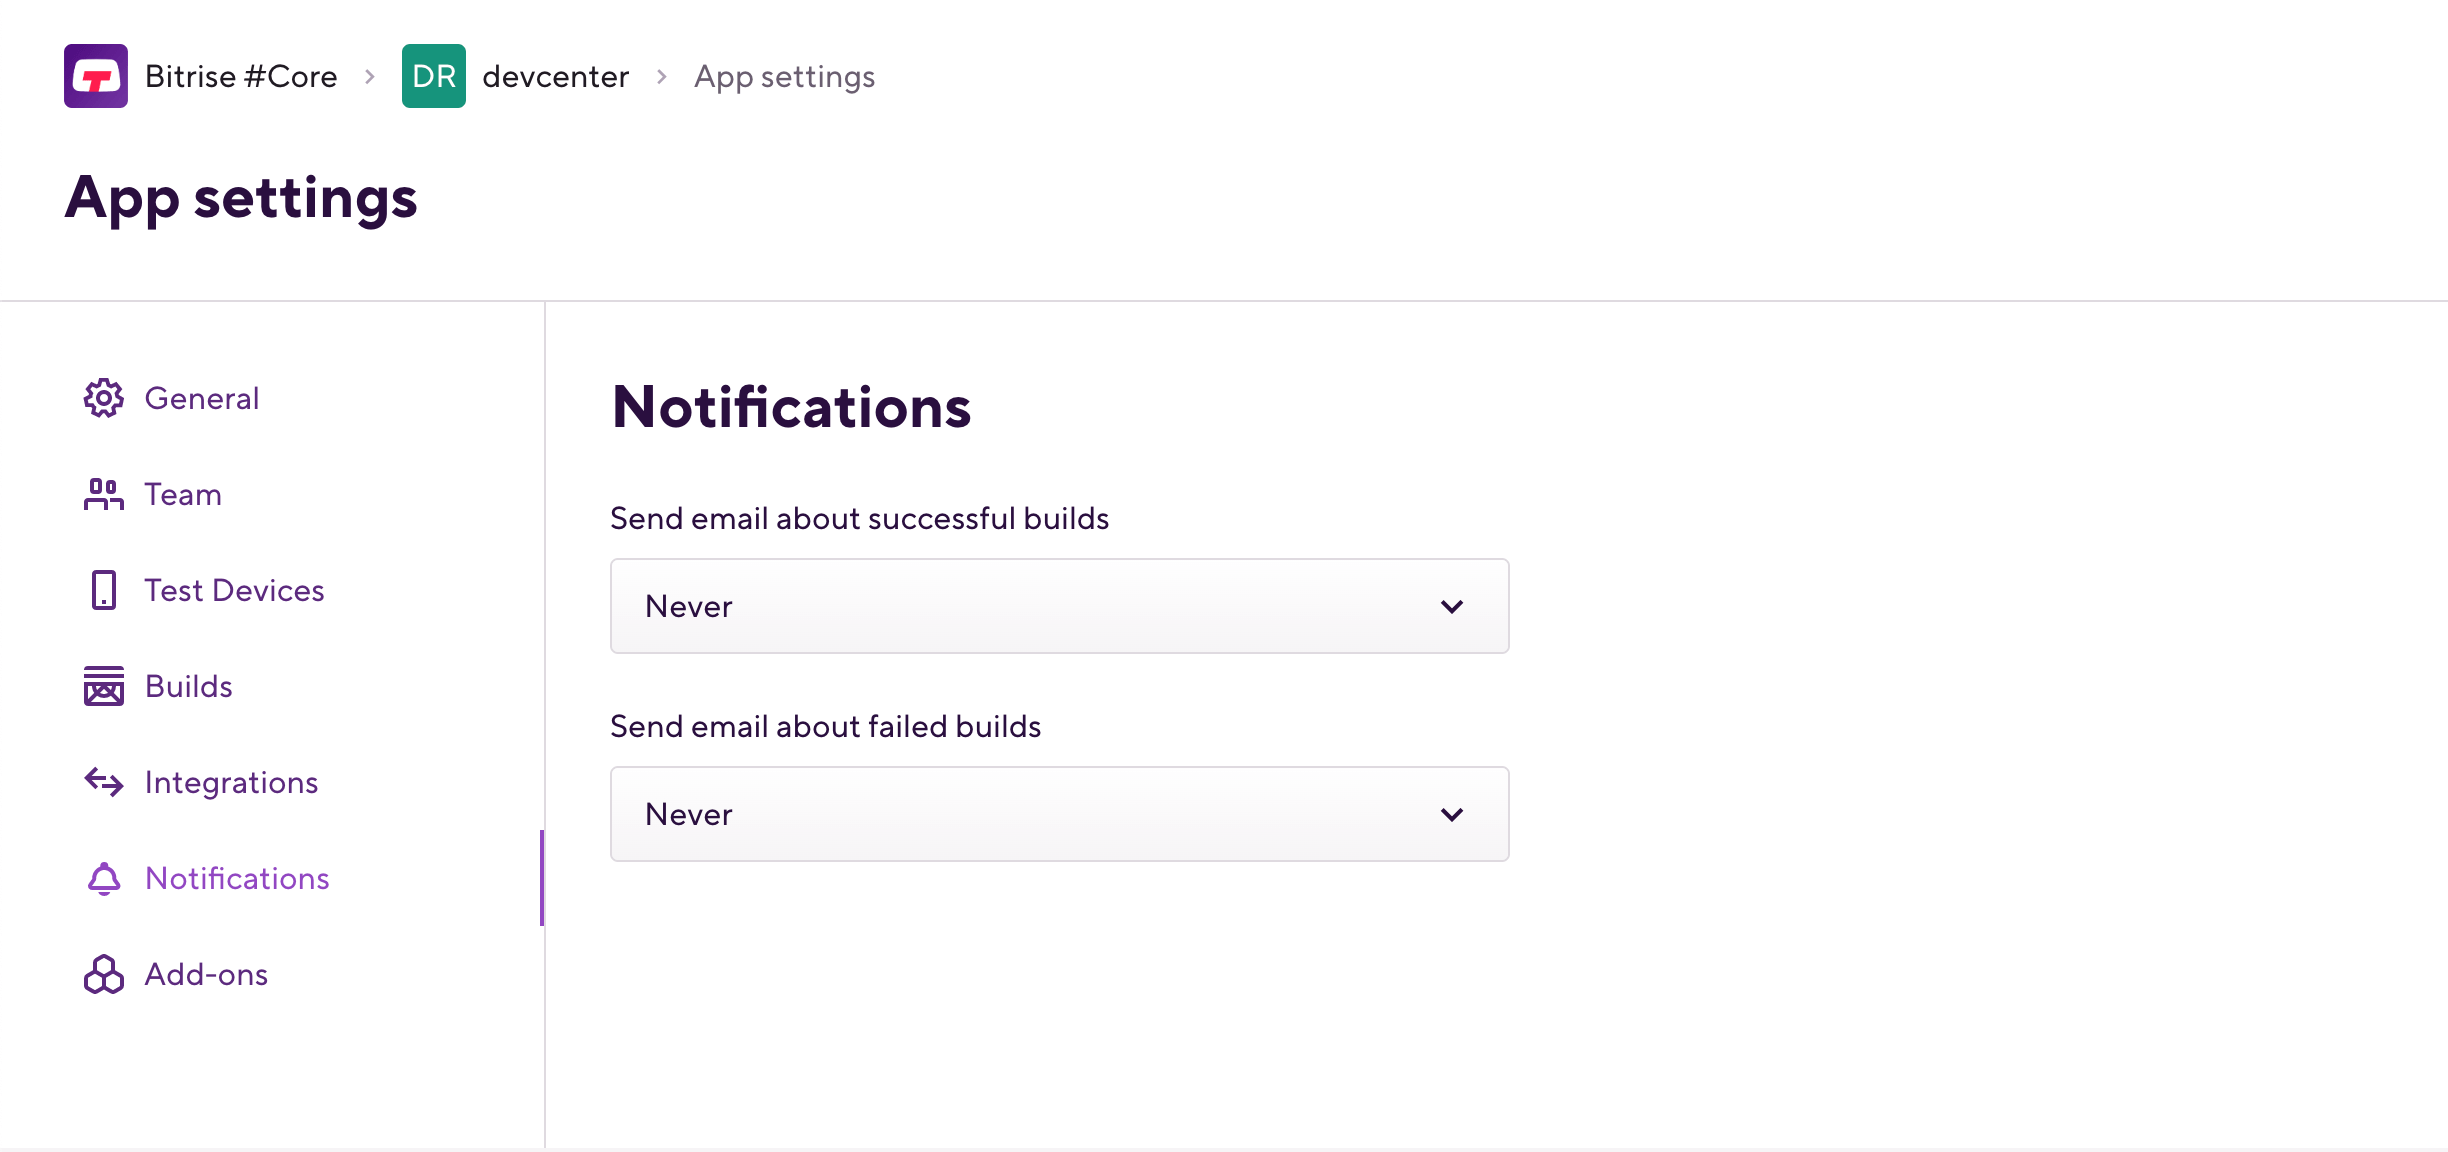
On the left, select Notifications.
-
Scroll down to email notifications.
-
Select the settings you need for both successful and failed builds from the appropriate dropdown menu.
For example, if you want to disable receiving notifications, set both options to .
Sending emails with a Step
The Send Email with Mailgun Step can send emails to any email address with customized updates, in either HTML or plain text format. You can use environment variables to send information, as well as attach files to the emails.
To use the Step, you need:
-
A Mailgun account.
-
A Mailgun API key.
-
Your Mailgun domain name.
Make sure the Step runs in every build!
If you use the Send Email with Mailgun Step in your workflow, make sure that it is always set to run even if the previous Step failed! This is the default setting of the Step. If you change it, you will not receive emails if your builds fail.
-
Create a Secret Environment Variable that holds your Mailgun API key.
We recommend naming the key
$MAILGUN_API_KEY. This is the default value of the Step’s relevant input. -
Create a Secret Environment Variable that holds your Mailgun domain.
We recommend naming the key
$MAILGUN_DOMAIN. This is the default value of the Step’s relevant input. -
Add the Send Email with Mailgun Step to the end of your workflow.
-
Find the Send To emails input of the Step. Click on the input and then click Select secret variable.
-
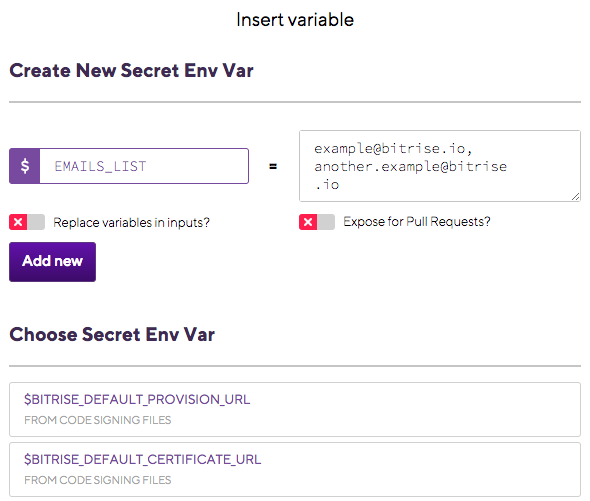
Create a new Secret Environment Variable that contains the list of the email addresses.
You can choose any key you want. The addresses should be separated by a comma.
-
Set the email subject, and the two potential email messages: one for a successful build, one for a failed build.
-
You can insert environment variables to any of the inputs (the subject and the messages). In the email, the values of the variables will be displayed.
-
The default messages will send the name of the app, the number of the build and whether the build succeeded or failed.
-
-
Attach files, if necessary: the File attachments input accepts a file path or an environment variable as input.
Multiple files can be attached: separate their paths with commas.
Run a build - and check your emails!