Alerts in Insights
Insights allows you to configure alerts. Alerts monitor specified metrics and notify you when they reach a certain threshold. For example, you can configure an alert to notify you when a build of any of your apps exceeds 15 minutes or consumes more than a 1000 credits.
Insights allows you to configure alerts. Alerts monitor specified metrics and notify you when they reach a certain threshold. For example, you can configure an alert to notify you when a build of any of your apps exceeds 15 minutes or consumes more than a 1000 credits.
You can configure alerts for:
-
Builds
-
Tests
-
Credit usage
For each category, you can set alerts for any of the available metrics: Available metrics in Insights.
For each alert, you have to choose how to receive the notification. There are three options:
-
Microsoft Teams: The alert will post a notification to a Teams channel of your choice. You need to configure incoming webhooks in Teams.
-
Slack: The alert will post a notification to a Slack channel of your choice. You need a Slack app with incoming webhooks enabled.
-
Email: The alert will notify you via email.
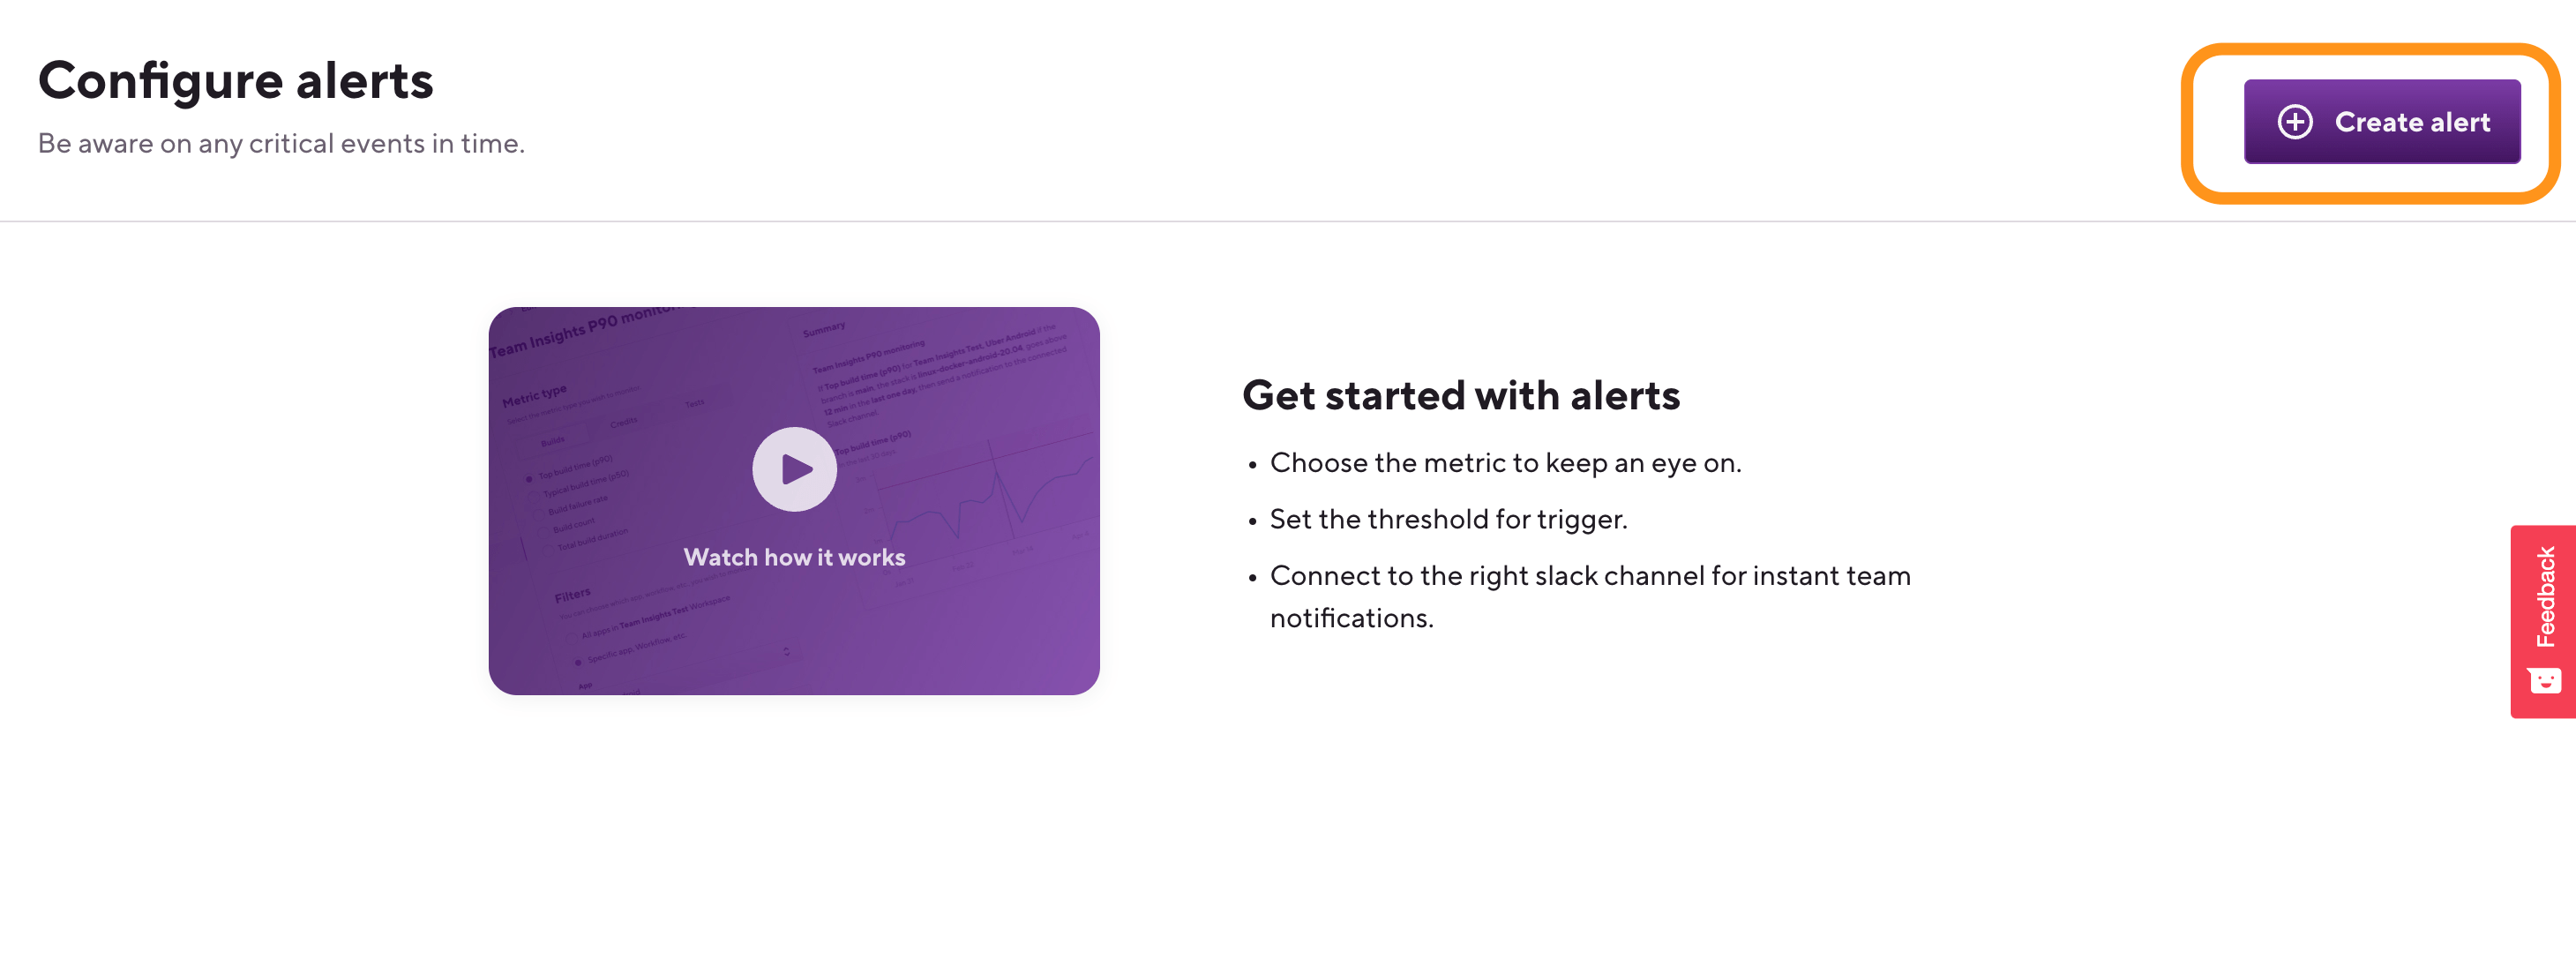
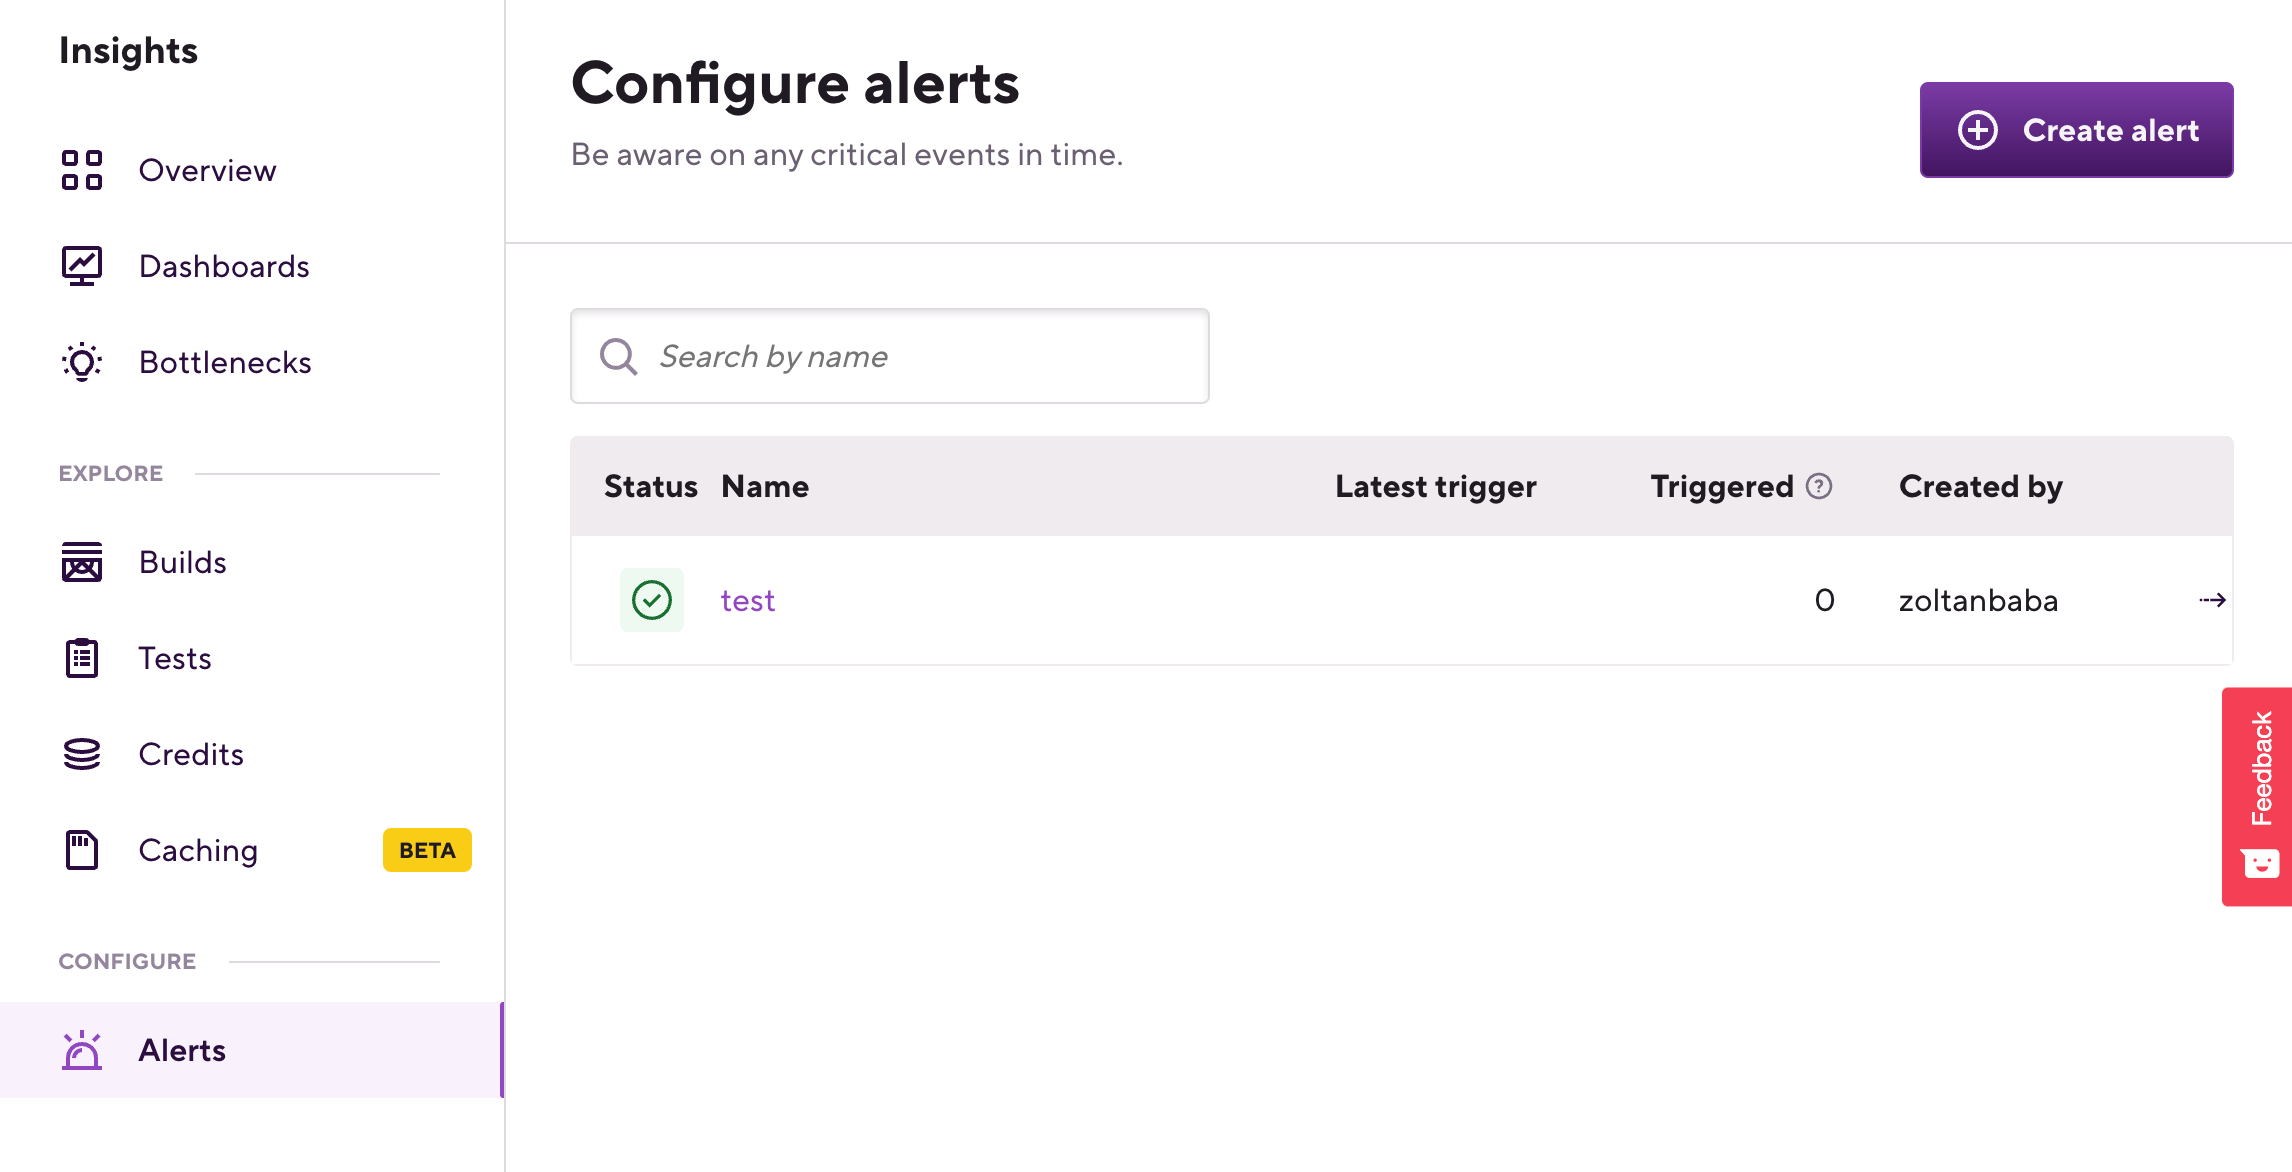
Creating a new alert
You can create a new alert at any time in Insights:
-
Open Insights for your project.
-
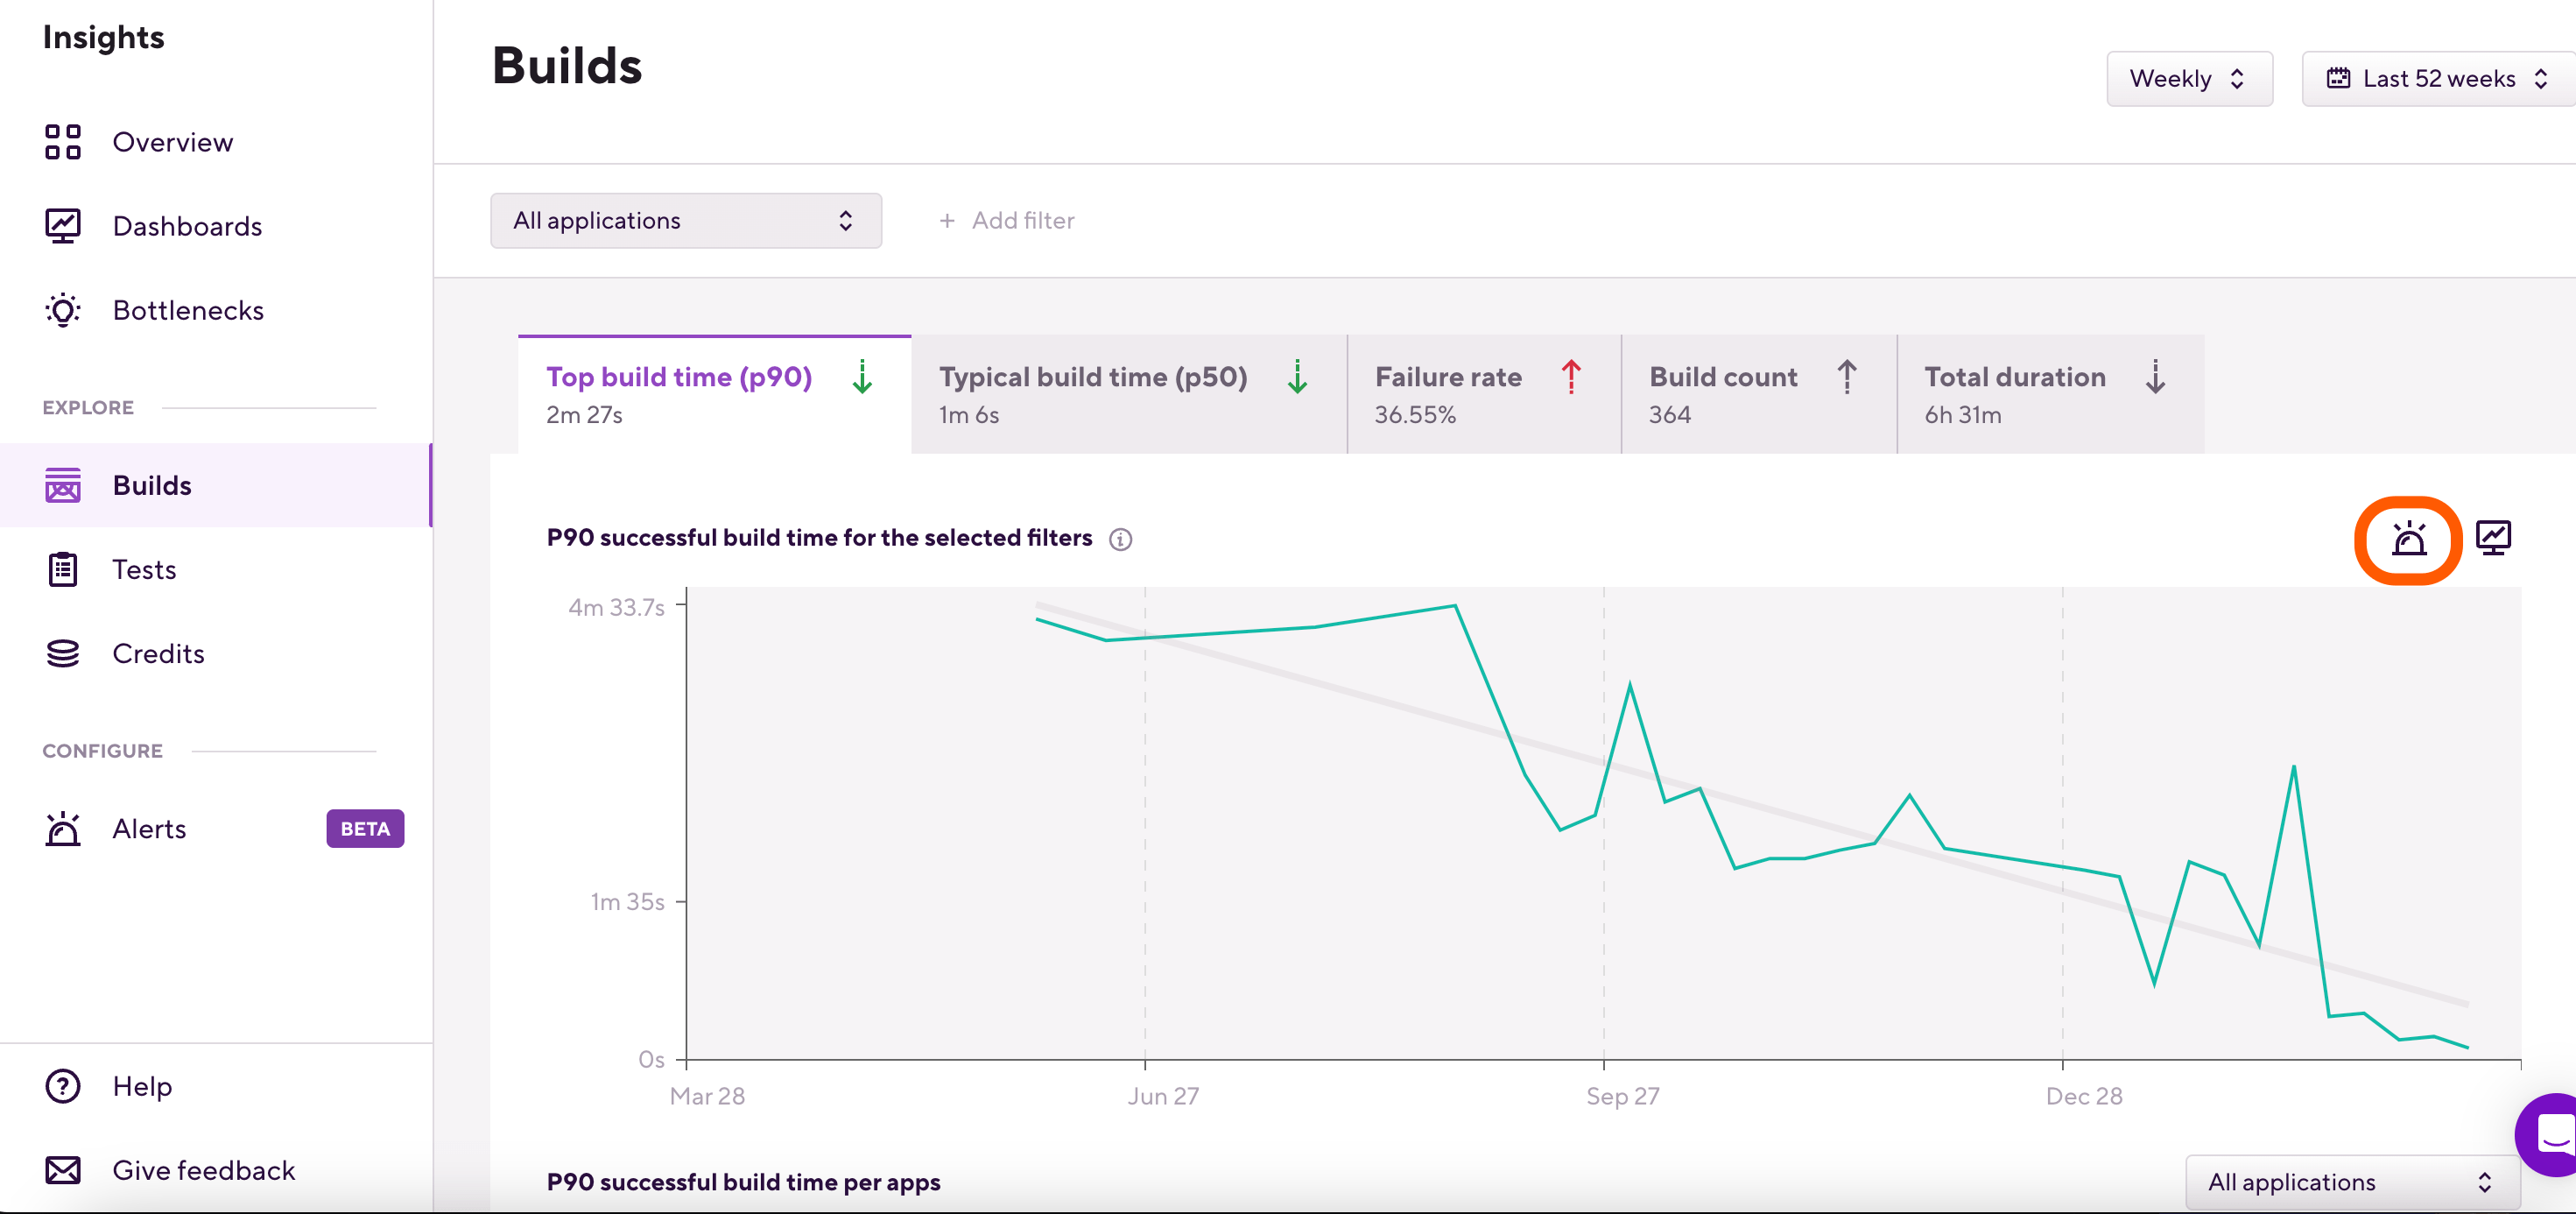
Go to the Create alert page. To do so, you have two options:
-
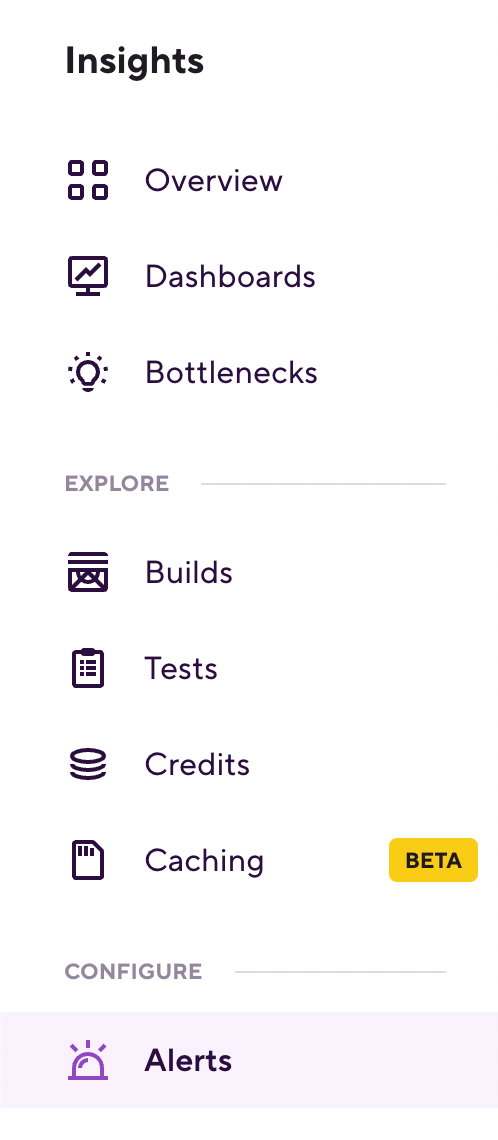
Select from the left menu and click on .
-
Click on the bell icon above any metric in Builds, Tests, or Credits.
-
-
Choose a metric type and a specific metric within that type in the Metric type section.

-
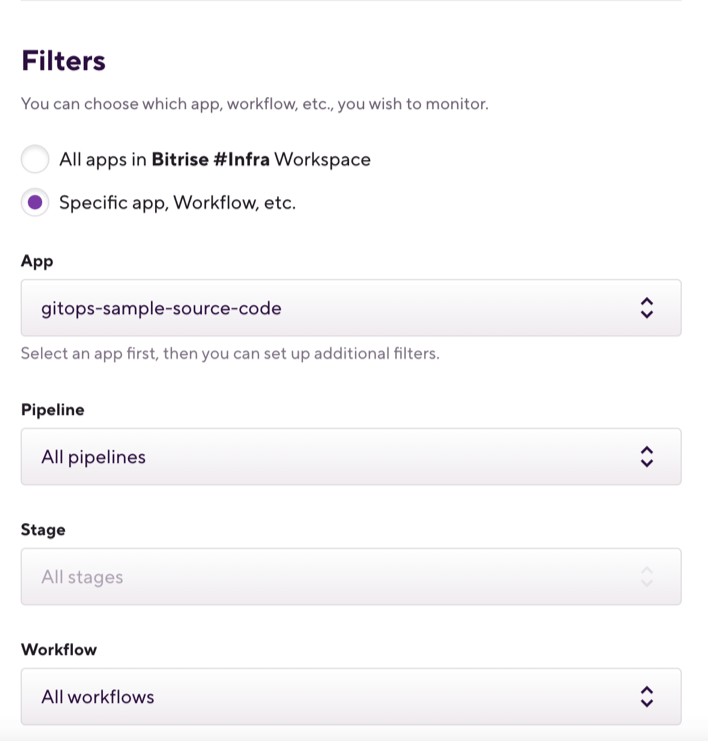
In the Filters section, select a project then click Add filter to add filter conditions. If you don't select a project, the alert will apply to every project in the workspace, without filters.
You can create filters for a specific Pipeline, a Workflow, or even a Step. You can also filter for branches, stacks, and machine types.
-
In the Conditions section, set up the alert conditions.
-
Direction: Choose whether to create an alert when a given threshold is above, equal, or below a certain limit.
-
Threshold: The value the direction applies to. The exact nature of it depends on the metric you chose: for example, if you chose credit usage, you can set an amount of credits consumed to trigger an alert.
-
Monitored window: The time period that the alert monitors.
-
-
In the Notifications section, name the alert in the Alert name field.
-
In the Notification providers section, click and choose between three notification providers from the dropdown menu:
-
Slack: Create an incoming webhook that posts into a selected channel and paste the webhook URL. To do so, you need to create a Slack app and enable incoming webhooks in the app: Sending messages using incoming webhooks.
-
Teams: Create an incoming webhook for a selected Teams channel and paste the webhook URL: Create incoming webhooks for Teams.
-
Email: Set a valid email address. The alert will send a notification to the address.
-
-
When you're ready, click to finish the alert.
Editing an existing alert
Once an alert is in place in Insights, you can modify it at any time from the Alerts page. You can change the threshold, the granularity (the time period the alert applies to), or modify the notification providers.
Metric type can't be changed
You can't modify the metric type that the alert monitors. For example, if the alert is monitoring build failure rate, you can't change it to monitor credit usage instead. Similarly, you can't change the filtering: if you were monitoring a specific app, you can't change the alert to monitor a different app instead.
If you need a similar alert for a different metric or with a different filter, duplicate the existing alert: Duplicating an existing alert.
To edit an alert:
-
Open Insights for your app.
-
On the left, select Alerts.
-
Select the alert you need and on the right, click the button.
-
On the alert's page, click the ellipsis in the top right corner to open the context menu.
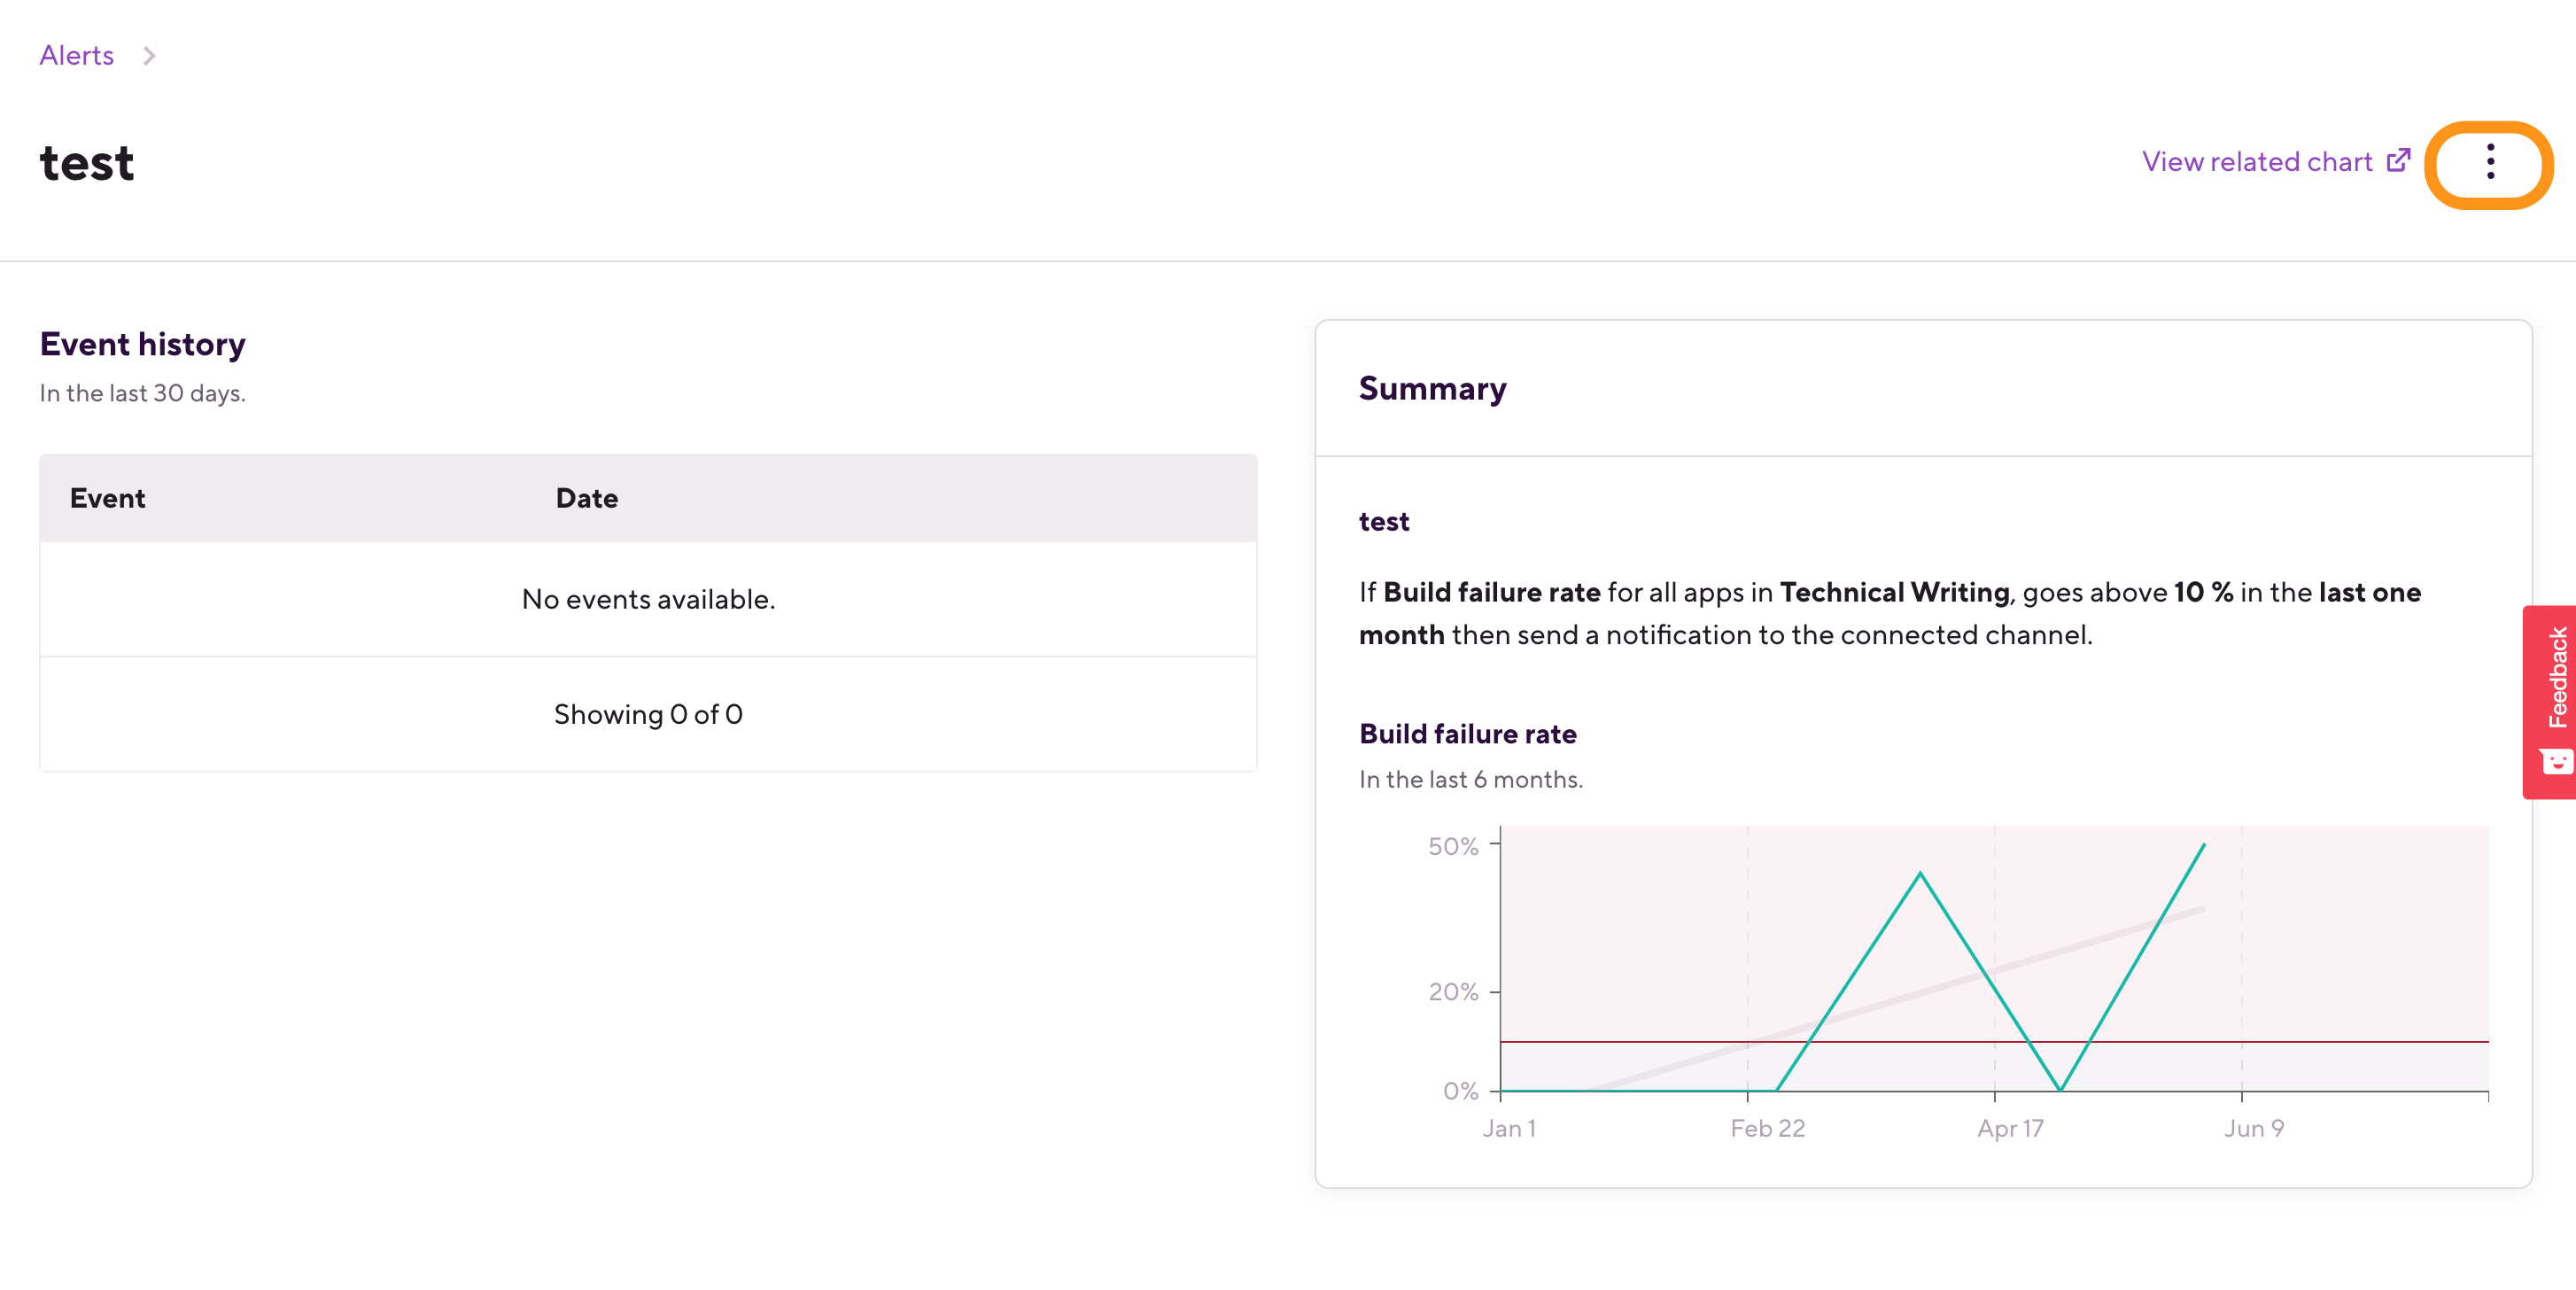
-
Select Edit alert.
-
Modify the threshold, the granularity, or the notification provider.
-
Click .
Duplicating an existing alert
You can duplicate any existing alert and then modify it during the alert creation process. This allows users to quickly create new alerts based on existing ones.
To duplicate an alert:
-
Open Insights for your app.
-
On the left, select Alerts.
-
Select the alert you need and on the right, click the button.
-
On the alert's page, click the ellipsis in the top right corner to open the context menu.
-
Select Duplicate.
-
The duplicate feature takes you to the Create alert page, with the existing alerts values already set. Make your changes and then click at the bottom of the page.