Managing Workflows
You can chain multiple Workflows and rearrange the order of Workflows in a chain in the Bitrise Workflow Editor. Take advantage of utility Workflows to reuse components in multiple different contexts.
You can chain multiple Workflows and rearrange the order of Workflows in a chain in the Bitrise Workflow Editor. Take advantage of utility Workflows to reuse components in multiple different contexts.
Offline Workflow Editor
Everything described here is also available in the offline Workflow Editor.
Chaining Workflows together
You can set up multiple Workflows to run in succession. The order of these Workflows can be rearranged, new Workflows can be added to the chain and existing Workflows can be removed from it at any time.
-
Log in to Bitrise and select Bitrise CI on the left, then select your project.
-
Click the button on the main page.
-
Click the ellipsis button to the right of the name of the Workflow.
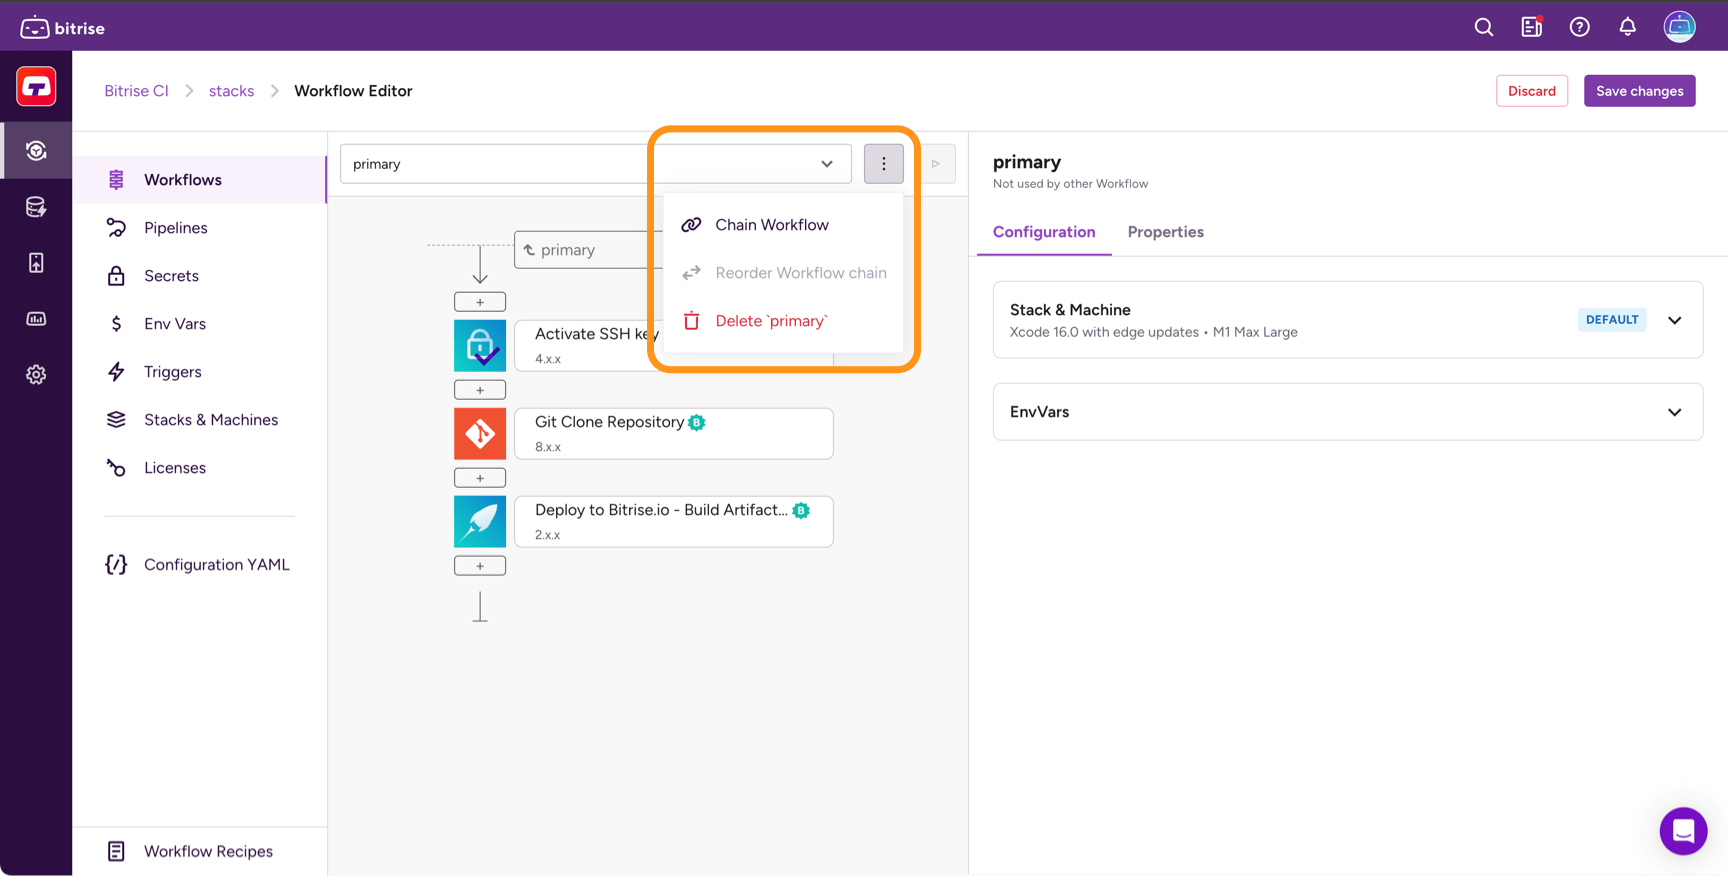
-
From the dropdown menu, select Chain Workflow.
-
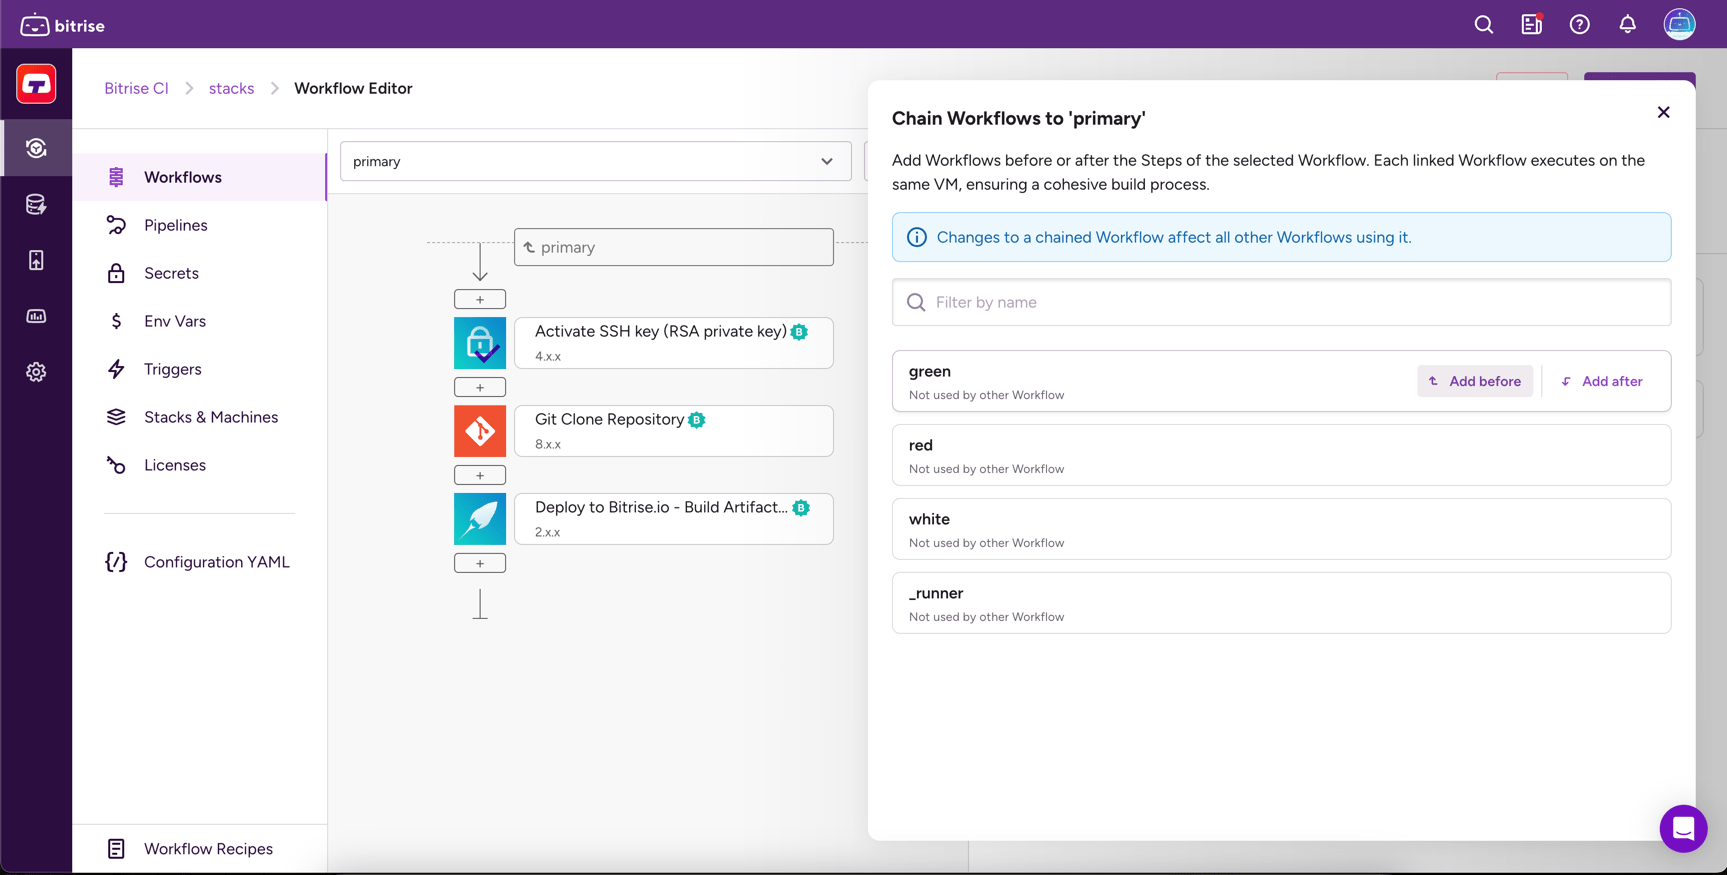
Select a Workflow from the list and click either Add before or Add after.
-
Click Save in the top right corner.
In this example, we're chaining together three Workflows: test, deploy, and ci, using the before_run and after_run parameters.
workflows:
  test:
    envs:
    - IS_TEST: "true"
    steps:
    # test Steps to run

  deploy:
    before_run:
    - test
    steps:
    # steps to deploy

  ci:
    before_run:
    - test
    after_run:
    - deploy
For more information on how to manage Workflows directly in the bitrise.yml file, check Workflow reference.
Rearranging chained Workflows
Once you have a chain, you can easily rearrange the order of Workflows in a drag-and-drop menu.
-
Log in to Bitrise and select Bitrise CI on the left, then select your project.
-
Click the button on the main page.
-
Click the ellipsis labelled Manage Workflows.
-
From the dropdown menu, select Reorder Workflow chain to bring up a drag-and-drop menu where you can rearrange the Workflows of the chain.
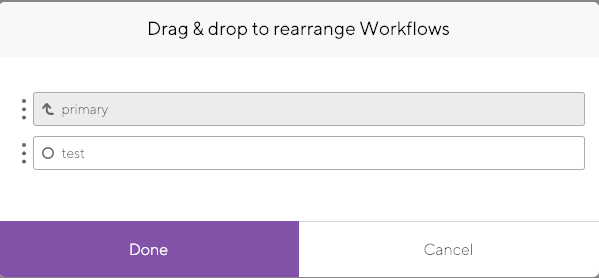
-
Click Save in the top right corner.
Workflow priority
You can set a priority for each individual Workflow. The priority setting determines the position of a standalone build of the Workflow in the build queue: the higher the priority, the sooner the Workflow's build will run.
You can assign a priority either in the Workflow Editor or in the configuration YAML file of your project. The priority is always an integer between -100 and 100: the higher the number, the higher the priority. The default priority is 0.
For more information about build priority, and the order of precedence between different types of priorities, check out Build priority.
Utility Workflows
Step bundles
Instead of utility Workflows, we strongly recommend using Step bundles. They allow you to group multiple Steps into a single unit and reuse them at any point of a Workflow.
Bitrise supports a special type of Workflow called a utility Workflow. A utility Workflow's ID always starts with an underscore character: for example, _setup. They are usually used to perform tasks that are required either at the start or at the end of several different Workflows: for example, you
can separate git cloning and activating your SSH key into a utility Workflow instead of adding those Steps to every Workflow of an app.
You can create a utility Workflow the exact same way as you create a regular one. To denote it as a utility Workflow, you just need to prefix the name with an underscore.
Utility Workflows cannot run alone
Utility Workflows cannot be run as standalone Workflows. They need to be chained together with a normal Workflow, either before or after the Workflow: Chaining Workflows together.
In this example, we have two utility Workflows, called _setup and _send-notifications. They are chained together with two Workflows called test and ci using the before_run and
after_run parameters.
workflows:
  _send-notifications:
    steps:
    # send notifications

  _setup:
    steps:
    # setup Steps to run

  test:
    before_run:
    - _setup
    envs:
    - IS_TEST: "true"
    steps:
    # test Steps to run

  ci:
    before_run:
    - test
    after_run:
    - _send-notifications
For more information on how to manage Workflows directly in the bitrise.yml file, check Workflow reference.