Getting started
Get started on Bitrise by signing up via email or a Git provider, connecting a repository, and running your first build.
Bitrise is a CI/CD Platform as a Service (PaaS), mostly focused on mobile app development. It is a collection of tools and services to help you with the development and automation of your software projects.
To use it, you can sign up via email or via a Git hosting provider, connect a repository, and start building!
Adding your first project
After successfully signing up, Bitrise automatically creates your first Workspace. You need at least one Workspace to be able to add projects and run builds. Your subscriptions are also tied to your Workspaces.
Release Management for your app's life cycle
You can also start using Release Management when adding your first project to better manage a project's release workflow.
You can select between Bitrise CI and the Build Cache on the welcome screen. You can't use the Build Cache without adding a project first.

To start the process, select Bitrise CI.
Navigation
You can always switch between different parts of the Bitrise platform - such as Bitrise CI, Release Management, Build Cache or Insights - by opening the left navigation menu on the main page.
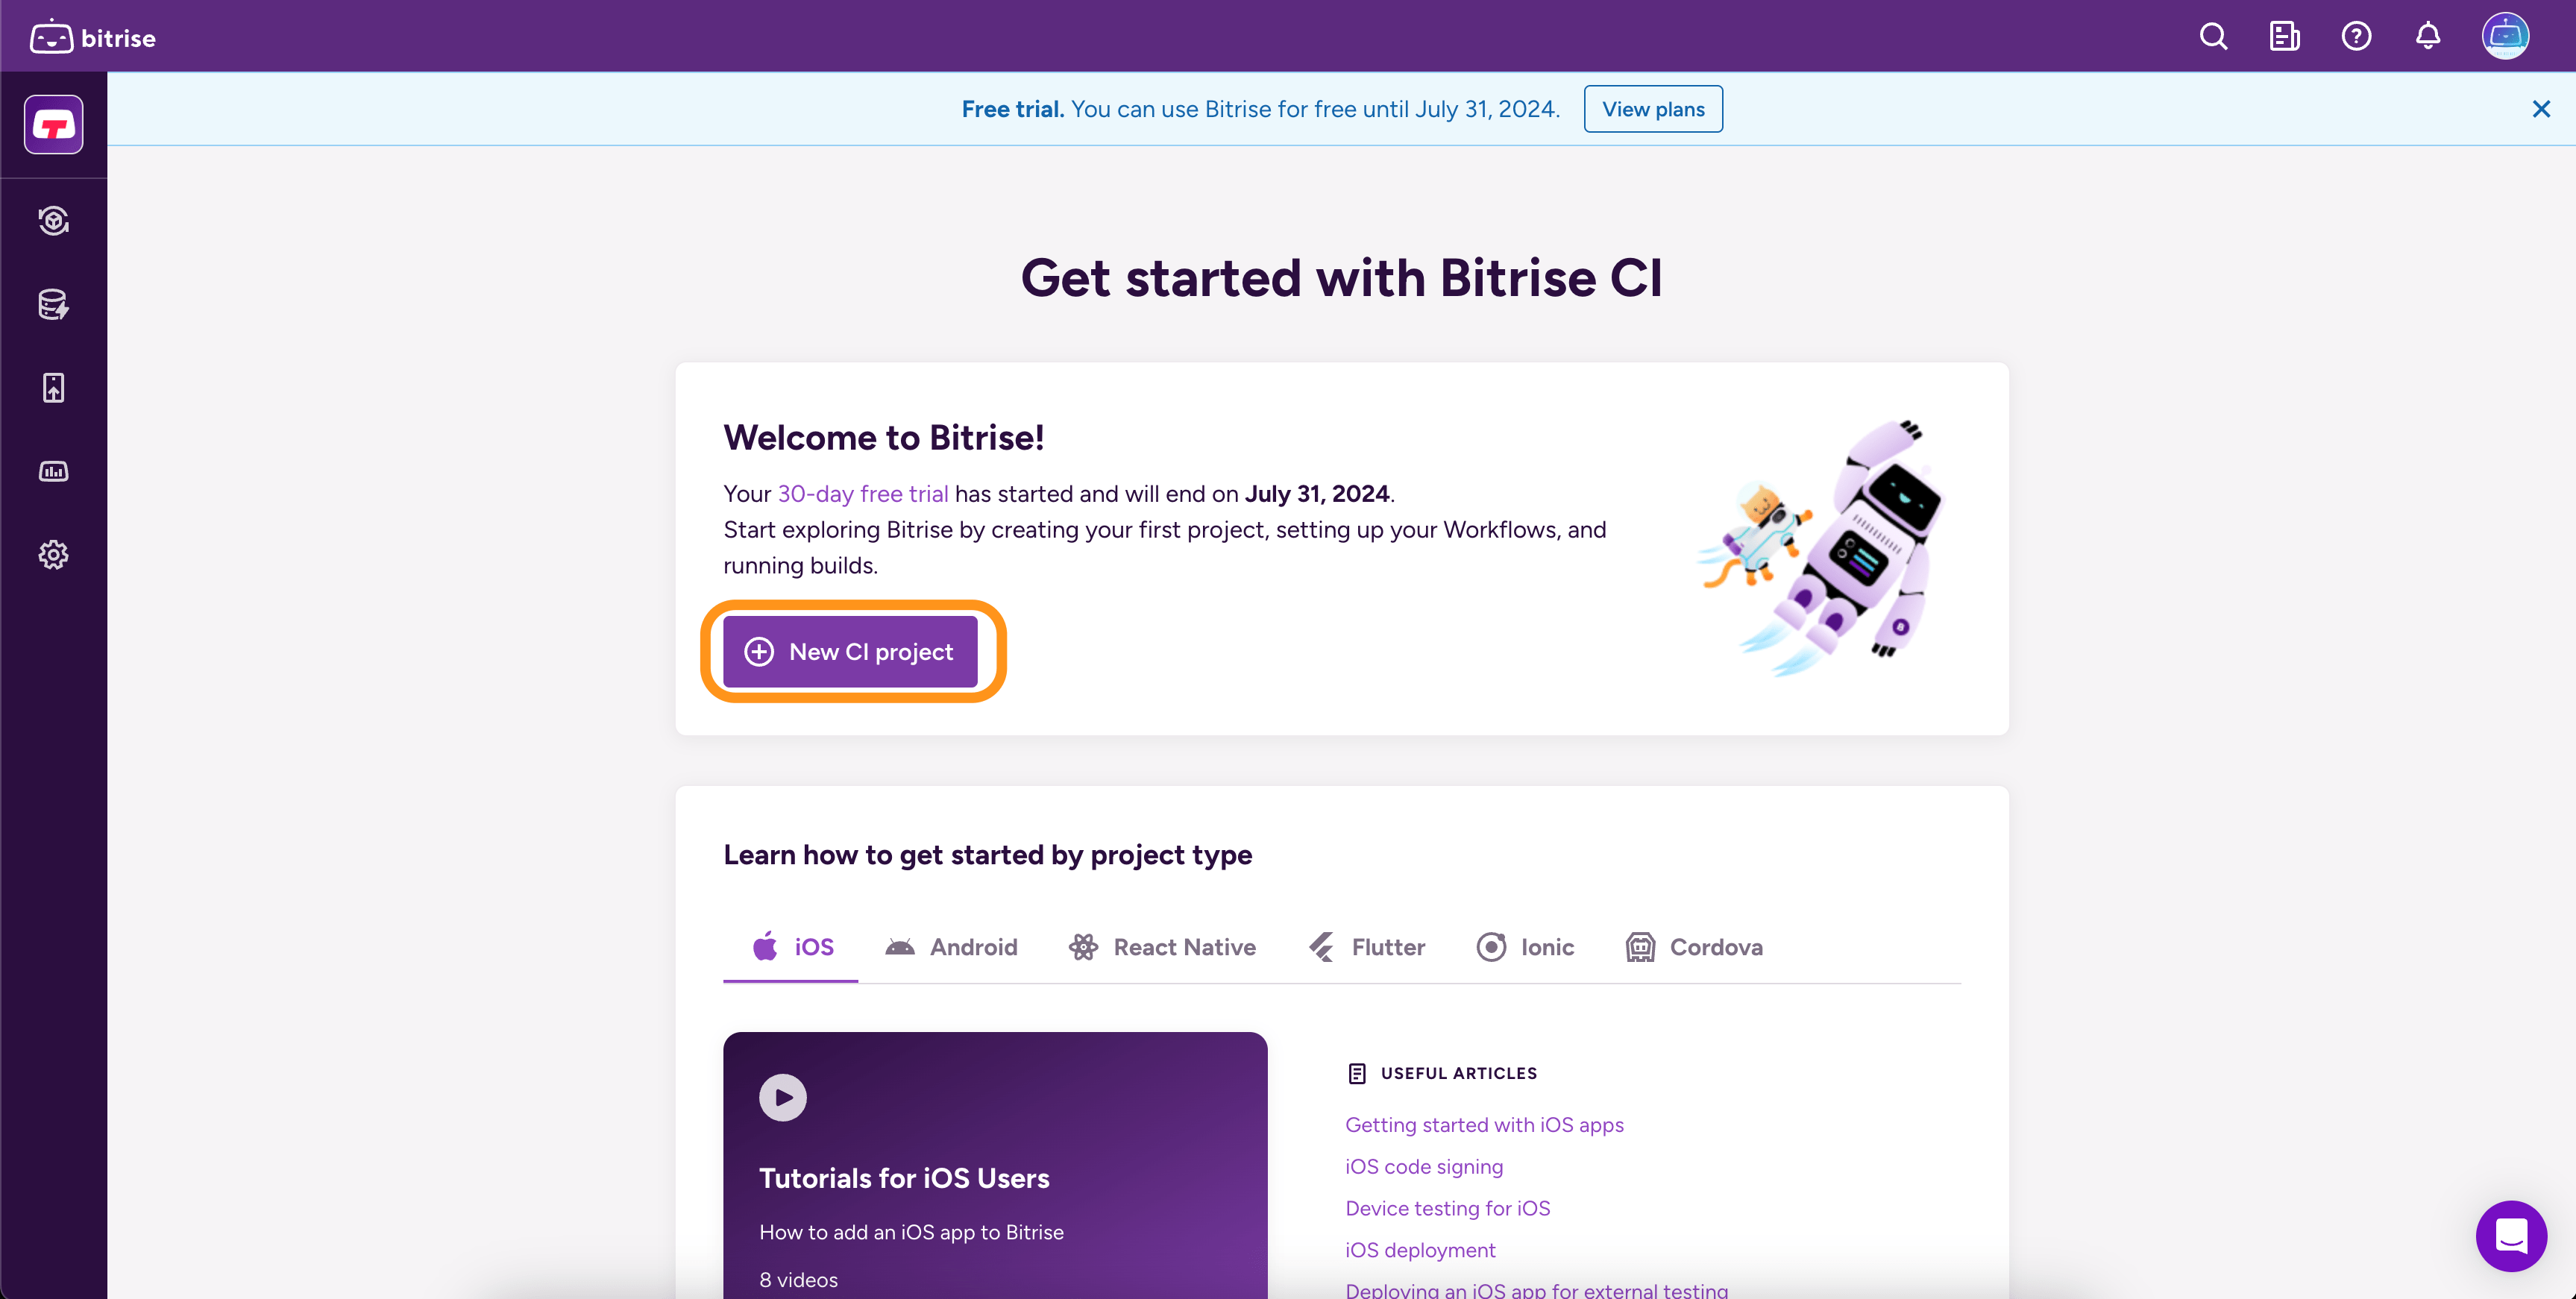
On the Bitrise CI page, you normally see a list of your projects and their latest builds. For now, however, you don't have a project. To add one, click .
Follow the instructions to add your project. During the process, you will:
-
Set up authentication, if necessary: Configuring SSH keys.
-
Set up a default branch. Bitrise will build from this branch unless your configuration specifies a different one.
-
Define the type of the project and set up a configuration based on it. Our project scanner can do this automatically or you can opt for a manual configuration.
-
Register a webhook. Webhooks allow you to automatically trigger builds.
If you're successful, you will see the project on the Bitrise CI page.
Changing your project settings
You can change your project settings at any time. To do so, open your project on the Bitrise CI page and click .
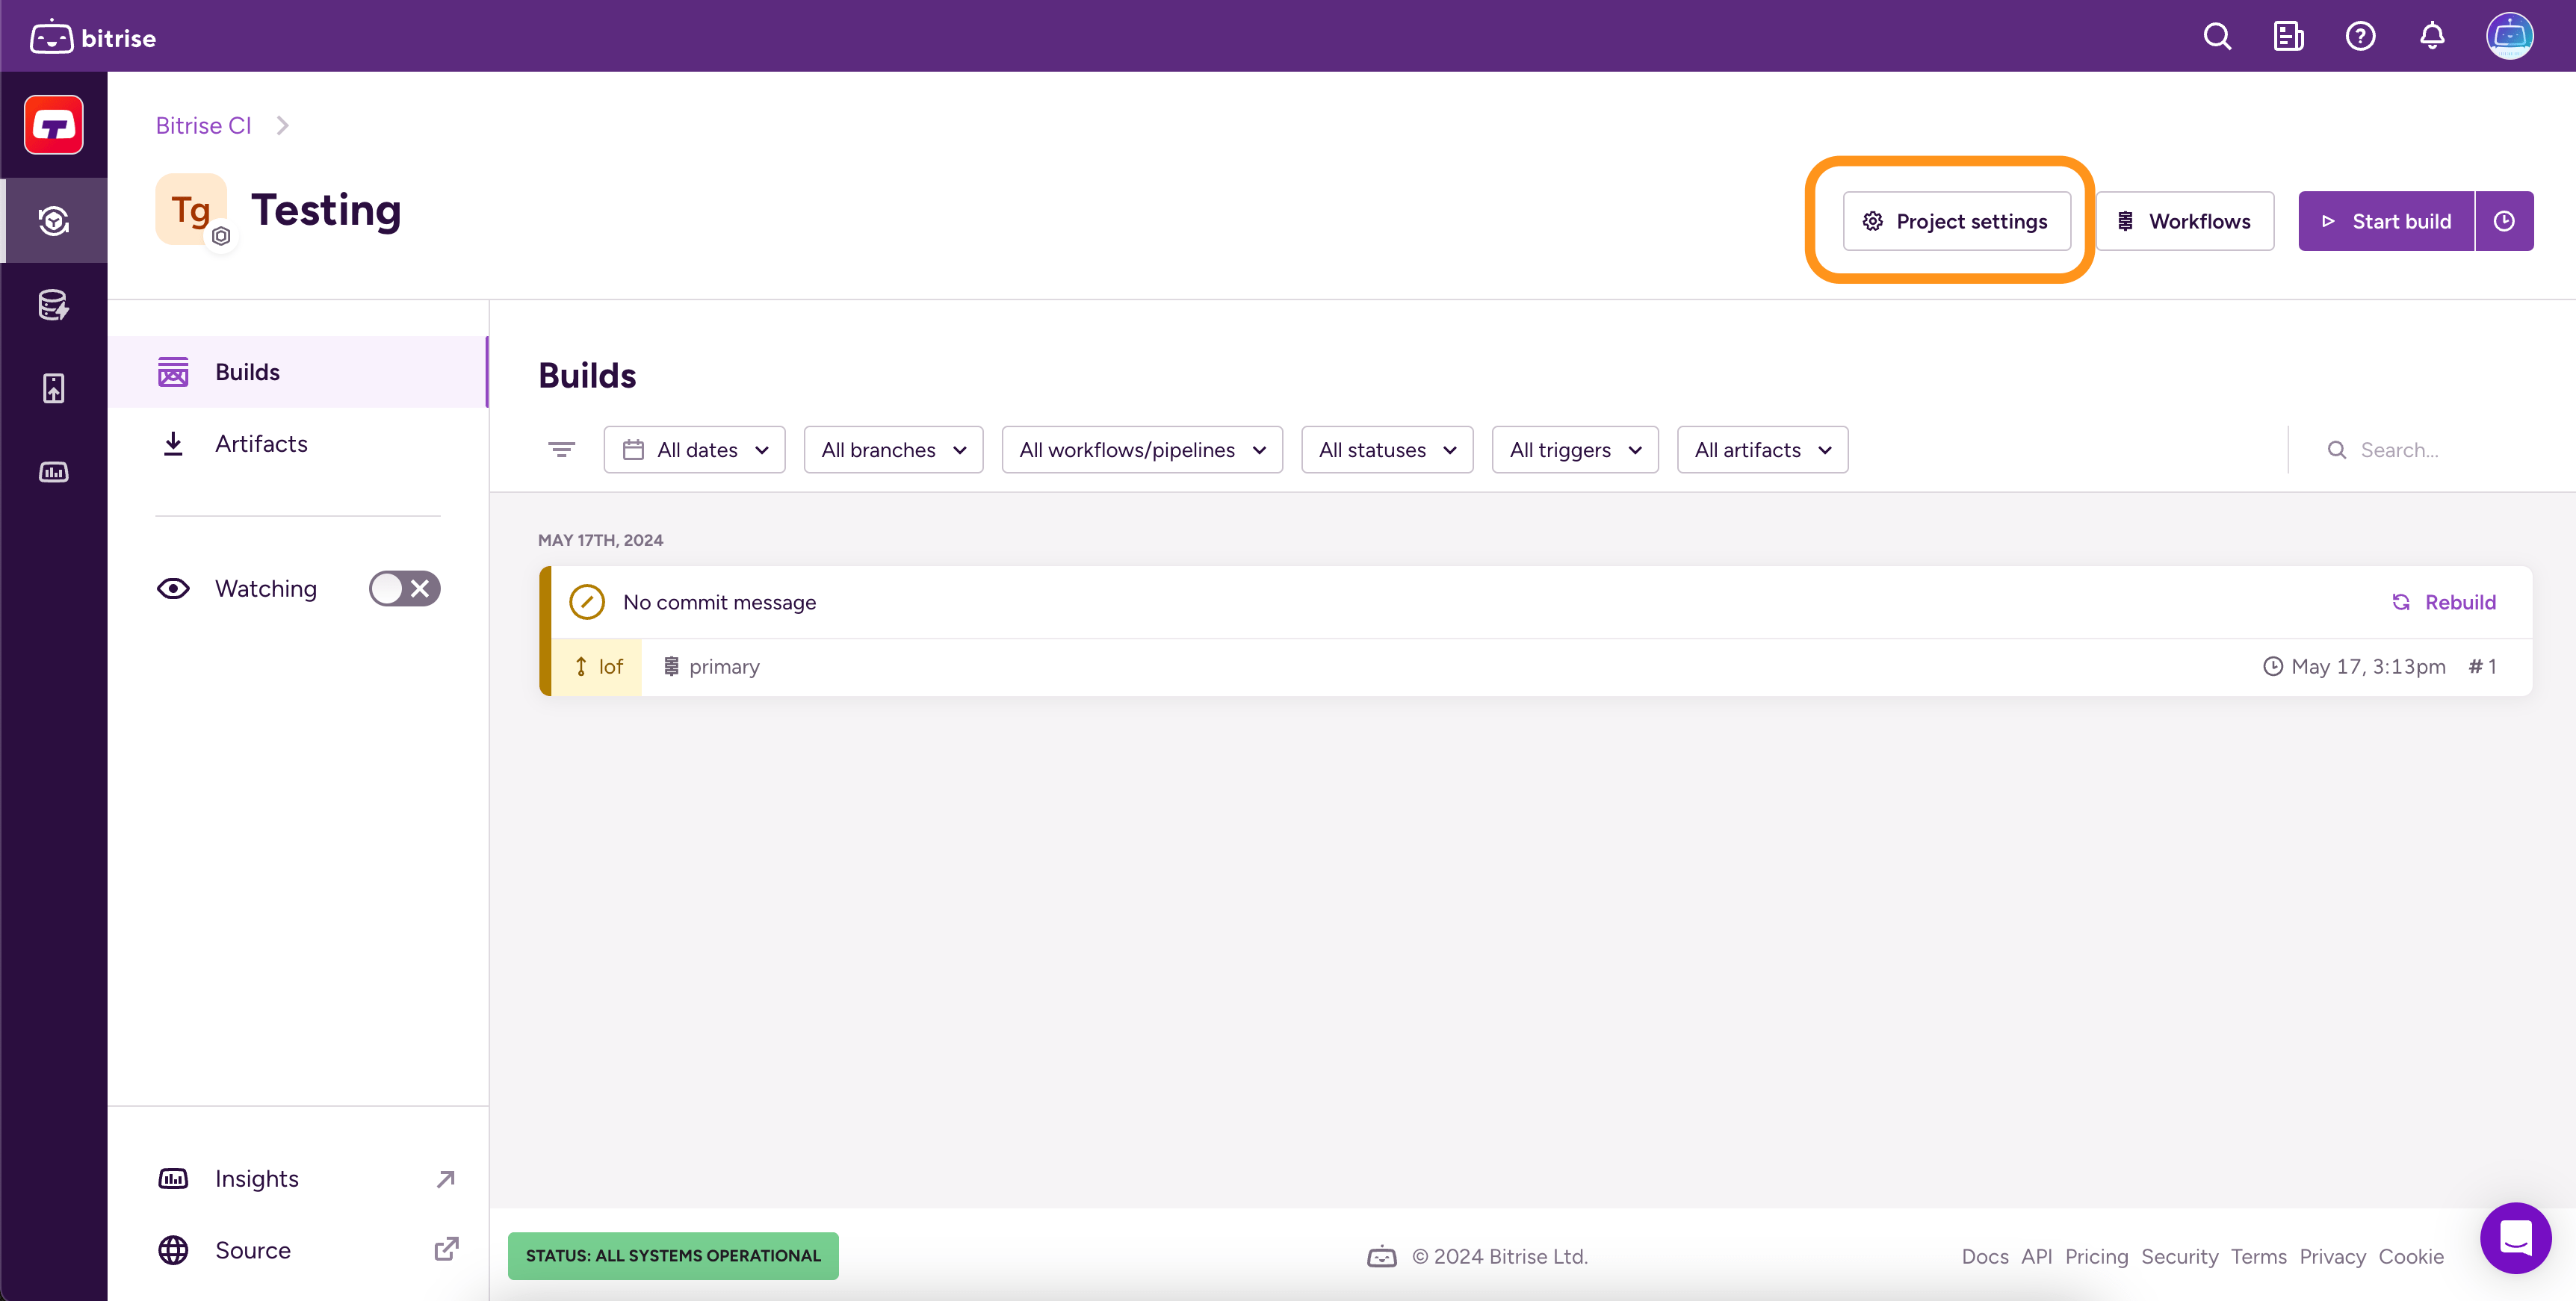
Clicking the button takes you to the Project settings page.

The settings you can change include:
-
Name and project type.
-
Git connection and access to online services such as the Apple Store or Google Play.
You can also set up rolling builds and selective builds, upload code signing files, upload generic files to Bitrise, register test devices, and check your caching data.
Editing your build configuration
Your CI build configuration is defined in YAML format. The root configuration file is called bitrise.yml: it contains a project's entire build configuration.
To edit the configuration on Bitrise:
-
Open the Bitrise CI page.
-
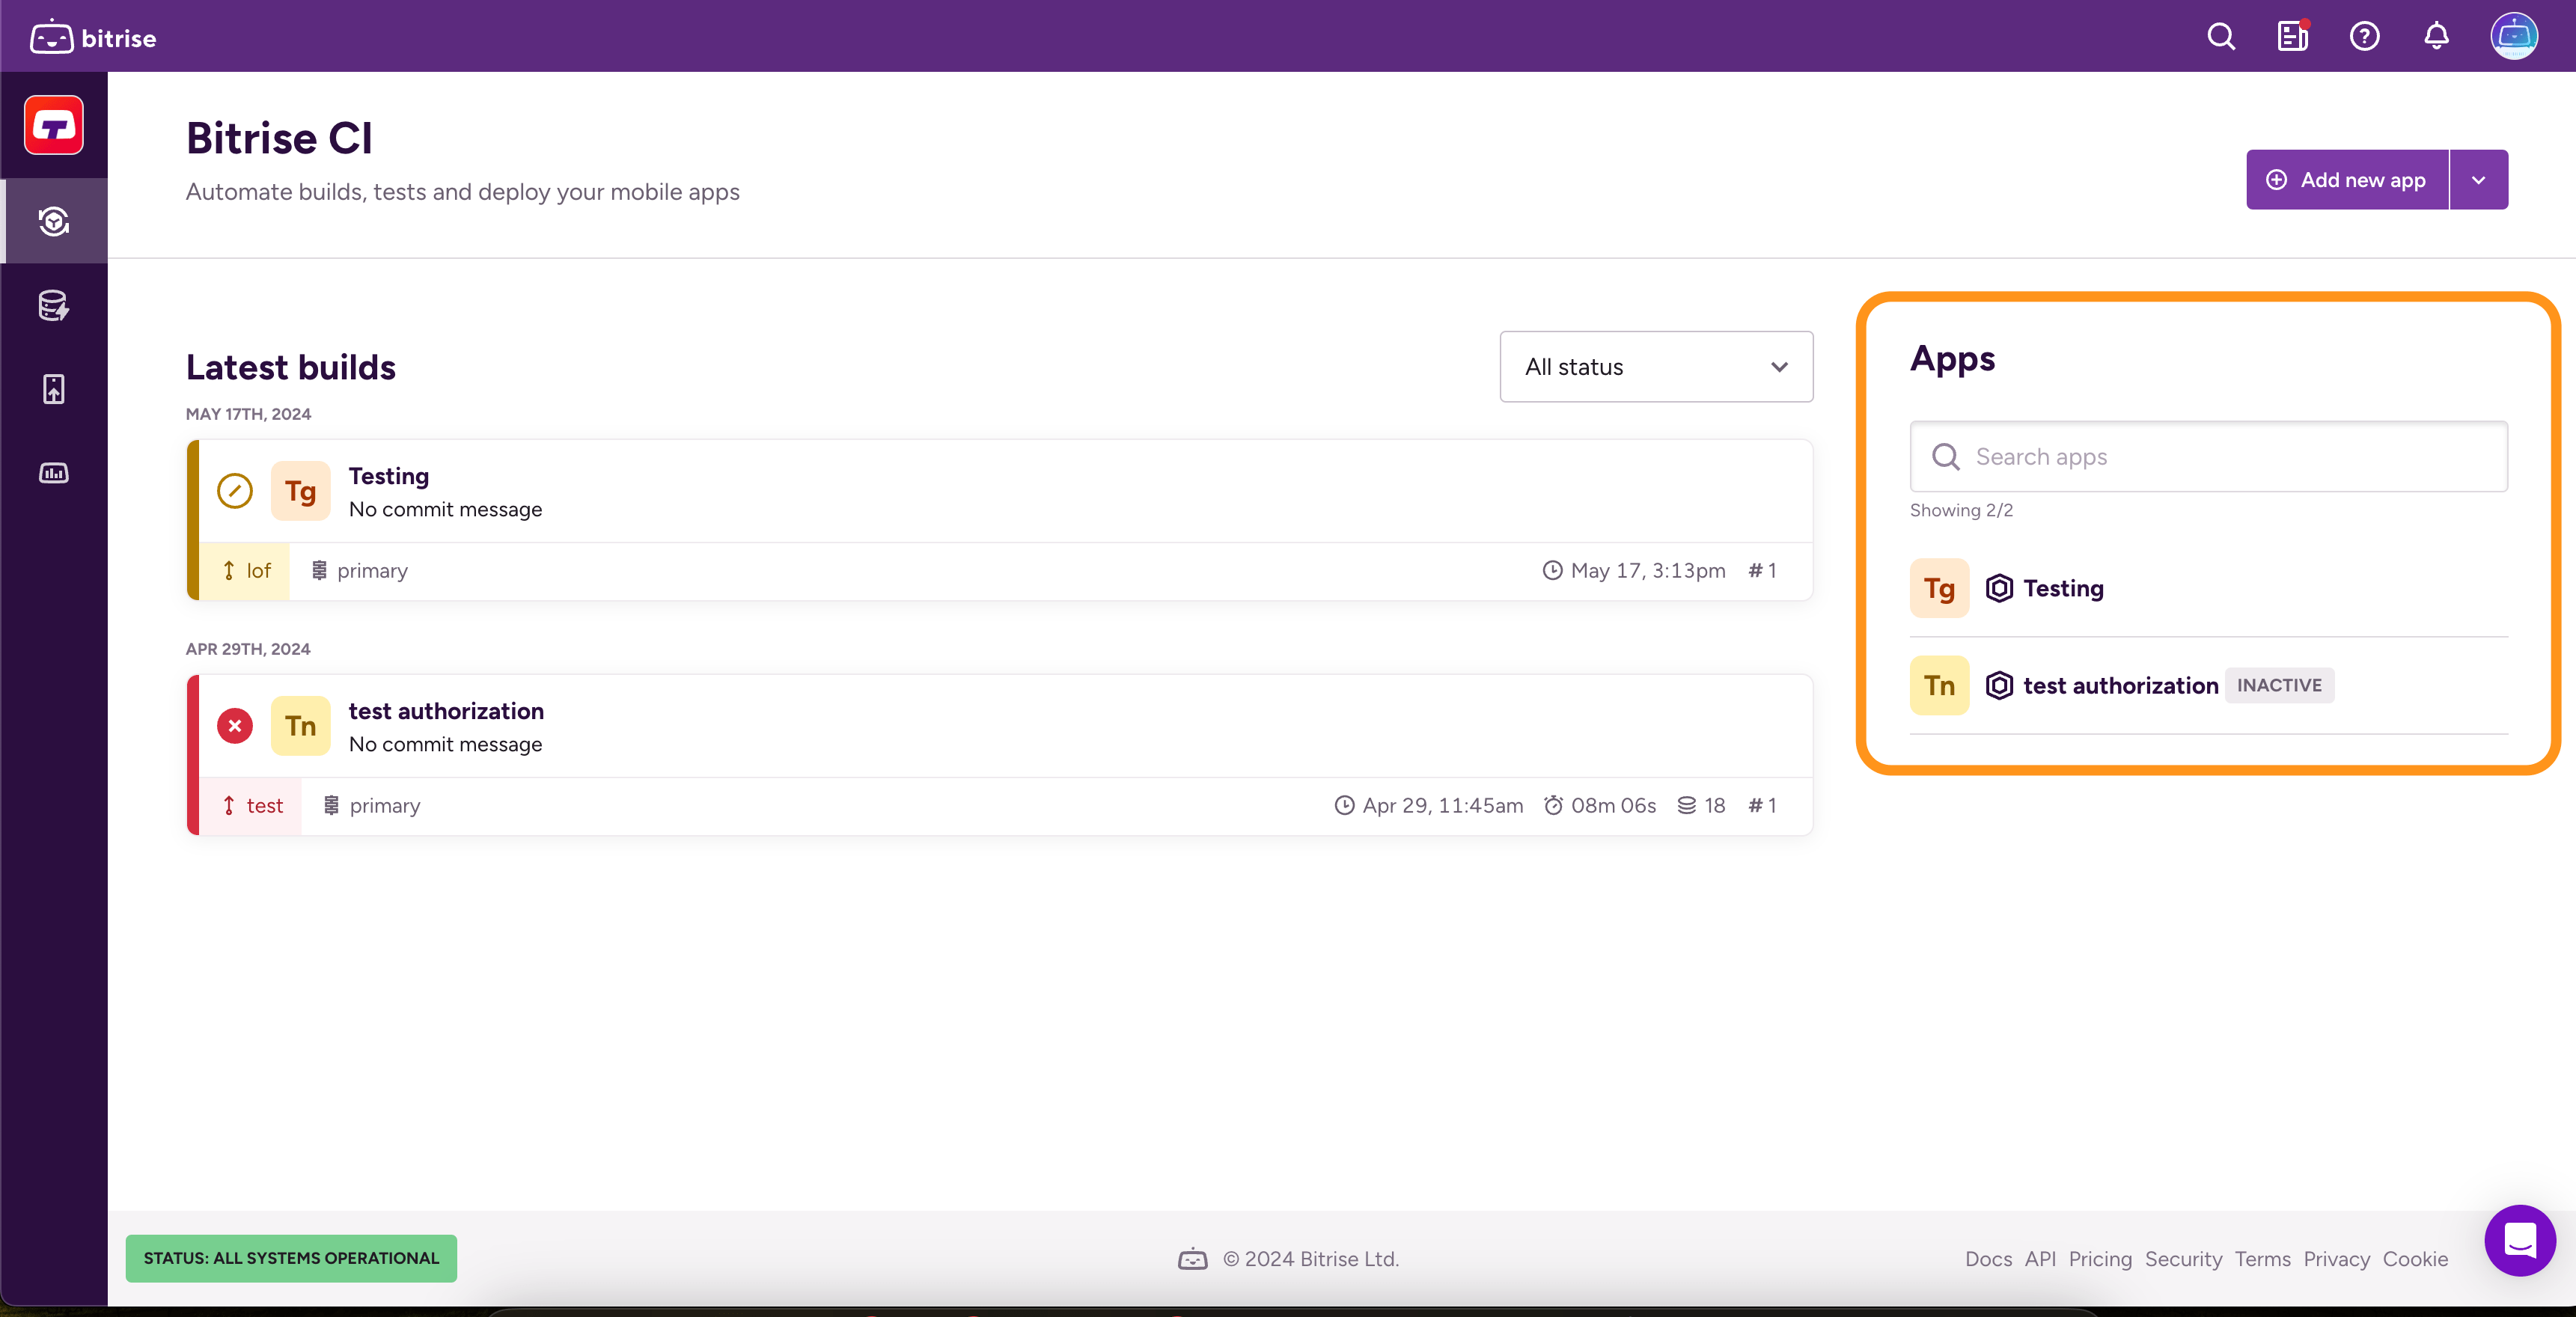
Select your project from the list of projects on the right. You can use the Search field to search for a specific one.
-
Click . This takes you to the Workflow Editor where you can configure:
-
Environment Variables on the project level.
-
Build triggers that allow you to automatically trigger builds when a code event happens.
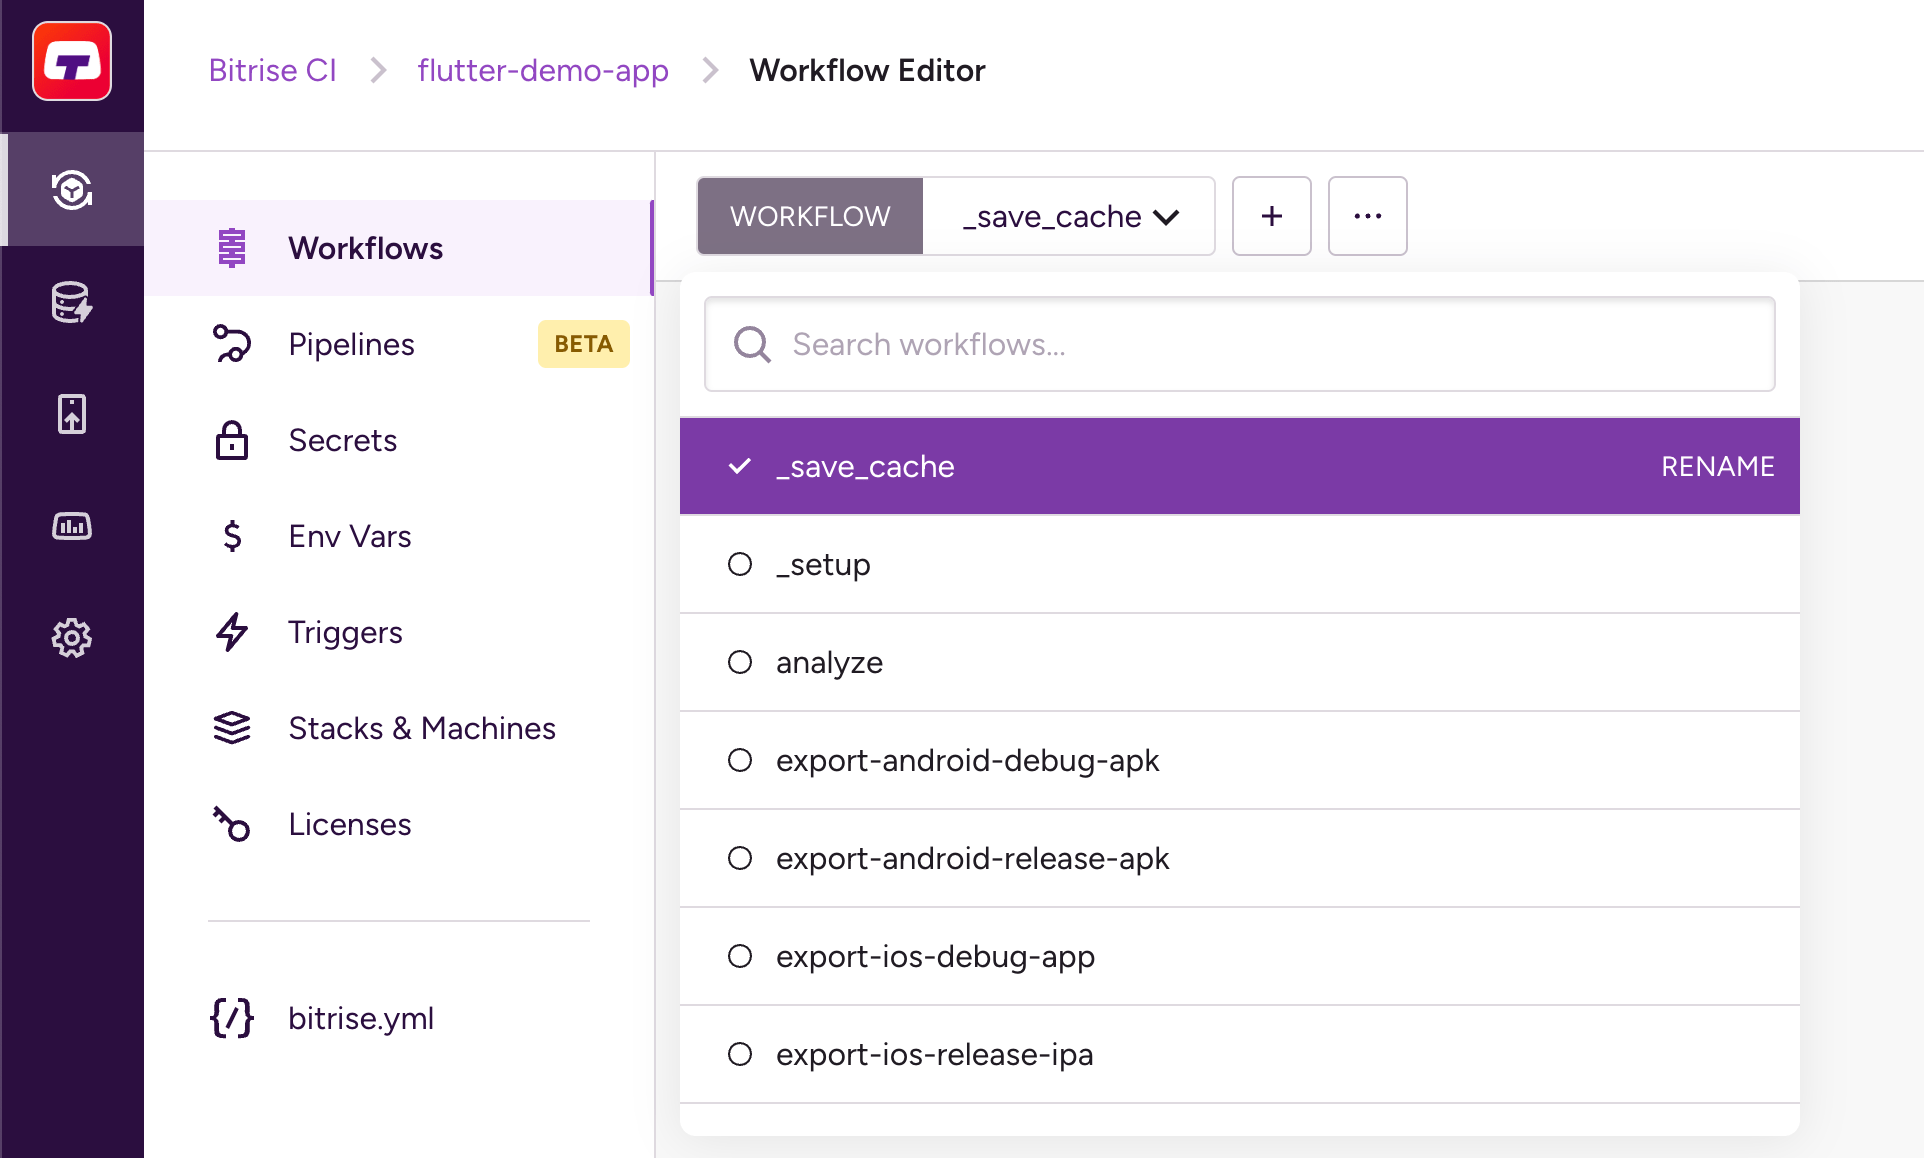
Editing the YAML file directly
Select bitrise.yml to edit the configuration file directly. Basics of configuration YAML.
Running your first build
After successfully adding a project, you can see it on the Bitrise CI page.
To start a CI build, click .
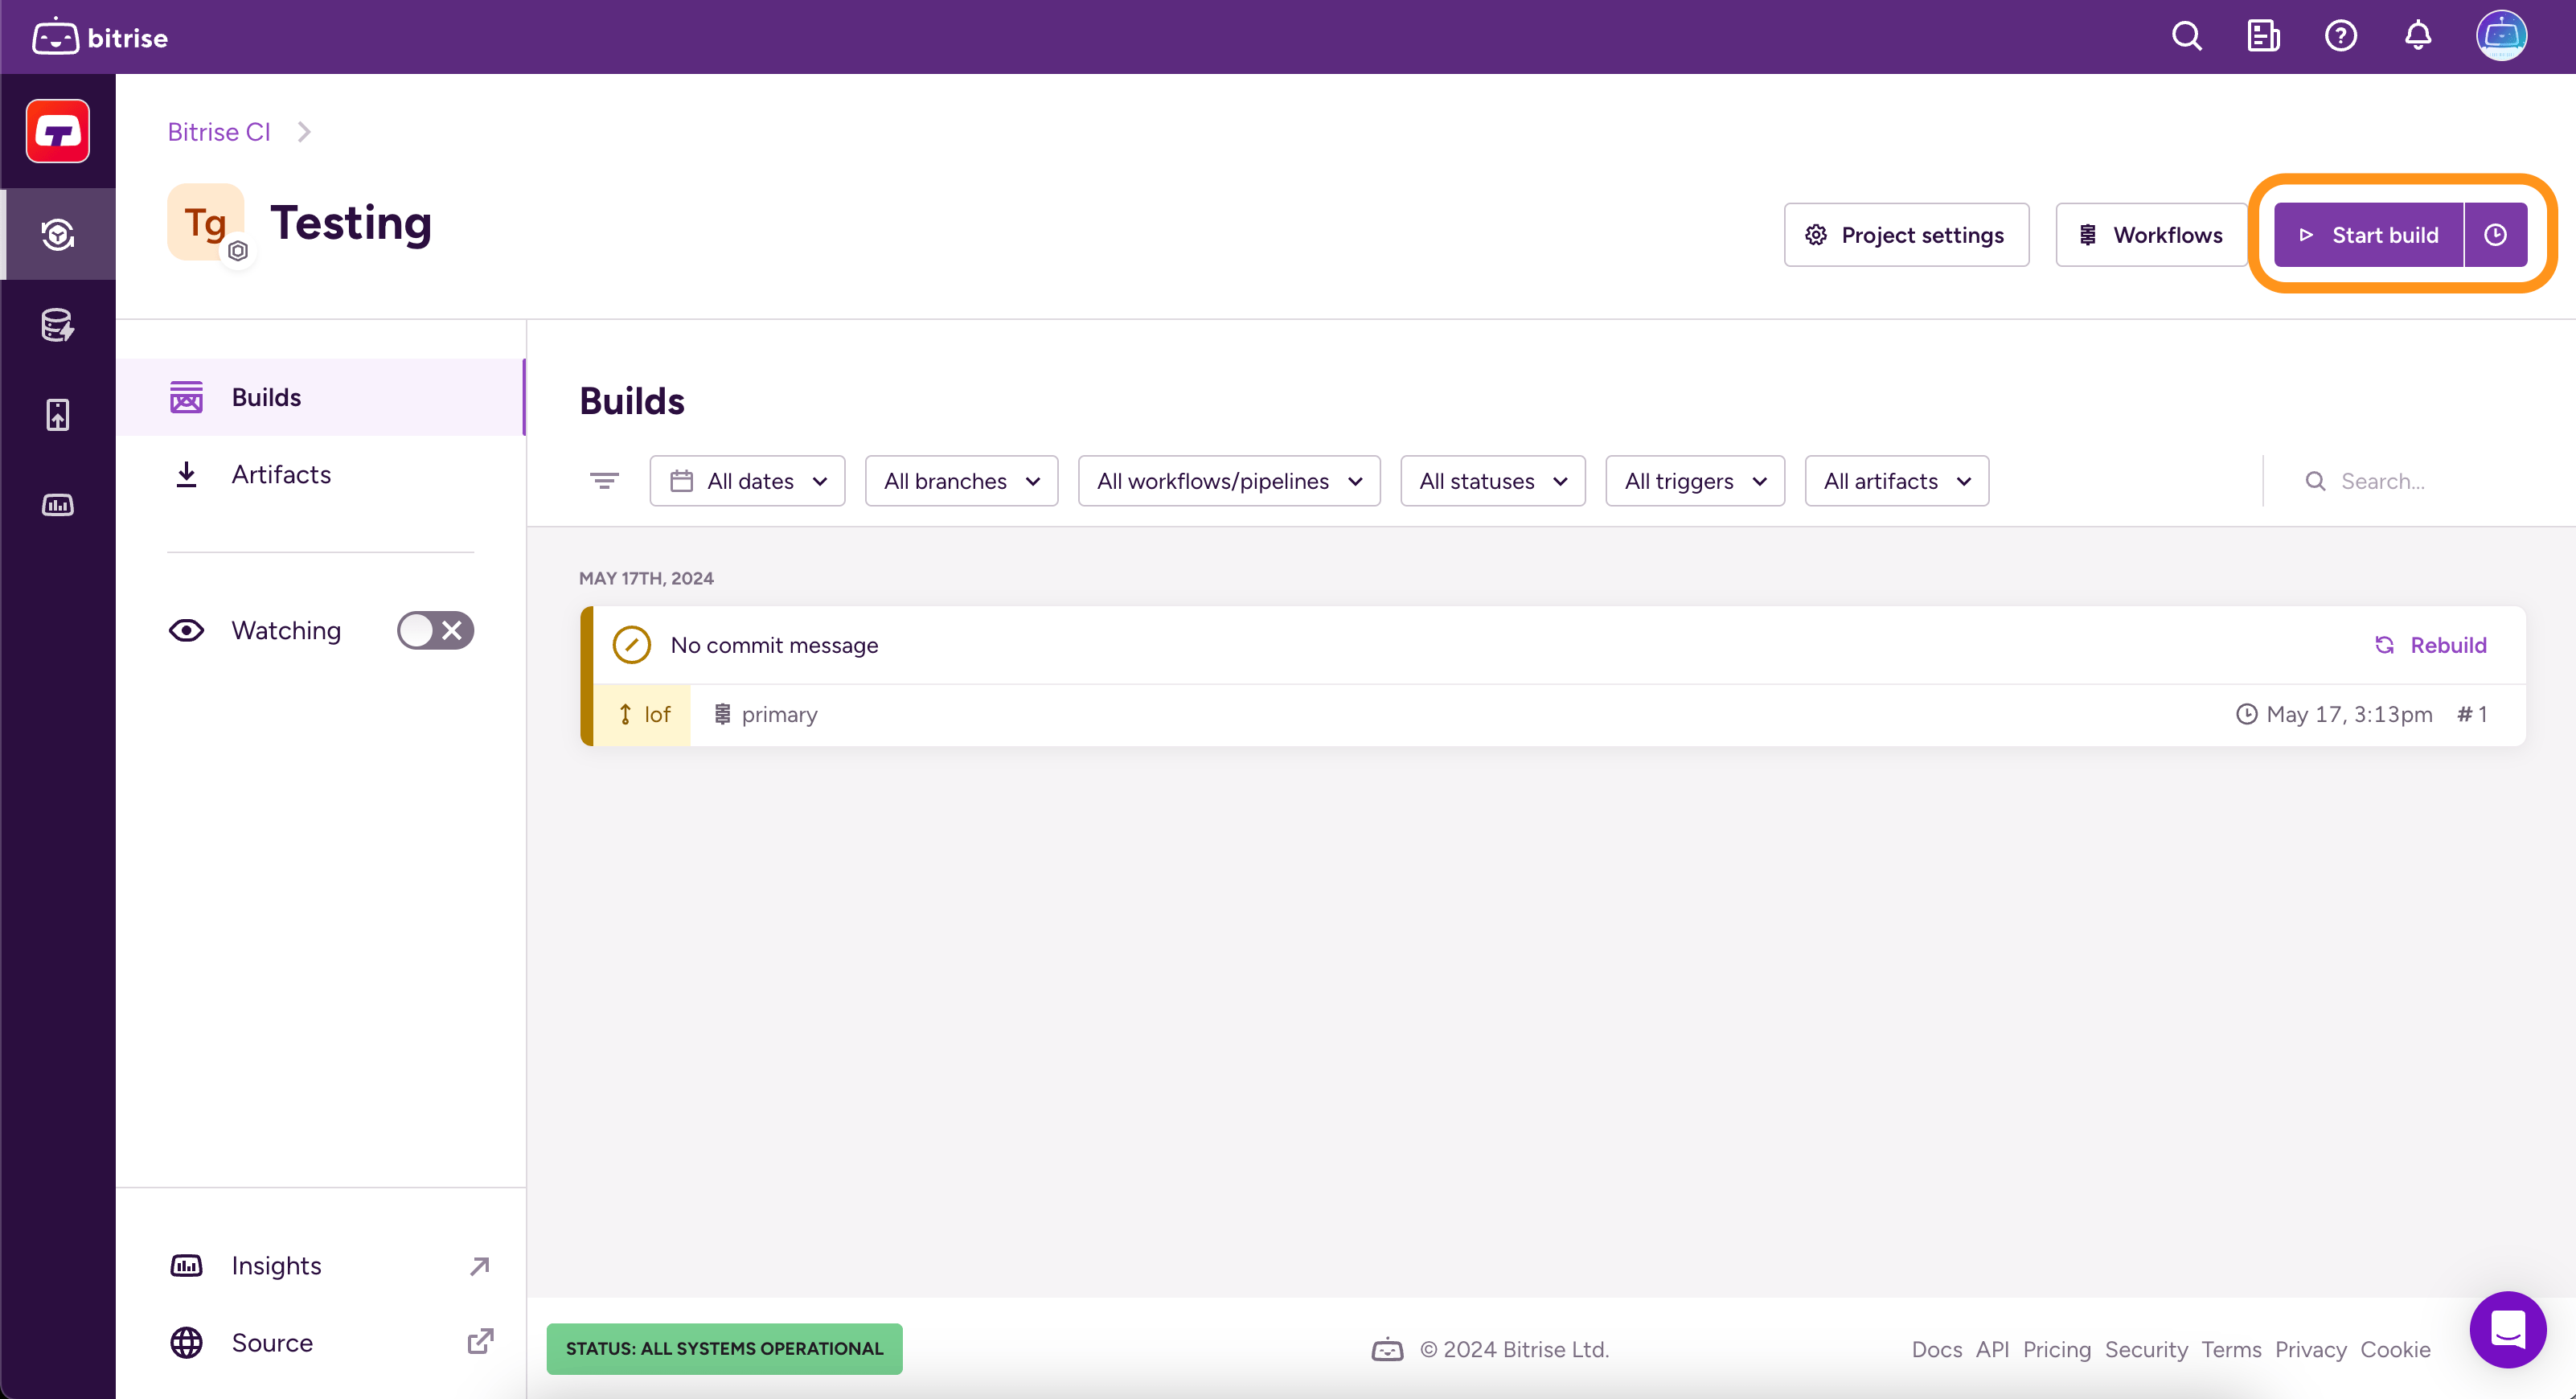
This opens up the dialog for manually starting a build.
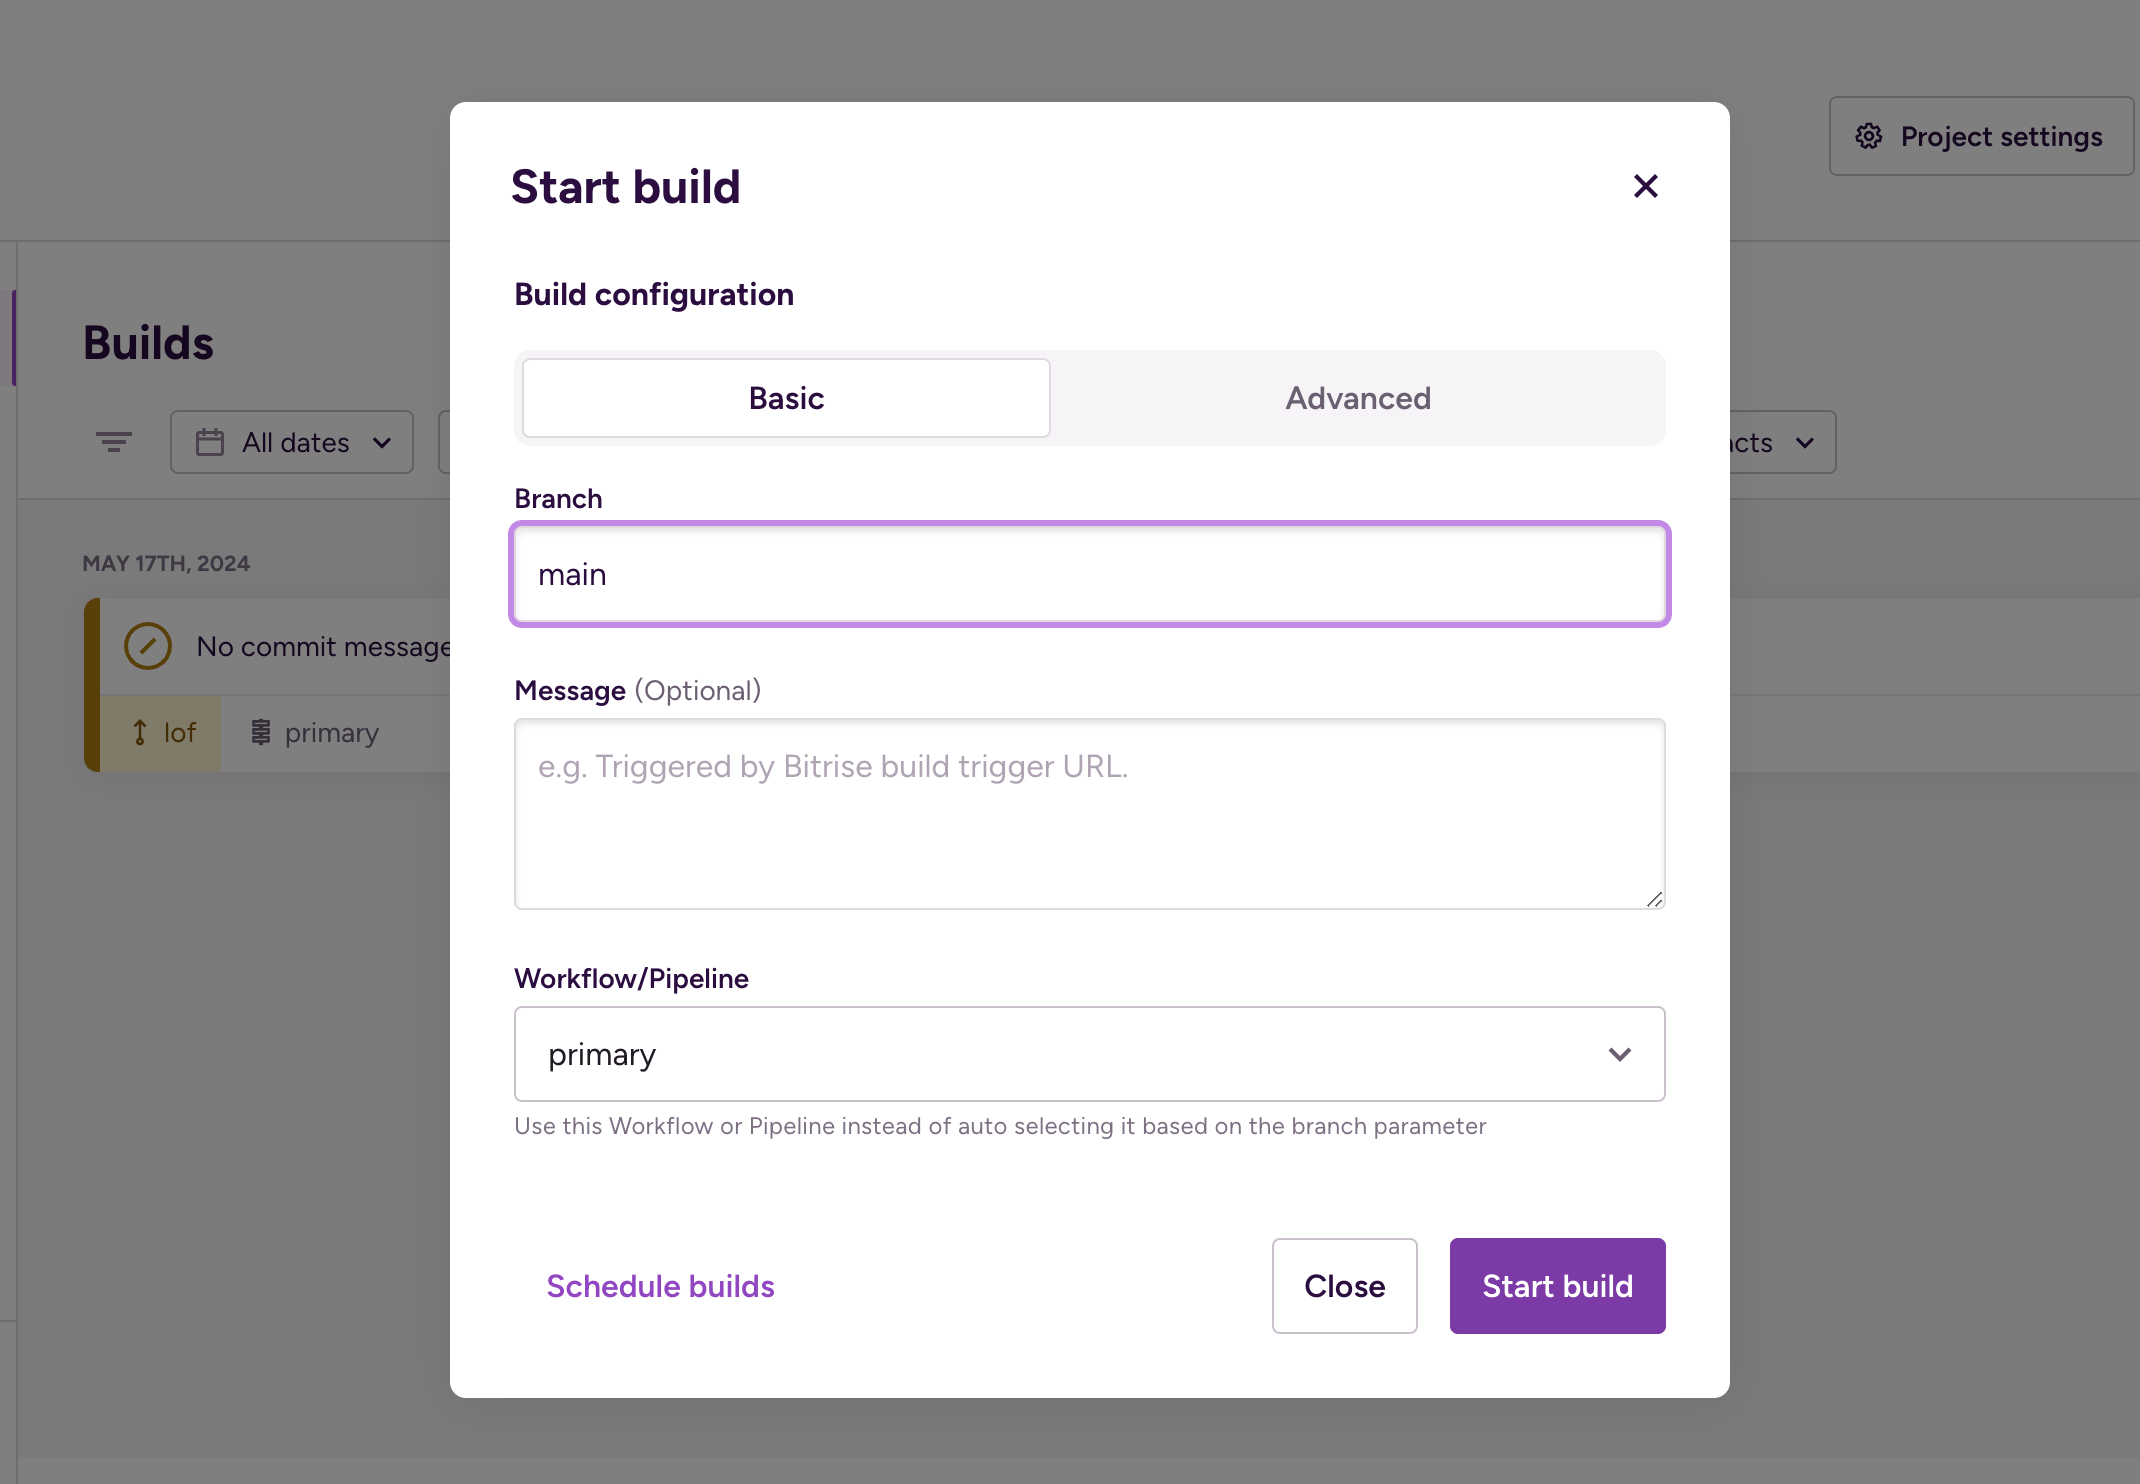
A build is a series of jobs, defined in the project's Workflows and Pipelines. The jobs are called Steps which represent blocks of script executions.
You only need to specify a branch and a Workflow or Pipeline to run a build with the Basic options. When adding a new project, Bitrise automatically generates at least one default Workflow for you so you can immediately run your first build.
When ready, click . It takes you to the build page where you can track the progress of the build, view the build logs, and check the generated build artifacts.
Triggering builds
You can also trigger builds automatically. Whenever a specified code event happens, Bitrise automatically starts a build: Build triggers.
Managing your Workspaces
Workspaces are fundamental to all aspects of Bitrise: only Workspaces can own projects and all subscriptions belong to Workspaces.
When signing up for a personal account, we automatically create a new Workspace for you. A Bitrise personal account can own multiple Workspaces and can be invited to Workspaces owned by other accounts.
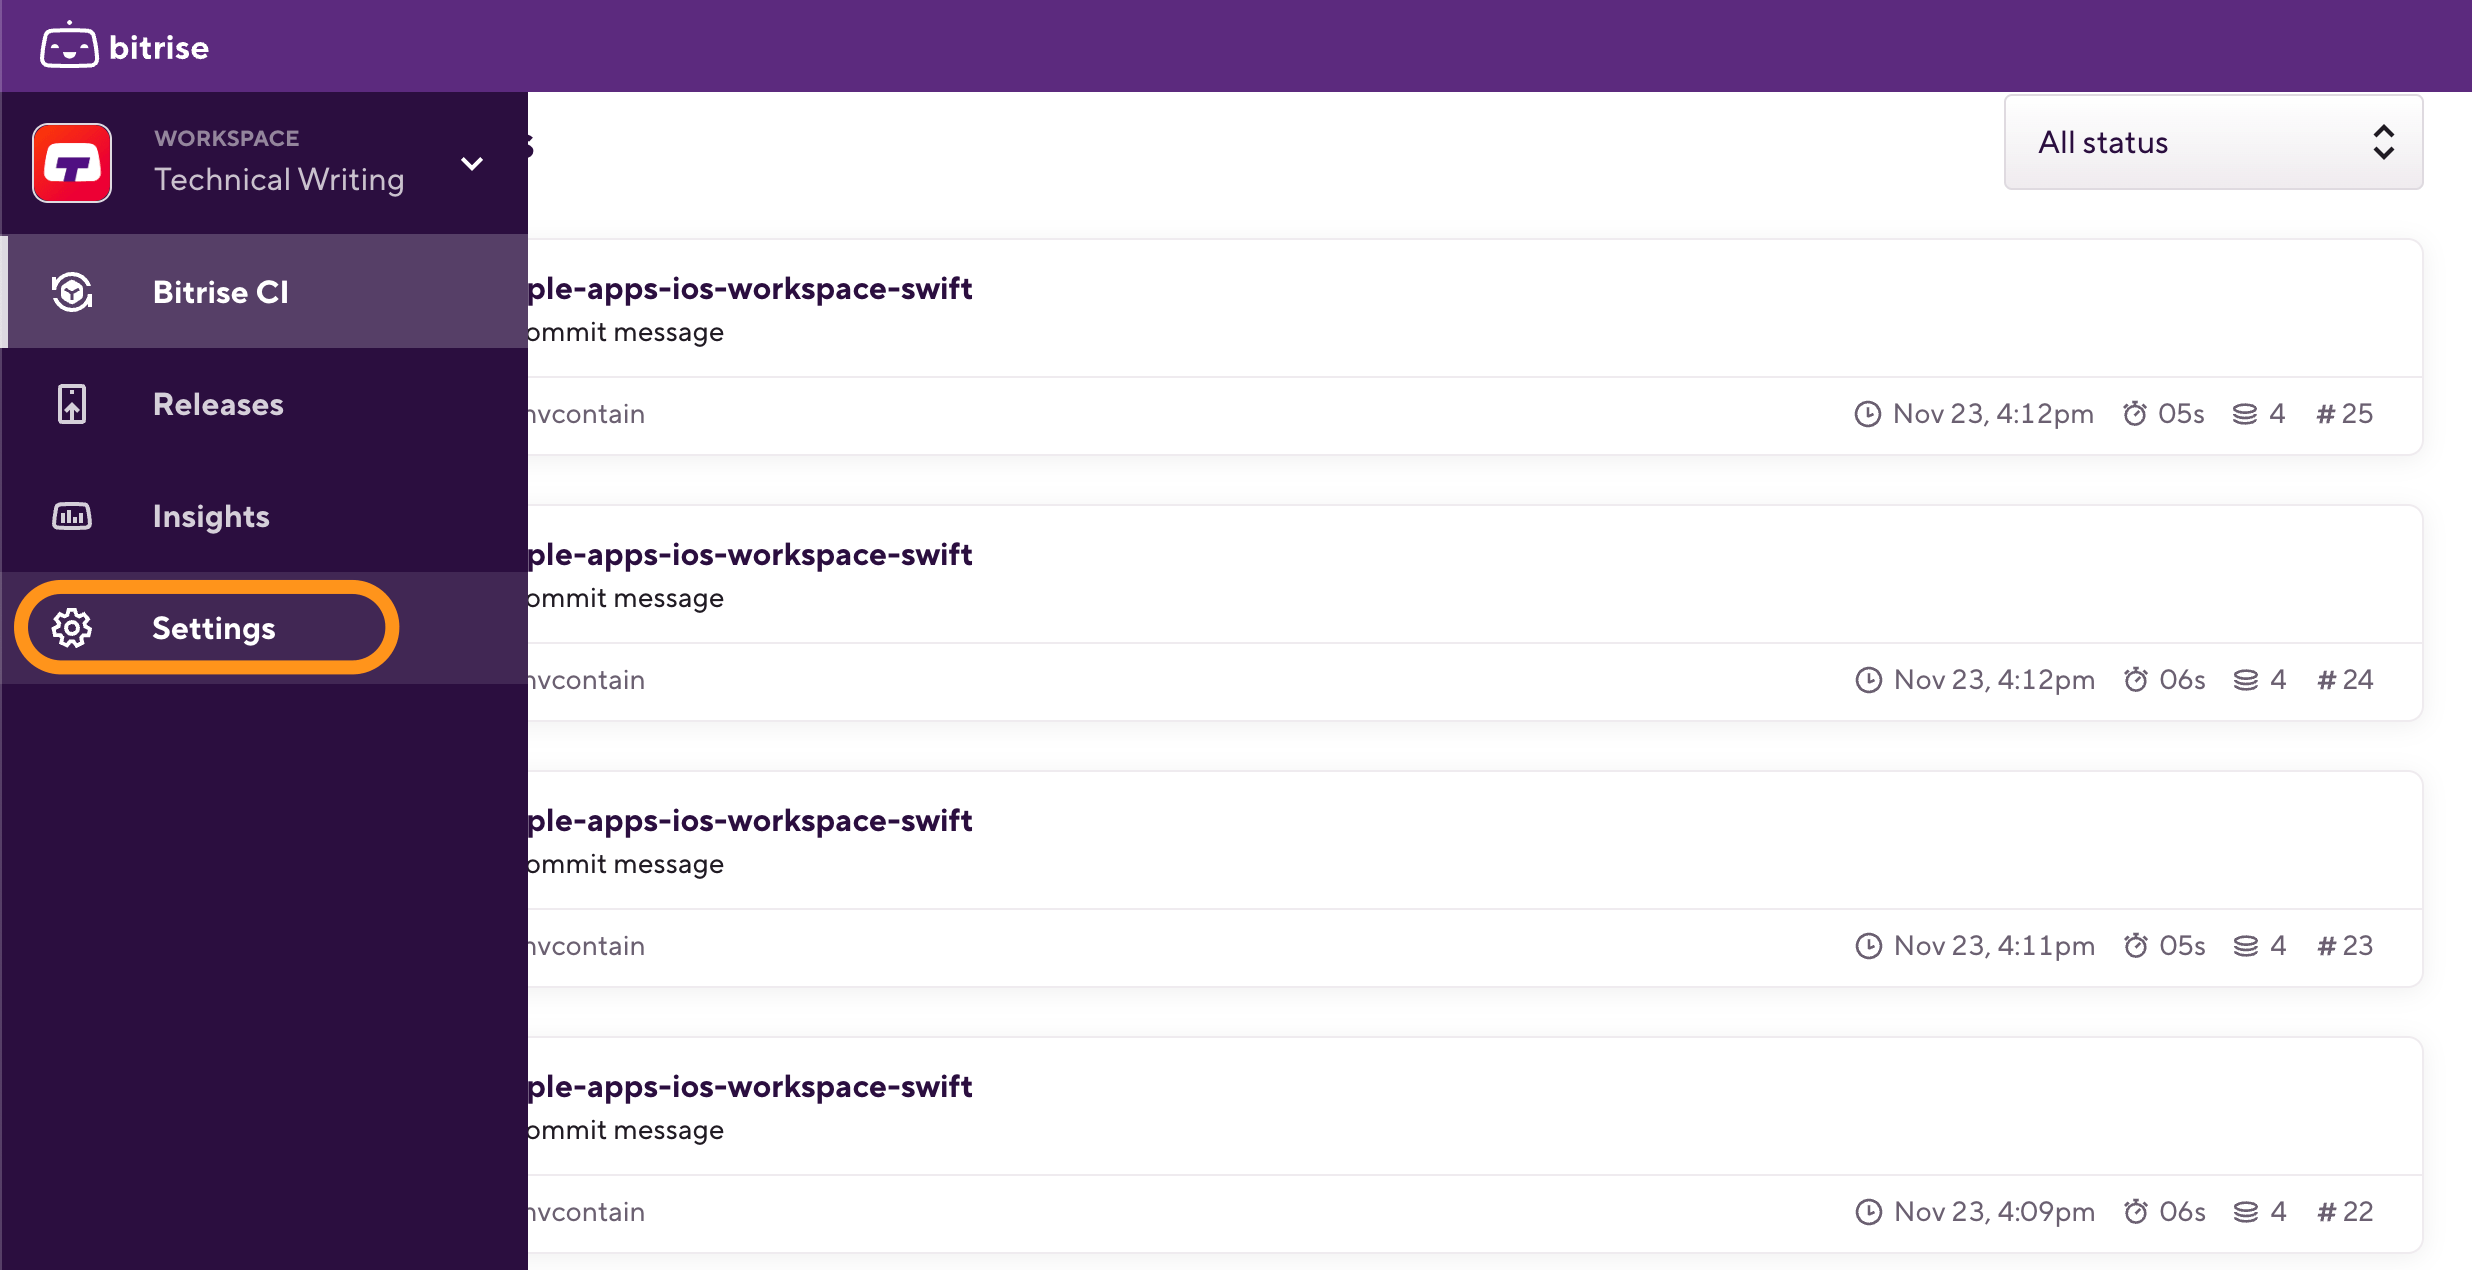
To manage your Workspace, you have to get to the Workspace settings page:
-
Log in to Bitrise and hover over the left navigation bar.
-
Make sure you have the right workspace selected in the Workspace menu.
-
Select Settings.
-
Edit the basic information of the Workspace.
-
Manage your subscription.
-
Invite members to your Workspace and create Workspace groups.
-
Set up SAML SSO.
-
Check your projects, transfer project ownership, and add new projects.
-
Configure Git integration for repository access and access to online stores.
On the Workspace settings page, you can:
Testing, installing, deploying
Testing your app and deploying your app are both done with the help of our Steps: we have Steps dedicated to both these functions, based on the platform type. Unit testing, UI testing, and real device testing are all possible on Bitrise:
You can find all your generated installable binaries in one place on Bitrise: The Installable artifacts page. From this page, you can easily install your apps on test devices, using either a private install page or by distributing a link to a public install page.
Once your app is tested, built and ready to go, you can quickly deploy it to the store of your choice, for example, Google Play or the App Store.
We also recommend trying out Release Management, our one-stop solution for all release-specific tasks. Once you have an installable binary, you can use Release Management to automatically take care of everything else related to releases: Release Management.