Configuring SCIM

Abstract

The System for Cross-domain Identity Management (SCIM) specification is designed to make managing user identities in cloud-based applications and services easier. On Bitrise, SCIM provisioning is supported for Okta and Microsoft Entra ID.

The System for Cross-domain Identity Management (SCIM) specification is designed to make managing user identities in cloud-based applications and services easier.

On Bitrise, SCIM provisioning is supported for Okta and Microsoft Entra ID.

SCIM provisioning requires a verified domain, and SCIM credentials: a SCIM base URL and an authentication token. The process of configuring these on Bitrise is the same for both Okta and Entra ID:

Configuring domain control

You can add and verify your corporate domains from where you will manage Bitrise users. You can have multiple verified domains on Bitrise but you can only add one domain at a time. Multiple subdomains of the same domain count as different domains as Bitrise expects an exact match.

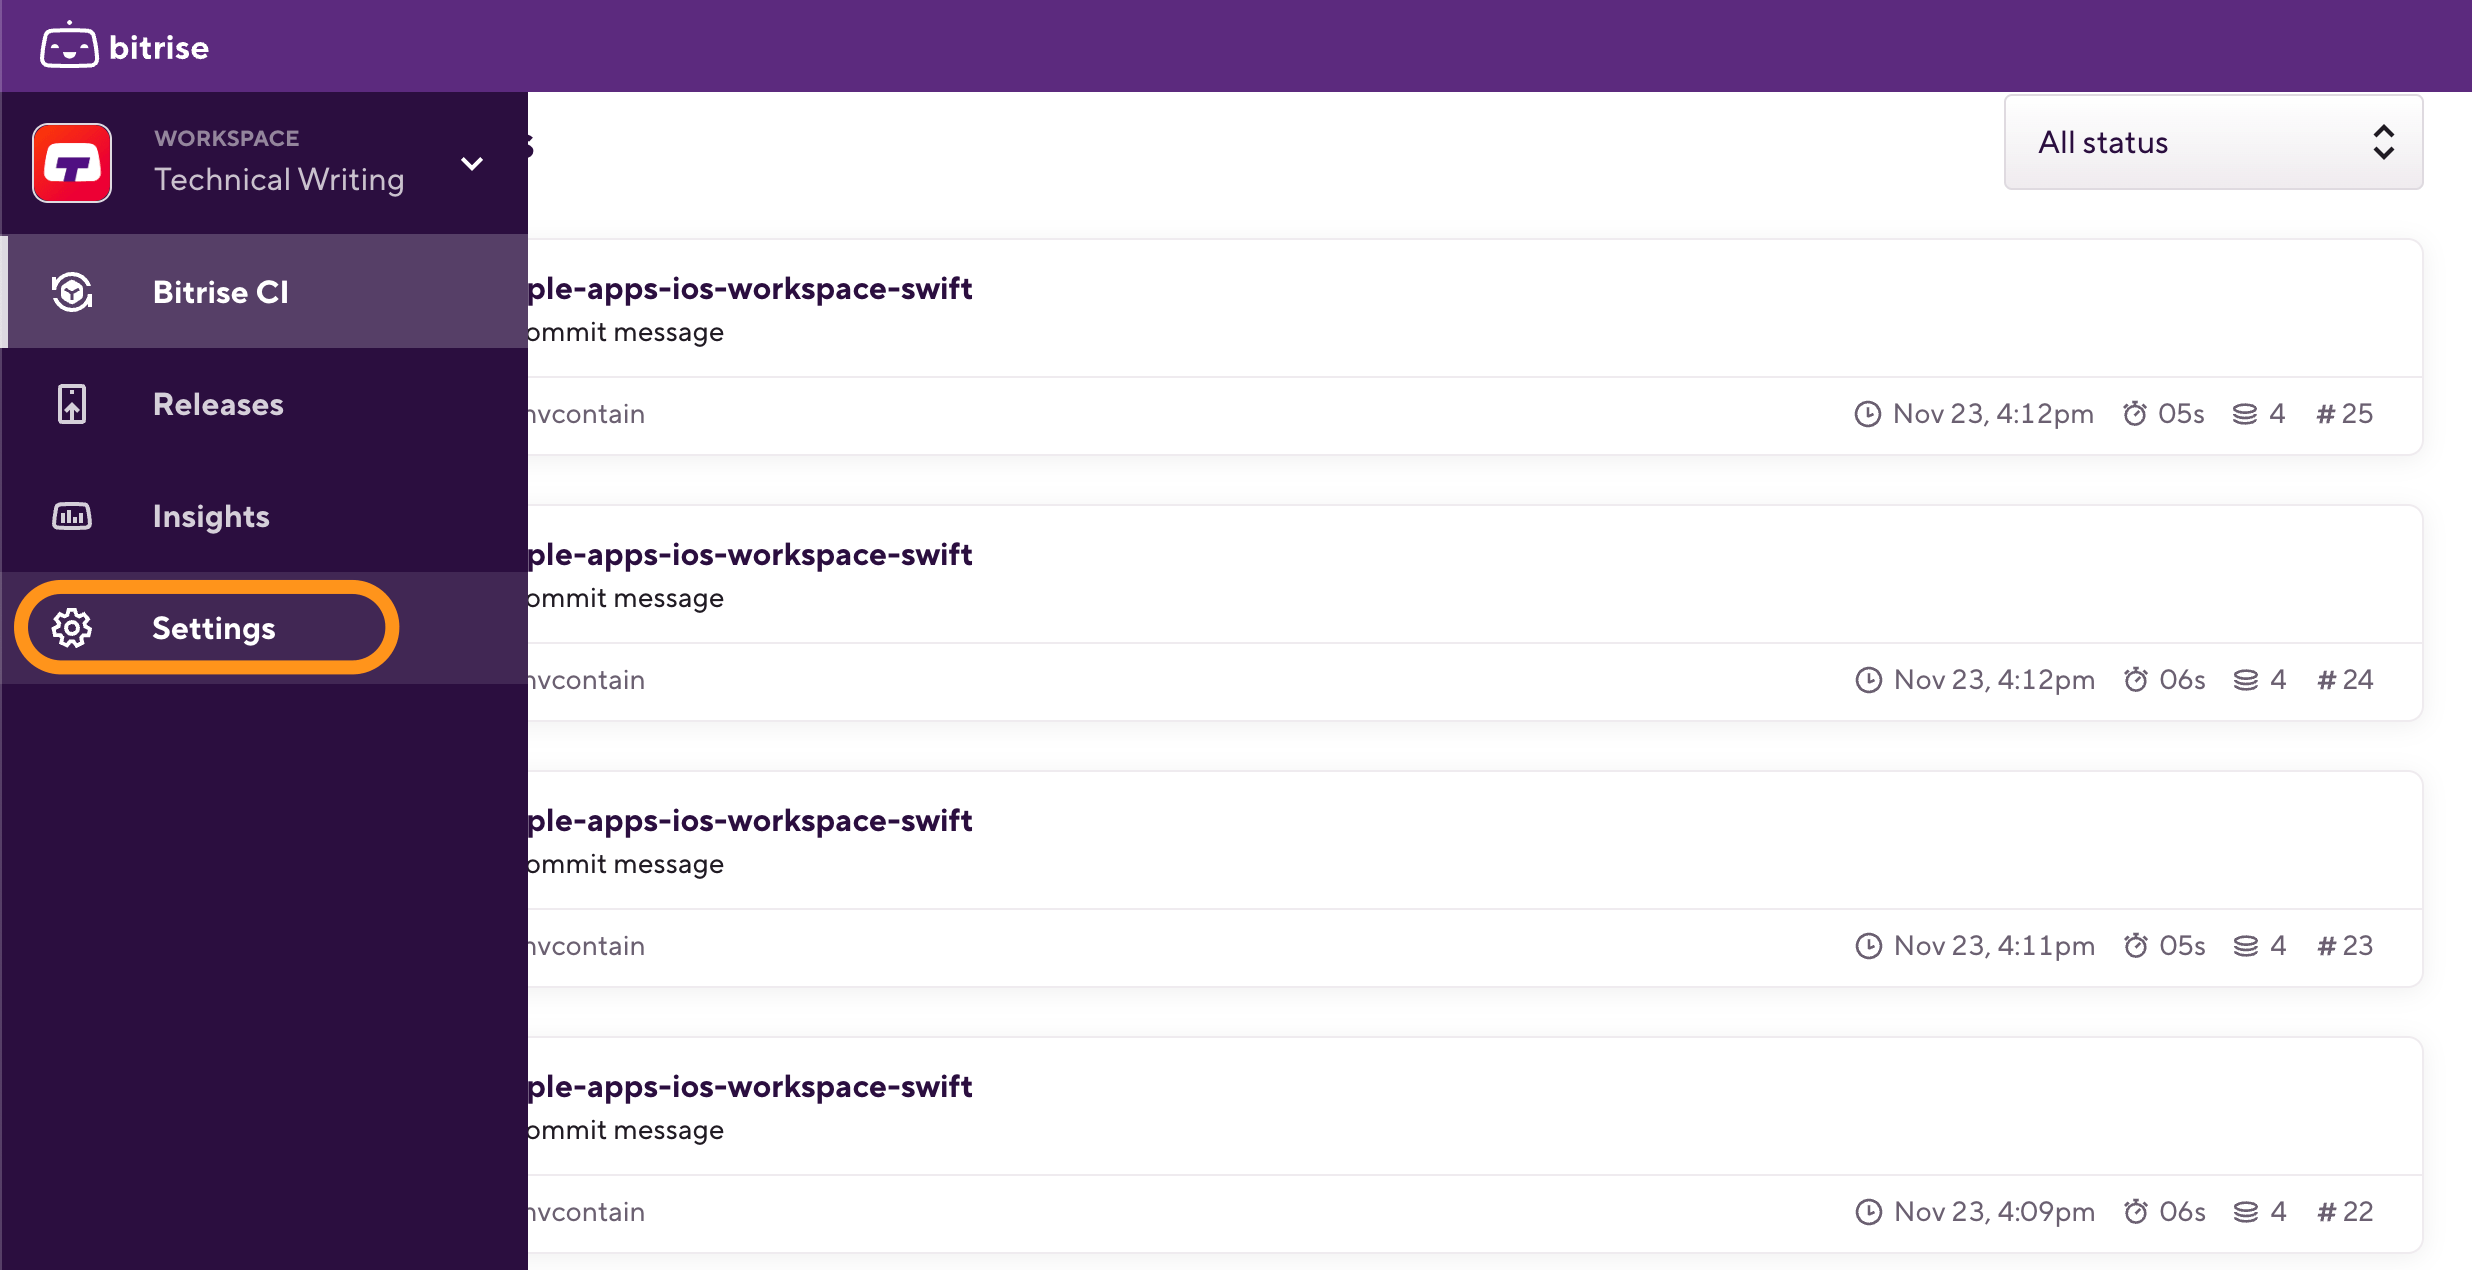
  1. Log in to Bitrise and hover over the left navigation bar.

  2. Make sure you have the right Workspace selected in the Workspace menu.

  3. Select Settings.

    workspace-settings-new.png
  4. On the left, select Single sign-on.

  5. Select the SCIM tab.

  6. In the Domain control section, click Add domain.

  7. Enter your domain name in the dialog box, and click Next.

    Handling subdomains

    Bitrise expects an exact match for the domain names. If you use subdomains, you need to add the full name of the subdomain. For example, if you own mydomain.com and you want to use its subdomain external.mydomain.com, you should write it out the subdomain's naame when setting up domain control on Bitrise.

  8. You will see a domain verification code. You need to add this code to as a DNS TXT record at your domain provider.

  9. Click Copy and close to copy the verification code and close the dialog box.

After you've added the DNS TXT record at your domain provider, we'll commence domain verification. This can take up to 72 hours. You will receive an email once it is completed. Once that is done, you can proceed to setting up SCIM credentials.

Generating SCIM credentials

Once you have a verified domain set up on Bitrise, you can set up SCIM credentials to connect to Okta.

  1. Log in to Bitrise and hover over the left navigation bar.

  2. Make sure you have the right Workspace selected in the Workspace menu.

  3. Select Settings.

    workspace-settings-new.png
  4. On the left, select Single sign-on.

  5. Select the SCIM tab.

  6. In the SCIM credentials section, click Generate SCIM credentials to open the SCIM credentials dialog box.

  7. Save your SCIM credentials. In the dialog box, you will see:

    • Your SCIM base URL.

    • Your SCIM authentication token.

    Copy and save both. You need them for SCIM provisioning. For Okta, check out our SCIM provisioning guide.