Configuring a release
After adding a new release in Release Management, you are automatically taken to the stage that is currently in progress. On the left, you can see the navigation menu: select Configuration to get to the Release configuration page.
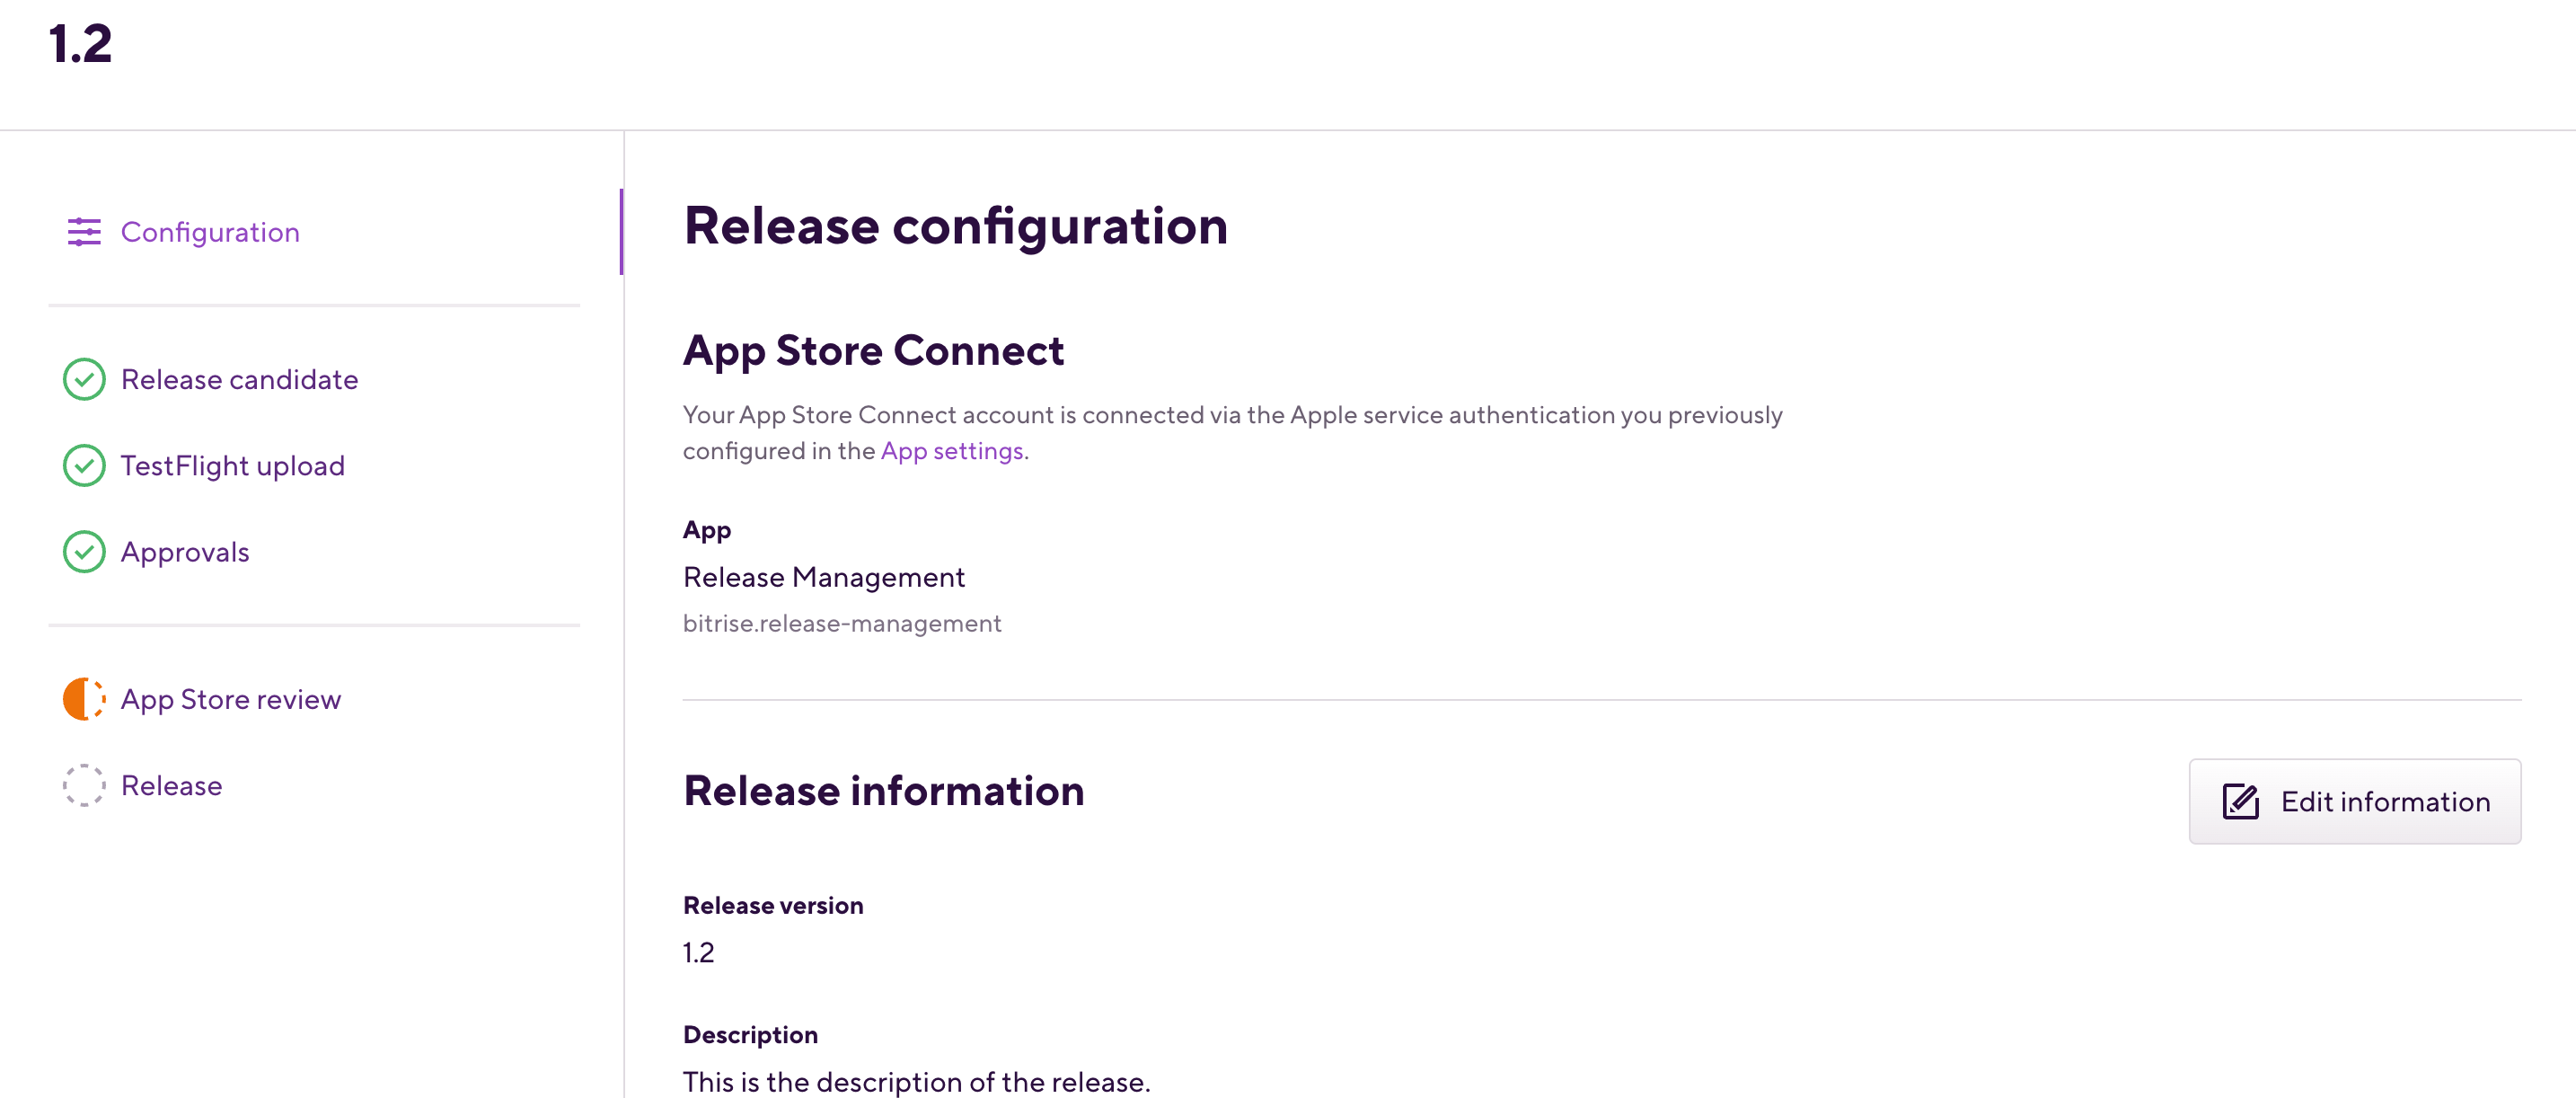
When configuring a release, you can:
Release presets
If you selected the Start with a blank release method when creating the release, the release has already been configured based on the presets of the connected app: Release presets.