Currently supported use cases for the iOS platform
We have prepared some Pipeline recipes based on common iOS use cases. These contain some of the most frequent tasks our users need to run.
(iOS) Run tests in parallel on multiple simulators
Description
This example uses the sample-swift-project-with-parallel-ui-test iOS Open Source sample app, which has some example Unit and UI tests and uses Test Plans to group the tests.
The example Pipeline config showcases how to run all the test cases of the project on different iOS simulators.
run_tests_on_simulators Pipeline runs two Stages sequentially:
-
build_tests stagethat runs thebuild_testsWorkflow. This Workflow git clones the sample project and runs thexcode-build-for-testStep to build the target and associated tests. The built test bundle is transferred to the next Stage (run_tests_on_simulators) via thedeploy-to-bitrise-ioStep.The build test bundle is compressed
xcode-build-for-testStep compresses the built test bundle and moves the generated zip to the$BITRISE_DEPLOY_DIR. That directory’s content is deployed to the Workflow artifacts by default via thedeploy-to-bitrise-ioStep.Artifact file size limitation
There is no limitation on the number of files deployed to Artifacts per build. There is a limitation, however, on the file size which is 2GB per file.
-
run_tests_on_simulatorsStage runs three Workflows in parallel:run_tests_iPad,run_tests_iPhone, andrun_tests_iPod. Both of these Workflows use the newxcode-test-without-buildingStep, which executes the tests based on the previous stage built test bundle. The pre-built test bundle is pulled by the_pull_test_bundleutility Workflow.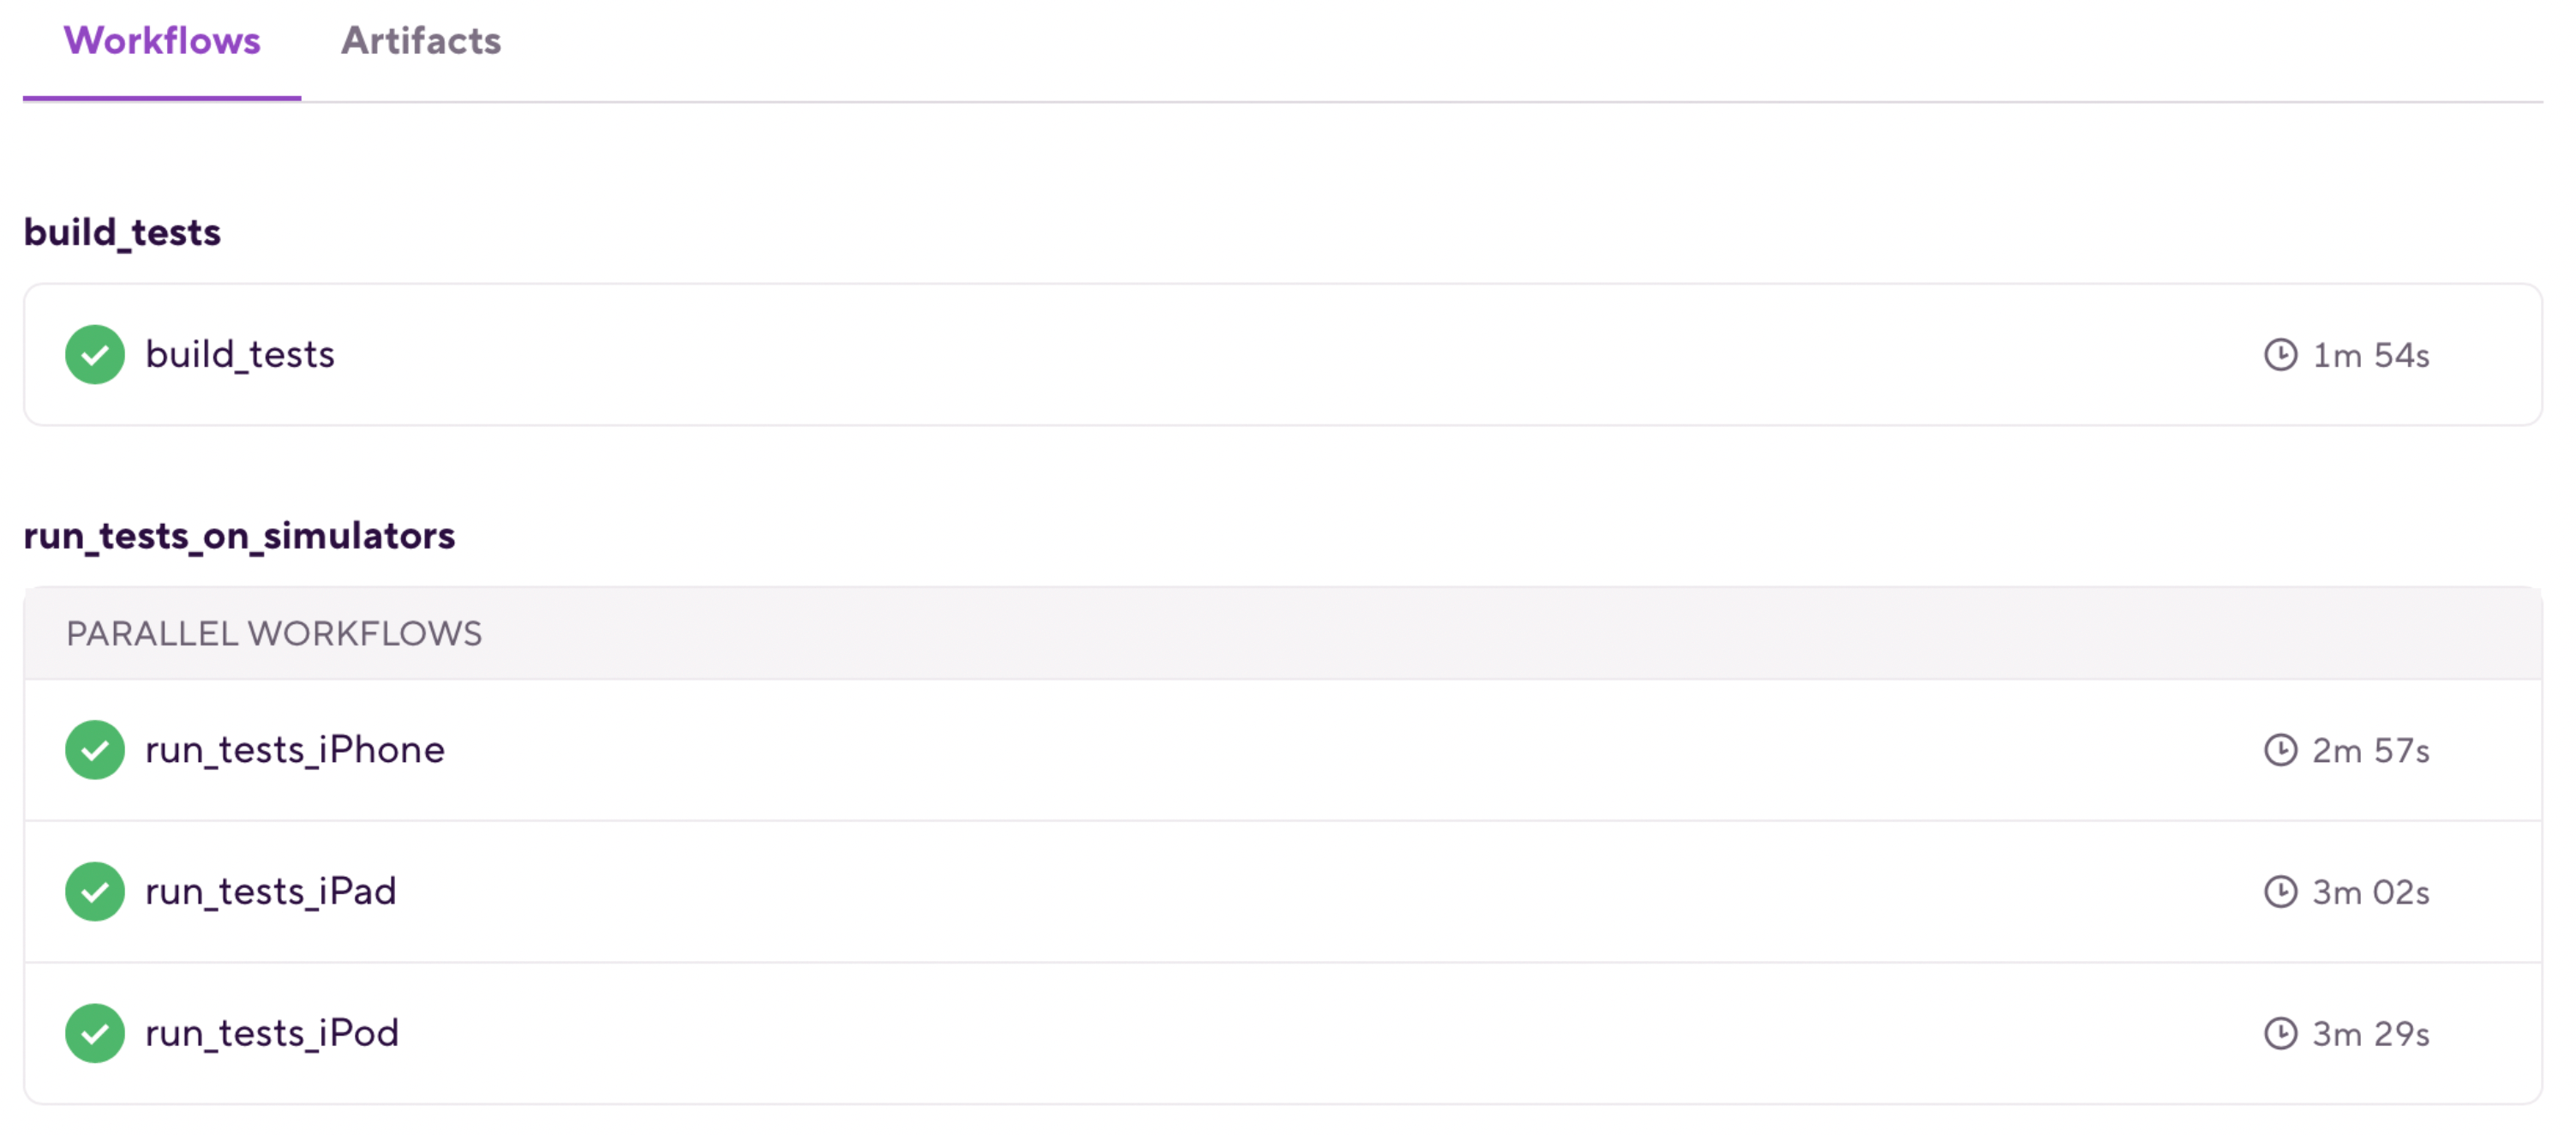
Instructions
To test the configuration in a new Bitrise example project, do the following:
-
Visit the Create New App page to create a new App.
-
When prompted to select a git repository, choose Other/Manual and paste the sample project repository URL (
https://github.com/bitrise-io/sample-swift-project-with-parallel-ui-test) in the Git repository (clone) URL field. -
Confirm that this is a public repository in the resulting pop-up.
-
Select the
masterbranch to scan. -
Wait for the project scanner to complete.
-
Select any of the offered Distribution methods (for example , it does not really matter as now we are focusing on testing).
-
Confirm the offered stack, skip choosing the app icon and the webhook registration and kick off the first build.
-
Open the new Bitrise project’s Workflow Editor.
-
Go to the bitrise.yml tab and replace the existing
bitrise.ymlwith the contents of the examplebitrise.ymlfile. -
Click the button, and select the option in the “Workflow, Pipeline” dropdown menu at the bottom of the popup.
bitrise.yml
(iOS) Run test groups in parallel
Description
This example uses the sample-swift-project-with-parallel-ui-test iOS Open Source sample app, which has some example Unit and UI tests and uses Test Plans to group the tests.
XCode test plans
Xcode Test Plans provide a way to run a collection of tests with different test configurations. raywenderlich.com has a great tutorial on how to get started with Xcode Test Plans.
The example Pipeline config showcases how to run different test groups in parallel.
run_tests_groups Pipeline runs two Stages sequentially:
-
build_testsStage that runs thebuild_testsWorkflow. This Workflow git clones the sample project and runs thexcode-build-for-testStep to build the target and associated tests. The built test bundle is transferred to the next Stage (run_tests_groups) via thedeploy-to-bitrise-ioStep. -
run_tests_groupsStage runs two Workflows in parallel:run_ui_testsandrun_unit_tests. Both of these Workflows use the new xcode-test-without-buildingStep, which executes the tests based on the previous Stage built test bundle. The pre-built test bundle is pulled by the_pull_test_bundleutility Workflow.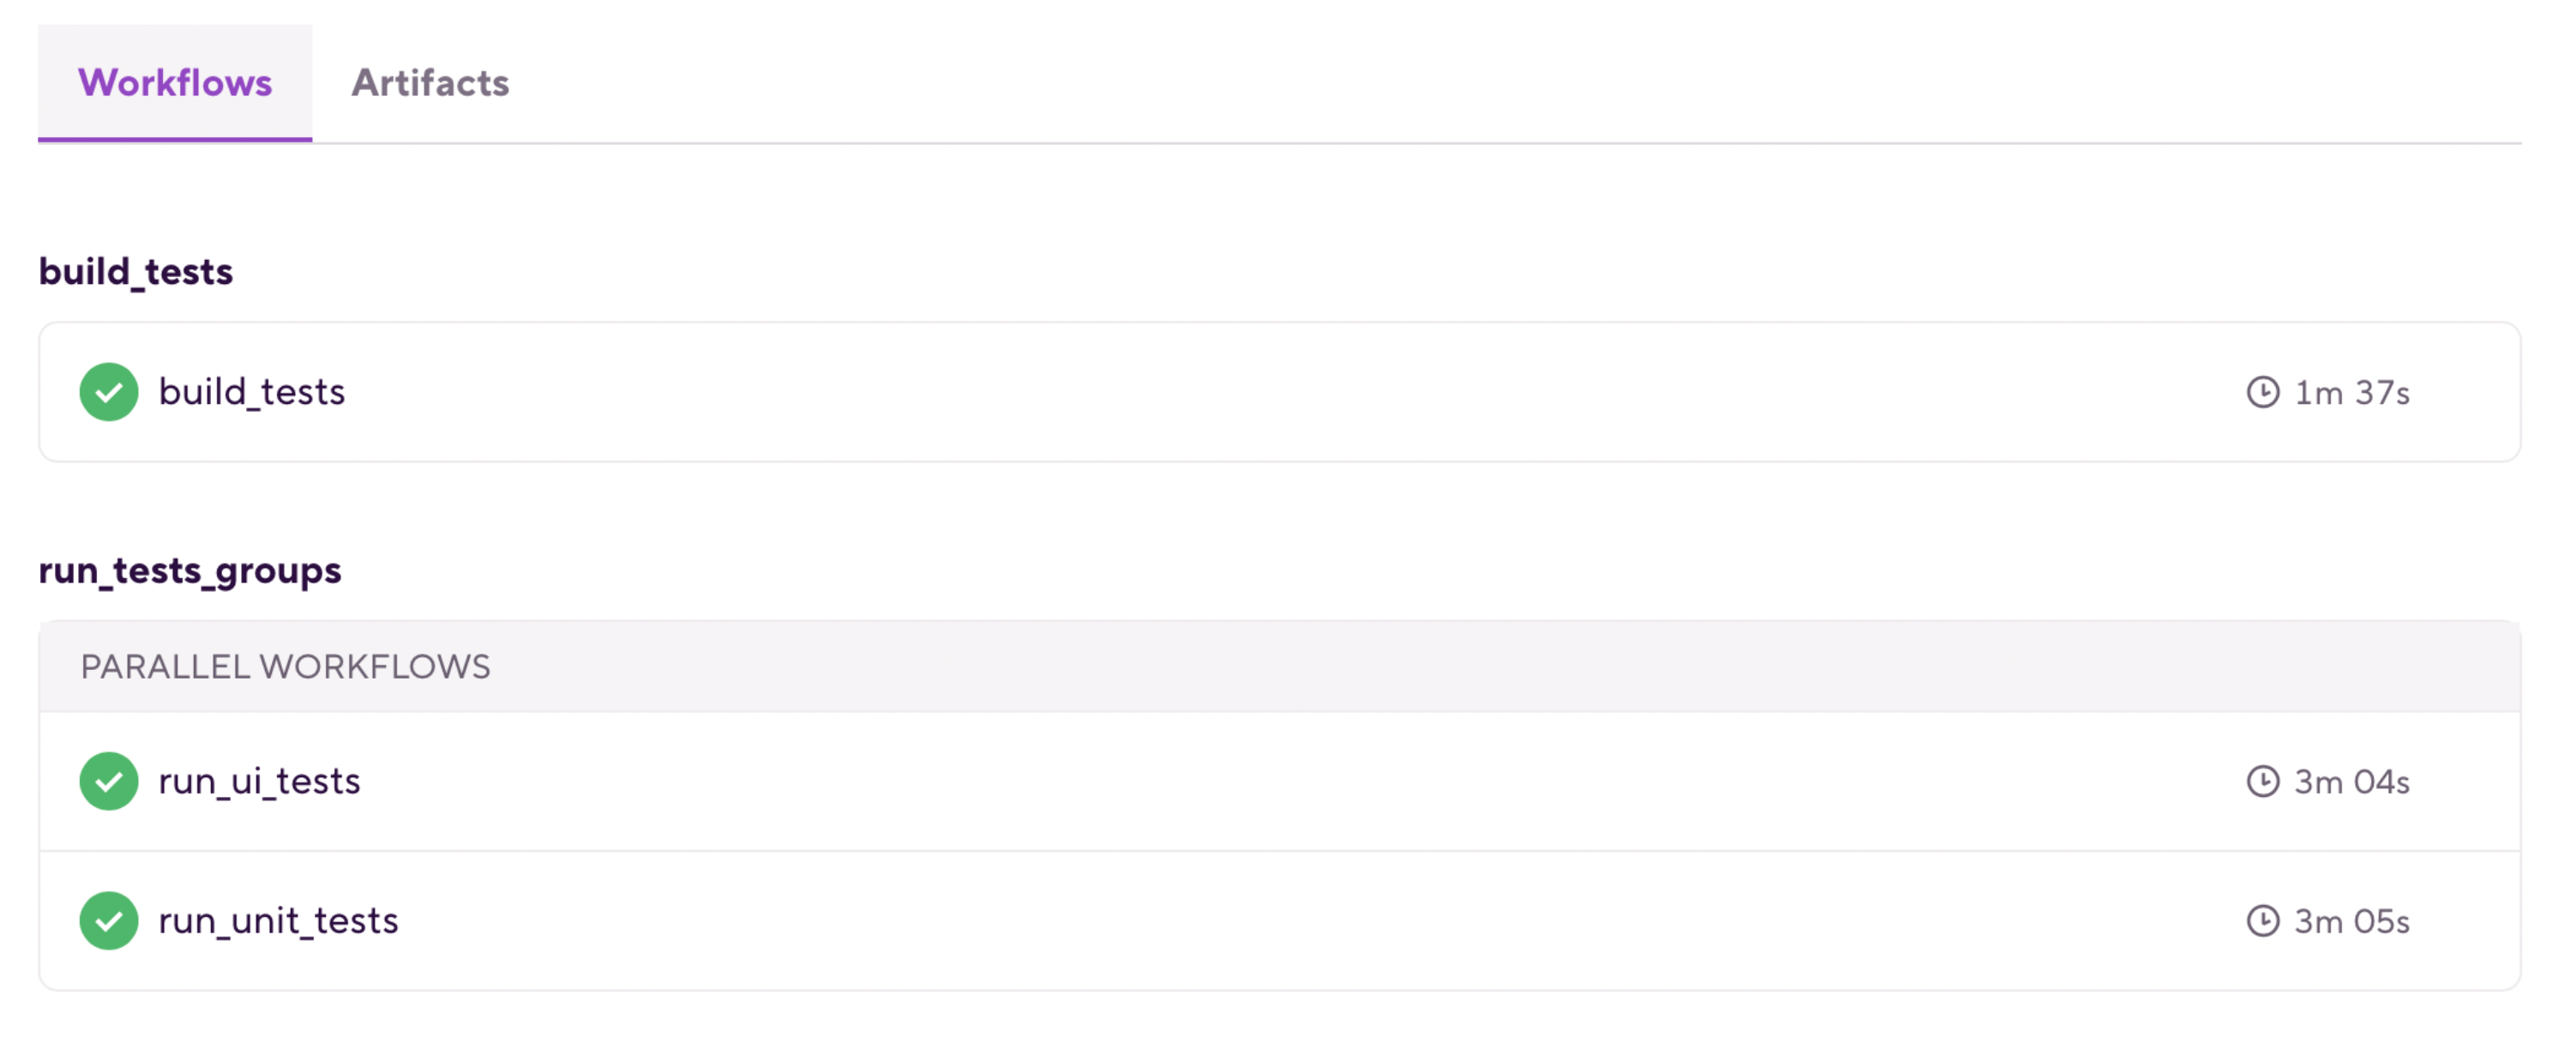
Instructions
-
Visit the Create New App page to create a new App.
-
When prompted to select a git repository, choose Other/Manual and paste the sample project repository URL (
https://github.com/bitrise-io/sample-swift-project-with-parallel-ui-test) in the Git repository (clone) URL field. -
Confirm that this is a public repository in the resulting pop-up.
-
Select the
masterbranch to scan. -
Wait for the project scanner to complete.
-
Select any of the offered Distribution methods (for example , it does not really matter as now we are focusing on testing).
-
Confirm the offered stack, skip choosing the app icon and the webhook registration and kick off the first build.
-
Open the new Bitrise project’s Workflow Editor.
-
Go to the bitrise.yml tab and replace the existing
bitrise.ymlwith the contents of the examplebitrise.ymlfile. -
Click the button, and select the
run_tests_groupsoption in the “Workflow, Pipeline” dropdown menu at the bottom of the popup.
bitrise.yml
GitHub link: https://github.com/bitrise-io/workflow-recipes/blob/main/recipes/ios-run-test-groups-in-parallel.md#bitriseyml
(iOS) Merging test results and deploying to the Test Reports add-on
Description
Test Reports add-on is tied to Bitrise builds. To make all the test reports generated in different builds appear on a single page in the add-on, the reports must be merged and deployed in an additional build.
This example uses the sample-swift-project-with-parallel-ui-test iOS Open Source sample app and extends the ‘Run iOS test groups in parallel’ example Pipeline config with merging and deploying test results.
run_ui_tests and run_unit_tests Workflows are extended with a deploy-to-bitrise-io Step to make the generated test results available for the next Stage.
run_tests_groups Pipeline is extended with a new Stage: deploy_test_results. This Stage runs the deploy_test_results Workflow:
-
artifact-pullStep downloads all the zipped test results previously generated by Stage:run_tests_groups. -
scriptStep unzips each test result into a new test run directory within the Test Report add-on deploy dir and creates the relatedtest-info.jsonfile. -
deploy-to-bitrise-ioStep deploys the merged test results.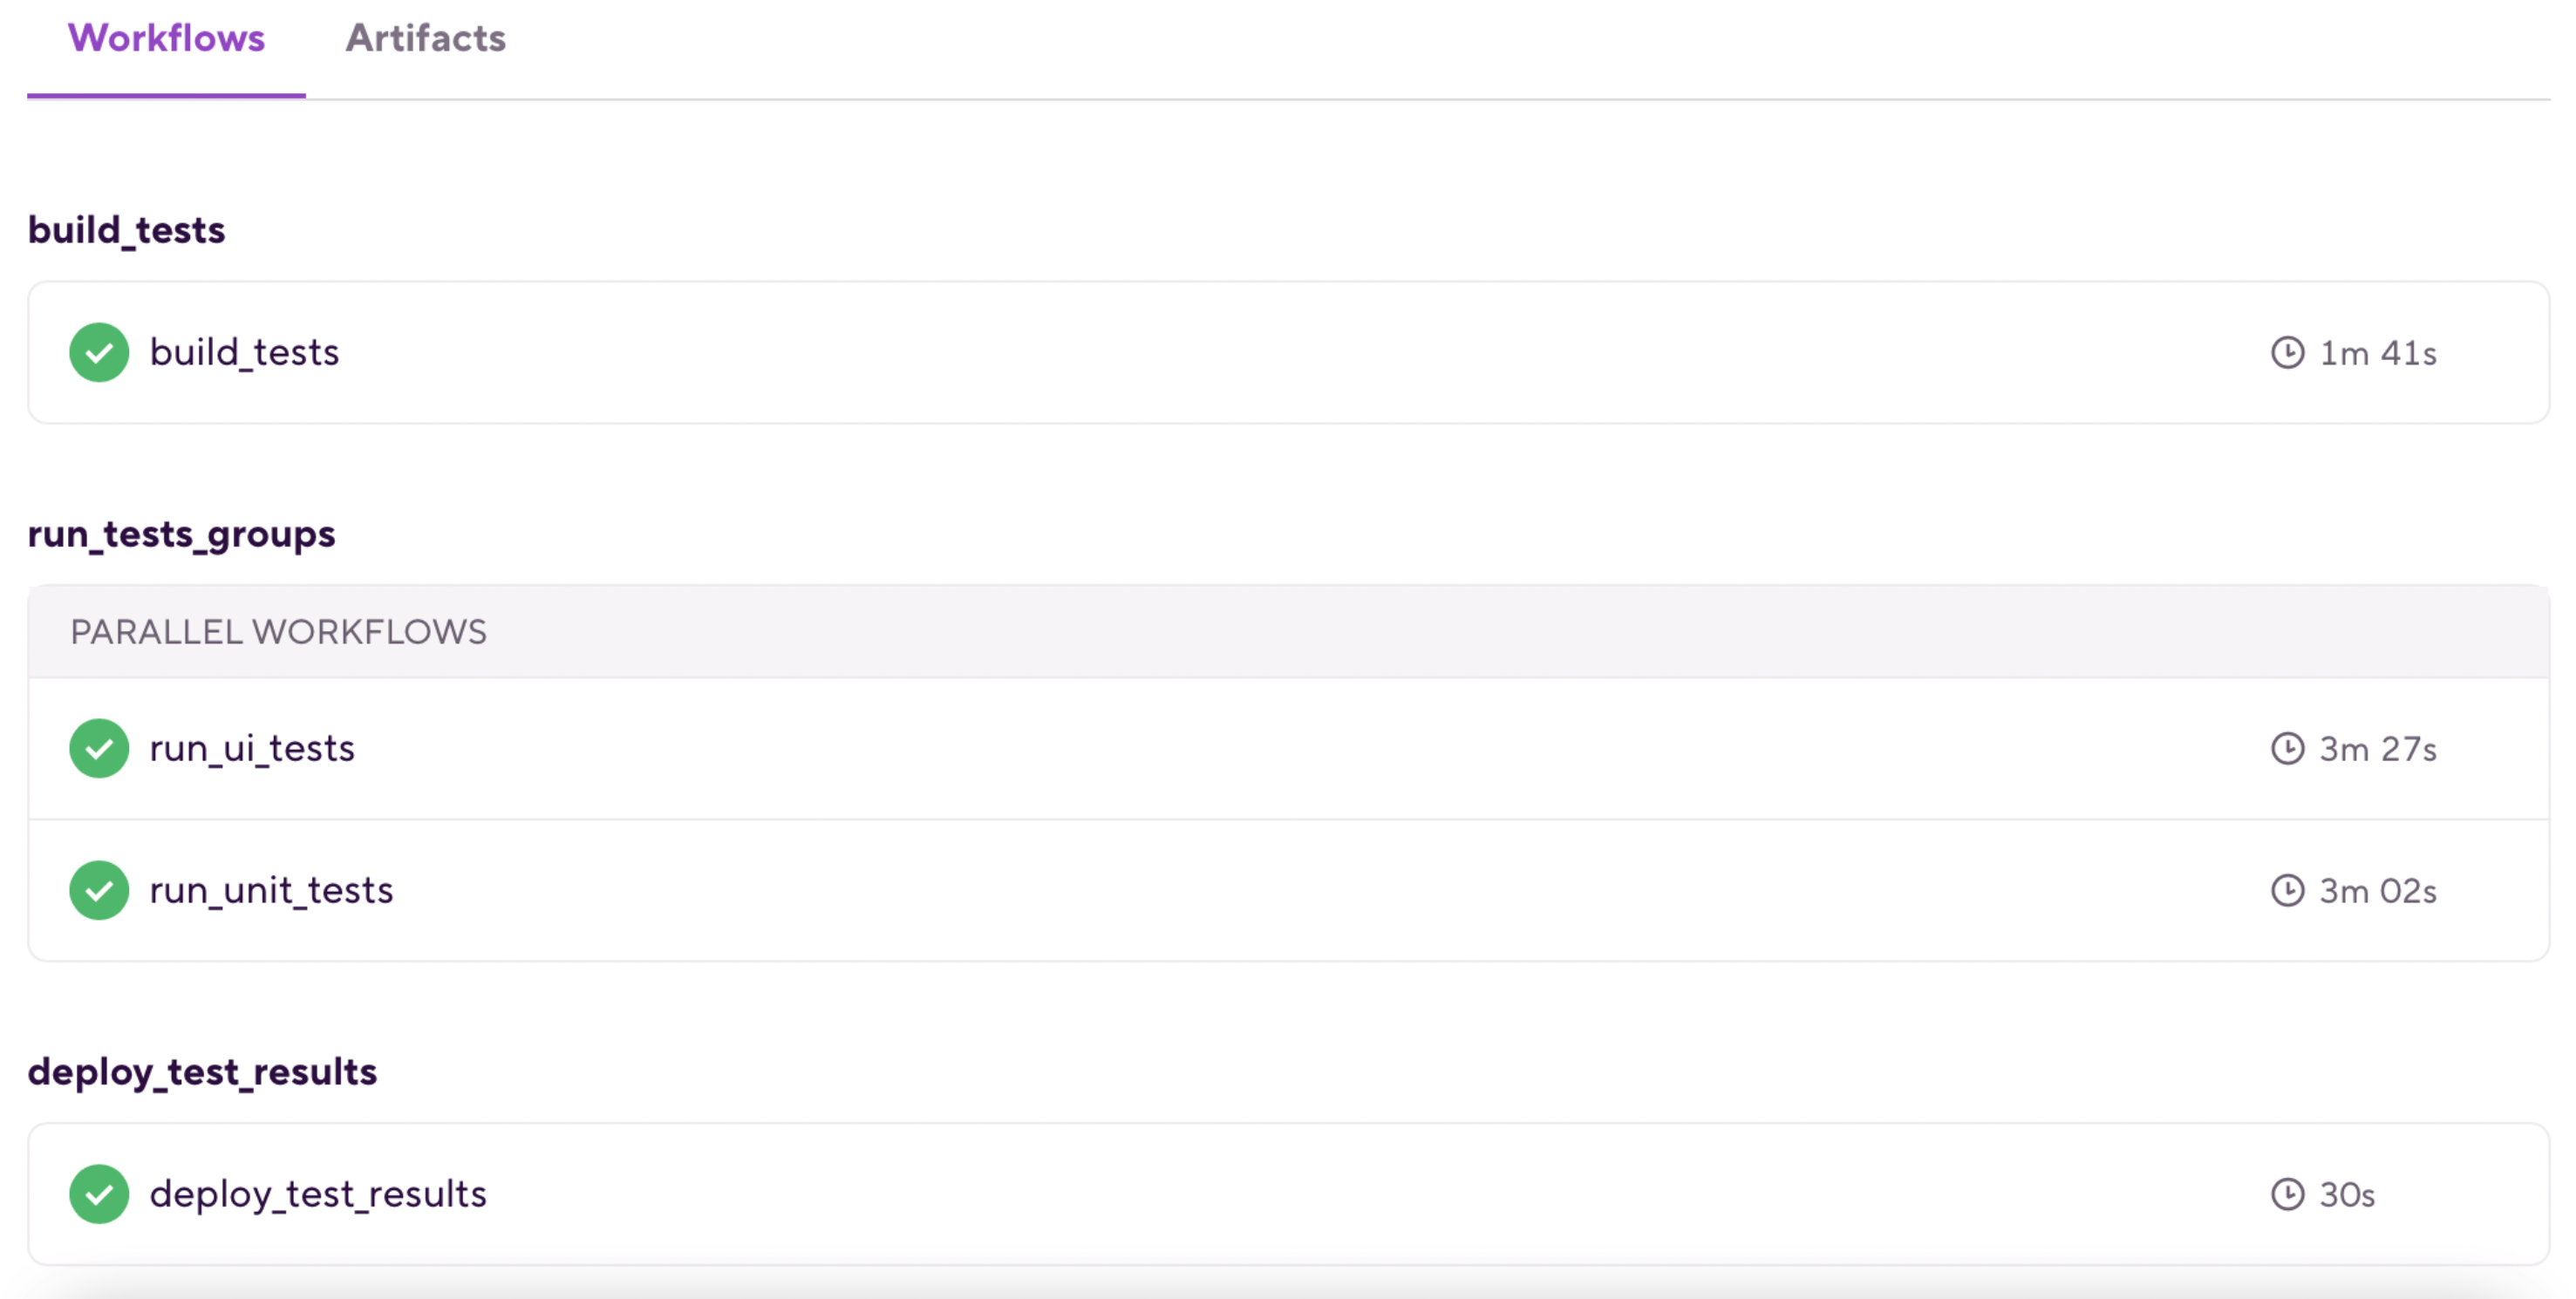
Instructions
-
Visit the Create New App page to create a new App.
-
When prompted to select a git repository, choose Other/Manual and paste the sample project repository URL (
https://github.com/bitrise-io/sample-swift-project-with-parallel-ui-test) in the Git repository (clone) URL field. -
Confirm that this is a public repository in the resulting pop-up.
-
Select the
masterbranch to scan. -
Wait for the project scanner to complete.
-
Select any of the offered Distribution methods (for example , it does not really matter as now we are focusing on testing).
-
Confirm the offered stack, skip choosing the app icon and the webhook registration and kick off the first build.
-
Open the new Bitrise project’s Workflow Editor.
-
Go to the bitrise.yml tab and replace the existing
bitrise.ymlwith the contents of the extended example bitrise.yml file. -
Click the button, and select the option in the “” dropdown menu at the bottom of the popup.
-
Open the Pipeline’s build page.
-
Select the deploy_test_results build.
-
Click on on the build details page and select the to view the merged test reports.