Tester groups
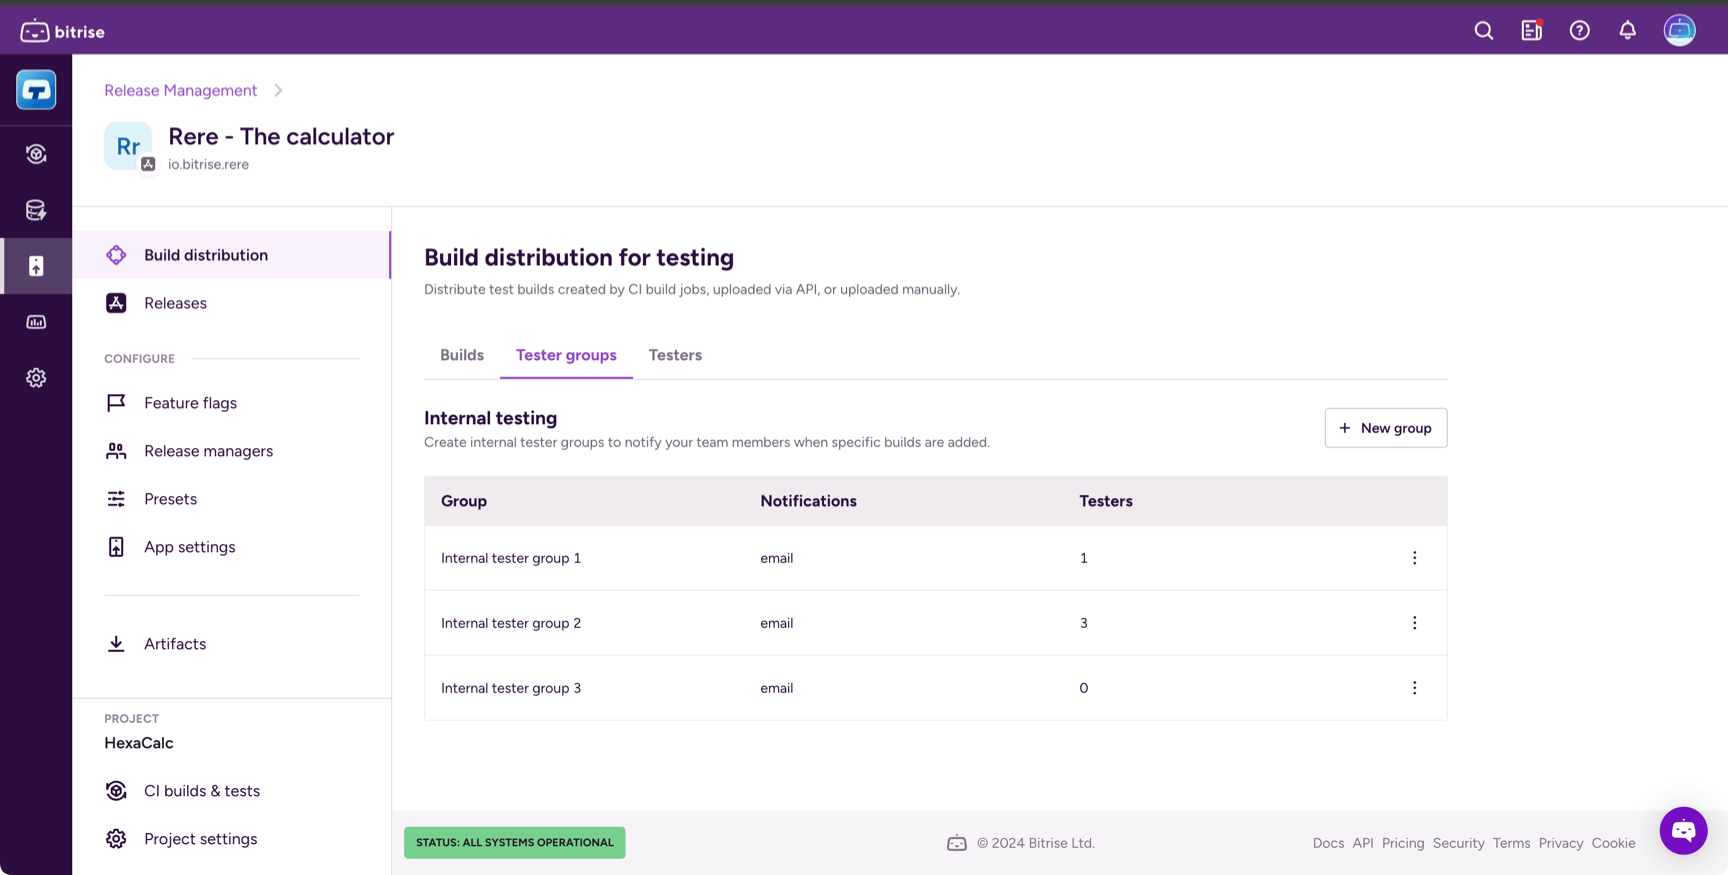
Create tester groups in Release Management to to be able to distribute installable artifacts to testers automatically. When a new installable artifact is available, the tester groups can be:
-
Automatically notified via email.
-
Manually notified via email.
The notification email contains a link to the build page in Release Management.
A connected app can have multiple tester groups. You can select testers from the project team members of the connected app.
Required access level
Users with the following roles can manage tester groups:
-
Workspace owner
-
Workspace manager
-
Project admin
Creating tester groups
To create a new tester group:
-
Open your connected app in Release Management.
-
Select Build distribution and then the Tester groups tab.

-
Click .
-
Enter a group name.
The name must be unique: no other tester group can have the same name. You can change the name later.
-
Optionally, check the Send notifications automatically box.
With this setting, every group member receives a notification when a new installable artifact is available. You can change this later.
Adding members to tester groups
A newly created tester group is empty. You can add members of the Bitrise project the app belongs to.
To add members to a tester group:
-
Open your connected app in Release Management.
-
Select Build distribution and then the Tester groups tab.
-
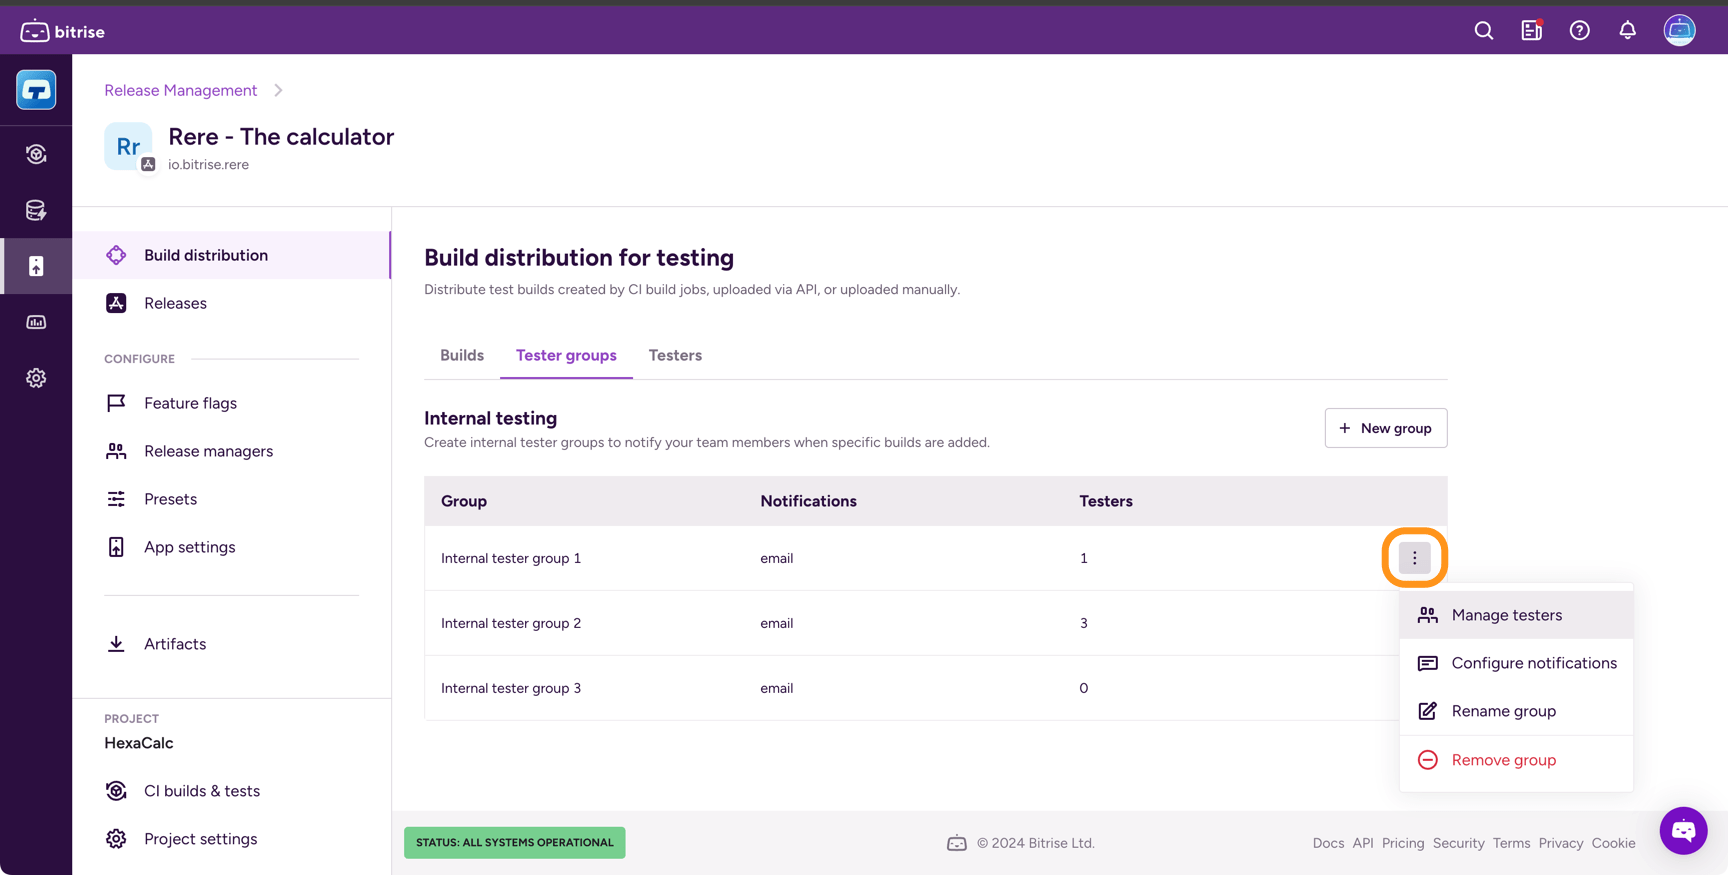
Find the group and click the vertical ellipsis (⋮) on the right.

-
Select Manage testers.
-
In the group page, click .
-
Select all the testers you need and click .
Removing members from tester groups
You can remove members from testing groups in two ways:
-
Removing them from a specific testing group.
-
Removing them from all testing groups at the same time.
Specific group
All groups
-
Open your connected app in Release Management.
-
Select Build distribution and then the Tester groups tab.
-
Find the group and click the vertical ellipsis (⋮) on the right.

-
Select Manage testers.
-
In the Testers in this group list, find the tester you want to remove and click the remove button.
-
Open your connected app in Release Management.
-
Select Build distribution and then the Testers tab.
-
In the All testers list, find the tester you want to remove and click the remove button.
Configuring notification settings for tester groups
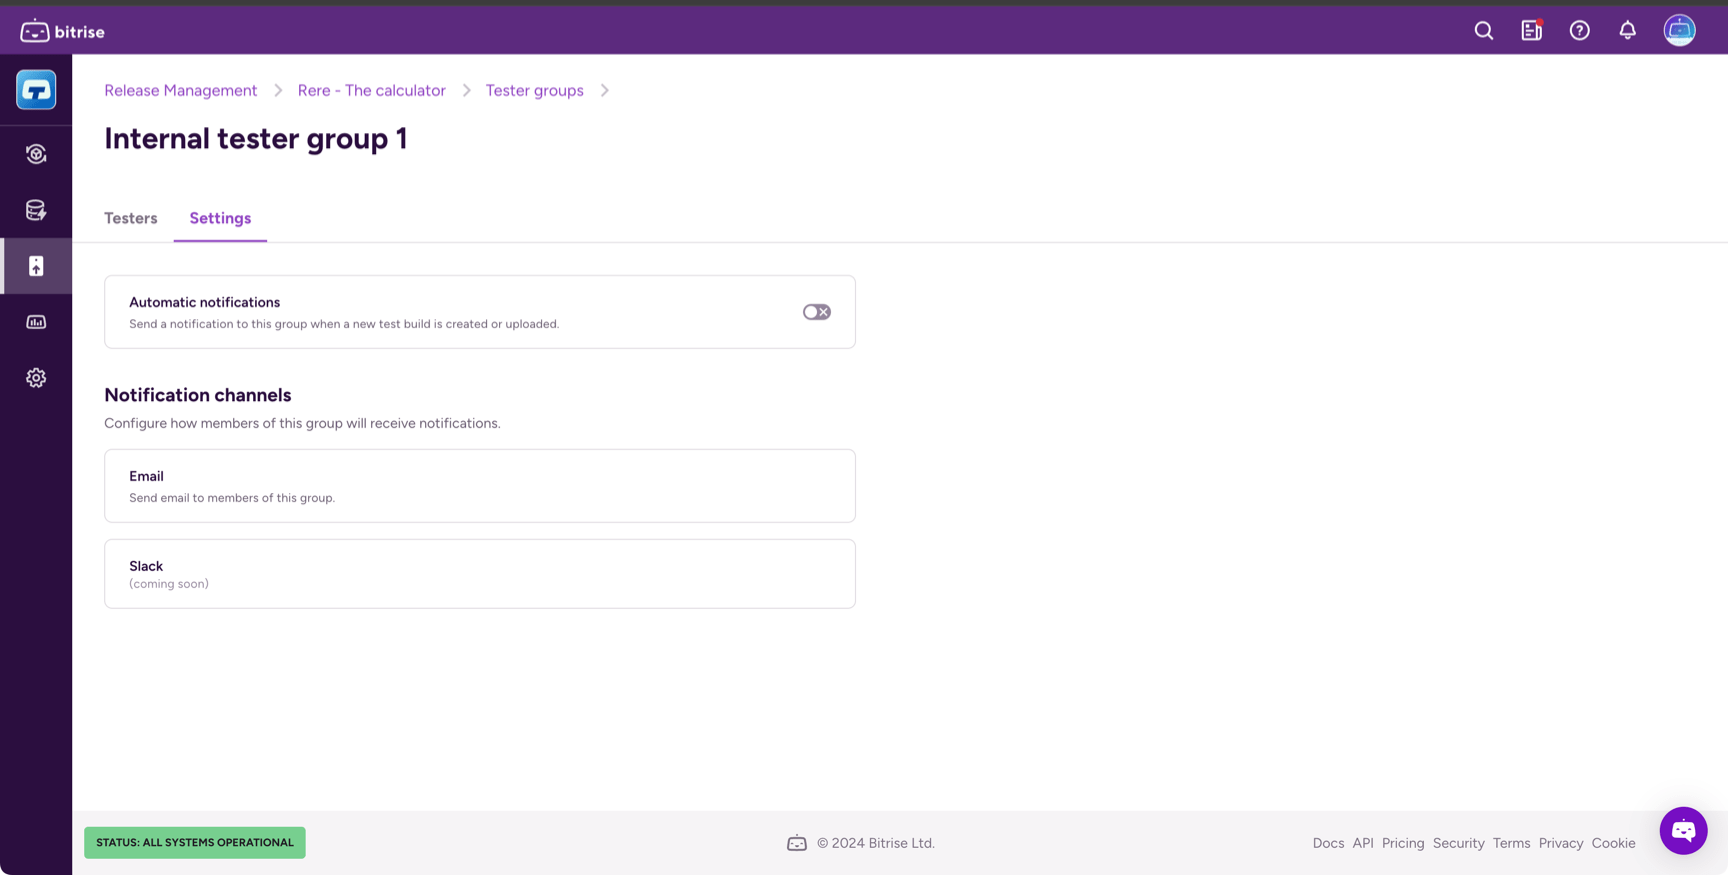
Tester groups can be notified automatically via email: whenever a new installable artifact is available for the app, each member of a tester group gets an email notification.
The notification email contains a link to the build page in Release Management, from where you can install the app on a mobile device.
New members
You can only send a notification once. If you add new members to the group after a notification email has been sent, those new members won't get a notification email.
To configure automatic notifications:
-
Open your connected app in Release Management.
-
Select Build distribution and then the Tester groups tab.
-
Find the group and click the vertical ellipsis (⋮) on the right.
-
Select Configure notifications.
-
Toggle on Automatic notifications.
Sending notifications to tester groups manually
You can notify a tester group manually about a new installable build artifact.
New members
You can only send a notification once. If you add new members to the group after a notification email has been sent, those new members won't get a notification email.
-
Open your connected app in Release Management.
-
Select Build distribution and then the Builds tab.
-
Find the build you need from the list and click the arrow on the right.
-
On the build page, select the Testing tab.

-
Find the tester group and click .