Publishing an app to a store with Ship
Ship supports publishing to Apple's App Store and to Google Play. To successfully publish to either of these stores, you need to build an app on Bitrise, make sure Ship has access to code signing files, and successfully configure the app in Ship.
Ship is now deprecated
The Ship add-on is now deprecated and will eventually be removed.
We strongly recommend using Release Management instead.
Ship supports publishing to Apple's App Store and to Google Play. To successfully publish to either of these stores, you need to build an app on Bitrise, make sure Ship has access to code signing files, and successfully configure the app in Ship.
Publishing an iOS app to the App Store with Ship
To be able to publish an iOS app to the App Store Connect (formerly known as iTunes Connect) with Ship, you have to:
-
Build the app.
-
Choose the provisioning profiles and code signing identities to be used.
-
Set the app specific password.
-
Set the Apple Developer Account email.
-
Set the App SKU: this is a unique ID you give to your app for internal tracking. It’s not visible to customers.
Using Ship with different build Steps
By default, Xcode Archive & Export for iOS, Gradle Runner, and Android Build are automatically supported with Ship.
If you want to build your app with any other Step, you can do so - it just requires a little extra configuration.
-
Make sure you've configured the Xcode Archive & Export for iOS Step correctly: the Distribution method input must be set to and it should be built with a Release configuration.
-
Make sure you have a Deploy to Bitrise.io Step in your Workflow.
-
Open your app’s Ship page and click Settings in the top right corner.
-
Go to the General tab.
-
Go to the iOS Settings section.
-
Expose the Workflow that creates the IPA file you want to publish, and run the Workflow on Bitrise.
-
In the iOS Settings section, select the code signing files you want to use.
Make sure you choose the files appropriate for the export method you used to create the .ipa file. For example, if your .ipa was exported using the
app-storemethod, choose an App Store provisioning profile and a Distribution certificate (code signing identity). -
Enter the Apple Developer Account Email and the App Specific Password to be able to publish to the App Store.
-
Enter the App SKU.
-
Go back to the Details page and click Publish.
Publishing an Android app to Google Play with Ship
To configure publishing an Android app to Google Play Console in Ship, you have to:
-
Choose the Android keystore files and the Service Account JSON file.
-
Set the track you want to use to release your app.
Once you configured publishing for the app, you do not have to set these options every time, only if you want to change some of them.
Using Ship with different build Steps
By default, Xcode Archive & Export for iOS, Gradle Runner, and Android Build are automatically supported with Ship.
If you want to build your app with any other Step, you can do so - it just requires a little extra configuration.
-
Open your app’s Ship page and click Settings in the top right corner.
-
Go to the Android Settings section.
-
Expose a Workflow that creates the APK you want to publish.
-
Make sure the exposed Workflow includes either the Android Build or the Gradle Runner Step, and the Deploy to Bitrise.io Step.
-
Build a release version of your app with the exposed Workflow.
Depending on the Step you use, you have two options:
-
Make sure the Android Build Step’s Variant input field contains
release(for examplereleaseordemoRelease). -
Make sure the Gradle Runner Step’s Gradle task to run input field contains
Release(for example,assembleReleaseorassembleDemoRelease)
-
-
Enter the track you want to use to publish to the Google Play Console.
-
If your Android app contains multiple modules, enter the exact module under Module.
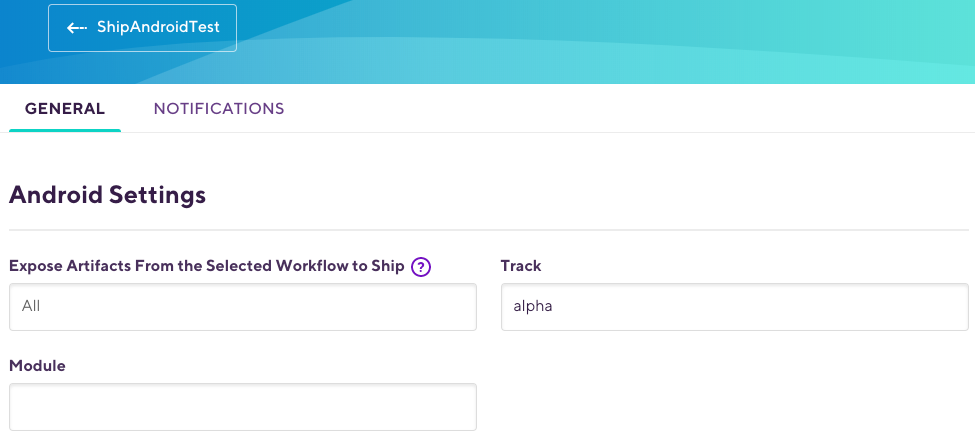
-
Choose the appropriate keystore file and the Service Account JSON file.
-
Head back to the Version History page and select the version you wish to publish. If your app has multiple flavors, you can filter for the right flavor and select it for publishing.
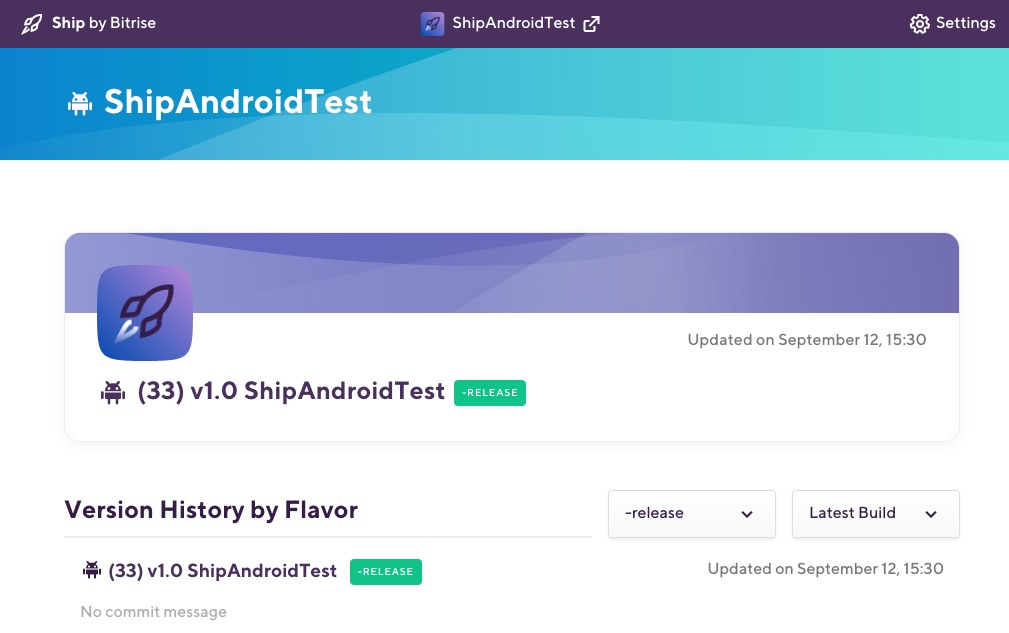
-
Fill out the Details page and click Publish.
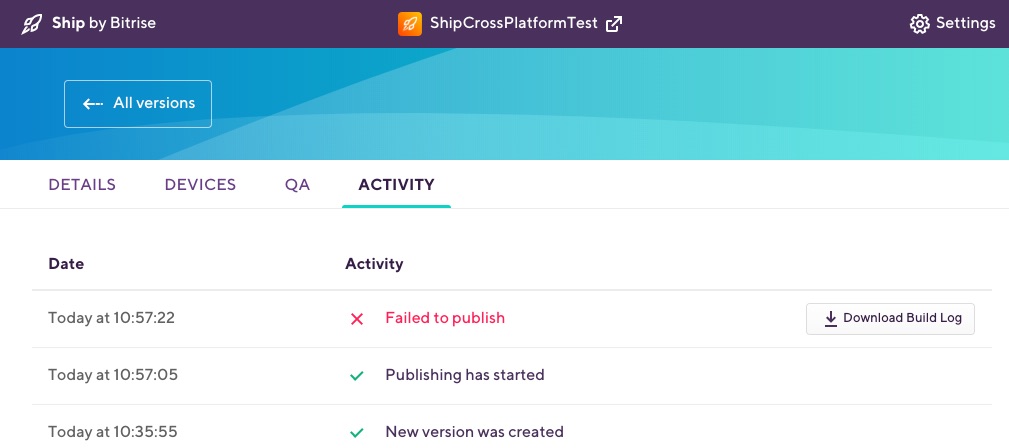
Publishing status and logs
Once you clicked Publish in Ship, the process starts according to the configured settings. You can view the status of the active publishing process on top of the Details page of the app.
To view the logs of any publishing process, go to the Activity tab. From there, you can download the logs by clicking Download Build Log to troubleshoot any errors after a failed publish.