Running Android unit tests
You can perform unit tests using the Android Unit Test Step, and view the results in the Test Reports Add-on.
Unit tests are useful if you want to verify individual code blocks, catch bugs or prevent crashes as early as possible. On Bitrise, you can run Android unit tests easily with the Android Unit Test Step. The Step finds and runs all unit tests included in the specified module and variant of your Android project.
The Step can also export the results directly to the Test Reports add-on.
Running multiple tests in parallel
You can run multiple unit tests in parallel, for different devices or shards, by using the Pipelines feature: Currently supported use cases for the Android platform.
To run your unit tests:
Workflow Editor
bitrise.yml
-
Make sure you included unit tests in your Android project.
-
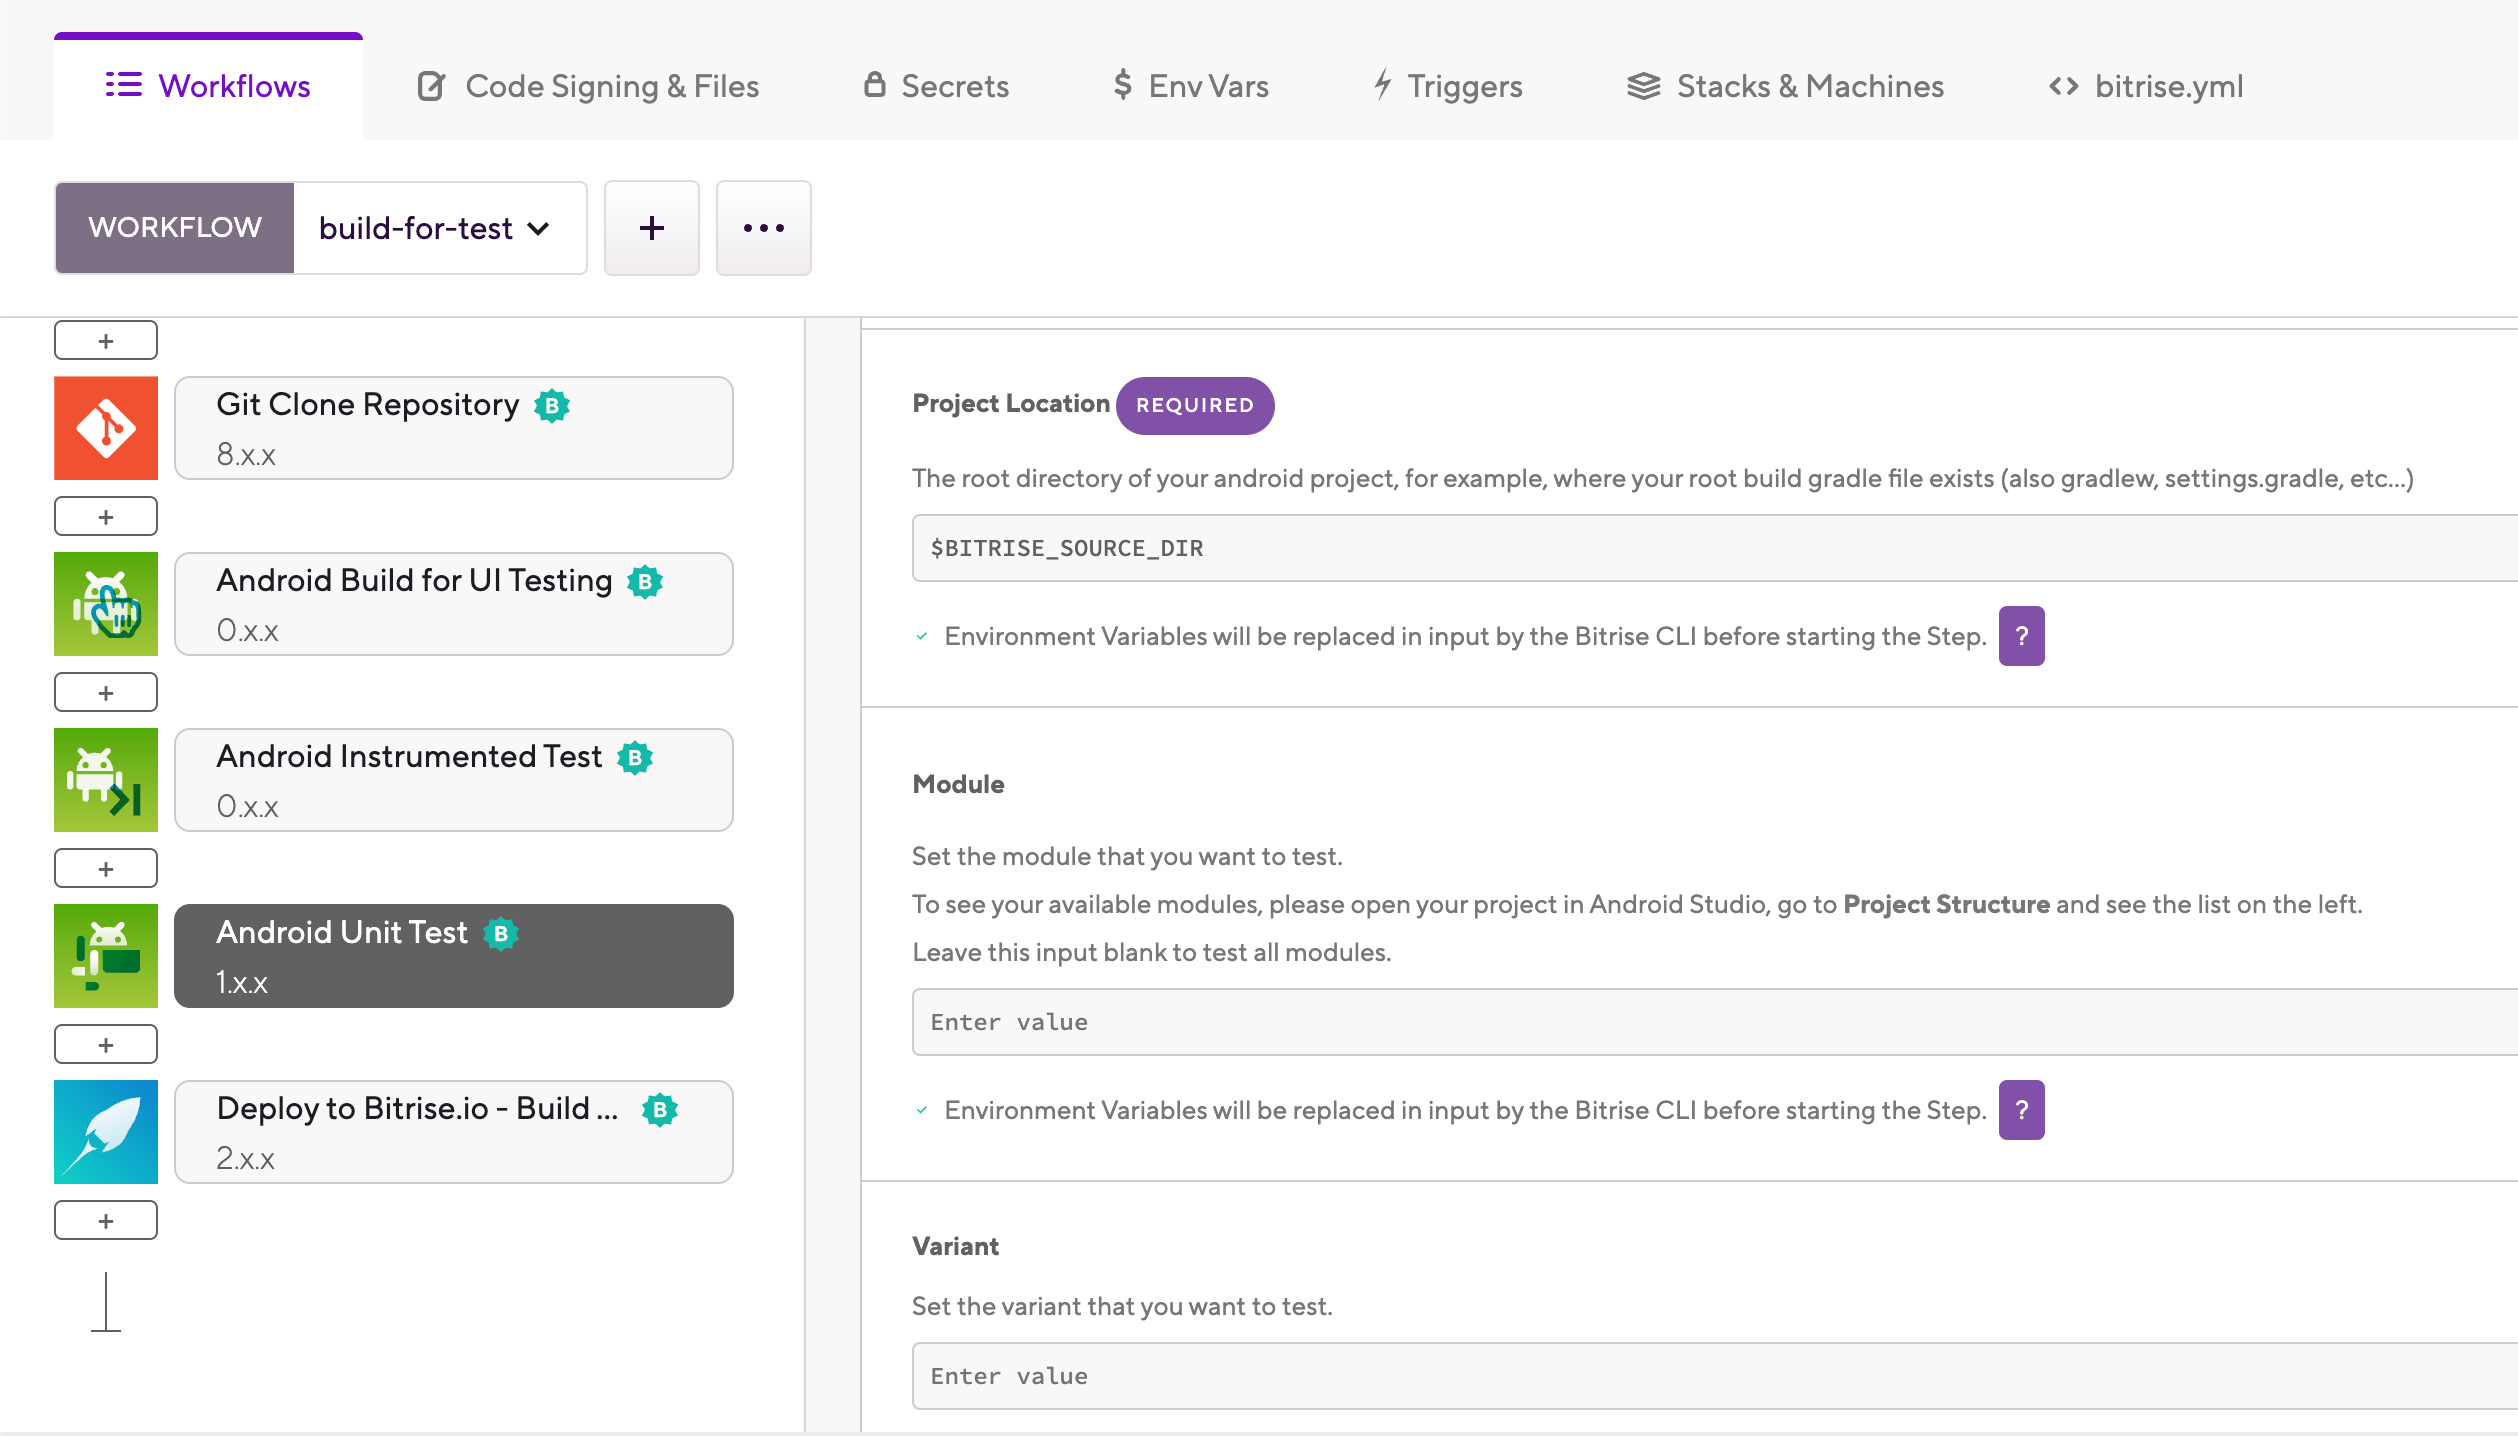
Add the Android Unit Test Step to your Workflow.
-
Make sure the Project Location input points to the root directory of your Android project.
The root directory is the directory where your
build.gradlefile exists. If you configured your Android project automatically when adding it as an app on Bitrise, you don't have to change the default value. -
In the Module and Variant inputs, set the module and the variant you want to test. Leave the inputs blank to test all modules and/or variants.
You can check the available modules and variants of your project in the Project window in Android Studio.
-
In the Options input group, you can pass additional Gradle arguments to the build task in the Additional Gradle Arguments input.
-
If you have custom output directories configured for the test results of the tests in your project, configure the Step to look for the test results in the correct location when exporting them:
-
The Local unit test HTML result directory pattern input sets the directory for HTML test results.
-
The Local unit test XML result directory pattern input sets the directory for XML test results.
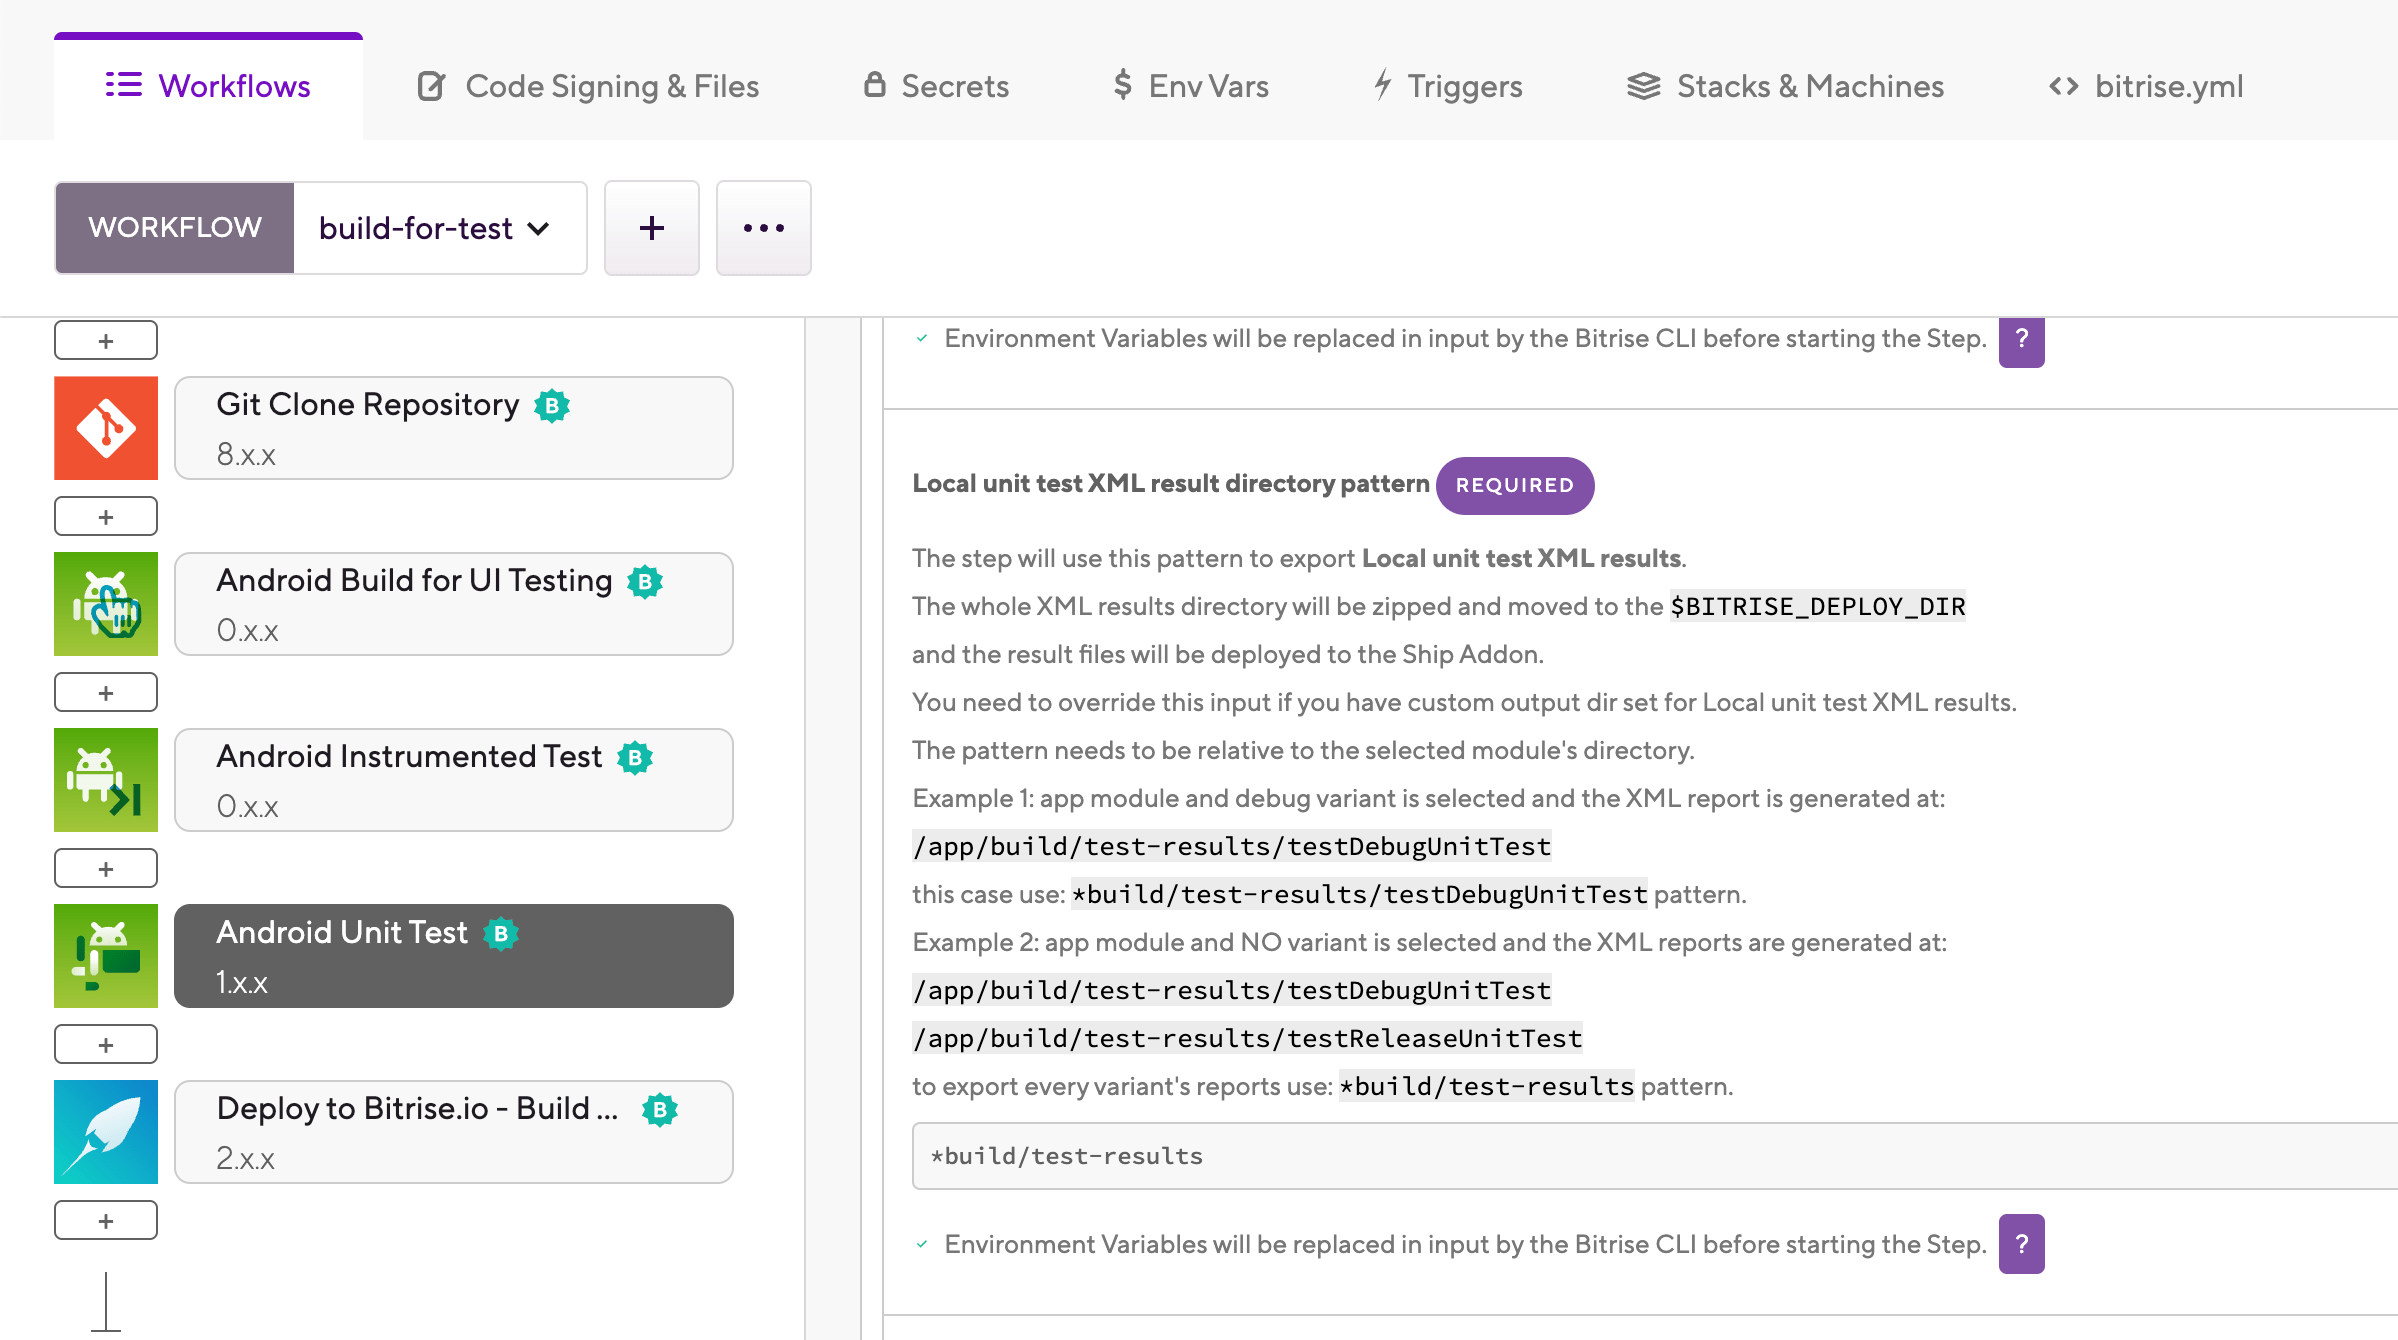
Both directories are zipped and exported to
BITRISE_DEPLOY_DIR. This ensures that your test results can be viewed, for example, in the Test Reports add-on.If you don't have custom output directories configured, you do not need to change these inputs: the default values will work.
-
-
Add the Deploy to Bitrise.io Step to your Workflow to be able to view your test results in the Test reports add-on.
-
Make sure you included unit tests in your Android project.
-
Add the
android-unit-testStep to your Workflow.my-workflow: steps: - git-clone: {} - android-unit-test: inputs: -
Make sure the
project_locationinput points to the root directory of your Android project.The root directory is the directory where your
build.gradlefile exists. If you configured your Android project automatically when adding it as an app on Bitrise, you don't have to change the default value.my-workflow: steps: - git-clone: {} - android-unit-test: inputs: - project_location: $BITRISE_SOURCE_DIR -
In the
moduleandvariantinputs, set the module and the variant you want to test. If you don't set these inputs, the Step will test all modules and/or variants.You can check the available modules and variants of your project in the Project window in Android Studio.
my-workflow: steps: - git-clone: {} - android-unit-test: inputs: - module: app - variant: debug - project_location: $BITRISE_SOURCE_DIR -
In the
argumentsinput, you can pass additional Gradle arguments to the build task.my-workflow: steps: - git-clone: {} - android-unit-test: inputs: - module: app - variant: debug - arguments: --task - project_location: $BITRISE_SOURCE_DIR -
If you have custom output directories configured for the test results of the tests in your project, configure the Step to look for the test results in the correct location when exporting them:
-
The
report_path_patterninput sets the directory for HTML test results. -
The
result_path_patterninput sets the directory for XML test results.
my-workflow:
  steps:
    - git-clone: {}
    - android-unit-test:
        inputs:
        - module: app
        - variant: debug
        - arguments: --task
        - report_path_pattern: '*build/reports/tests'
        - result_path_pattern: '*build/test-results'
        - project_location: $BITRISE_SOURCE_DIR
Both directories are zipped and exported to
BITRISE_DEPLOY_DIR. This ensures that your test results can be viewed, for example, in the Test Reports add-on.If you don't have custom output directories configured, you do not need to change these inputs: the default values will work.
-
-
Add the
deploy-to-bitrise-ioStep to your Workflow to be able to view your test results in the Test reports add-on.my-workflow: steps: - git-clone: {} - android-unit-test: inputs: - module: app - variant: debug - arguments: --task - report_path_pattern: '*build/reports/tests' - result_path_pattern: '*build/test-results' - project_location: $BITRISE_SOURCE_DIR - deploy-to-bitrise-io: {}